
 Pin
Pin
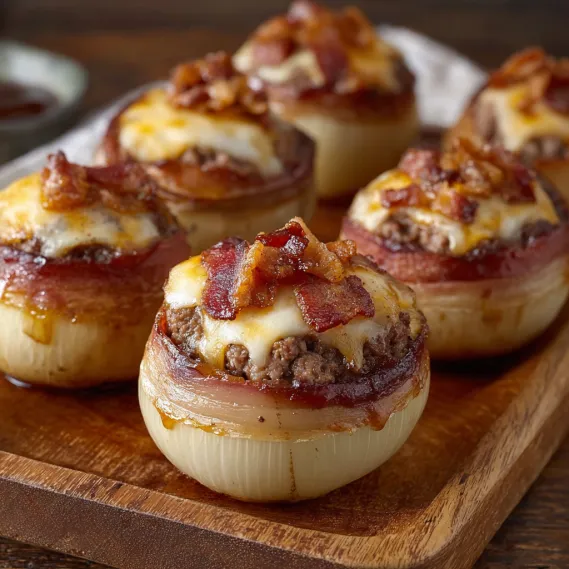
This hearty bacon cheddar onion bomb recipe transforms simple ingredients into an irresistible comfort food that's guaranteed to impress. The combination of savory beef, sweet onion, melty cheese, and crispy bacon creates an explosion of flavors that's become my go-to party pleaser for gatherings large and small.
I first created these bacon bombs for a Super Bowl party three years ago, and they disappeared faster than any other dish. Now my teenagers request them for their birthdays, and friends constantly ask for the recipe after tasting them just once.
Ingredients
- Yellow onions: choose firm onions with tight, dry outer skins for the best structure
- Lean ground beef: the 93/7 blend provides flavor without excess grease that would make the bombs fall apart
- Bread crumbs: they help bind the mixture while keeping the meat tender
- Egg: acts as the critical binder that holds everything together during baking
- Whole milk: adds moisture and richness to the beef mixture
- Barbecue sauce: provides tangy sweetness and helps create a caramelized exterior
- Garlic and onion powders: enhance the savory profile without adding bulk
- Cheddar cheese cubes: use sharp cheddar for the most dramatic flavor contrast
- Center-cut bacon: provides the perfect thickness for wrapping and crisping
How To Make Bacon Cheddar Onion Bombs
- Prepare the onions:
- Carefully slice and separate the onion layers to create your onion shells. Take your time with this step as intact onion layers are crucial for holding everything together. I find yellow onions work best because they soften perfectly while maintaining their structure during baking.
- Create the meat mixture:
- Thoroughly combine all the meat ingredients until just mixed. Overmixing can make the final result tough, so use a gentle hand. The mixture should hold together when pressed but still feel slightly loose and moist.
- Cheese stuffing technique:
- When wrapping the cheese inside the meat mixture, ensure there are no gaps or thin spots where cheese could leak out. Press the edges firmly to seal completely. This prevents the dreaded cheese explosion that can happen during baking.
- Perfect bacon wrapping:
- Stretch the bacon slightly before wrapping to ensure it stays in place during cooking. The bacon should completely encircle the onion bomb with slight overlap for the best results. If your bacon seems too short, you can secure it with toothpicks, just remember to remove them before serving.
- Two-stage baking process:
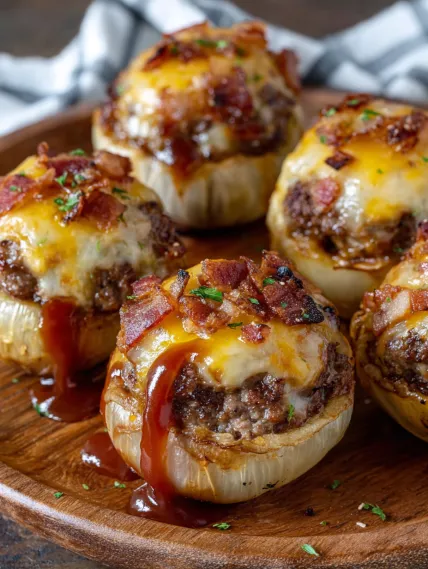
- The initial high-heat baking renders the bacon fat and starts cooking the meat through. The second stage with barbecue sauce creates that incredible caramelized exterior that makes these bombs irresistible. Don't rush either stage or you'll miss out on the perfect texture contrast.
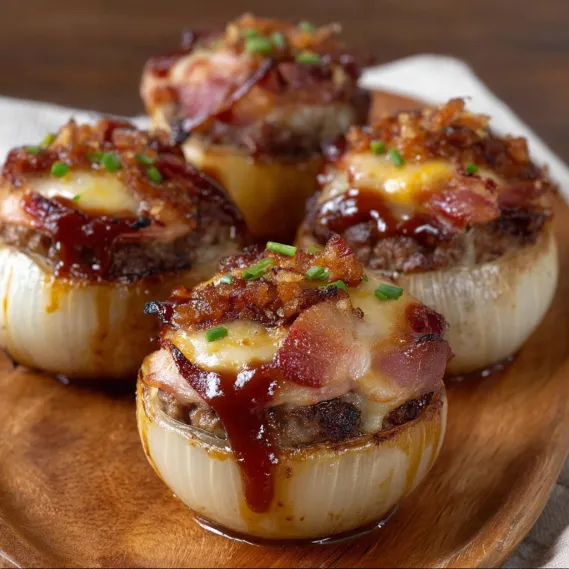
The barbecue sauce is truly the secret ingredient that transforms these from good to extraordinary. I discovered this by accident when I ran out of ketchup one day and substituted barbecue sauce instead. The slight sweetness caramelizes beautifully on the bacon and creates a glaze that my family now considers essential to the recipe.
Troubleshooting Common Issues
If your onion bombs fall apart during cooking, your onion layers may have been too thin or broken. Make sure to select large, firm onions and handle the layers gently. You can also try securing the bacon more firmly with toothpicks if needed.
For those concerned about grease, place the bombs on a wire rack over your baking sheet to allow excess fat to drain away during cooking. This results in a crispier exterior while maintaining all the flavors.
Some people find wrapping the bacon challenging at first. The trick is to slightly stretch each bacon strip before wrapping, which helps it adhere better to the onion surface and prevents it from shrinking away during cooking.
Serving Suggestions
These onion bombs make an impressive centerpiece when served with a simple green salad dressed with vinaigrette. The acidity of the dressing cuts through the richness of the bombs perfectly.
For a complete meal, pair with roasted vegetables like asparagus or Brussels sprouts that can cook alongside the bombs at the same temperature. The vegetable side balances the hearty nature of the bombs.
If serving as appetizers, make mini versions using smaller onions and reduce the cooking time accordingly. Provide small dishes of additional barbecue sauce or ranch dressing for dipping.
Make-Ahead Options
These bacon cheddar onion bombs freeze beautifully before cooking. Assemble completely, then freeze individually on a baking sheet before transferring to an airtight container. They can be baked directly from frozen by adding approximately 15 minutes to the cooking time.
For meal prep, you can also fully cook the bombs, cool completely, and refrigerate for up to 3 days. Reheat in a 350°F oven for about 15 minutes until warmed through, which makes them perfect for busy weeknights or quick entertaining.
Recipe FAQs
- → How do you keep the onion halves intact while wrapping?
Carefully handle the onion halves to avoid breakage. If needed, adjust the onion size to snugly fit around the meatballs. Toothpicks can help hold everything in place during baking.
- → Can I use different cheese varieties?
Absolutely! Cheddar is classic, but you can use mozzarella, gouda, or pepper jack for different flavors and textures.
- → What’s the best way to achieve crispy bacon?
Make sure the bacon is snugly wrapped and evenly spread on the onion bombs. Bake at a high temperature (425°F) and use the broiler briefly for extra crispiness, if needed.
- → Can I prepare these in advance?
Yes, you can assemble the onion bombs a day ahead and refrigerate them. Bake just before serving for the best taste and texture.
- → Can I substitute ground beef with other proteins?
Yes, you can use ground turkey, chicken, or pork as substitutes. Adjust seasonings to complement the chosen protein.
- → What can I serve with onion bombs?
Pair them with roasted vegetables, mashed potatoes, or a fresh salad for a complete meal. They also make an excellent party appetizer.