
 Pin
Pin
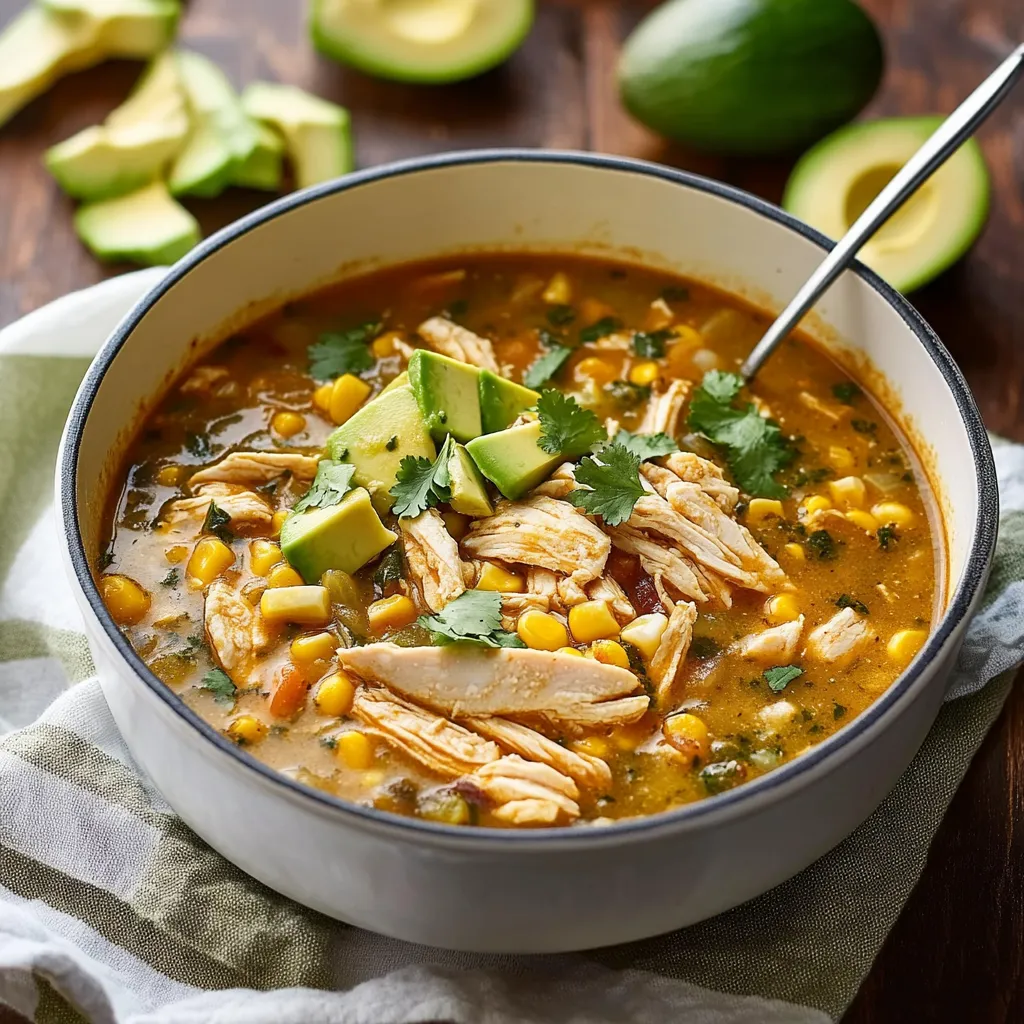
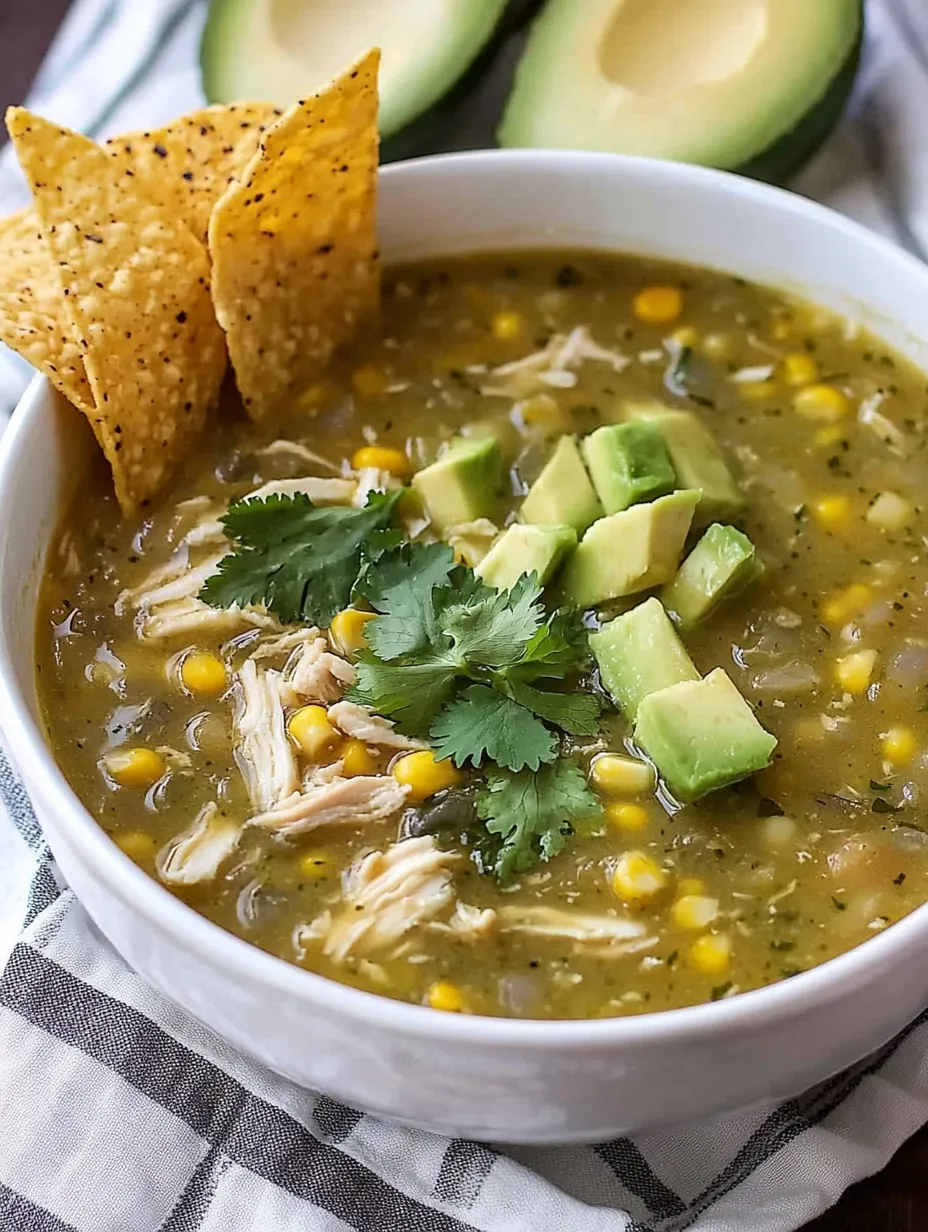
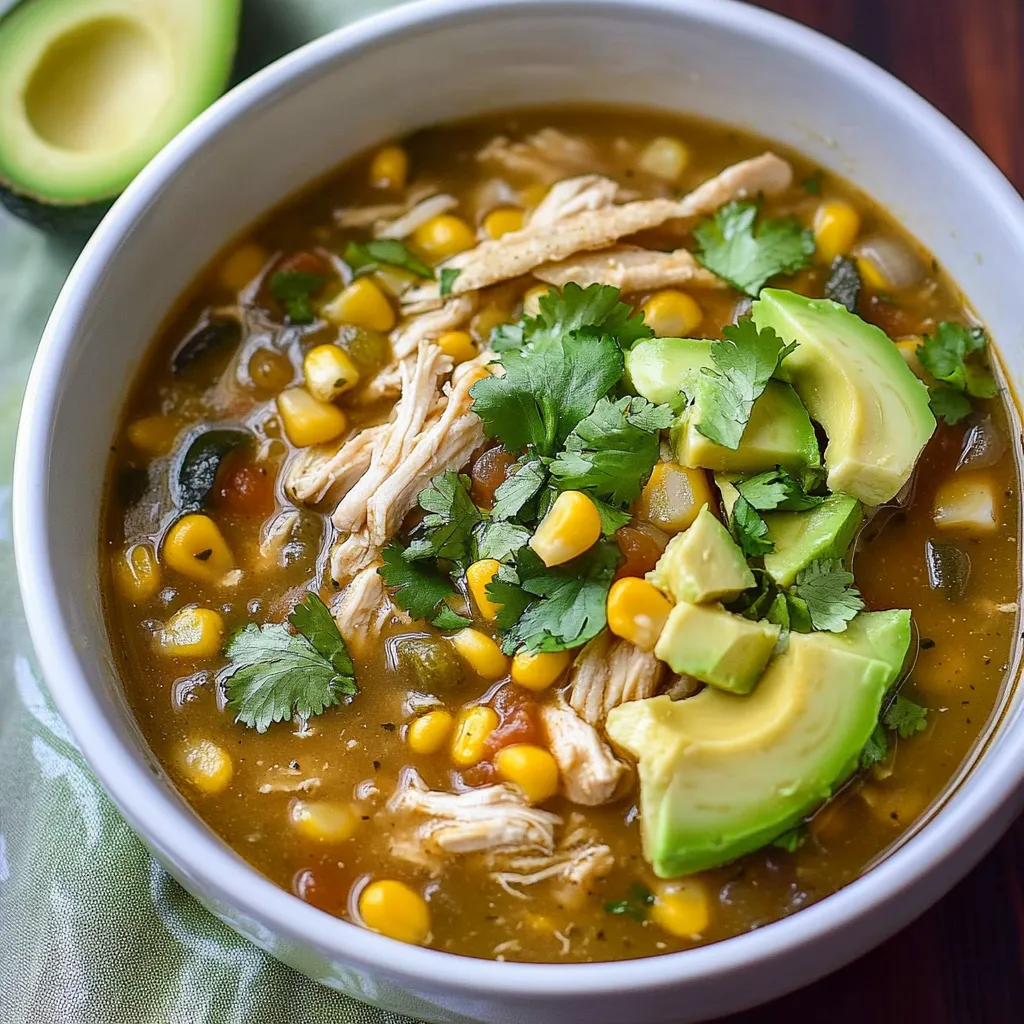
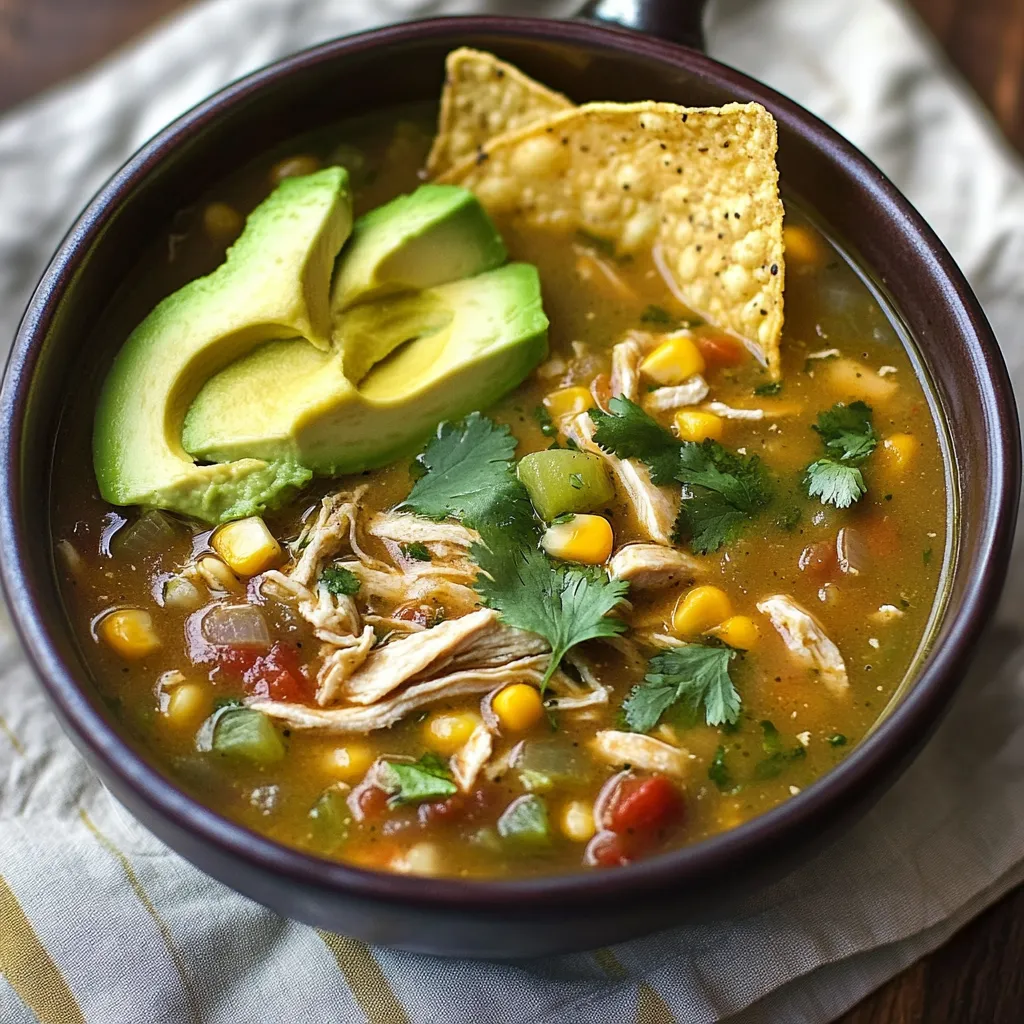
A steaming bowl of green chicken chili is exactly what you need when the weather turns chilly or you're craving something hearty but not heavy. After countless attempts to recreate my favorite restaurant's version, I've landed on this recipe that perfectly balances the earthy heat of Hatch chiles with tender chicken and creamy beans. The best part? It comes together in under an hour, making it perfect for those nights when you want something homemade but don't have hours to spend in the kitchen.
Last weekend, I made this for my neighbor who was feeling under the weather. She called the next day asking for the recipe, saying it was the perfect balance of comfort and kick. The secret? Taking time to really let those onions and garlic cook down before adding the chiles.
Your Essential Ingredients Guide
- Hatch Green Chiles: These are the star of the show. Fresh roasted are best, but good quality canned ones work great too. Look for ones with a bit of char on them
- Rotisserie Chicken: Get one that's fresh and still warm - it shreds more easily and has better flavor
- Cannellini Beans: They're creamy without falling apart. Rinse them well to remove any excess starch
- Chicken Stock: Homemade is amazing, but a good quality store-bought stock works well too
- Yellow Onion: The sweetness balances the heat of the chiles
- Fresh Garlic: Don't even think about using the pre-minced stuff here
Let's Create This Chili Step by Step
- Step 1:
- Heat your heaviest pot over medium heat and add olive oil. Toss in diced onions and let them cook until softened. Add garlic and let it cook until fragrant. Stir in bell peppers and season with salt.
- Step 2:
- Add roasted Hatch chiles and stir them around to wake up their flavor. Let them sizzle for a minute or two until the aroma fills your kitchen.
- Step 3:
- Pour in chicken stock, add cumin and oregano, and bring the mixture to a gentle simmer. Taste and adjust seasonings as needed.
- Step 4:
- Add shredded chicken and stir in cannellini beans. Let the chili simmer, allowing the flavors to meld together. Keep tasting and adjusting as needed.
Making It Meal-Worthy
Every time I serve this chili, I set up a toppings bar that lets everyone customize their bowl. Fresh diced avocado adds creaminess, shredded cheese melts into the hot soup creating lovely strings when you lift your spoon, and crispy tortilla strips give that perfect crunch. My father-in-law swears by adding a dollop of sour cream to cool things down, while my kids love sprinkling extra cheese on top.
The Art of Leftovers
This chili actually gets better after a day or two in the fridge. The flavors have time to meld, and the broth becomes richer. I often make a double batch just to have leftovers. For lunch the next day, try serving it over a baked potato or using it as a filling for enchiladas. Just remember to reheat it slowly - rushing it can make the chicken tough.
Freezer-Friendly Tips
If you're planning to freeze portions, leave out any toppings and let the chili cool completely. I like to freeze it in individual portions - perfect for quick lunches. Just remember to label with the date and reheat gently when you're ready to eat. The beans might need a gentle mash to get that creamy texture back.
Seasonal Adaptations
- Summer: Add fresh corn cut from the cob and diced zucchini
- Fall: Include a diced sweet potato for color and heartiness
- Winter: Use extra beans and add diced carrots for sweetness
Spice Level Control
One of the best things about making this at home is controlling the heat. If you're serving kids or spice-sensitive folks, use milder chiles and offer hot sauce on the side. For heat lovers, keep some diced fresh jalapeños or a bottle of your favorite hot sauce nearby.
Host's Helper
This is my go-to recipe for casual entertaining. It can sit happily on low heat for hours, and guests can serve themselves. Plus, it's easy to stretch by adding an extra can of beans or more broth if unexpected guests show up.
Kitchen Equipment Tips
- A heavy-bottomed Dutch oven helps prevent burning
- A good sharp knife makes chopping vegetables a breeze
- Storage containers with tight-fitting lids keep leftovers fresh
- A ladle with a pour spout helps serve without spills
Make-Ahead Strategies
- Chop all vegetables the night before
- Shred chicken and store separately
- Measure out spices and have them ready
- Prep toppings early and store properly
Health and Nutrition Notes
- Lean protein from the chicken
- Fiber and protein from the beans
- Vitamins and minerals from the vegetables
- The chiles themselves are rich in vitamin C
- It's naturally gluten-free
Alternative Cooking Methods
- Slow cooker: Perfect for busy days
- Instant Pot: Great when time is tight
- Outdoor Dutch oven: Amazing for camping
Final Thoughts
A good bowl of green chicken chili is like a warm hug on a cool day. It's comforting without being heavy, flavorful without being overwhelming, and simple without being boring. Whether you're making it for a quiet family dinner or a lively game day gathering, it's one of those recipes that always feels right. And isn't that what home cooking is all about? Creating food that makes people feel welcomed and cared for, no matter the occasion.
Recipe FAQs
- → Can I use different chiles?
- Yes, canned green chiles work if Hatch chiles aren't available. Adjust amount based on heat preference.
- → Is rotisserie chicken okay to use?
- Yes! Rotisserie chicken is a great time-saving option that works perfectly in this recipe.
- → Can I make this ahead?
- Yes, keeps 5 days in fridge or 3 months frozen. Add fresh garnishes when serving.
- → How spicy is this chili?
- Using mild Hatch chiles keeps it family-friendly. Adjust heat with hot sauce when serving.
- → Can I skip the corn chips?
- Yes, store-bought tortilla chips work well, or omit entirely.