
 Pin
Pin
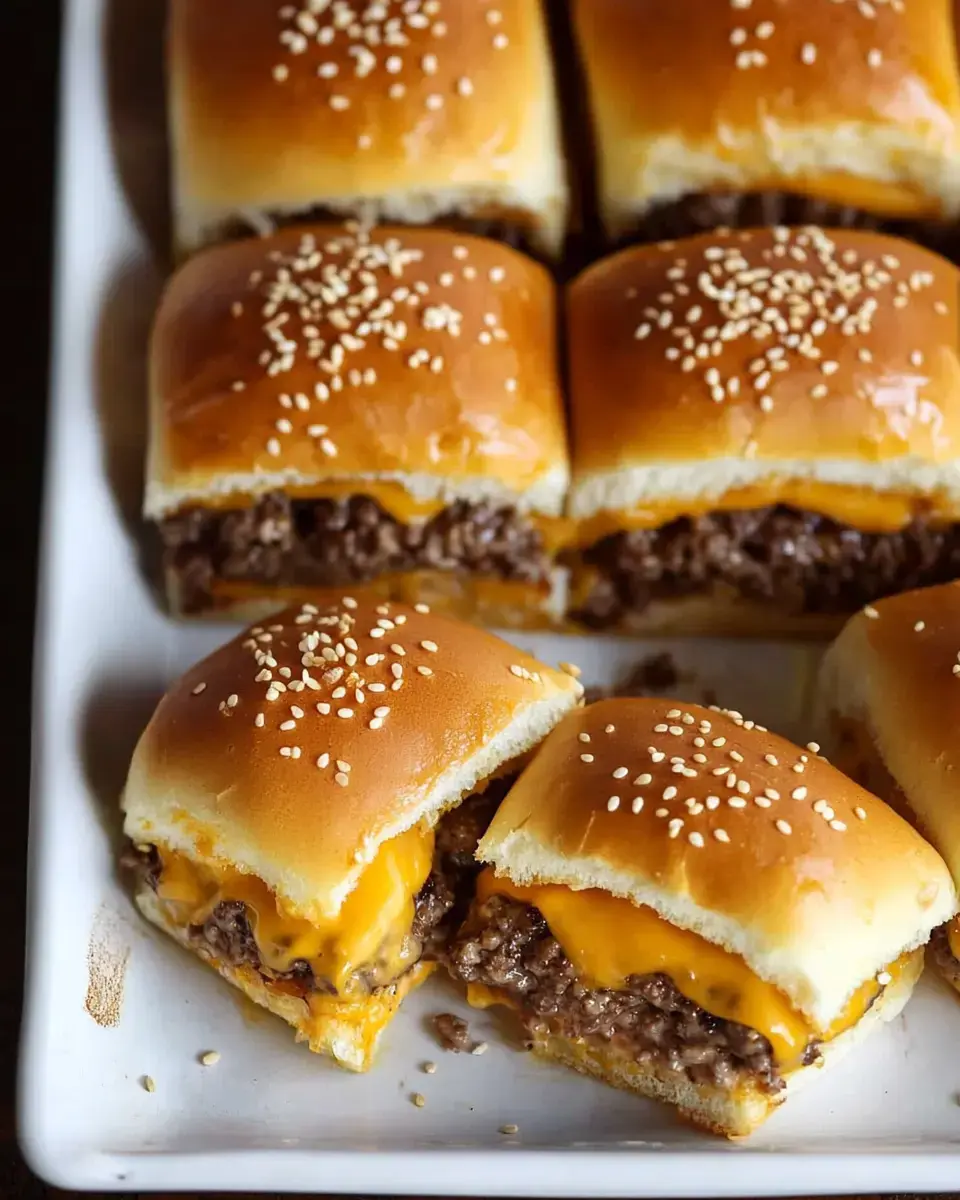
Want a no-fuss crowd-pleaser? These burger sliders are my go-to trick! They're baked together in one dish - so much simpler than flipping individual patties. My quick approach uses sweet Hawaiian rolls, seasoned ground beef, and plenty of gooey cheese. They're just right for watch parties or when you've got hungry guests!
Why You'll Crave These
This slider dish is a total game-changer! You'll need basic stuff you likely have in your kitchen already, and everything comes together in a single pan. My take on these is totally adaptable - throw on whatever toppings you fancy. That mix of sweet buns and savory meat gets folks coming back for more every single time!
What You'll Need
- Quality Meat: Grab 80/20 ground beef - it'll stay moist and tasty.
- Flavor Boost: Onion soup mix gives these little burgers amazing taste.
- Juicy Trick: A bit of milk mixed in keeps everything tender.
- The Base: Hawaiian sweet rolls work best for these mini sandwiches.
- Melty Goodness: Sharp cheddar takes these tiny burgers to another level.
- Finishing Touch: Sprinkle sesame seeds on top for that wow factor!
How To Make Burger Sliders
- Get Your Dish Ready
- Find your largest baking dish and oil it thoroughly. A 9x13 pan works great for cooking these mini burgers.
- Season Your Beef
- Start with flavorful meat by combining ground beef with onion soup mix and some milk for moisture. Don't work it too much or you'll end up with tough sliders!
- Cook The Meat First
- Spread your seasoned beef across the pan making one large patty. Press it down evenly but keep it loose. Bake at 350°F for roughly 20 minutes.
- Add Your Cheese
- After cooking, pour off any extra grease. Put half your cheese on the bottom rolls. Add your cooked beef layer, then pile more cheese on top!
- Put It Together
- Keep all rolls connected when you slice them through the middle. Put the bottom section in your pan, stack all your fillings, then cap with the top portion.
- Bake Again
- Return everything to the oven for another 20 minutes until golden and cheese melts completely. I sometimes add butter to the tops for extra flavor.
- Cut And Enjoy
- Let everything sit about 5 minutes before cutting along the roll lines. This gives the cheese time to firm up slightly!
My Top Tricks
From making these sliders countless times, I've learned to really oil that pan well. Always drain off beef fat or you'll wind up with soggy bottoms. I've found freshly grated cheese works tons better than bagged stuff for getting that perfect melt!
Prep Them Early
These mini burgers are perfect for planning! You can cook the meat a day before, or even set up the whole thing and stick it in the fridge. When you're ready to eat, just warm everything in the oven until the cheese gets all gooey.
The Ultimate Side Dishes
These sliders match with just about anything! Pair them with some crunchy fries, slaw, or crispy onion rings. Set out different dips - ketchup, mustard, or BBQ sauce. I've even served them for dinner with a simple green salad. Trust me, they'll vanish quickly no matter what's alongside them!
Recipe FAQs
- → Why make one big patty?
Creates even portions and is much easier than making individual patties.
- → Why add milk to meat?
Helps keep the burger moist while baking in one large piece.
- → Why does meat shrink?
Normal shrinkage during cooking - plan for the size difference when layering.
- → Can I use different cheese?
Any melting cheese works well - American and Swiss are good options.
- → Why let rest before cutting?
Allows juices to redistribute for moist sliders that hold together.