 Pin
Pin
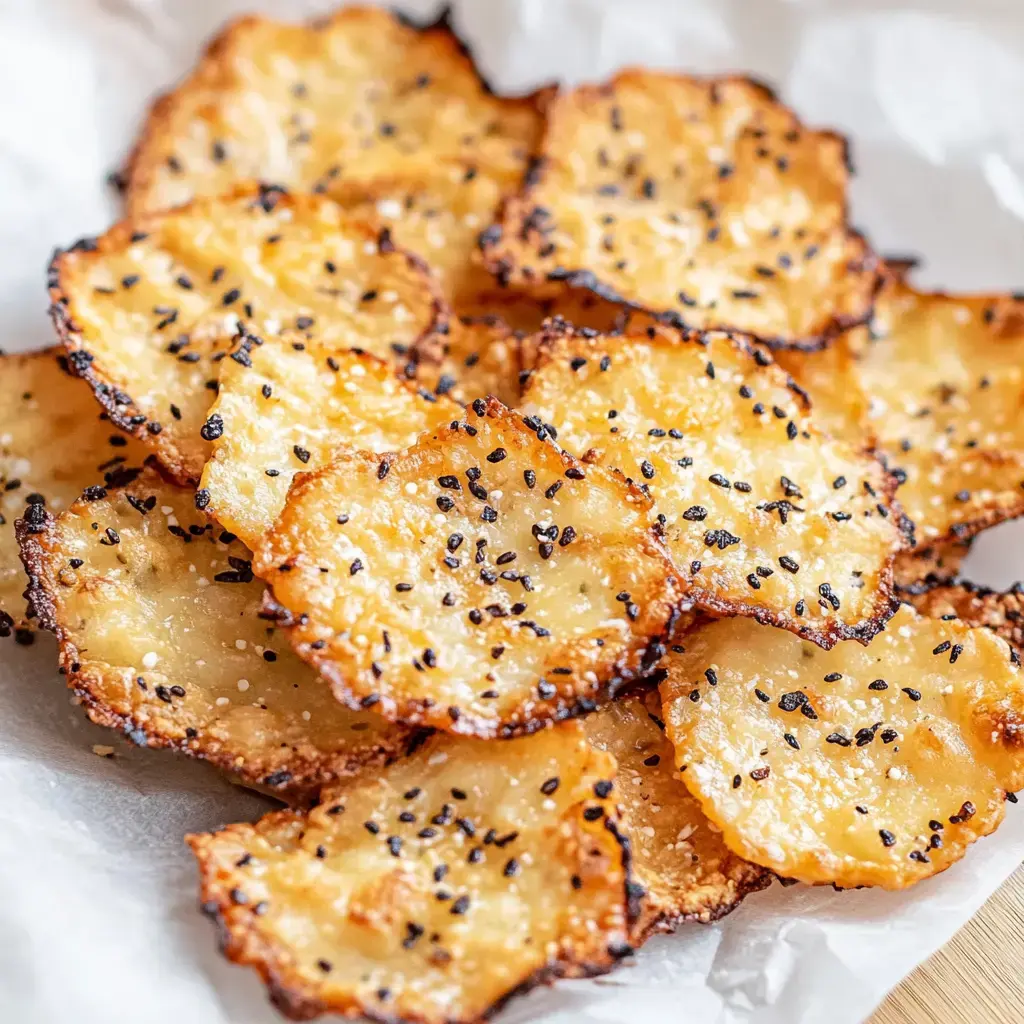
I discovered these incredible 1-Ingredient Cottage Cheese Chips during a late-night experiment in my kitchen when I was desperately craving something crunchy while sticking to my keto diet. Who knew cottage cheese could transform into these perfectly crispy, protein-packed chips? That first batch disappeared so fast I had to make another one immediately. Now they're our family's favorite snack, and I always keep a batch ready for movie nights or when the afternoon munchies hit. The best part is watching people's faces when I tell them they're made from cottage cheese they simply can't believe it.
Snack Time Made Simple
What makes these chips absolutely brilliant is how uncomplicated they are to whip up. Just spread them out, pop them in the oven, and let the magic happen. Unlike regular chips that leave you hungry an hour later, these are packed with protein that actually keeps you satisfied. I started making double batches because they disappear so quickly in our house. My teenager's friends always ask what brand they are, and their jaws drop when I reveal they're homemade from cottage cheese. They've become my signature snack for book club meetings and the first thing everyone requests when we have game nights.
What You'll Need
- Cottage cheese: Go for the whole milk version with 4% fat it's absolutely crucial for getting that perfect crisp. I've tried the low-fat versions and trust me, they just don't crisp up the same way. Look for brands with high protein content usually around 14g per half cup they make the crunchiest chips you'll ever taste.
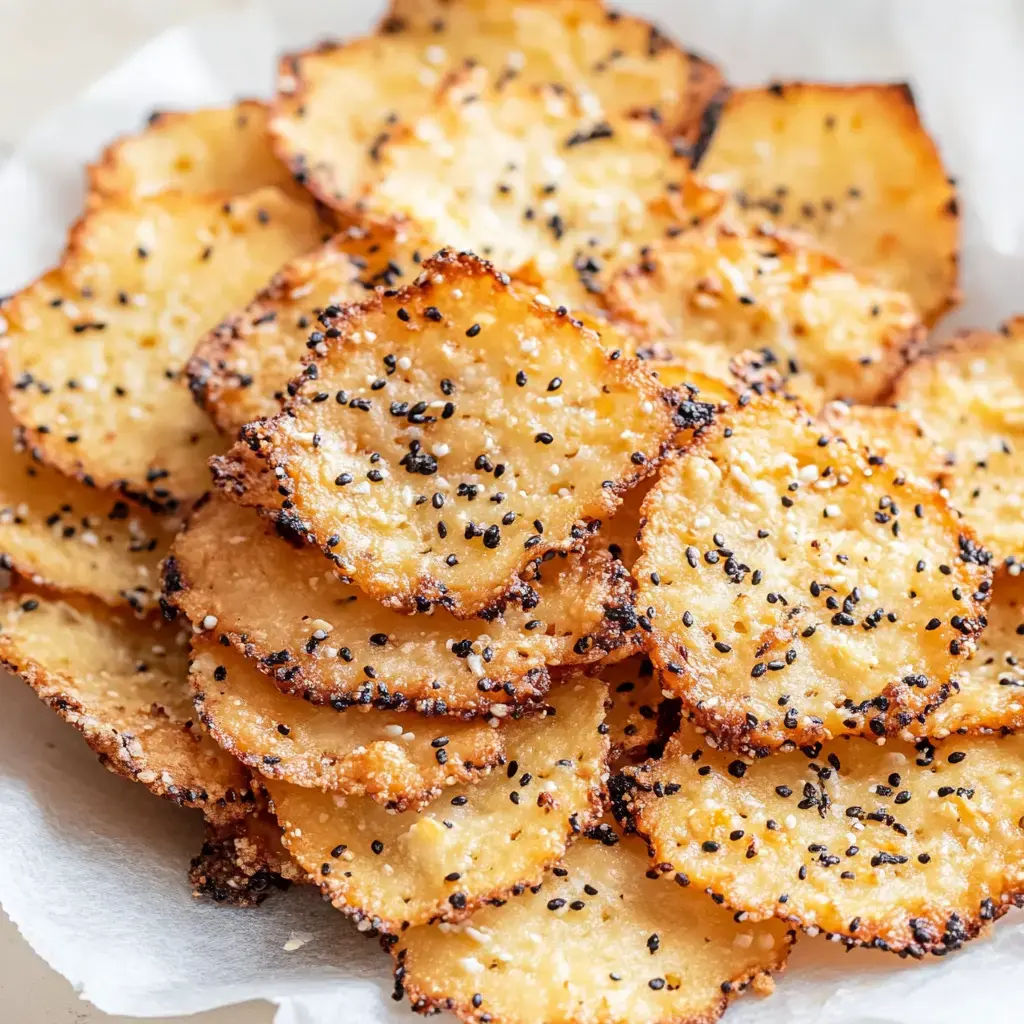
- Seasonings: While totally optional, this is where you can let your creativity shine. Everything bagel seasoning has become our house favorite, but sometimes I'll mix it up with smoky chili powder or fresh herbs from my garden. The possibilities are endless and that's what makes these chips so special.

Kitchen Time
- Get your oven ready:
- First things first heat your oven to exactly 375°F. This temperature is crucial not too hot not too low. While it's heating, line your baking sheet with parchment paper or a silicone mat. I've tried both and honestly either works great just make sure you've got something between your chips and the pan or they'll stick like crazy.
- Scoop and spread:
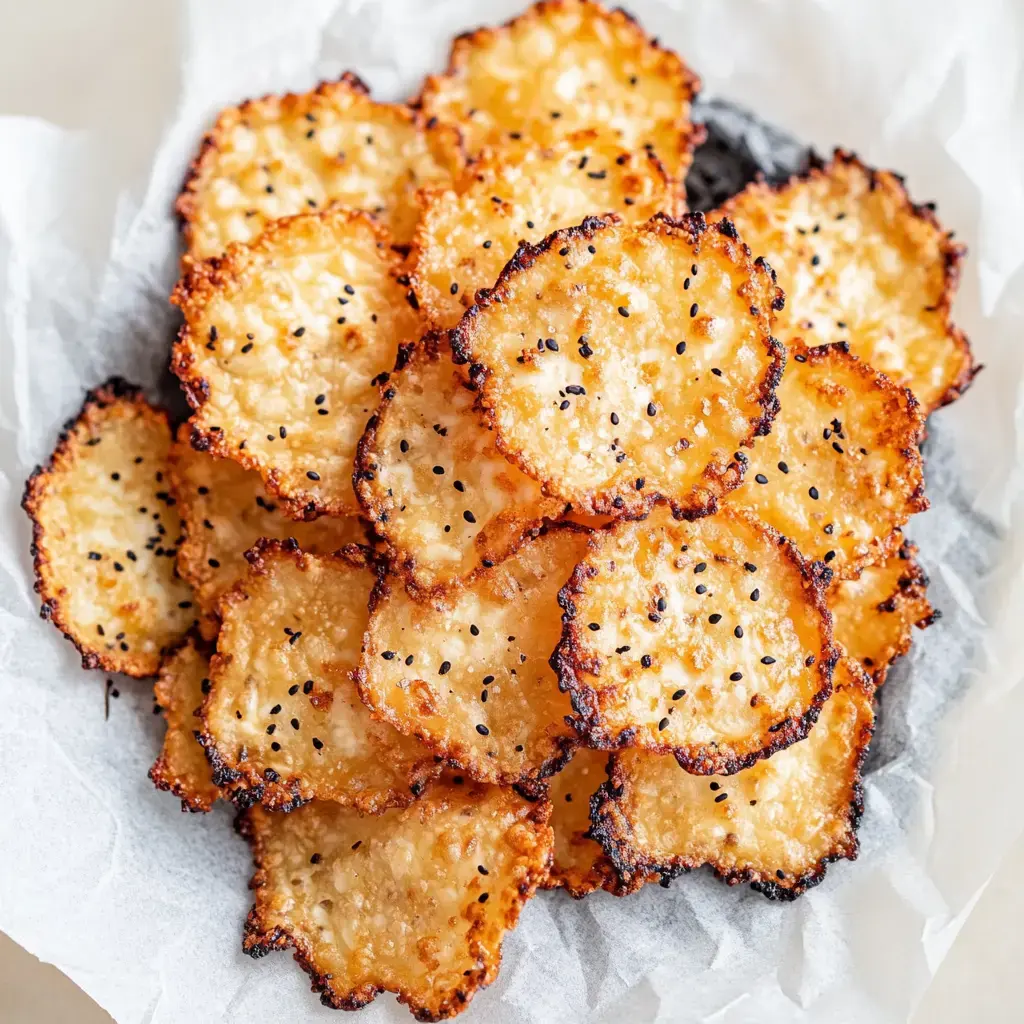
- Here's where technique really matters. Use a tablespoon to drop little dollops of cottage cheese onto your lined sheet. The key is making them all the same size for even baking. Then comes the important part take the back of your spoon and gently spread each dollop into a thin circle. The thinner they are, the crispier they'll get. I like to make mine about 2-3 inches wide.
- Season it up:
- If you're adding seasonings now's the time. Don't be shy with your sprinkles but remember cottage cheese already brings some saltiness to the party. I love using my fingertips to sprinkle the seasonings evenly you get much better control than just shaking them on.
- The baking magic:
- This is where patience becomes your best friend. They need a good 40-50 minutes in the oven and yes, that might seem long but trust me it's worth every minute. You'll watch them transform from white blobs to golden crispy chips. The edges will start browning first that's your signal they're on their way to perfection.

My Kitchen Secrets
After countless batches and plenty of taste-testing, I've discovered some game-changing tricks. The full-fat cottage cheese isn't just a suggestion it's absolutely essential for that perfect crisp. I learned this the hard way after trying to save calories with low-fat versions they just end up tough instead of crispy. Don't rush the browning process that deep golden color means flavor and crunch. I always make my chips super thin about 1/8 inch is perfect. Any thicker and they'll stay chewy in the middle which isn't what we're going for. Keep a close eye on them during the last 10 minutes of baking they can go from perfectly golden to burnt in what feels like seconds. I actually set a timer for 35 minutes then check them every 3-4 minutes after that.
Flavor Adventures
- Everything bagel style: Get the no-salt version because cottage cheese brings plenty of saltiness. I mix in some extra poppy seeds because they look beautiful and add great texture.
- Spicy Southwest: A blend of chili powder, smoked paprika, and just a tiny pinch of cayenne creates this amazing heat that builds slowly.
- Italian Dreams: Dried basil, oregano, and a sprinkle of grated Parmesan before baking creates chips that taste like pizza crust.
- Garden Fresh: In summer I finely chop fresh rosemary, thyme, and chives from my garden. The herbs get wonderfully crispy and fragrant during baking.
Keep Them Fresh
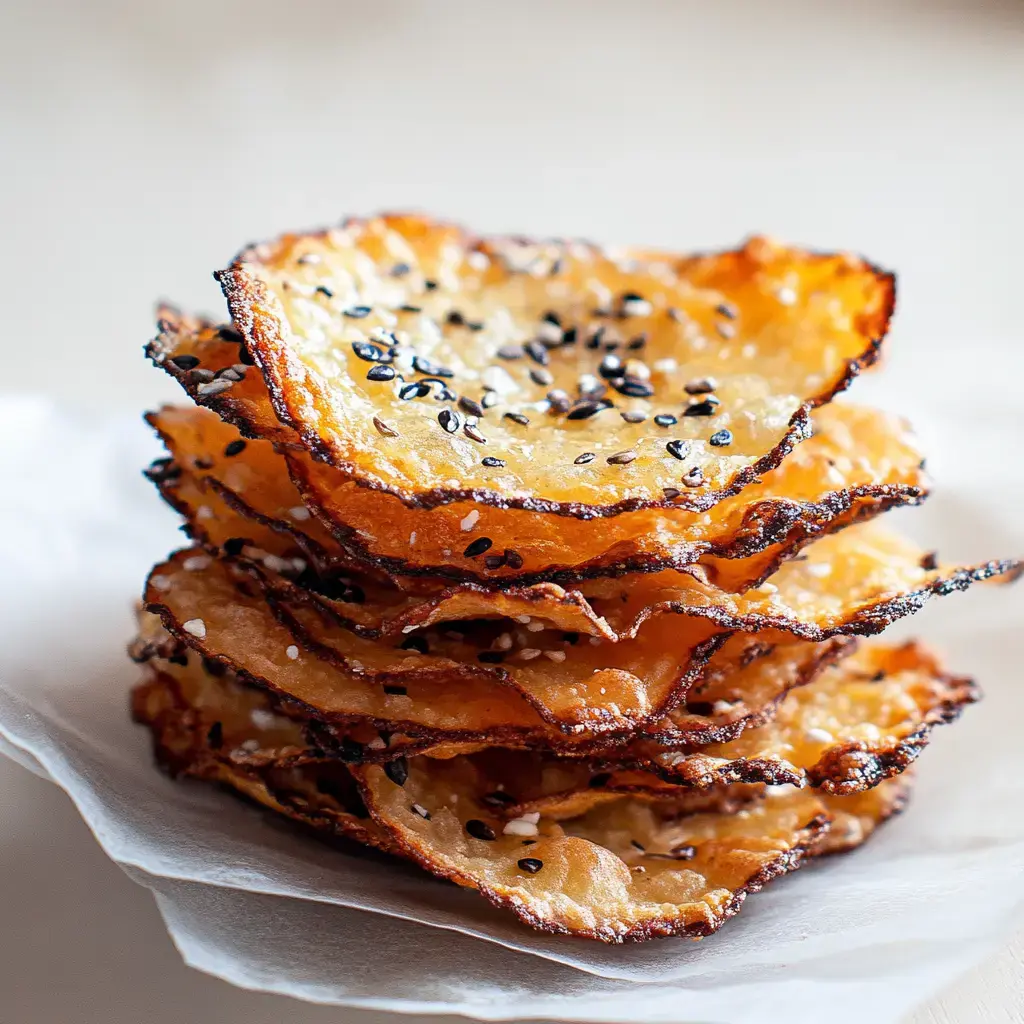
Let's talk storage because getting this right makes all the difference. The cooling process is absolutely crucial don't rush it. I spread my chips on a wire rack and let them cool completely usually takes about an hour. Any moisture trapped from storing them too soon will make them lose that incredible crunch we worked so hard for. Once they're totally cool I layer them in an airtight container with parchment paper between each layer. They'll keep their crunch for three full days if stored properly though honestly they rarely last that long in my house. Sometimes I pack them in my kids' lunch boxes with a little container of guacamole or my homemade ranch dip they're always the envy of the cafeteria. I've tried all sorts of containers and found that glass containers with tight-fitting lids work best for maintaining maximum crispiness.
Mix It Up
After months of experimenting I've discovered some incredible variations. My current favorite is sprinkling crushed pistachios and a tiny bit of sea salt before baking they get all toasty and delicious. For fancy dinner parties I'll top some with cream cheese and thin ribbons of smoked salmon it's always the first appetizer to disappear. My vegan friends go crazy for the version with nutritional yeast and a sprinkle of garlic powder they swear it tastes just like those expensive cheese crisps from the health food store. During the holidays I've even drizzled some with sugar-free chocolate and a tiny pinch of sea salt makes them taste like those expensive chocolate-covered potato chips but so much healthier.

Your Perfect Chip
The beauty of this recipe is how you can truly make it yours. I've found that the type of baking sheet you use can actually affect cooking time mine are done perfectly at 45 minutes but your oven might need a few minutes more or less. Some days I'm in the mood for whisper-thin super crispy chips other times I leave them slightly thicker for more of a chewy-crisp texture. Play around with different cottage cheese brands too each one creates slightly different results. My neighbor adds a sprinkle of everything bagel seasoning and then another light sprinkle halfway through baking for extra flavor and crunch. Don't be afraid to experiment that's how all the best recipes are born. The most important thing is having fun with it and finding your perfect version of these amazing chips.
Summary
Cottage cheese chips are a simple, nutritious snack that can be prepared quickly with minimal ingredients. By baking cottage cheese, you create a crunchy, protein-rich alternative to traditional chips that fits various dietary needs.
Recipe FAQs
- → Why won't my chips get crunchy?
Use whole milk cottage cheese with at least 14g protein per 1/2 cup for best crunch. Lower protein content can result in chewier chips.
- → How should I store these chips?
Store in an airtight container and eat within hours, or keep in fridge/freezer. Reheat briefly to restore crunchiness after refrigeration.
- → Do I need to blend the cottage cheese first?
No, you can use the cottage cheese straight from the container. No blending needed.
- → How do I know when they're done?
Edges should be dark brown and surface golden to medium brown. The browner they are, the crunchier they'll be.
- → Can I add seasonings?
Yes, add any seasonings before baking. Everything bagel seasoning works well, using about 2.5 teaspoons for 16 chips.
