 Pin
Pin
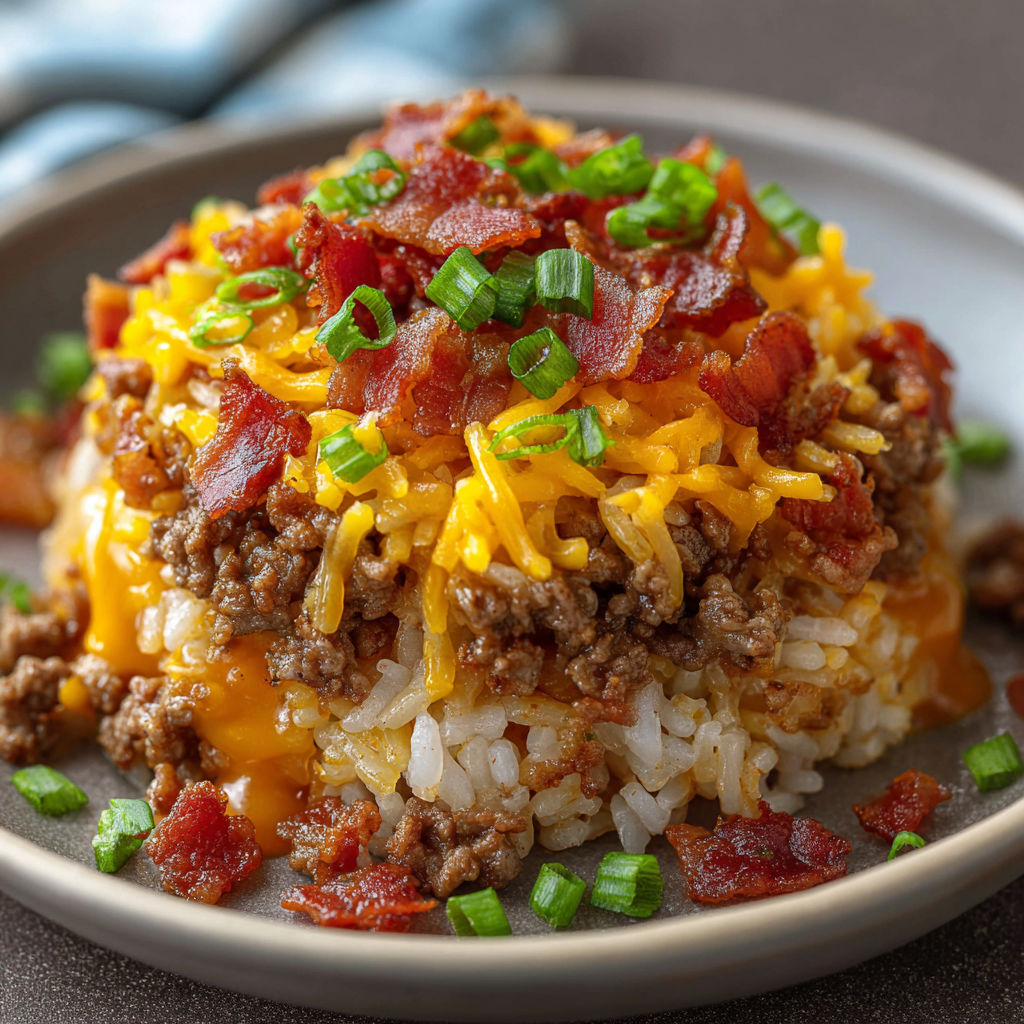
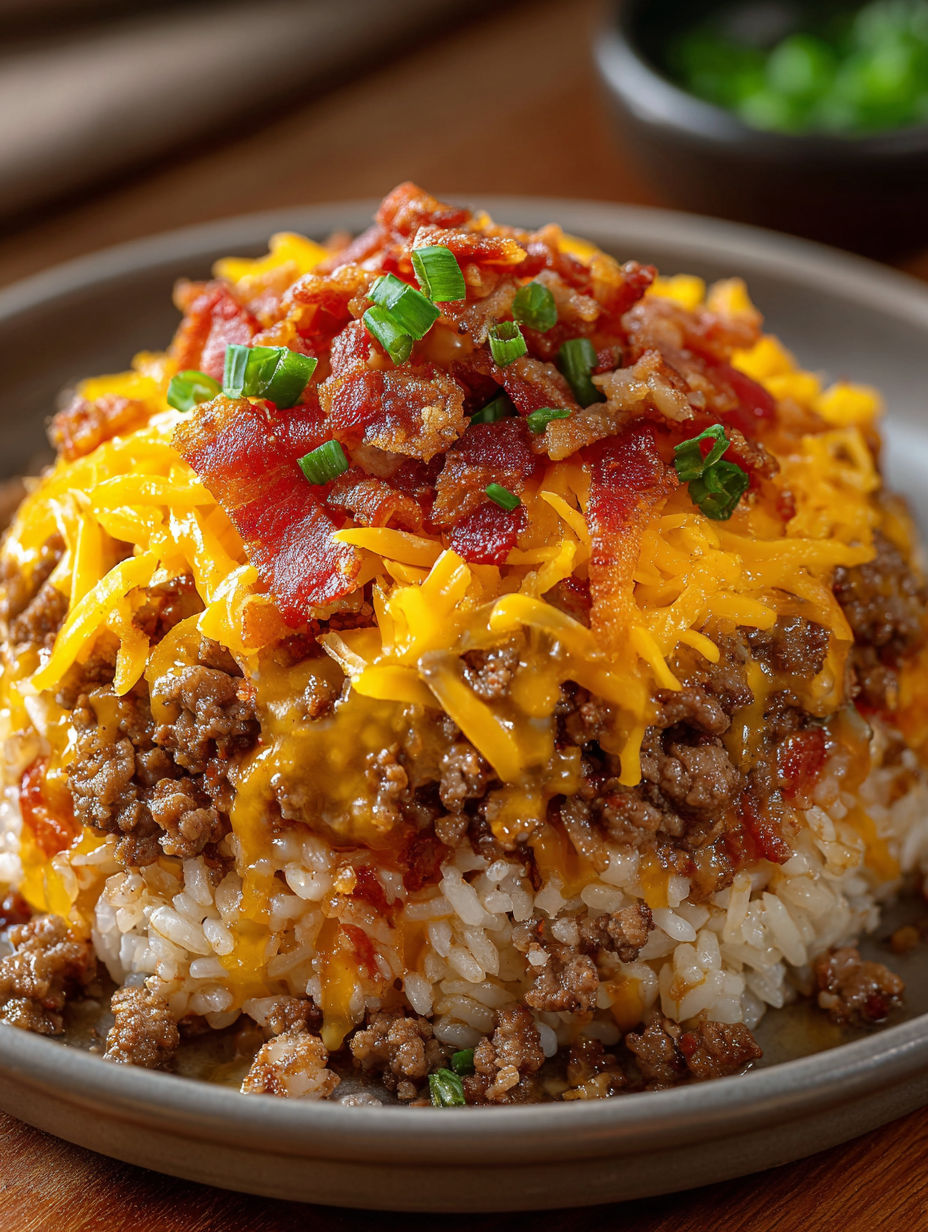
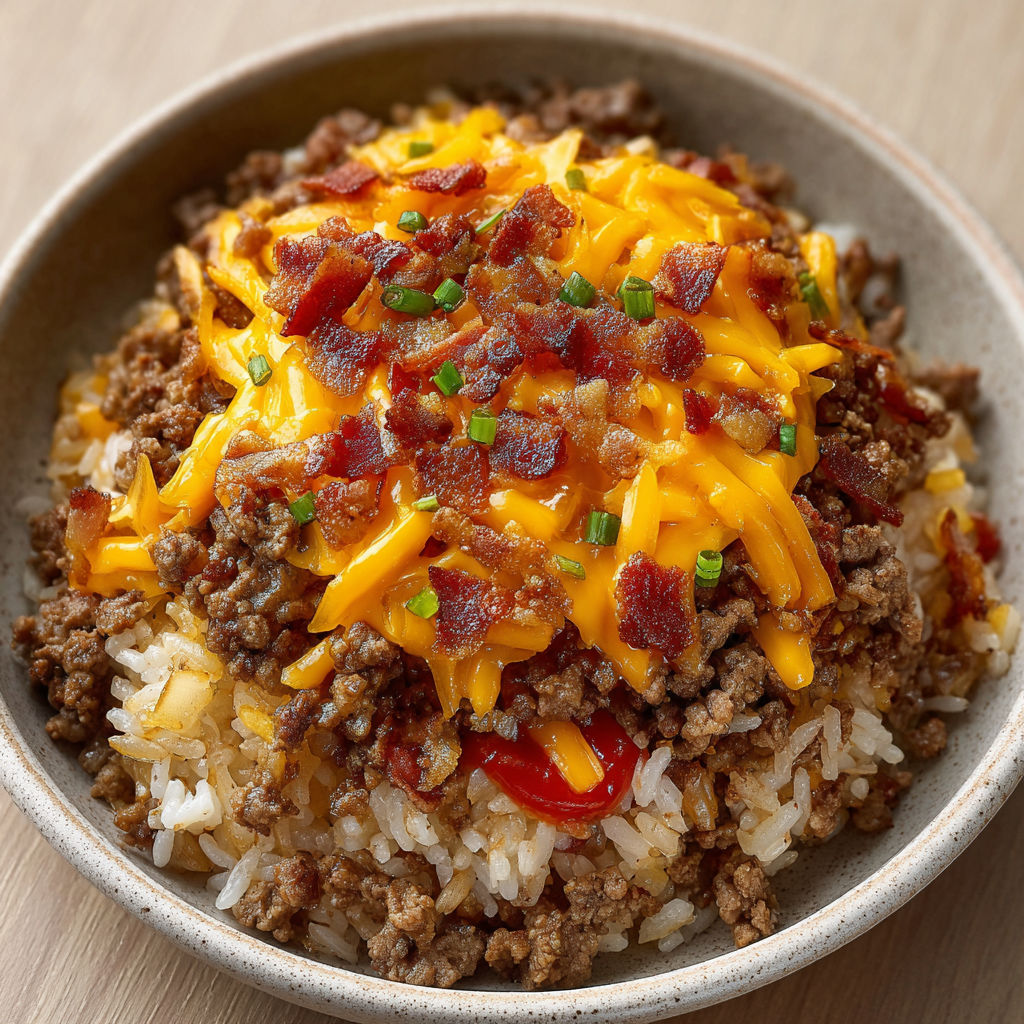
This hearty Bacon Cheeseburger Rice Stack transforms classic burger flavors into a comforting one-pan meal that's perfect for busy weeknights. The layered presentation creates a wow factor while delivering all the savory satisfaction of your favorite fast food in a homemade dinner.
I created this recipe when my teenage son brought three hungry friends home after football practice without warning. It was an instant hit and has become our Friday night tradition when everyone craves burgers but I need something that feeds a crowd efficiently.
- Ground beef 80/20 blend provides the perfect fat content for flavor while not becoming greasy
- Yellow onion adds sweetness and depth to the meat mixture
- Fresh garlic delivers essential aromatic notes for authentic burger flavor
- Seasoned salt contains the perfect blend of spices in one convenient ingredient
- Tomato sauce forms the base of our sauce with a clean flavor profile
- Ketchup brings the classic burger sweetness and tanginess
- Yellow mustard adds the signature burger condiment flavor you expect
- Instant rice allows for quick cooking and perfect texture absorption
- Beef broth infuses the rice with savory flavor rather than bland water
- Cooked bacon brings smokiness and the essential crunch element
- Sharp cheddar cheese creates that gooey melty texture essential to a proper cheeseburger
How To Make Bacon Cheeseburger Rice Stack
- Brown the Meat Mixture:
- Heat your largest skillet over medium high heat until you can feel warmth hovering your hand above the surface. Add the ground beef and diced onion simultaneously allowing the beef fat to help cook the onions. Use a wooden spatula to break the meat into small crumbles working methodically across the pan. Cook for a full 6 to 8 minutes until you see no pink remaining in the beef and the onions have turned translucent and soft.
- Add Aromatics and Drain:
- Sprinkle the minced garlic evenly across the meat mixture and stir continuously for exactly 1 minute. The garlic should become fragrant but not brown which would create bitterness. Carefully tilt the pan and use your spatula to hold back the meat while pouring off excess fat into a heat safe container. Return the pan to the heat and sprinkle with seasoned salt stirring to distribute evenly.
- Create the Sauce Base:
- Pour the tomato sauce evenly across the meat mixture followed by the ketchup and mustard. Stir thoroughly to incorporate making sure no dry spots of meat remain. The sauce should take on a rich reddish brown color reminiscent of classic burger sauce. Allow this mixture to simmer for 2 minutes to meld the flavors.
- Add Rice and Broth:
- Sprinkle the instant rice across the surface of the meat and sauce then pour the beef broth evenly over everything. Stir gently but thoroughly to ensure all rice grains are submerged in liquid. Bring to a gentle bubbling simmer not a full boil and cook for 2 to 3 minutes stirring occasionally to prevent sticking. The mixture is ready when the liquid is absorbed and the rice is tender with a slight bite.
- Create the Cheese and Bacon Layer:
- Remove the pan from heat completely. While the mixture is still very hot sprinkle half the shredded cheese and half the chopped bacon throughout the mixture stirring to incorporate. The residual heat will melt the cheese creating pockets of gooey goodness throughout. Reserve the remaining cheese and bacon for the final presentation.
- Assemble the Stack:
- Prepare your serving plates and lightly grease the inside of your ring mold with cooking spray or butter. Press 2 to 3 tablespoons of the mixture firmly into the bottom of the mold creating a stable base. Add a small pinch of reserved bacon and cheese to the center then cover with more of the rice mixture. Press down firmly to compact and create stability continuing to layer until the mold is full. Top with remaining bacon and cheese for visual appeal.
- Unmold and Serve:
- Let the stack rest in the mold for 2 to 3 minutes to set. Place one hand gently on top of the stack and carefully lift the mold straight up maintaining even pressure to preserve the tower shape. If the stack seems unstable let it rest another minute before attempting to remove the mold again. Serve immediately while hot and cheese is still melty.
The first time I served these stacks to my family my youngest son declared it was like "eating a burger but with a fork which is way less messy!" That perfectly sums up why this dish works so beautifully. You get all the flavor components of a bacon cheeseburger but in a form that's easier to eat and serves a crowd without standing at the grill flipping patties.
Make Ahead Options
This dish works surprisingly well as a make ahead meal. Prepare the entire mixture through the cheese and bacon incorporation step then cool completely before refrigerating. When ready to serve reheat the mixture in a skillet with a splash of beef broth to restore moisture then proceed with the stacking steps. The texture remains excellent and flavors actually develop further after a day in the refrigerator making this perfect for busy weeknight planning.

Family Style Serving Alternative
If the stacking presentation feels too fussy for your everyday dinner simply prepare the recipe through all the cooking steps then transfer the entire mixture to a serving dish. Top with the reserved cheese and bacon then place under the broiler for 2 minutes until bubbly and golden. This creates a delicious casserole style presentation that serves beautifully with a large spoon and eliminates any pressure of perfect stacking. I often use this approach for family meals while saving the stacked presentation for dinner parties.
Flavor Variations
The basic recipe creates a classic American cheeseburger flavor but you can easily adapt to create different taste profiles. For a Southwest version add a tablespoon of taco seasoning to the meat and substitute pepper jack cheese for the cheddar. Create a mushroom Swiss version by sautéing sliced mushrooms with the onions and using Swiss cheese instead of cheddar. For a BBQ bacon version replace the tomato sauce mixture with your favorite BBQ sauce and add a few drops of liquid smoke for enhanced flavor.

Recipe FAQs
- → What can I substitute for instant rice?
You can substitute pre-cooked regular rice, though you may need to reduce the beef broth by about 1/4 cup since instant rice absorbs more liquid. For best results, use long-grain white rice that's been cooked until just tender. Brown rice will work but may alter the texture and require longer cooking time.
- → Can I prepare the rice mixture in advance?
Yes, you can prepare the rice mixture up to 24 hours ahead and refrigerate. When ready to serve, reheat in a skillet with a splash of beef broth until warmed through, then proceed with the stacking and cheese melting steps. The mixture might thicken when chilled, so additional liquid may be needed during reheating.
- → What if I don't have a ring mold?
If you don't have a ring mold, you can use a clean, empty can with both ends removed, or form a ring using heavy-duty aluminum foil. Alternatively, simply layer the mixture in a small bowl, then invert onto a plate for a dome shape rather than a tower.
- → What sides pair well with this dish?
This hearty main dish pairs wonderfully with lighter sides like a simple green salad, steamed vegetables, or pickle spears for acidity. For a classic burger experience, serve with a side of oven-baked french fries or sweet potato fries. A small bowl of coleslaw also complements the flavors nicely.
- → Can I make this dish spicy?
Absolutely! To add heat, incorporate diced jalapeños or green chilies when cooking the beef, or mix in cayenne pepper, hot sauce, or red pepper flakes with the seasonings. You could also use pepper jack cheese instead of or alongside the cheddar for additional spice.
- → How do I ensure my stack doesn't fall apart?
For a stable stack, make sure to drain excess fat from the beef, press each layer firmly in the mold, and allow the stack to rest for 2-3 minutes after removing the mold. The cheese acts as a binding agent when melted. If needed, refrigerate the stacked mixture for 15-20 minutes before carefully removing the mold.
