
 Pin
Pin
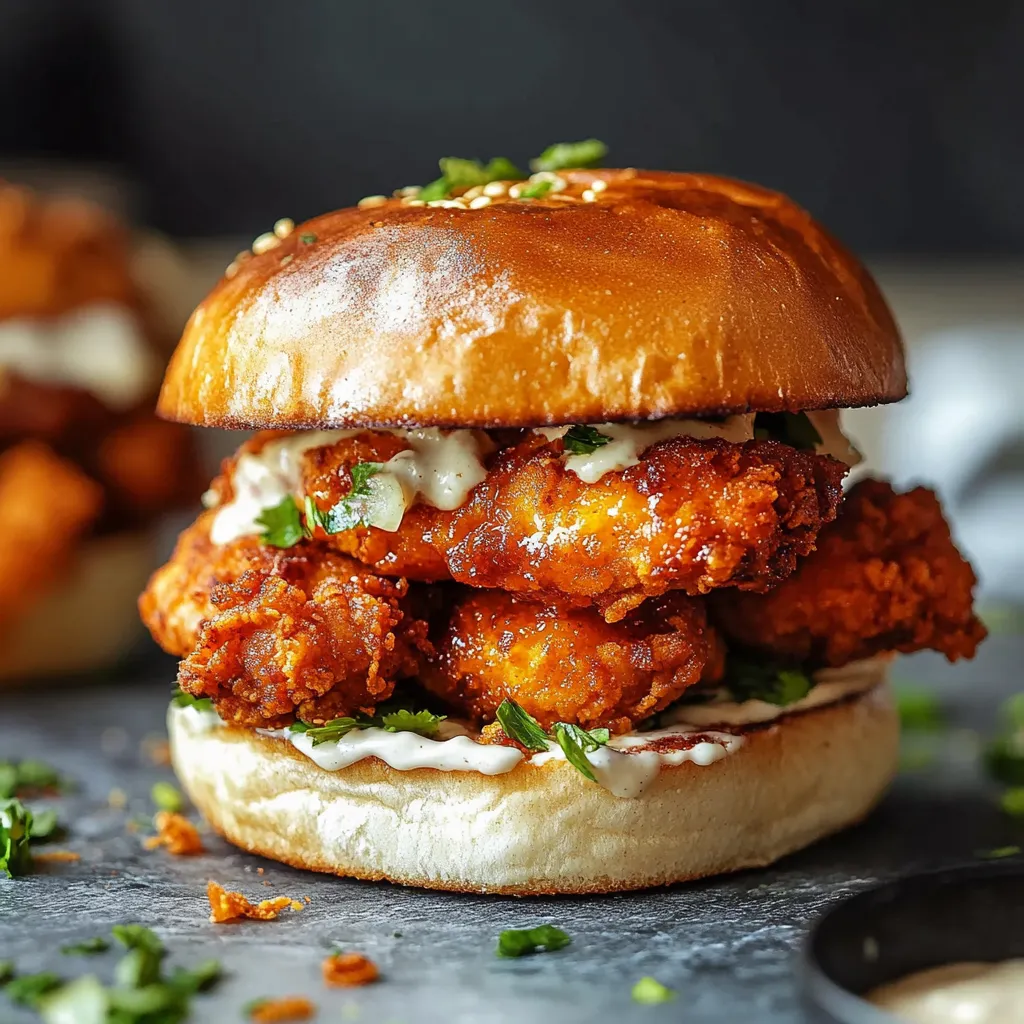
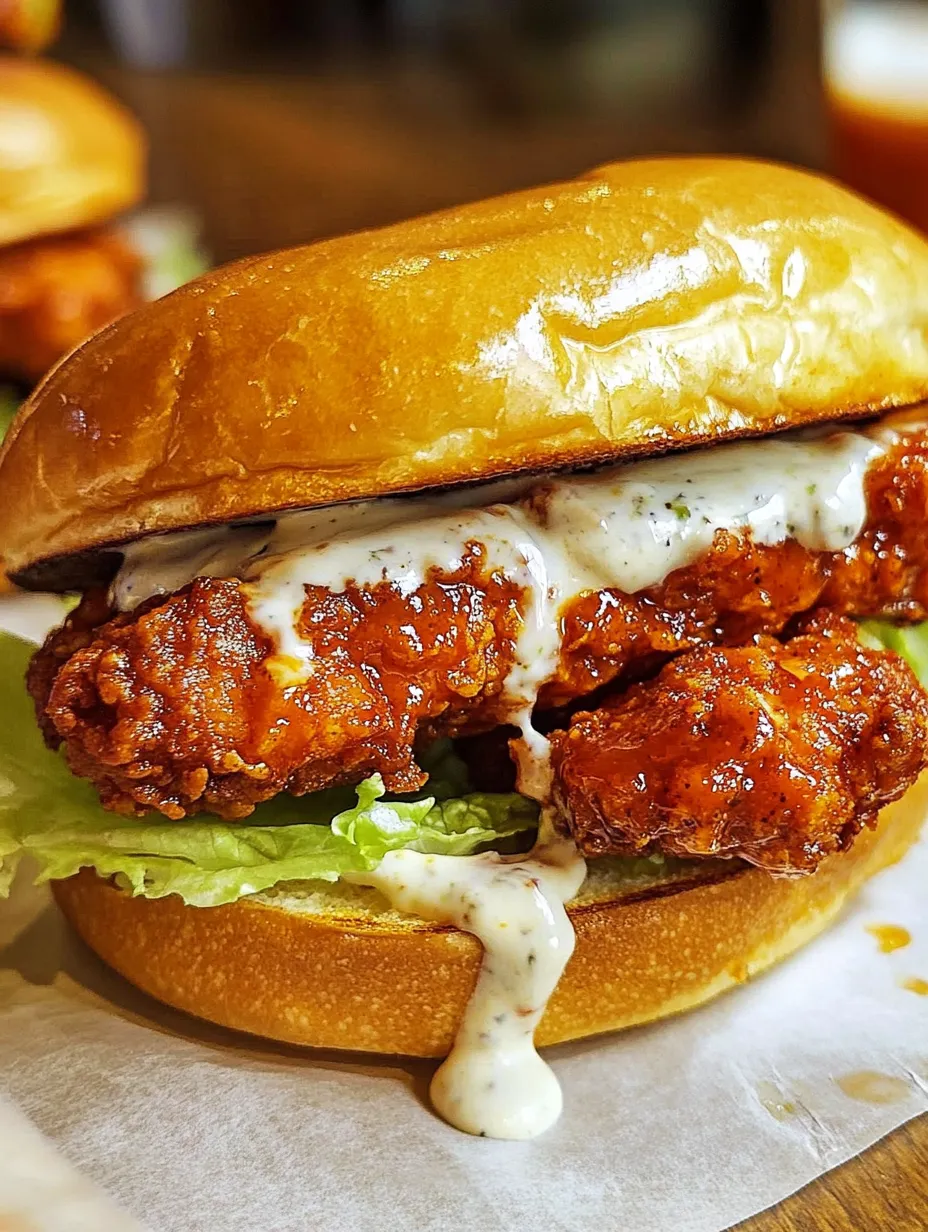
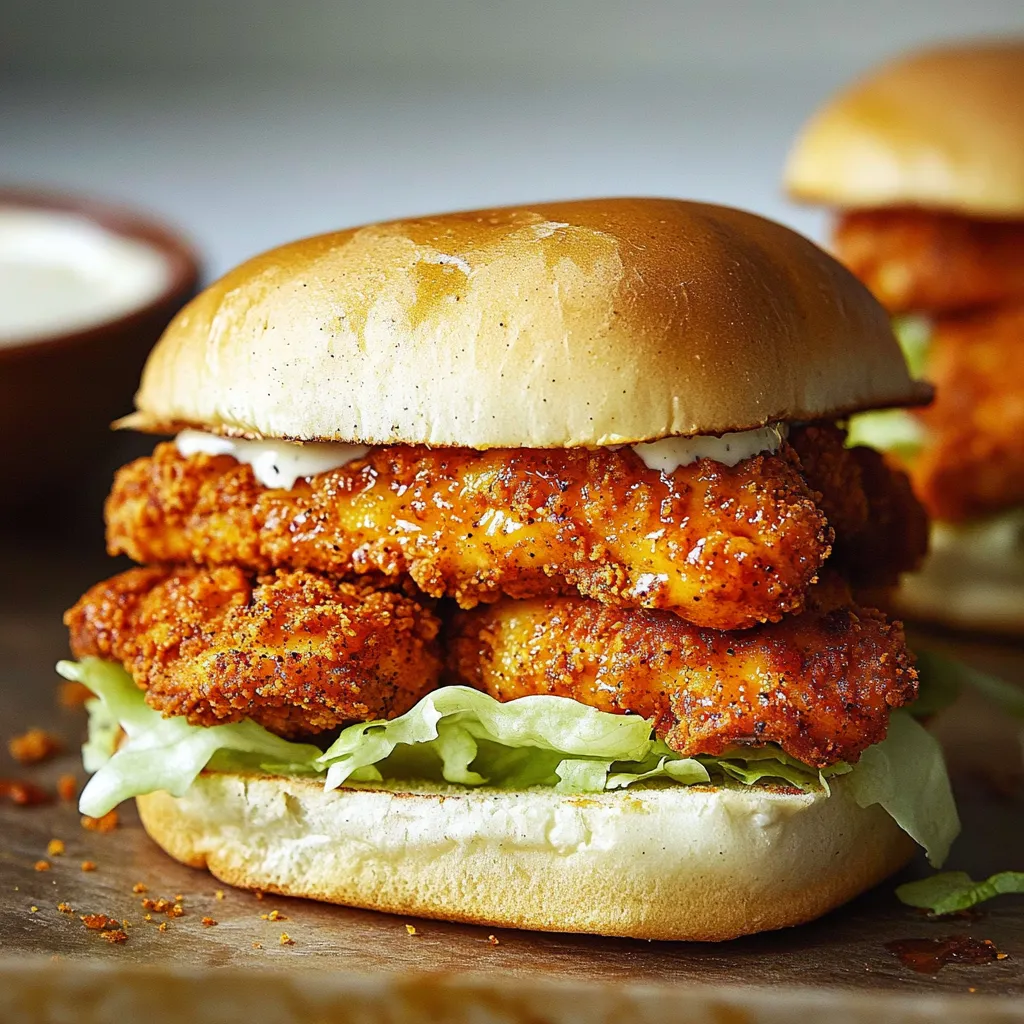
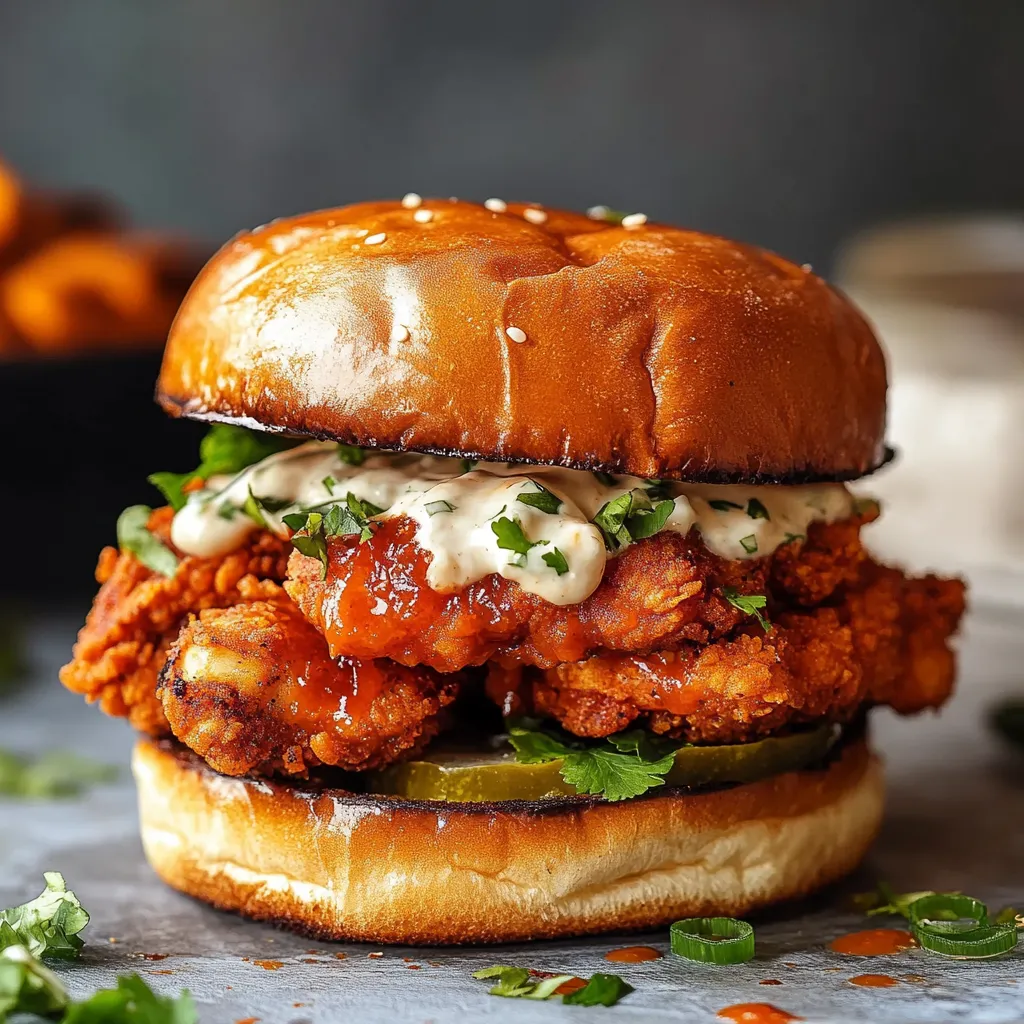
Achieve the signature Nashville heat and crunch without deep frying. This healthier baked version delivers all the bold flavors and crispy texture of the classic, featuring perfectly seasoned chicken breasts in a crunchy panko coating, finished with spicy honey butter.
Through extensive testing, I've discovered that the key to crispy baked chicken lies in proper breading technique and oven temperature control.
Essential Ingredients
- Chicken Breasts: 8 oz each, uniform thickness
- Panko Breadcrumbs: For ultimate crunch
- Quality Honey: Balances the heat
- Cayenne Pepper: Provides signature spice
- Buttermilk Ranch: Cools the heat
- Fresh Buns: Sturdy enough to hold filling
Detailed Instructions
- 1. Chicken Preparation:
- Pound chicken breasts between plastic wrap to even ½-inch thickness using meat mallet. This ensures uniform cooking. Pat dry thoroughly with paper towels. Season both sides with salt and pepper. Let rest at room temperature 15 minutes for even cooking.
- 2. Breading Station Setup:
- Arrange three shallow dishes: first with seasoned flour (mixed with garlic powder, paprika), second with beaten eggs and dash of hot sauce, third with seasoned panko breadcrumbs. Place dishes in line, with wire rack at end.
- 3. Coating Process:
- Working one piece at a time, dredge chicken in flour mixture, shaking off excess. Dip in egg mixture, letting excess drip off. Press firmly into panko mixture, ensuring even coating. Place on wire rack. Refrigerate uncovered 30 minutes to set coating.
- 4. Baking Method:
- Preheat oven to 425°F with rack in middle position. Place breaded chicken on parchment-lined baking sheet. Spray generously with olive oil cooking spray. Bake 15-20 minutes until golden brown and internal temperature reaches 165°F at thickest part.
- 5. Honey Butter Development:
- While chicken bakes, combine melted butter, honey, cayenne, paprika, and garlic powder. Keep warm in small saucepan over lowest heat setting.
Assembly and Serving Strategy
- 1. Final Assembly:
- Brush hot chicken generously with spicy honey butter immediately after removing from oven. This allows the butter to penetrate the crispy coating. Toast buns under broiler 1-2 minutes until golden. Layer bottom bun with shredded lettuce, add chicken, top with pickles and additional honey butter if desired.
- 2. Temperature Control:
- Serve sandwiches immediately while chicken is hot and coating is crispiest. If making multiple batches, keep first batch warm in 200°F oven, but no longer than 15-20 minutes to maintain texture. Don't stack chicken pieces - use single layer on wire rack.
Perfect Pairings
- Creamy coleslaw
- Crispy french fries
- Mac and cheese
- Pickle spears
- Sweet potato wedges
- Cold beer or lemonade
Make-Ahead Strategy
Prep components separately for easier assembly:
- Bread chicken up to 8 hours ahead, store uncovered in refrigerator
- Mix honey butter and reheat gently when needed
- Prepare toppings and store separately
- Toast buns just before serving
These sandwiches prove that healthier preparation methods can deliver authentic flavors. Whether serving for casual dinner or weekend gatherings, they're sure to become a requested favorite.
Final Thoughts
Each batch teaches something new about balancing heat, sweet, and crunch. Take time with each step, paying special attention to coating and temperature control. The result is a healthier version of Nashville's famous sandwich that doesn't compromise on flavor or satisfaction.
Recipe FAQs
- → Can I adjust the spice level?
- Yes, reduce or increase the amount of cayenne pepper in the honey butter sauce to control heat.
- → Why refrigerate the breaded chicken?
- The 30-minute chill helps the coating adhere better during baking for maximum crispiness.
- → Can I make this ahead?
- Best served fresh, but you can bread the chicken ahead and keep refrigerated for up to 4 hours before baking.
- → What sides go well with this?
- Coleslaw, pickles, potato wedges, or macaroni salad make great accompaniments.
- → Can I use chicken thighs?
- Yes, boneless skinless thighs work well, just adjust cooking time as needed.