
 Pin
Pin
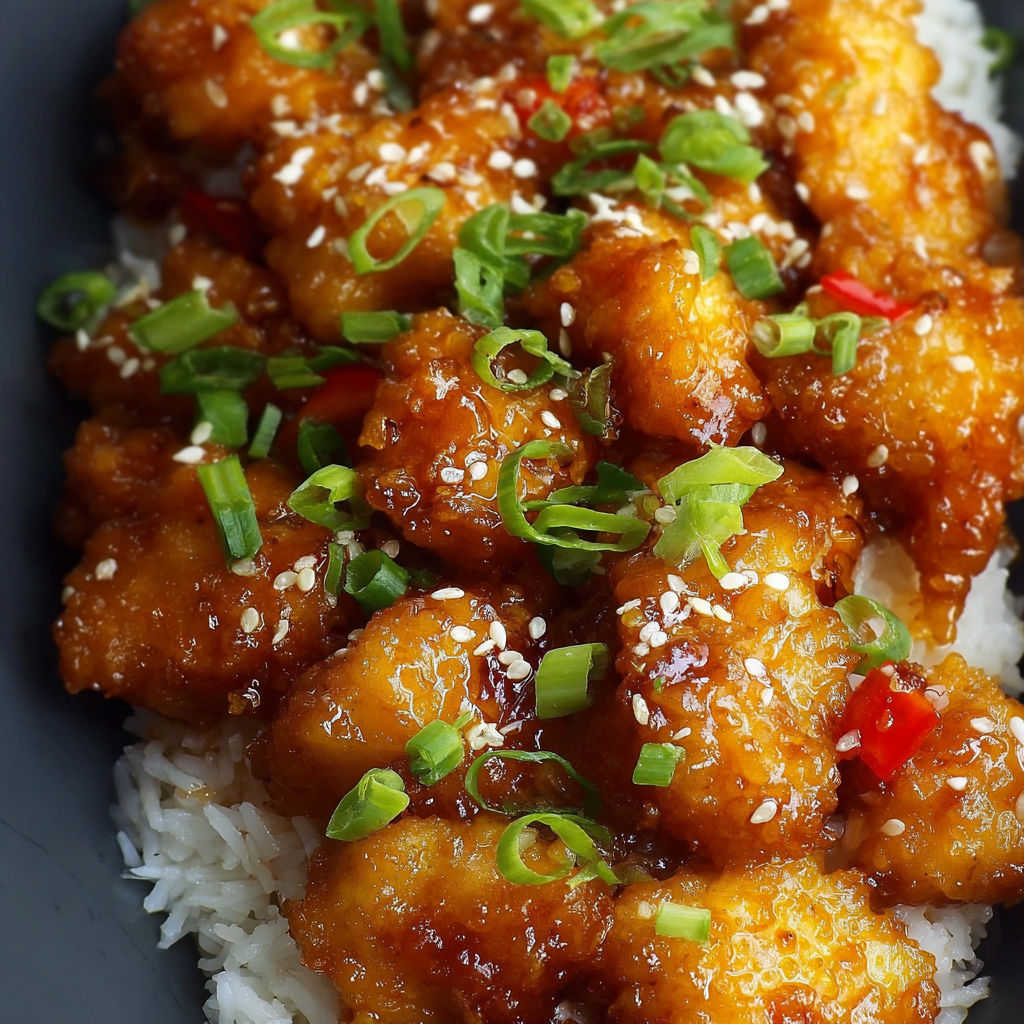
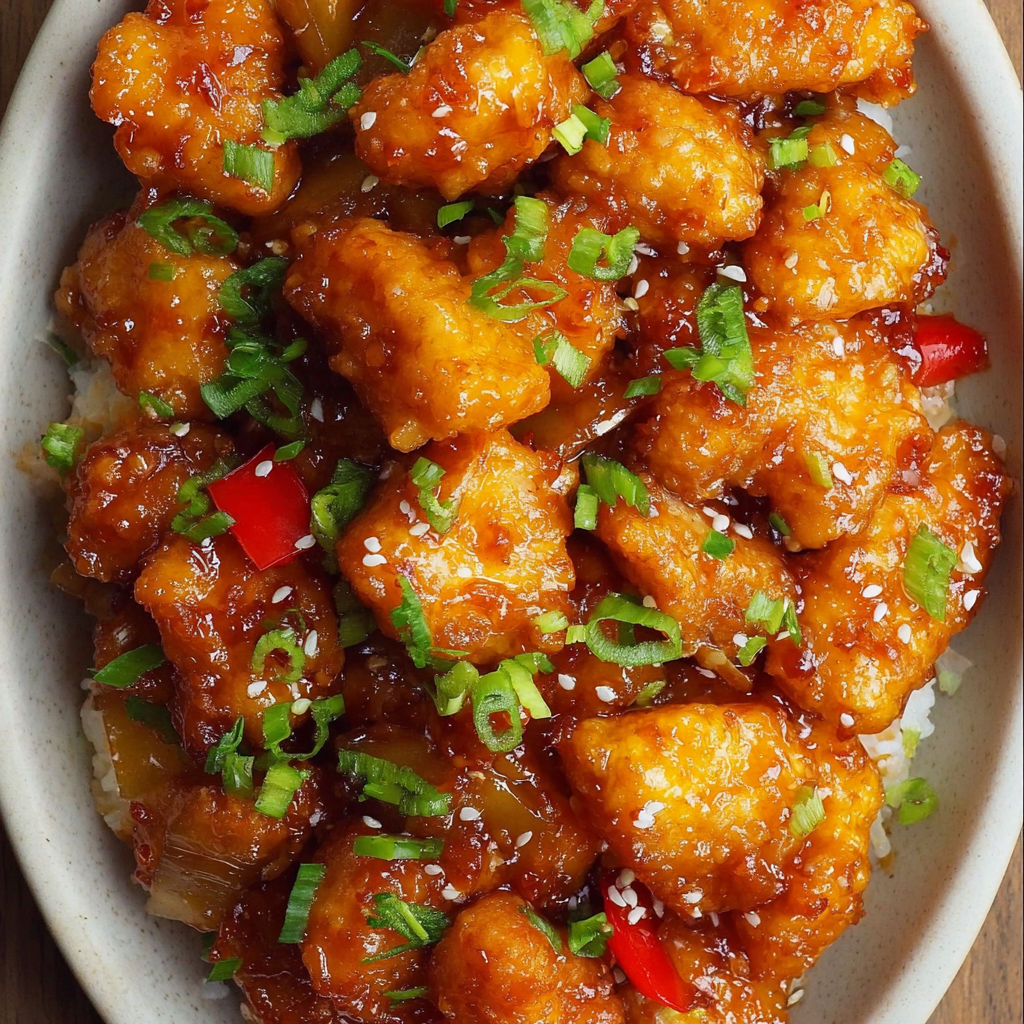
This Baked Sweet & Sour Chicken transforms ordinary weeknight dinners into something spectacular without the hassle of takeout. The golden crispy chicken pieces baked in a homemade tangy sauce create a meal that's both comforting and impressive.
I first made this recipe when my family was craving Chinese takeout during a snowstorm. The roads were too dangerous to drive, so I improvised with what I had in my kitchen. Now my family requests this dish at least twice a month, preferring it to any restaurant version.
- Boneless skinless chicken breasts choose plump ones for juiciest results
- Cornstarch creates that signature crispy exterior
- Eggs the essential binding agent for perfect coating
- Granulated sugar provides the sweetness base
- Apple cider vinegar delivers that distinctive tang
- Ketchup adds color and tomato richness
- Soy sauce brings umami depth
- Garlic powder infuses aromatic flavor throughout
- Salt and pepper enhances all other flavors
- Vegetable oil for the initial frying stage
How To Make Baked Sweet & Sour Chicken
- Prepare the sauce
- Whisk together sugar, apple cider vinegar, ketchup, soy sauce, and garlic powder until fully combined. The sauce will look slightly thin but thickens beautifully during baking. Set aside to let flavors marry while preparing chicken.
- Cut and coat chicken
- Cut chicken breasts into uniform 1inch chunks to ensure even cooking. Place in a large bag with cornstarch, salt and pepper, then shake until each piece is thoroughly coated. This dry coating creates the foundation for the crispy exterior.
- Egg bath and first fry
- Dip cornstarch coated chicken pieces into beaten eggs, allowing excess to drip off. Fry in hot oil for about 3 minutes per side until golden brown. Work in batches to avoid overcrowding the pan which would lower the oil temperature and result in soggy chicken.
- Bake to perfection
- Transfer the fried chicken pieces to a prepared baking dish, pour the sweet and sour sauce over everything, and gently toss to coat each piece. Bake for a full hour at 325°F, stirring every 15 minutes. This long, slow bake allows the sauce to caramelize and the flavors to fully develop.
The apple cider vinegar is my secret weapon in this recipe. I once substituted white vinegar in a pinch, and while still good, it lacked that special depth of flavor. My grandmother always said apple cider vinegar brings "brightness" to sweet dishes, and she was absolutely right.
Make Ahead Options
This dish actually improves with time as the flavors continue to develop. You can prepare it entirely a day ahead and reheat in a 300°F oven covered with foil for about 20 minutes. The chicken stays remarkably crispy even when reheated, making it perfect for busy weeknights or entertaining.
Serving Suggestions
Serve this Sweet & Sour Chicken over steamed white rice to soak up all that glorious sauce. For a complete meal, pair with steamed broccoli or a simple cucumber salad dressed with rice vinegar. If you want to go all out for a homemade Chinese feast, this pairs beautifully with vegetable spring rolls or egg drop soup as starters.
Storage Tips
Leftovers keep wonderfully in an airtight container in the refrigerator for up to 3 days. The sauce will thicken considerably when cold, but returns to perfect consistency when reheated. You can also freeze portions for up to 2 months. Thaw overnight in the refrigerator before reheating in a 325°F oven until heated through, about 20 minutes.

Recipe FAQs
- → Can I make this sweet and sour chicken ahead of time?
Yes, you can prepare the chicken pieces and sauce separately up to a day ahead. Fry the chicken pieces, let them cool, and refrigerate. Make the sauce and store separately. When ready to serve, combine them in a baking dish and bake as directed, possibly adding 5-10 minutes to the baking time if starting from cold.
- → What can I serve with this sweet and sour chicken?
White rice is the traditional pairing, but it also goes well with fried rice, steamed vegetables, or chow mein noodles. For a lower-carb option, try serving with cauliflower rice or in lettuce cups.
- → Can I make this without frying the chicken first?
The initial frying creates the crispy coating that makes this dish special. For a healthier version, you could try air-frying the coated chicken pieces for 8-10 minutes at 400°F before baking with the sauce, though the texture will be somewhat different.
- → How spicy is this sweet and sour chicken?
This version is not spicy at all, making it family-friendly. If you prefer some heat, add red pepper flakes or sriracha to the sauce according to your taste preference.
- → Can I use chicken thighs instead of breasts?
Yes, boneless skinless chicken thighs work well and often stay more moist during cooking. Cut them into similar-sized chunks and follow the same cooking process. The flavor will be slightly richer.
- → How do I store and reheat leftovers?
Store leftovers in an airtight container in the refrigerator for up to 3 days. Reheat in a 325°F oven for 15-20 minutes until heated through, or microwave individual portions for 1-2 minutes. The chicken won't be as crispy when reheated but will still taste delicious.