
 Pin
Pin
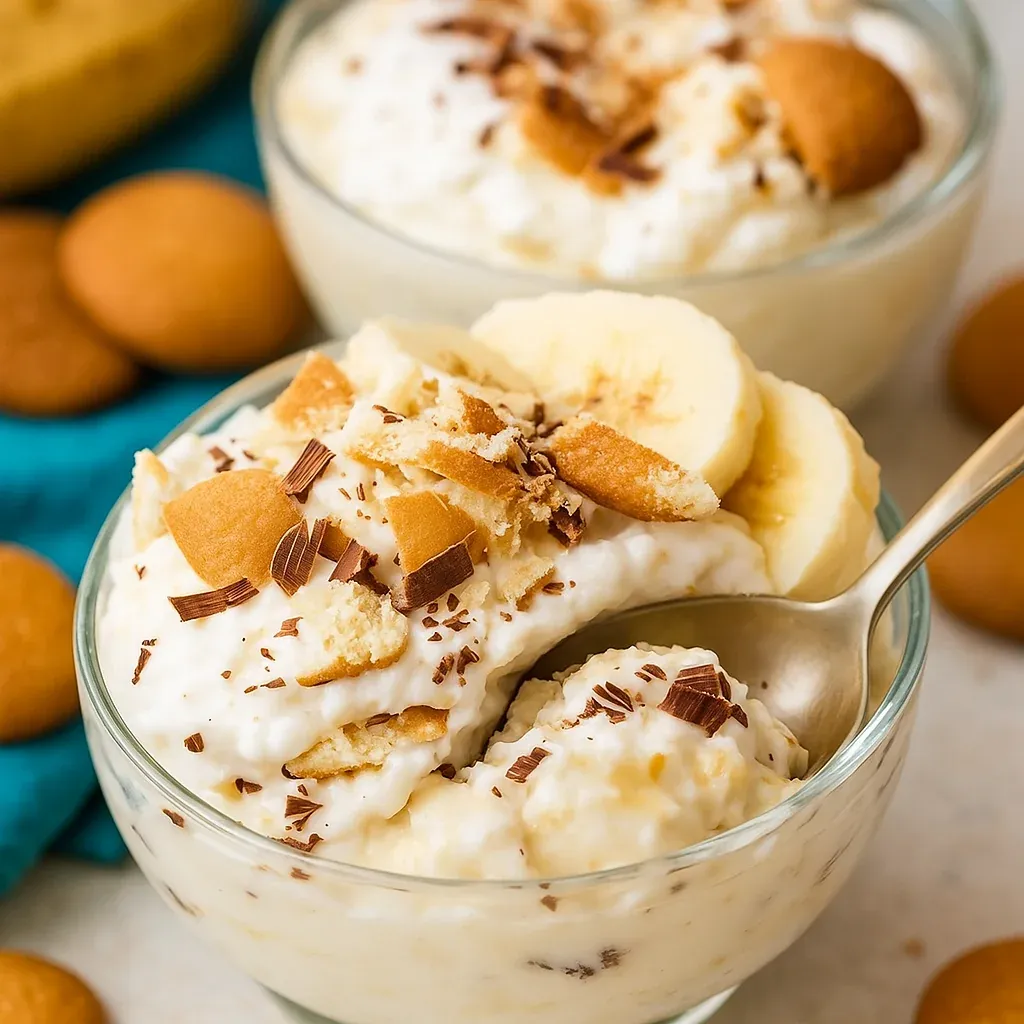
This homemade banana pudding transforms simple ingredients into a nostalgic dessert that puts every boxed mix to shame. Rich vanilla pudding layered with fresh bananas and vanilla wafers creates a dessert that's both elegant and comforting, with every component made completely from scratch.
I first made this banana pudding for a family gathering where it disappeared within minutes. Now it's requested at every holiday, and I've perfected each component to create a dessert that balances creamy pudding with the perfect cookie crunch.
Ingredients
- Cornstarch: creates the perfect thickness without being gummy or runny
- Whole milk: provides richness while keeping the pudding silky
- Heavy cream: appears twice for ultimate luxury in both pudding and topping
- Egg yolks: add richness and that signature golden color
- Ripe bananas: should be yellow with minimal brown spots for best flavor
- Lemon juice: prevents browning and adds subtle brightness to balance sweetness
- Vanilla wafers: homemade if possible for the authentic foundation
- Dark chocolate: optional but transforms the dessert with elegant complexity
Step-by-Step Instructions
- Make the Pudding Base:
- Combine your dry ingredients first by whisking sugar, cornstarch, and salt in a medium saucepan until well incorporated. This prevents lumps from forming later. In a separate container, thoroughly whisk milk, cream and egg yolks until the yolks are completely broken down and incorporated. Pour this wet mixture into your dry ingredients in a slow stream while constantly whisking to prevent any lumps from forming.
- Cook the Pudding Mixture:
- Place the saucepan over medium heat and whisk continuously for about 10-15 minutes until properly thickened. Patience is crucial here. The pudding should coat the back of a spoon and leave clear trails when you drag the whisk through it. Rushing this step by using high heat will result in scorched pudding or scrambled eggs throughout your mixture.
- Strain and Finish Pudding:
- Pour the thickened mixture through a fine mesh strainer into a bowl to catch any accidental lumps or bits of cooked egg. This ensures perfectly smooth pudding. Add butter pieces one at a time, whisking until completely melted and incorporated, followed by vanilla extract. Cover the surface directly with plastic wrap to prevent a skin from forming and refrigerate until completely cooled.
- Prepare the Whipped Cream:
- Beat cold heavy cream, powdered sugar and vanilla with an electric mixer until stiff peaks form. The cream should stand up when you lift the beaters. Gently fold half of this whipped cream into your cooled pudding to create a lighter, more luxurious texture while maintaining structure.
- Prepare the Bananas:
- Slice bananas into thin rounds, about ⅛ inch thick. Using a pastry brush, coat both sides of each slice with lemon juice. This prevents browning and adds a subtle brightness that enhances the banana flavor. Take care to coat thoroughly but not excessively.
- Assemble the Layers:
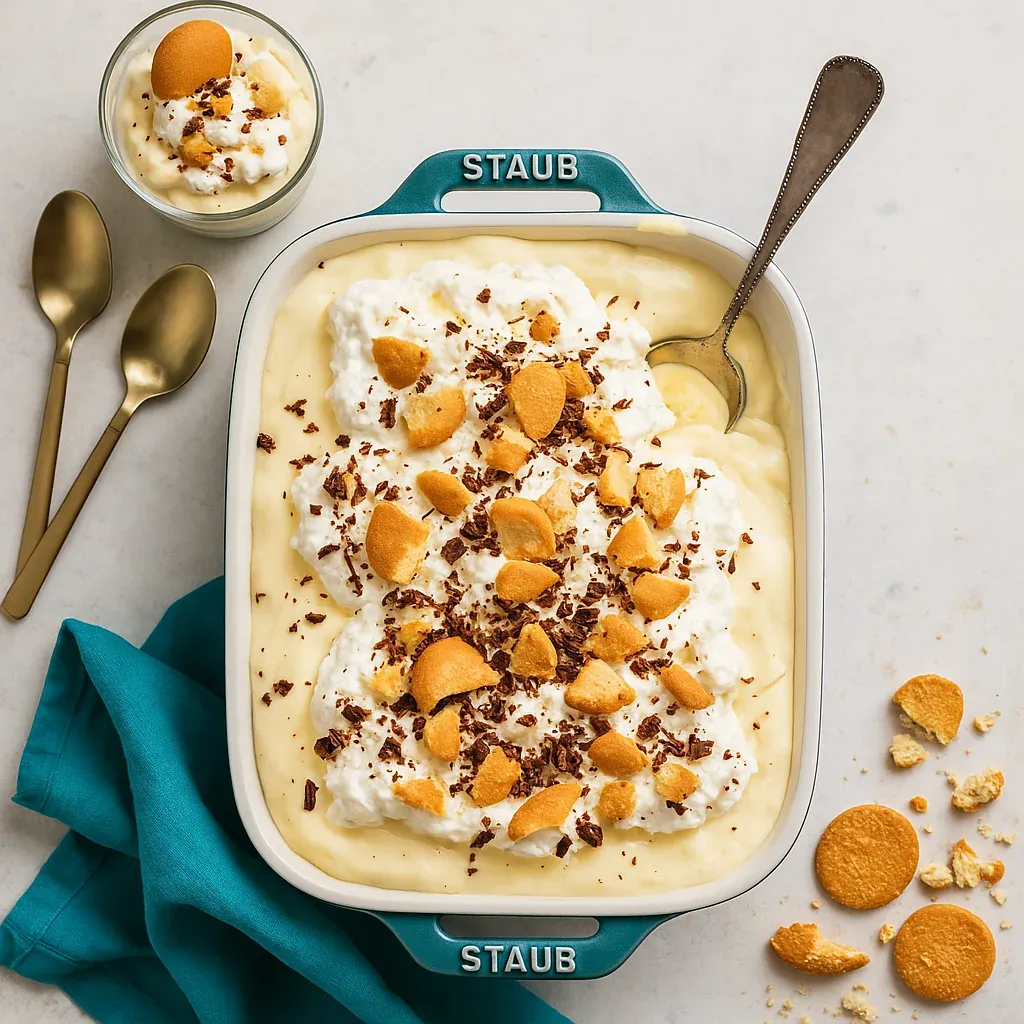
- Start with a thin layer of pudding on the bottom of your serving dish. Arrange vanilla wafers in a single layer, then top each cookie with banana slices. Cover with half the pudding mixture, spreading gently to create an even layer. Add another layer of cookies topped with banana slices, then cover with remaining pudding. Top with reserved whipped cream, creating decorative swirls if desired.
- Final Touches:
- Just before serving, crumble a few vanilla wafers over the top for texture contrast and use a potato peeler to create chocolate shavings over the surface for an elegant presentation and wonderful flavor complement.
My favorite part of this recipe is the interplay between the homemade vanilla wafers and the silky pudding. After years of making this dessert, I've discovered that allowing the cookies to soften slightly in the pudding creates that perfect texture contrast without becoming mushy.
Storage Recommendations
Banana pudding should be stored in the refrigerator, covered tightly with plastic wrap or in an airtight container. For best results, consume within 48 hours of assembly, as the bananas will eventually begin to break down and darken despite the lemon juice treatment. The pudding base alone can be made up to three days ahead and stored separately until assembly time.

Smart Substitutions
This recipe offers flexibility without sacrificing quality. If whole milk isn't available, 2% milk works admirably, though with slightly less richness. For a lighter version, substitute additional milk for the heavy cream in the pudding base, though the whipped cream topping requires actual cream to whip properly. In a pinch, store-bought vanilla wafers can replace homemade ones, but the scratch-made cookies truly elevate the final result with better texture and flavor.
Serving Suggestions
Banana pudding shines when served cold from the refrigerator. For an elegant presentation, assemble in a clear trifle dish to showcase the beautiful layers. Individual servings in mason jars or small trifle dishes make for impressive dinner party desserts. Serve with coffee or a small glass of dessert wine for a sophisticated finish to any meal. For a casual gathering, scoop generous portions into bowls and pass around extra vanilla wafers on the side.
The History Behind the Dish
This classic Southern dessert has roots dating back to the late 19th century, though it gained widespread popularity in the 1950s when instant pudding mixes became available. The original versions likely used custard rather than pudding and were considered somewhat labor-intensive before convenience products. This recipe returns to the dessert's homemade origins while incorporating modern techniques like the lemon juice treatment to keep bananas fresh. Making everything from scratch connects us to generations of home cooks who created memorable desserts without shortcuts.
Recipe FAQs
- → Can I substitute cornstarch in this pudding?
Yes, you can substitute cornstarch with arrowroot or potato starch in an equal amount. Flour is another option, but you’ll need a bit more (about ⅓ to ½ cup), though it may affect the texture slightly.
- → What type of milk is best for this pudding?
Whole milk is preferred for its richness, but 2% milk will work. If needed, half-and-half can replace both the milk and cream in the pudding base.
- → How can I prevent bananas from browning in the pudding?
Brush banana slices with lemon or lime juice to slow down browning. This also adds a subtle tartness that complements the pudding’s sweetness.
- → Can I use store-bought vanilla wafers?
Yes, store-bought wafers are a convenient option, but making homemade vanilla wafers adds an extra layer of flavor and texture.
- → Can I prepare this dessert ahead of time?
The pudding can be prepared up to 2 days in advance. Assemble the full pudding 4 to 24 hours prior to serving for the best flavors and textures.
- → Can the pudding be frozen?
No, freezing is not recommended as the texture of the pudding may break down and become watery upon thawing.
- → What’s the purpose of the chocolate shavings on top?
The dark chocolate shavings add a touch of bitterness and richness that enhances the overall flavor profile of the dessert.