 Pin
Pin
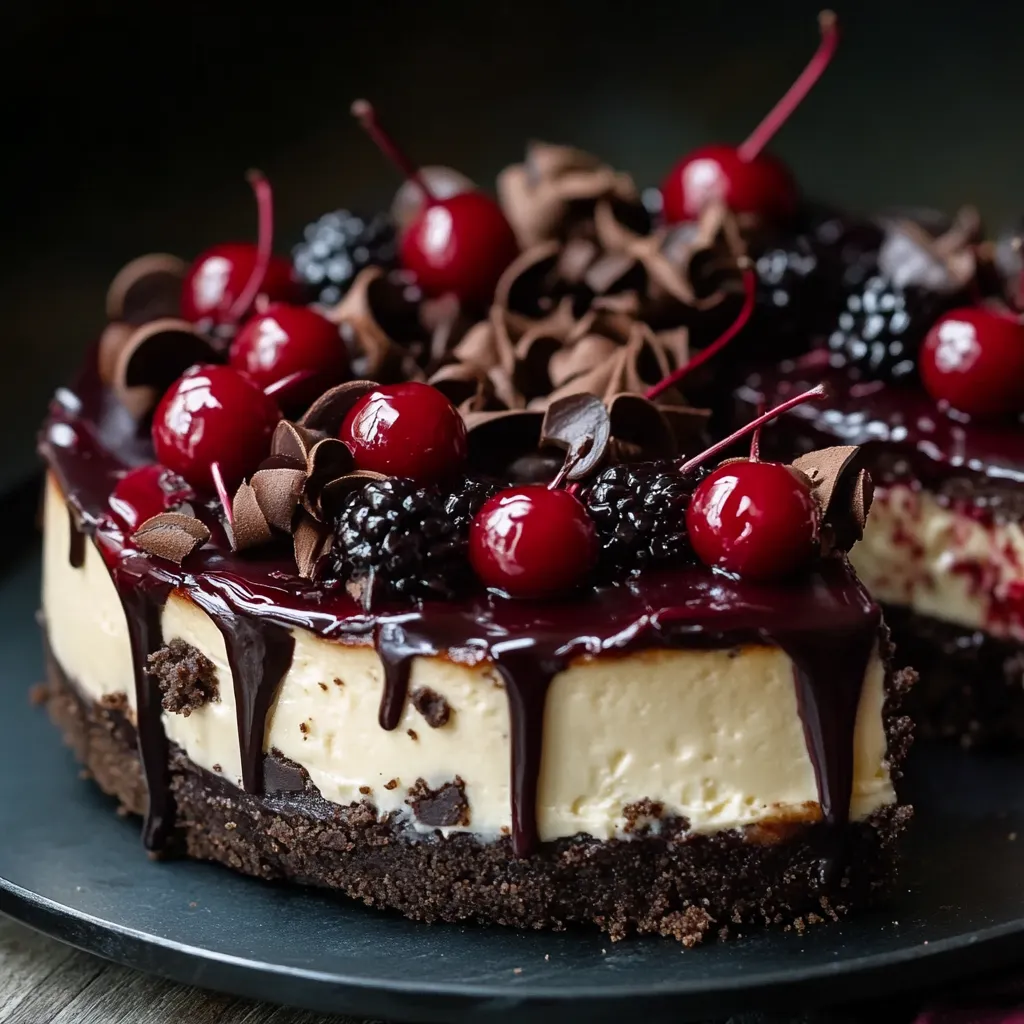
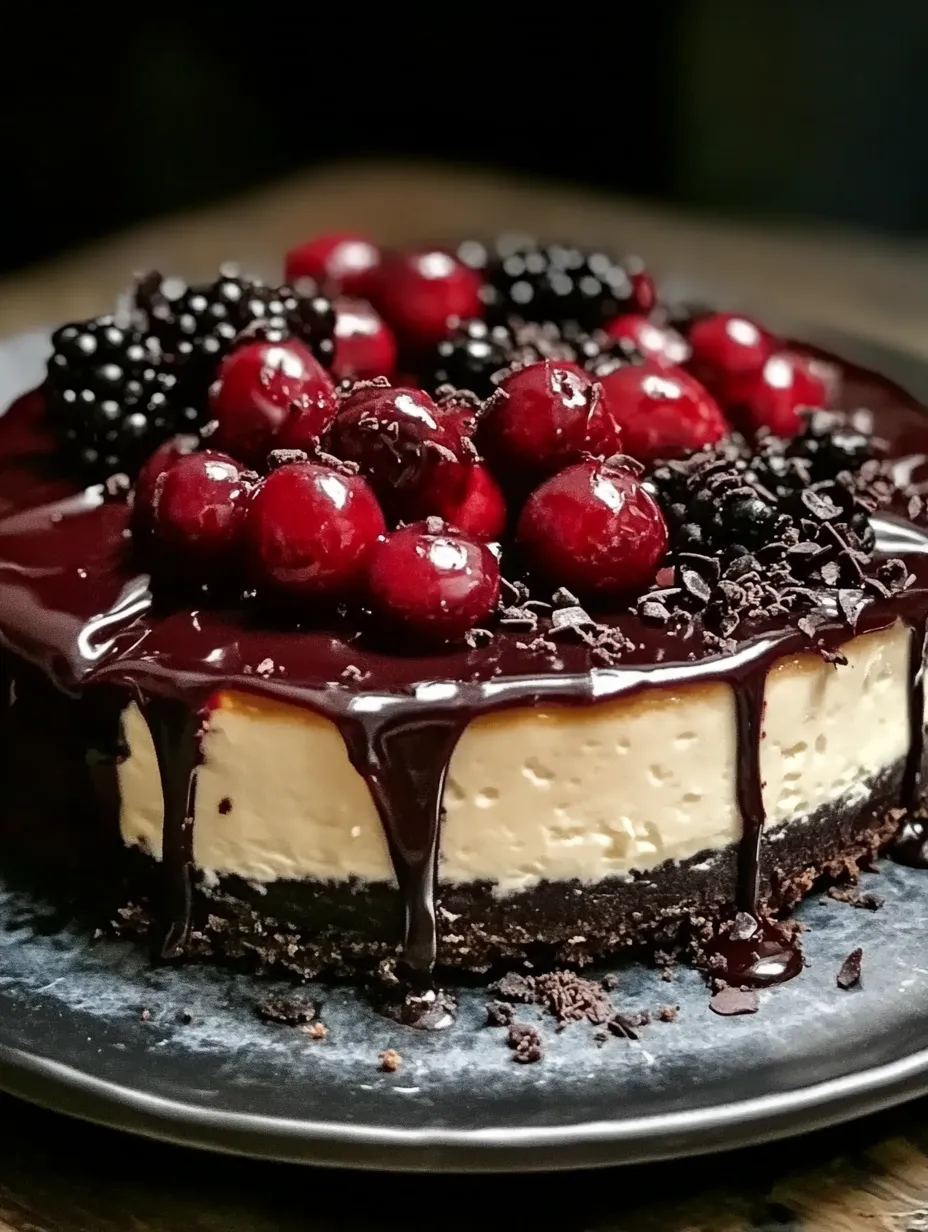
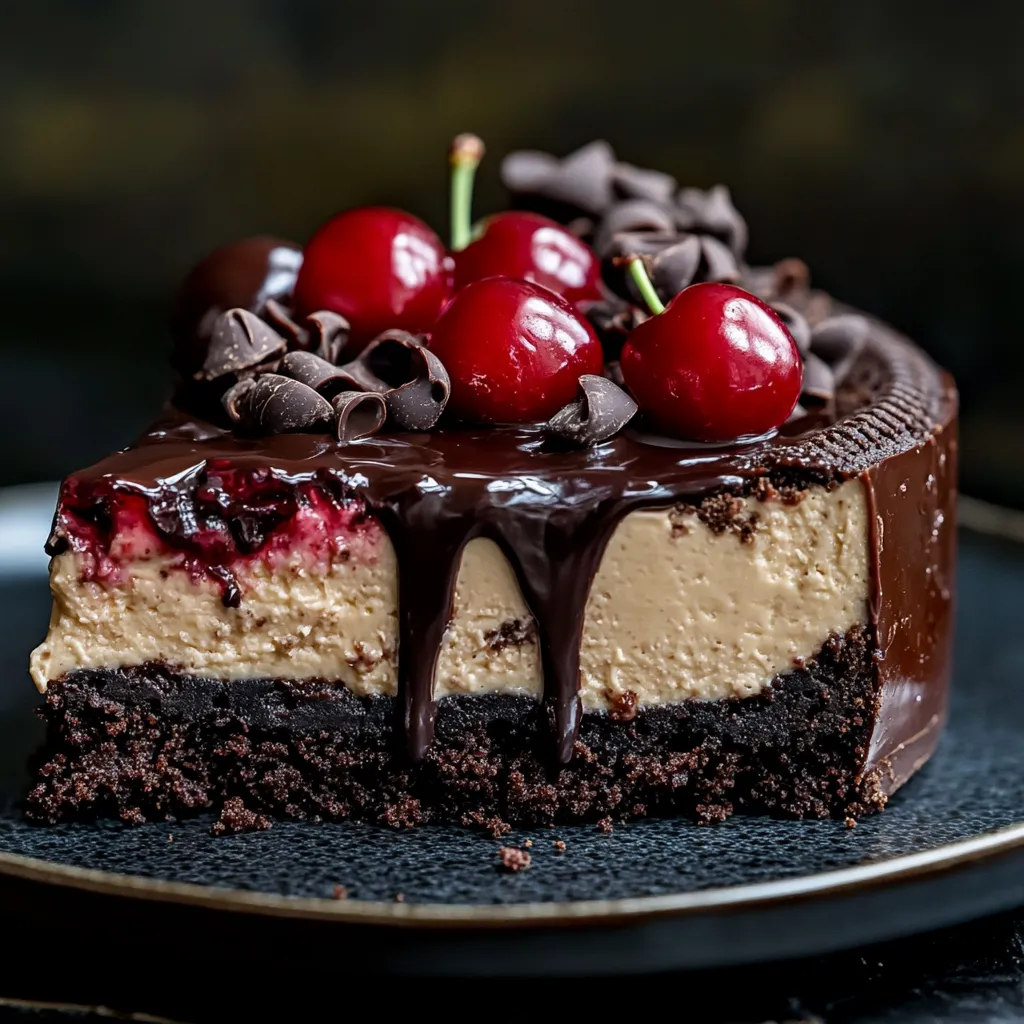
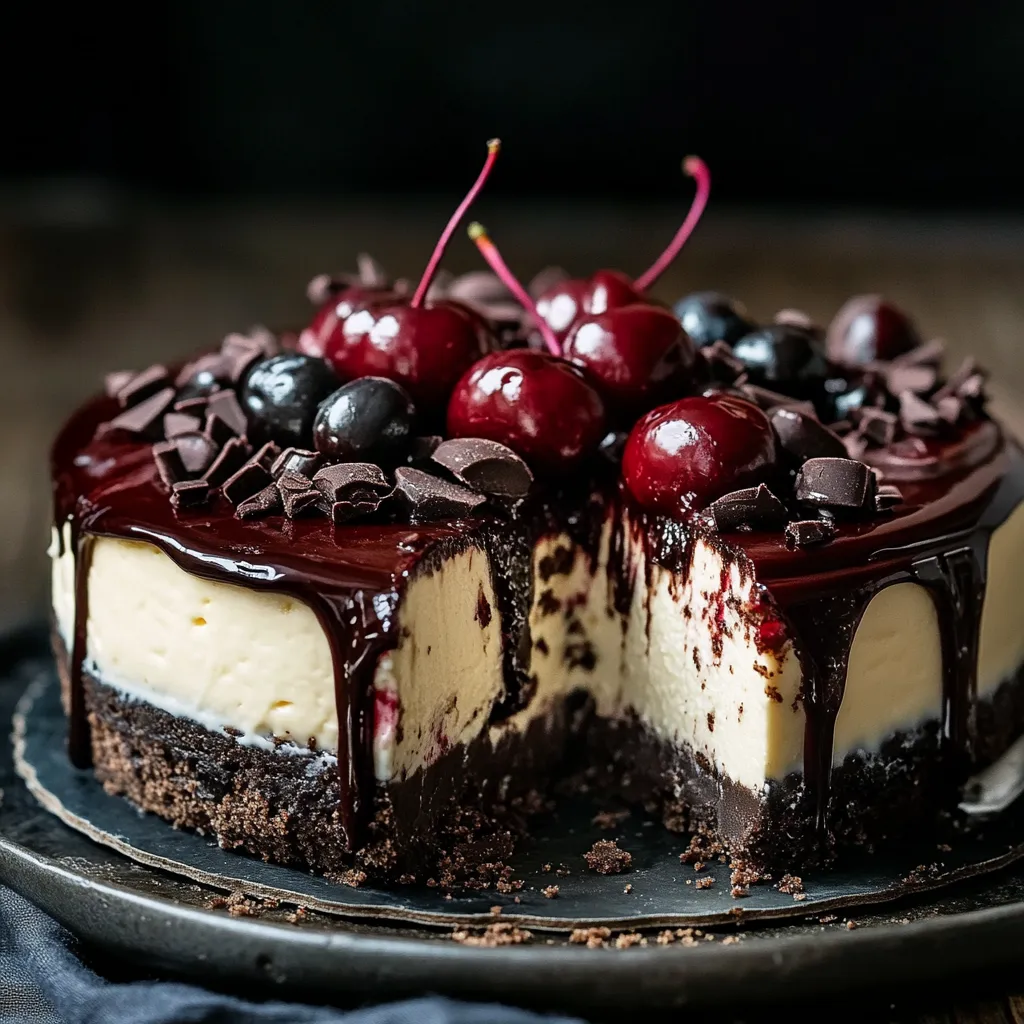
The moment you slice into this Black Forest Cheesecake, you know you've created something special. This isn't just any dessert - it's a masterpiece that marries the rich decadence of chocolate with the bright pop of cherries, all wrapped in the silky smoothness of perfect cheesecake. After years of perfecting this recipe in my kitchen, I can confidently say it's become my most requested dessert for special occasions.
Why You'll Love This Recipe
My journey with this recipe began during a rainy afternoon when I combined my mother's classic cheesecake recipe with my grandmother's beloved Black Forest cake. The result was even better than I imagined, and now it's become our family's celebration centerpiece.
Essential Ingredients
- Premium cream cheese: Always use full-fat for the richest texture
- European-style butter: The higher fat content creates a more stable crust
- Quality chocolate cookies: They form the foundation of your masterpiece
- Fresh or premium canned cherries: The star of your Black Forest creation
- Dutch-process cocoa powder: Creates deeper, more complex chocolate notes
- Fresh heavy cream: Ensures that silky-smooth texture we're aiming for

Detailed Instructions
- Prepare Your Ingredients (1 hour before):
- Set out cream cheese, eggs, and sour cream to reach room temperature. Measure all ingredients precisely - cheesecake success relies on accuracy. Prepare springform pan by greasing and lining with parchment.
- Create the Perfect Crust (20 minutes):
- Pulse chocolate cookies until they're fine crumbs. Mix with melted butter until the texture resembles wet sand. Press firmly into the pan, ensuring even coverage. Pre-bake until just set and aromatic.
- Master the Filling (30 minutes):
- Beat cream cheese until absolutely smooth - no lumps allowed. Add sugar gradually to prevent graininess. Incorporate eggs one at a time, mixing just until blended. Fold in melted chocolate with gentle strokes.
- Perfect the Baking Process (1 hour 10 minutes):
- Create a proper water bath for even heating. Wrap pan carefully to prevent water seepage. Monitor temperature carefully throughout baking. Look for slight wobble in center when done.
- Achieve Optimal Cooling (4-6 hours):
- Leave in oven with door cracked for first hour. Cool to room temperature on wire rack. Chill thoroughly before topping. Add cherry topping just before serving.

You Must Know
The first time I served this cheesecake at a family gathering, my aunt - a notorious dessert critic - asked for the recipe. That's when I knew I had created something truly special.
The Art of Cheesecake Texture
Through countless trials, I've discovered that achieving that perfect silky texture is all about timing and temperature. Each ingredient must be precisely at room temperature - I even warm my eggs in a bowl of tepid water for 10 minutes before starting. This attention to detail makes the difference between a good cheesecake and an extraordinary one.
Water Bath Wisdom
Creating the perfect water bath took me years to master. I've learned to wrap the springform pan in three layers of heavy-duty foil, extending well up the sides. The water should reach halfway up the pan - any higher risks seepage, any lower won't provide enough moisture during baking.
Cherry Selection Secrets
While premium cherry pie filling works well, I prefer making my own topping from fresh or frozen cherries. I simmer them with a touch of sugar, vanilla bean, and a splash of kirsch (cherry brandy) until they're glossy and perfect. The natural tartness perfectly balances the rich cheesecake below.
Chocolate Techniques
Different types of chocolate create different experiences. For the crust, I use dutch-process cocoa mixed with the cookie crumbs for deeper flavor. The filling gets both melted dark chocolate and a touch of cocoa powder, while the top is garnished with shaved semi-sweet chocolate curls.
Seasonal Adaptations
During summer, I often lighten the recipe by using more fresh cherries and less chocolate. In winter, I lean into the richness with additional chocolate and a drizzle of warm ganache. The basic recipe adapts beautifully to any season.
Storage Success
Proper storage ensures every slice tastes as good as the first. I've found that placing a paper towel over the cheesecake before wrapping it absorbs any condensation, keeping the surface perfect. For freezing, I slice the cheesecake first, freezing individual portions for easy thawing.
Troubleshooting Guide
Common issues like cracks or uneven baking usually stem from temperature fluctuations. If you notice the top browning too quickly, tent it with foil. A crack forming? Lower the oven temperature by 25 degrees and extend baking time slightly.
Make-Ahead Magic
This cheesecake actually improves with time. I often make it two days before serving, allowing the flavors to develop fully. Just wait to add the cherry topping until a few hours before serving to maintain the perfect texture.

Kitchen Tools Matter
Investing in the right equipment makes a significant difference. A high-quality springform pan, heavy-duty mixer, and proper spatulas are essential. I even keep a special rubber spatula just for cheesecake making - no other desserts allowed!
Chef's Helpful Tips
- Never open the oven door during the first hour of baking
- Use a fine-mesh strainer for perfectly smooth filling
- Keep a separate set of measuring tools for chocolate work
- Listen for the subtle "tap test" sound when checking doneness
Final Chef's Thoughts
After years of making this Black Forest Cheesecake, I've learned that patience is truly the secret ingredient. From allowing ingredients to reach the perfect temperature to waiting for that final chill, every moment of waiting results in a more delicious dessert. This recipe has become more than just a combination of ingredients - it's a celebration of tradition, technique, and the joy of creating something truly spectacular.
Recipe FAQs
- → Can I make this cheesecake without a water bath?
- While possible, using a water bath helps prevent cracks and ensures even baking. If skipping it, bake at a lower temperature (300°F) for slightly longer.
- → How do I know when the cheesecake is done?
- The edges should be set but the center should still have a slight jiggle. It will continue setting as it cools.
- → Can I use fresh cherries instead of canned?
- Yes, cook fresh cherries with sugar and cornstarch to make your own topping. You'll need about 4 cups of pitted cherries.
- → How long does this cheesecake last?
- It keeps well in the fridge for up to 5 days or can be frozen for up to 2 months.
- → Can I make this ahead of time?
- Yes, it's perfect for making ahead since it needs at least 4 hours to chill. You can make it 1-2 days in advance.
