
 Pin
Pin
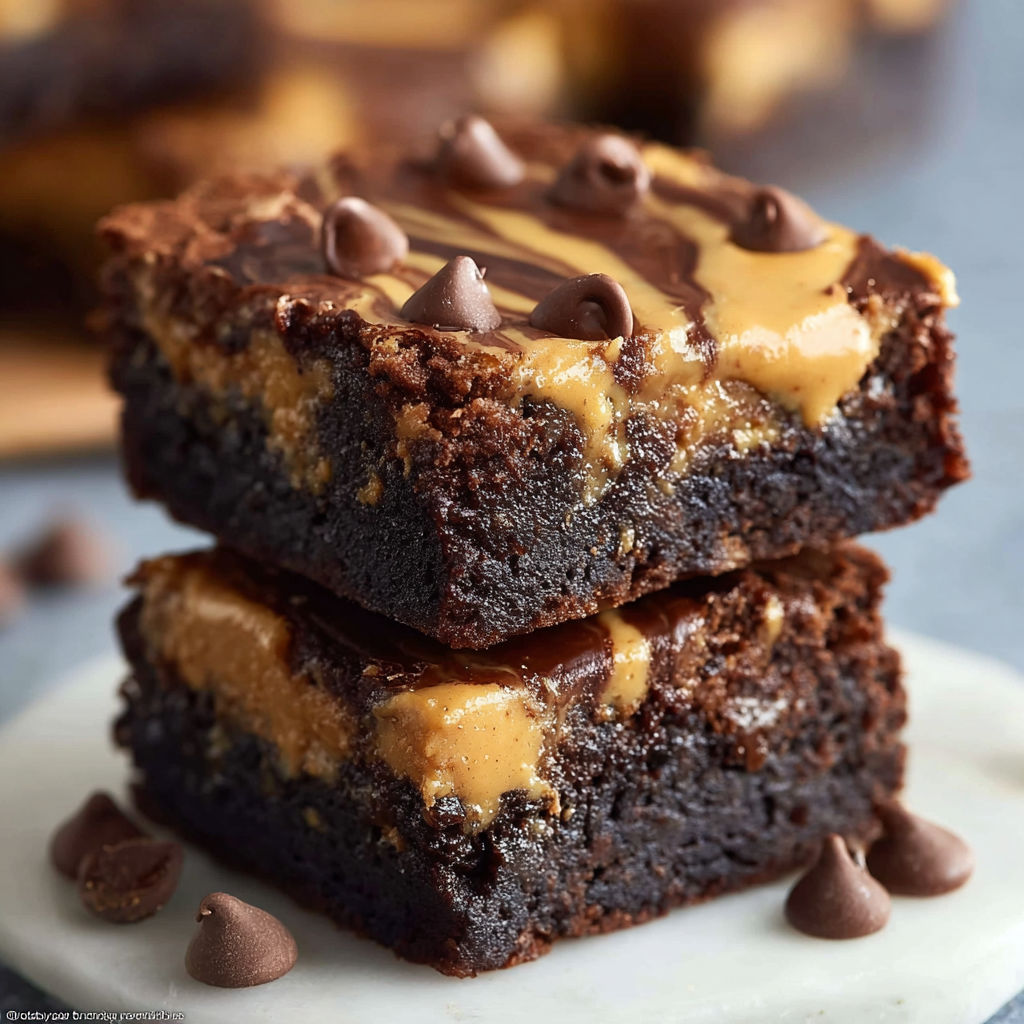
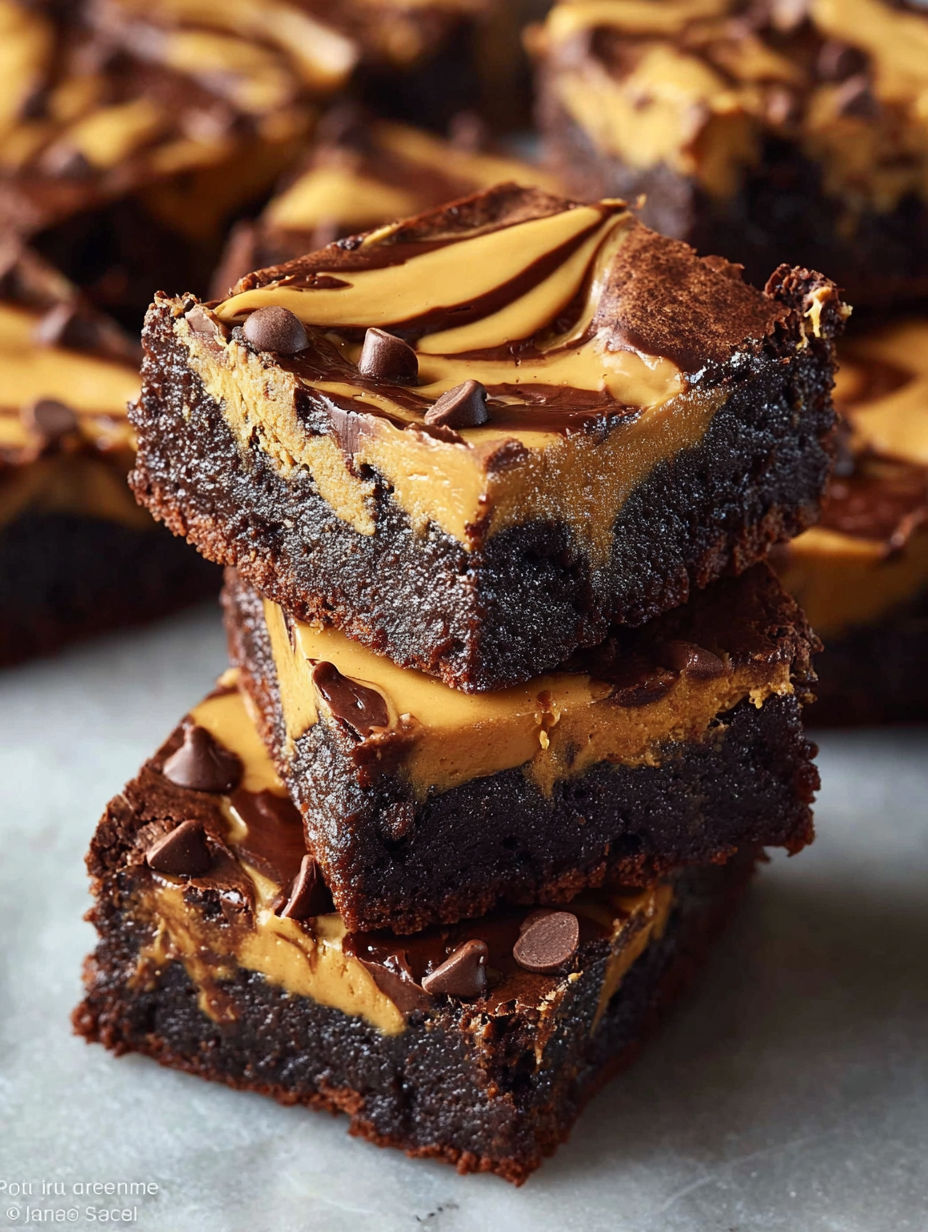
These decadent peanut butter swirl brownies combine two classic flavors into one irresistible treat. The rich chocolate base with ribbons of creamy peanut butter creates the perfect balance of sweet and salty in every bite.
I first made these brownies for my daughter's birthday when she requested something with both chocolate and peanut butter. They were such a hit that they've become our go to dessert for special occasions and midnight cravings alike.
- Unsalted butter forms the rich base of these brownies providing moisture and flavor
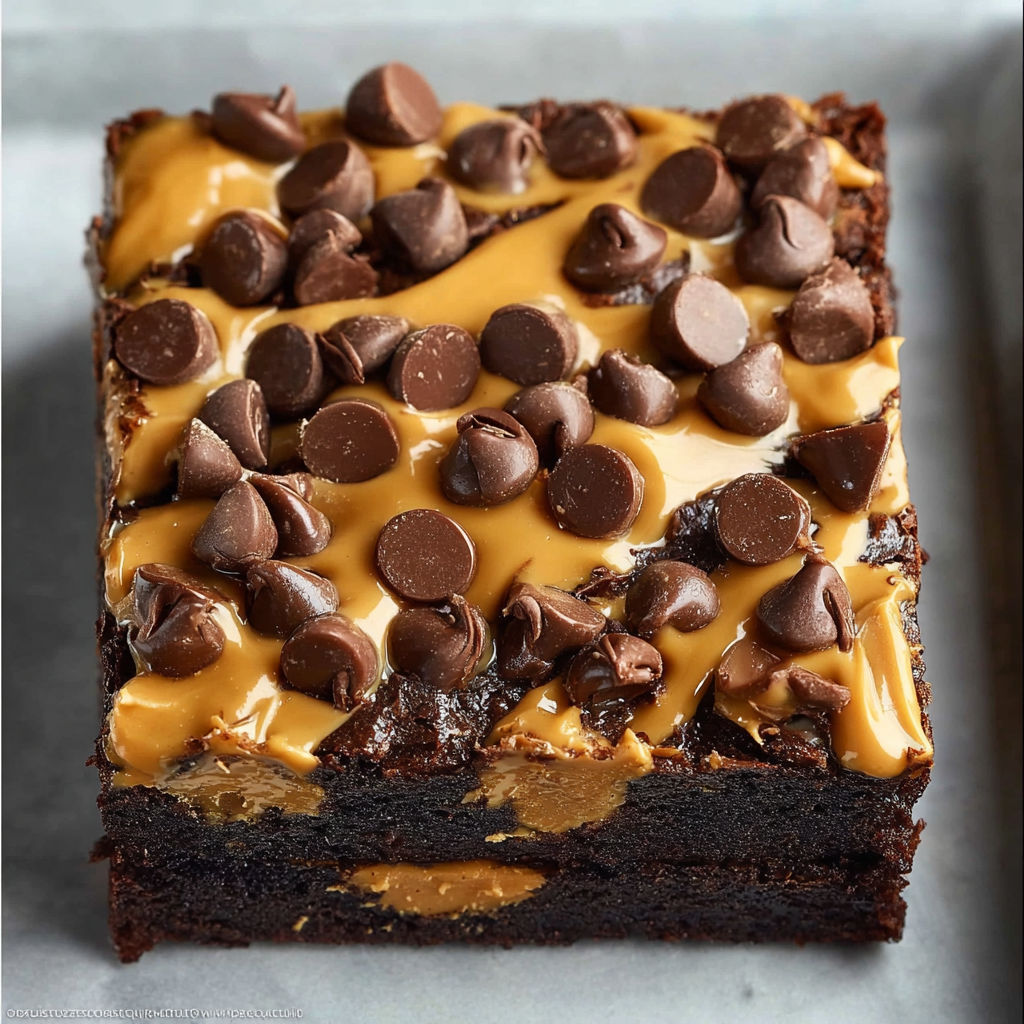
- Semisweet chocolate chips melt beautifully into the batter and create pockets of intense chocolate when folded in whole
- Large eggs provide structure and that perfect crackly top
- Vanilla extract enhances the chocolate flavor with warm aromatic notes
- Creamy peanut butter creates those beautiful swirls and adds the perfect savory contrast
- All purpose flour gives just enough structure without making brownies cakey
- Unsweetened cocoa powder intensifies the chocolate flavor use Dutch processed for deeper color
- Salt balances the sweetness and enhances both chocolate and peanut butter flavors
- Granulated sugar provides sweetness and helps create that shiny top crust
- Light brown sugar adds moisture and a subtle caramel undertone
How To Make Peanut Butter Swirl Brownies
- Prepare the pan
- Preheat your oven to 350F then prepare your baking pan. The parchment paper sling is crucial for easy removal later so be sure to leave some overhang on at least two sides. A light coating of baking spray underneath helps the parchment stay in place.
- Create the chocolate base
- Melt the butter slowly over medium heat until completely liquid. Remove from heat immediately to prevent burning then whisk in half the chocolate chips until fully melted and glossy. This technique creates a smoother texture than microwaving. Allow this mixture to cool slightly so it doesn't cook the eggs when combined.
- Prepare the dry ingredients
- Sifting the flour and cocoa powder together is not optional. It eliminates lumps and ensures even distribution of the cocoa throughout the batter. Whisk in the salt thoroughly before setting aside.
- Mix the wet ingredients
- Add both sugars to your cooled chocolate mixture and whisk vigorously. This incorporates air and begins dissolving the sugar crystals. Add the eggs one at a time beating well after each addition. The vanilla goes in last. Your mixture should look smooth and glossy at this point.
- Combine wet and dry
- Using a folding motion rather than stirring preserves the air bubbles for that perfect brownie texture. Stop folding as soon as the flour disappears to avoid developing gluten. Gently fold in the remaining chocolate chips last.
- Create the swirl effect
- Pour your brownie batter into the prepared pan spreading it evenly to the corners. Drop small spoonfuls of peanut butter across the surface then use a knife or skewer to create beautiful swirls. Pull the knife through in both directions for the most artistic effect.
- Bake with care
- These brownies need 40 to 45 minutes until the center is just set but still slightly soft. The peanut butter tends to brown faster than the chocolate so covering with foil halfway through prevents burning. The toothpick test might be misleading due to the melted chocolate chips so look for a slight jiggle in the center that will set as it cools.
The peanut butter is truly the star ingredient in this recipe. I discovered through multiple batches that commercial creamy peanut butter like Jif or Skippy works better for swirling than natural varieties which can separate or absorb too quickly into the batter. One memorable summer I made these for a family reunion and even my peanut butter hating cousin went back for seconds.
The Perfect Texture Secret
Achieving that ideal fudgy brownie texture depends entirely on not overbaking. When the edges are set but the center still has a slight wobble pull them from the oven. The residual heat will continue cooking them to perfection as they cool. For extra fudginess refrigerate the brownies for an hour before serving which condenses the chocolate even further.
Storage and Serving Tips
These brownies taste even better the next day after the flavors have had time to meld. Store them in an airtight container at room temperature for up to 3 days or refrigerate for up to a week. For longer storage cut into individual squares wrap each tightly in plastic wrap then place in a freezer bag. Thaw at room temperature for an hour before serving. For an extra special dessert warm a square for 15 seconds in the microwave and serve with vanilla ice cream.
Creative Variations
While this classic version is perfect as is you can easily customize it to your preferences. Add a half cup of chopped peanuts for texture swap in crunchy peanut butter for more dimension or drizzle melted peanut butter chips over the top after baking for an extra layer of flavor. For a holiday twist add a quarter cup of holiday sprinkles to the batter or press mini peanut butter cups into the surface before baking.
Recipe FAQs
- → How do I know when these brownies are fully baked?
The brownies are done when the center is set but still slightly soft. A toothpick inserted into the center should come out with a few moist crumbs attached, not wet batter. The edges will appear more firm than the center. If you prefer fudgier brownies, aim for the lower end of the baking time (around 40 minutes).
- → Can I use natural peanut butter for this recipe?
While conventional creamy peanut butter (like Jif or Skippy) works best for consistent results, natural peanut butter can be used with some adjustments. If using natural peanut butter, make sure it's well-stirred and at room temperature. You may need to add a touch of honey or sugar to compensate for the lower sweetness level.
- → How should I store these brownies?
Store cooled brownies in an airtight container at room temperature for up to 3 days. For longer storage, refrigerate for up to a week (though this may firm the texture). You can also freeze them by wrapping individual pieces in plastic wrap and placing in a freezer bag for up to 3 months. Thaw at room temperature when ready to enjoy.
- → Why do you need to cover the brownies with foil partway through baking?
The peanut butter on top can brown more quickly than the brownie base. Covering with foil after about 25 minutes creates a shield that allows the brownies to continue cooking while preventing the peanut butter swirls from becoming too dark or burning. This ensures even baking and perfect visual presentation.
- → Can I double this recipe for a larger batch?
Yes, you can double the recipe and bake in a 9x13 inch pan. The brownies may need 5-10 minutes additional baking time, but watch carefully as ovens vary. Use the toothpick test to determine doneness. For best results, maintain the same depth of batter in the pan as the original recipe.
- → What's the best way to cut these brownies cleanly?
Allow the brownies to cool completely (at least 2 hours) before cutting. Use a sharp knife dipped in hot water and wiped clean between cuts. For the cleanest edges, refrigerate the cooled brownies for 30 minutes before cutting. This firms the texture and prevents crumbling.