 Pin
Pin
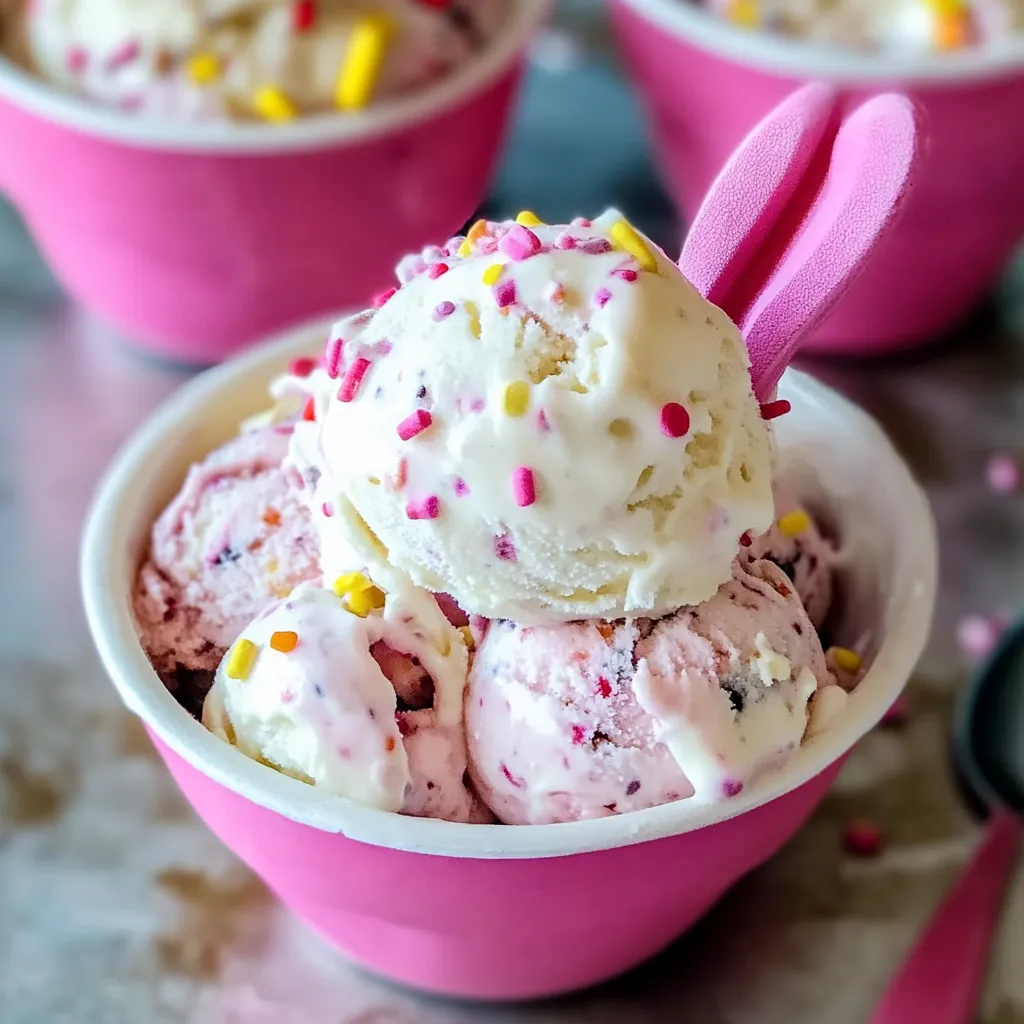
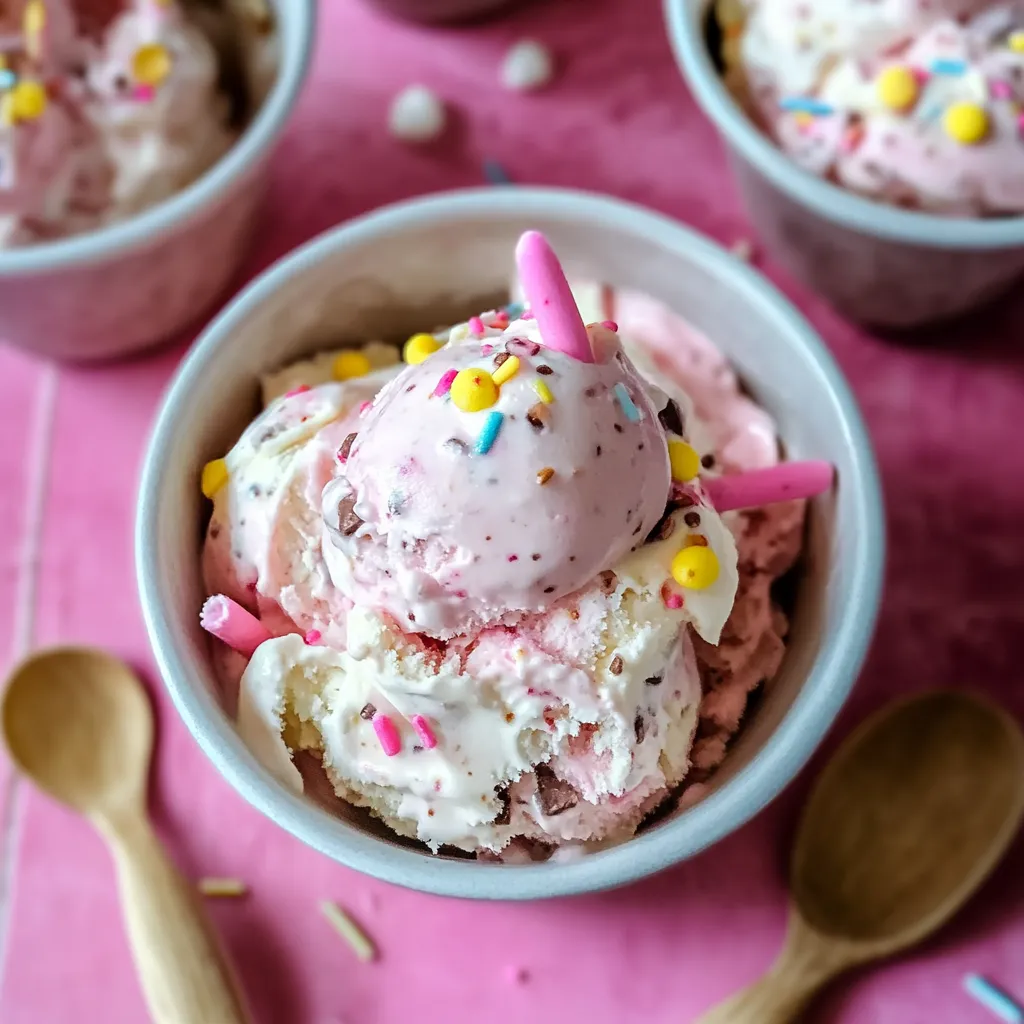
A springtime delight that brings together the joy of Easter and the creamy indulgence of homemade ice cream - this Bunny Trail No-Churn Ice Cream is a festive treat that requires no special equipment but delivers maximum flavor and fun. With its rich, custard-like texture and playful mix-ins like Funfetti cake pieces, pastel sprinkles, and mini chocolate eggs, this ice cream creates a celebration in every scoop. The simplicity of the no-churn method makes this a perfect project to tackle with little helpers, while the impressive results will have everyone hopping back for seconds. Perfect for Easter gatherings or anytime you want to add a touch of springtime cheer to your dessert table.
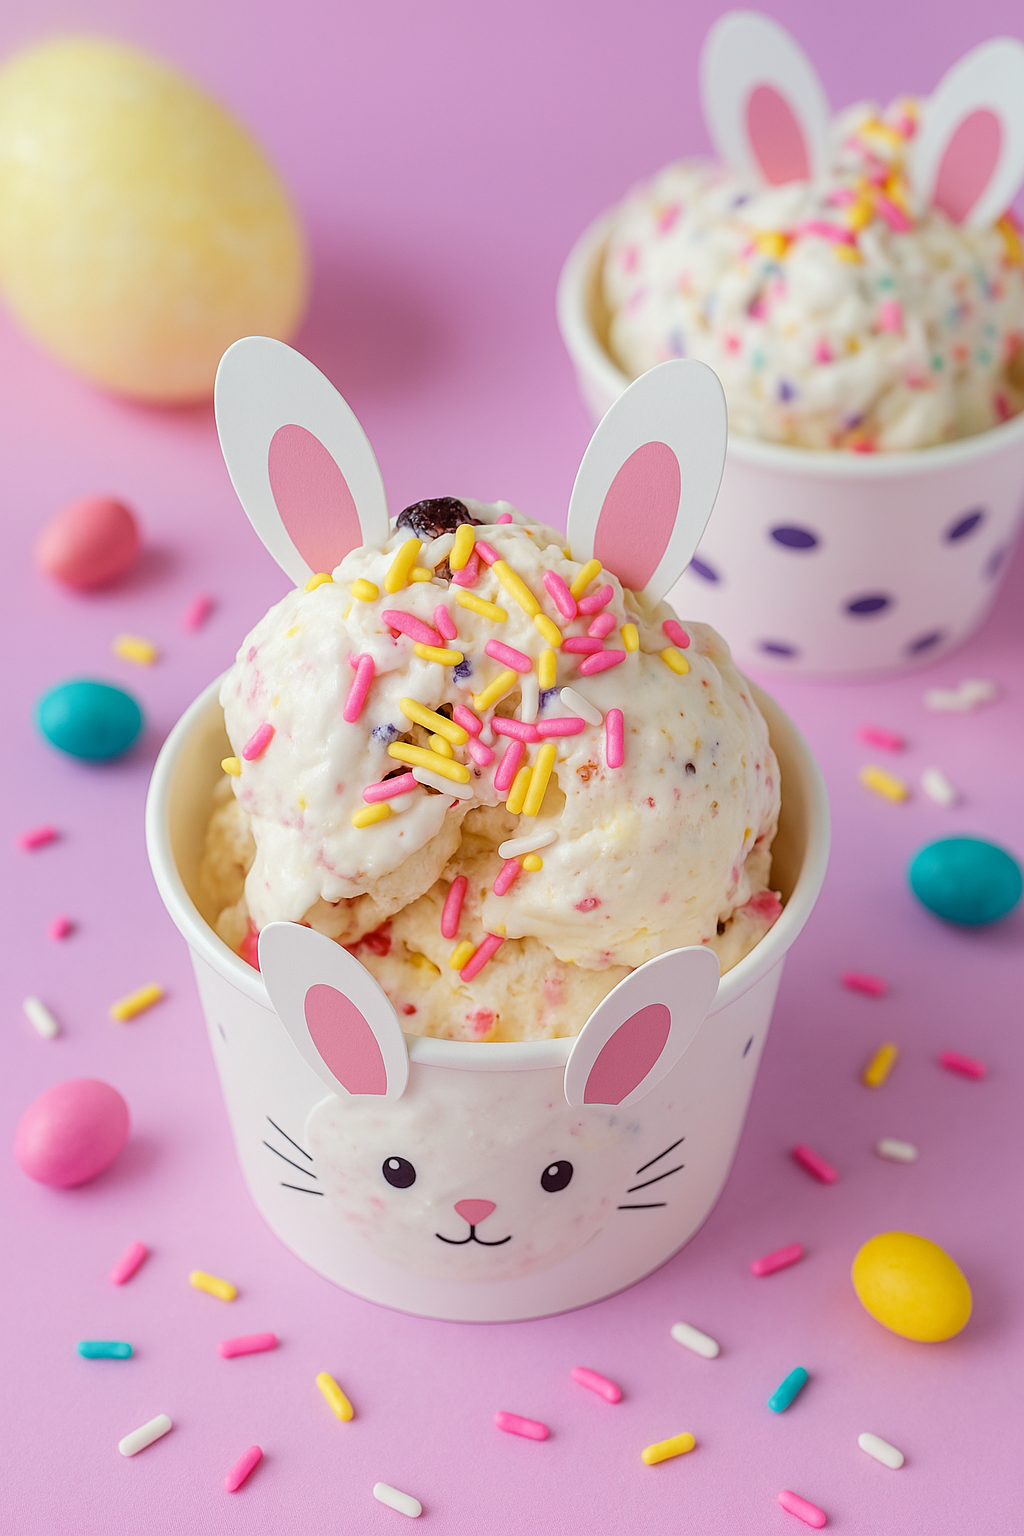
I've experimented with countless no-churn ice cream recipes over the years, but this festive version remains a family favorite. The first time I served it in adorable bunny cups at our Easter gathering, both children and adults couldn't stop raving about the rich, custard-like base and the perfect blend of mix-ins. What began as a simple Easter dessert has become a requested tradition that signals the arrival of spring in our home.
Essential Ingredients and Selection Tips
- Heavy Whipping Cream: Use cream with at least 36% fat content for the richest texture and best whipping capabilities. Make sure it's very cold for maximum volume.
- Sweetened Condensed Milk: This provides both sweetness and creaminess while preventing ice crystals. Don't substitute with evaporated milk, which has a completely different consistency.
- Funfetti Cake Mix (Heat-Treated): Adds a distinctive birthday cake flavor while helping to stabilize the mixture. Always heat-treat the raw mix to eliminate any potential bacteria.
- Mini Chocolate Eggs: Choose candy-coated chocolate eggs like Cadbury Mini Eggs or M&M Eggs for the perfect candy shell crunch and chocolate center.
The quality of your mix-ins makes a significant difference in the final result. When I upgraded from regular sprinkles to higher-quality jimmies that maintain their color and texture in the cream, the improvement was noticeable not just visually but in the overall eating experience. Similarly, using chunks of actual cake rather than just dry cake mix creates delightful pockets of soft cake throughout the frozen treat.
Detailed Cooking Instructions
- Step 1: Prepare the Whipped Cream Base
- Begin by chilling your mixing bowl and beaters in the freezer for about 15 minutes, which helps achieve the maximum volume when whipping the cream. Pour 2 cups of cold heavy whipping cream into the chilled bowl and beat on medium-high speed until stiff peaks form – about 3-4 minutes. The cream should be thick enough that when you lift the beaters, the peaks stand up firmly without flopping over. Be careful not to overbeat, which can cause the cream to become grainy and butter-like.
- Step 2: Create the Sweetened Base
- In a separate large bowl, combine one 14-ounce can of sweetened condensed milk with 1/2 cup of heat-treated Funfetti cake mix and 1 teaspoon of vanilla extract. Whisk these ingredients together until completely smooth with no lumps of cake mix remaining. The mixture should be thick, sweet, and have a subtle cake batter flavor. This forms the rich foundation that will prevent ice crystals from forming during freezing, resulting in a smoother finished product.
- Step 3: Combine the Mixtures
- Using a rubber spatula, gently fold the whipped cream into the sweetened condensed milk mixture about one-third at a time. Use a light touch and a down-and-over motion rather than stirring, which would deflate the air incorporated into the whipped cream. Continue folding until just combined with no streaks of white remaining. The resulting mixture should be light, airy, and mousse-like in texture.
- Step 4: Add the Festive Mix-ins
- Gently fold in 1/4 cup of pastel rainbow sprinkles, 1/2 cup of chopped mini chocolate eggs, and 1/2 cup of Funfetti cake pieces. Distribute these add-ins evenly throughout the mixture but be careful not to overmix. For the best texture contrast, add the cake pieces in varying sizes – some smaller crumbs and some larger chunks. Reserve a small amount of each mix-in to sprinkle on top for visual appeal.
- Step 5: Freeze Until Set
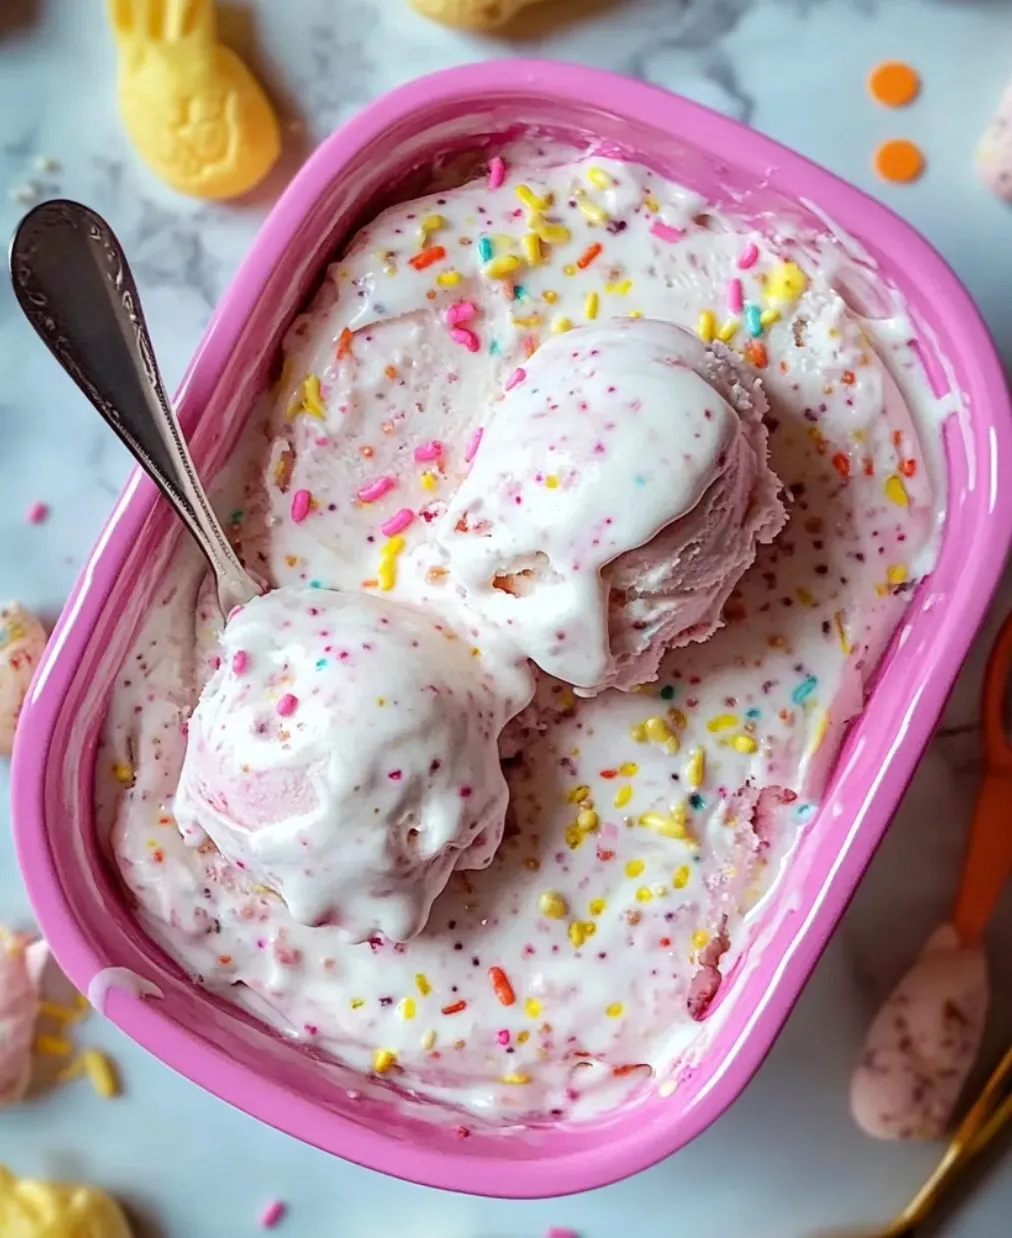
- Transfer the mixture to a 9x5-inch loaf pan or decorative freezer-safe container. Smooth the top with a spatula and sprinkle with the reserved mix-ins. Cover with plastic wrap, pressing it directly onto the surface of the ice cream to prevent ice crystals from forming. Freeze for at least 6 hours or preferably overnight until firm enough to scoop. For the best texture and flavor, allow the ice cream to sit at room temperature for about 5 minutes before serving.

My first attempt at this recipe taught me the importance of proper folding technique. I initially stirred the mixtures together vigorously, which deflated the whipped cream and resulted in a denser final product. Now I fold gently using a rubber spatula, maintaining the air incorporated during whipping for the lightest, creamiest texture possible.
Serving Inspiration
This festive ice cream deserves an equally festive presentation. Serve scoops in colorful waffle cones rolled in white chocolate and pastel sprinkles for a portable treat. For seated desserts, create sundaes with additional cake pieces, a drizzle of white chocolate sauce, and a single chocolate egg on top. For maximum Easter charm, serve in bunny-shaped cups or bowls with chocolate bunny ears tucked into each scoop. The ice cream also pairs beautifully with warm brownies or between two sugar cookies for a playful ice cream sandwich.

Creative Variations
After making this ice cream countless times, I've developed several variations that keep it exciting throughout the seasons. For summer, swap the Funfetti cake for lemon cake mix and use berries instead of chocolate eggs. In fall, try spice cake mix with cinnamon chips and caramel bits. During winter holidays, peppermint extract with crushed candy canes and chocolate cake creates a festive twist. The basic formula remains the same - just adjust the flavoring and mix-ins to suit the occasion or your personal preferences.
Storage and Make-Ahead Tips
This ice cream keeps beautifully in the freezer for up to two weeks when stored in an airtight container. For the best texture, place a piece of plastic wrap directly on the surface of the ice cream before sealing the container, which prevents ice crystals from forming. If the ice cream becomes too hard to scoop after extended freezing, allow it to sit at room temperature for 5-10 minutes before serving. For a special presentation at parties, pre-scoop the ice cream into individual portions, place them on a parchment-lined tray, and refreeze until firm, then transfer to your serving dishes just before guests arrive.

This Bunny Trail No-Churn Ice Cream has become one of my signature spring desserts for good reason. It combines the nostalgic flavors of birthday cake with the creamy indulgence of premium ice cream in a format that's both accessible to make and impressive to serve. The playful combination of textures and colors creates a multi-sensory dessert experience that captures the joy and excitement of the Easter season. Whether you're an experienced ice cream maker or trying your hand at homemade frozen desserts for the first time, this recipe delivers professional-quality results with minimal effort and equipment.
Recipe FAQs
- → Why do I need to heat-treat the cake mix?
- Raw flour (in cake mix) can potentially contain harmful bacteria. Heat-treating brings the dry mix to a temperature that kills these bacteria, making it safe to eat without baking. This step is especially important since the cake mix won't be cooked in this recipe. Always ensure it reaches 165°F throughout for safety.
- → Can I use a different flavor of cake mix?
- Absolutely! While Funfetti gives this ice cream its festive Easter look, you can substitute any cake mix flavor you prefer. Chocolate, strawberry, or lemon cake mixes would all work beautifully in this recipe. Just make sure to heat-treat whatever cake mix you choose following the same method.
- → What can I use instead of mini chocolate eggs?
- If you can't find mini chocolate eggs or want to make this outside of Easter season, you can substitute M&M's, chocolate chips, chopped chocolate bars, or any other small chocolate candy. For a non-chocolate option, try colorful candy pieces like Skittles or jelly beans for a different but still festive look.
- → Why is my ice cream too soft or too hard?
- If your ice cream is too soft, it likely needs more freezing time. For homemade ice cream that's too hard, the culprit is usually not enough fat or sugar. This recipe should have the right balance, but if you find it too hard to scoop, let it sit at room temperature for 10-15 minutes before serving. You can also add 1-2 tablespoons of vodka to the mixture before freezing (it won't freeze solid and helps maintain a scoopable texture).
- → Can I make this ice cream without heavy cream?
- While heavy cream provides the best texture for no-churn ice cream, you can substitute full-fat coconut cream (the solid part from a can of coconut milk) as an alternative. The flavor will be slightly different but still delicious. Avoid using regular milk or half-and-half as they don't whip properly and will result in icy rather than creamy ice cream.
- → How long will this ice cream keep in the freezer?
- This homemade ice cream can be stored in an airtight container in the freezer for up to 2 weeks. For best quality, place a piece of plastic wrap directly on the surface of the ice cream before putting the lid on to prevent ice crystals from forming. The texture is best within the first week of making it.
