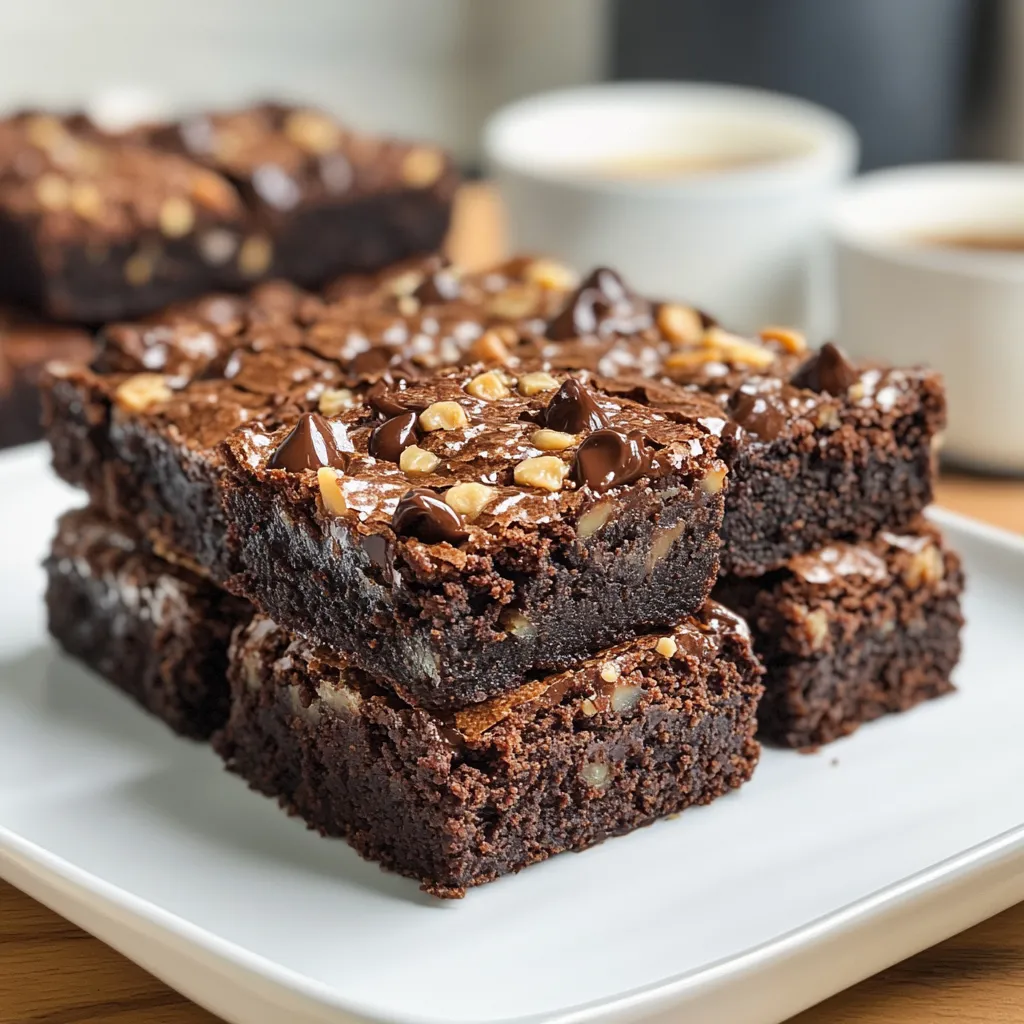
Meet your new favorite brownie recipe! These toffee-studded brownies are everything you want in a chocolate dessert - dense, fudgy, and loaded with flavor. The combination of Dutch cocoa powder and chocolate chips creates an intense chocolate base, while chunks of buttery toffee add a delightful crunch and caramel notes throughout. The best part? You don't even need a mixer - just a bowl and whisk will do. They're perfectly chewy at room temperature but pop them in the fridge for an even fudgier texture. Whether you use store-bought toffee bits or make your own, these brownies are guaranteed to disappear fast. Plus, with just 10 minutes of prep time, they're easy enough for weekday baking but special enough for celebrations.
The perfect toffee brownie is a study in contrasts - fudgy chocolate interior against crispy, crackly top, with bursts of buttery toffee throughout. Through years of brownie baking, I've discovered that creating these indulgent treats is about understanding the delicate balance between ingredients and timing. Each batch teaches something new about the magic of chocolate and sugar.
Last weekend, I brought these to a dinner party, and the host hid two pieces for breakfast the next day. The secret? Understanding how different forms of sugar and fat work together to create perfect texture.
Start with properly preparing your pan. This isn't just about preventing sticking - proper lining affects how evenly your brownies bake. Create a parchment sling that extends up two sides, making removal effortless. A light coating of cooking spray ensures nothing sticks.
Step 2: Creating Your Base
The process begins with melting butter until it's just liquified - not hot, as excessive heat affects texture. Combine this with oil and both sugars, whisking until the mixture becomes slightly grainy but uniform. This initial mixture creates the foundation for that signature brownie texture we're after. The combination of granulated and brown sugar isn't just about sweetness - it's about creating the perfect moisture balance and that coveted shiny top.
Step 3: Mastering the Mixing
Now comes a crucial moment - adding eggs and vanilla. Whisk vigorously until the mixture lightens in color and thickens slightly. This step incorporates air and helps create that papery top layer that makes brownies so distinctive. You'll notice the texture change from grainy to smooth and glossy.
Step 4: Incorporating Dry Ingredients
Handle the flour mixture with care - sift your cocoa powder and cornstarch directly into the bowl to prevent lumps. The cornstarch is our secret weapon for tenderness. Fold gently until no flour streaks remain, being mindful not to overmix. This gentle treatment ensures fudgy brownies rather than cakey ones.
Step 5: Toffee and Chocolate Addition
Fold in your toffee bits and chocolate chips with purpose: reserve some for topping, distribute evenly through batter, avoid overmixing, and ensure even coverage.
Toffee Brownies | zestplate.com
The Art of Baking
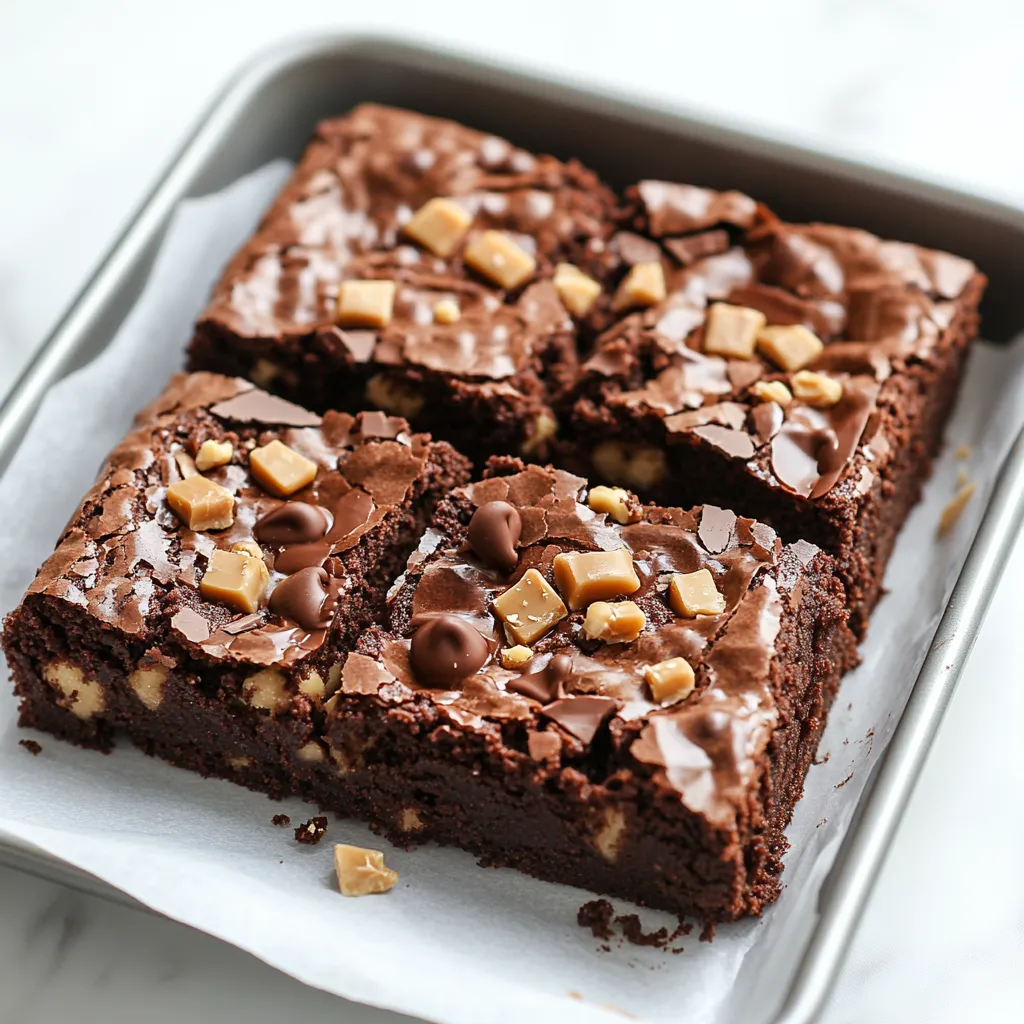
Pour your batter into the prepared pan with intention, using a spatula to create an even layer. Those few extra moments spent leveling the batter ensure uniform baking. Sprinkle your reserved toffee bits and chocolate chips on top - they'll create beautiful pools of chocolate and caramel as they bake. The oven temperature is crucial here; a properly preheated 350°F oven creates the perfect environment for that balance between set edges and fudgy center.
Understanding Doneness
Knowing when brownies are perfectly baked requires attention to multiple cues. Watch for slight puffing around the edges and a set, shiny top. The toothpick test is different for brownies than cake - you want some moist crumbs clinging to it. A completely clean toothpick means overbaked brownies. Remember:
Edges should be slightly pulled away
Center should feel set but still soft
Surface should be shiny and crackled
Aroma should be deeply chocolatey
The Cooling Process
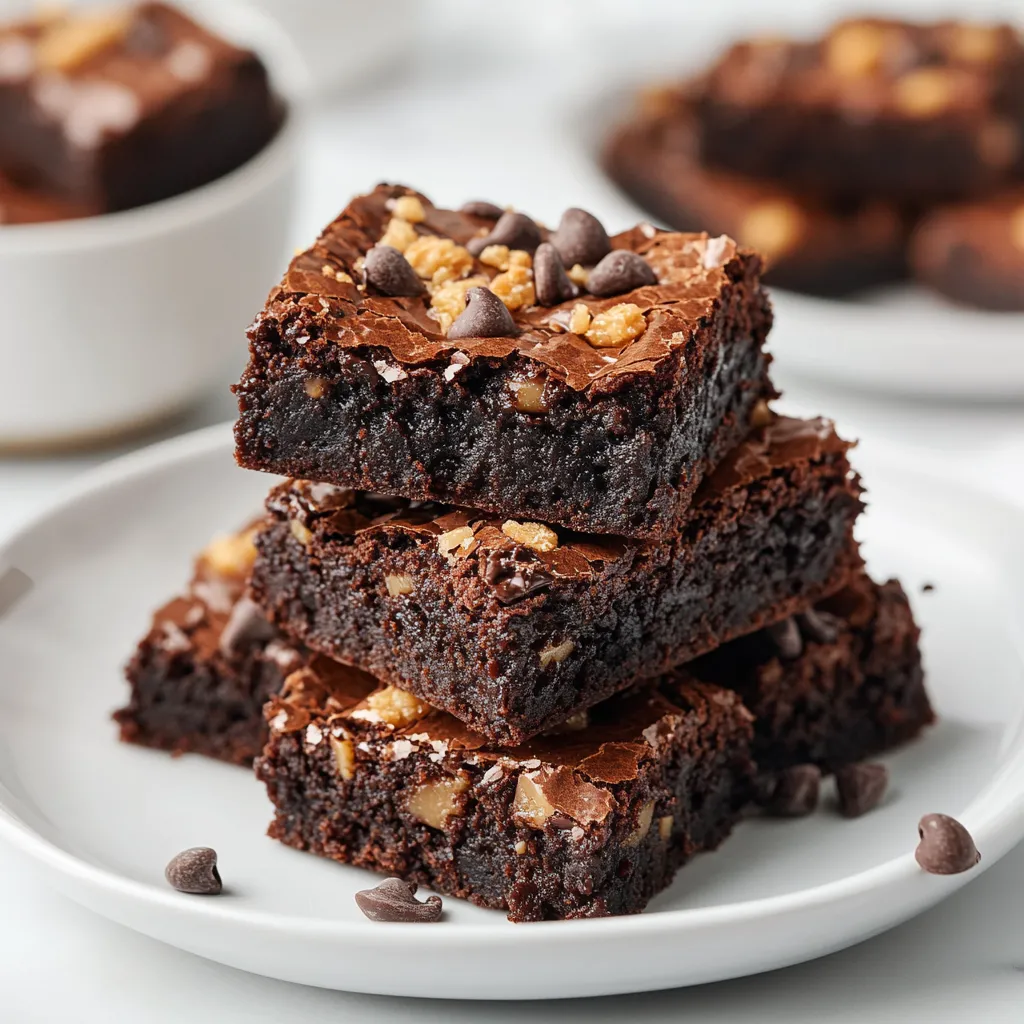
Patience becomes crucial during cooling. Let the brownies cool completely in the pan set on a wire rack. This gradual cooling allows the structure to set properly while maintaining that perfect fudgy texture. For the cleanest cuts, refrigerate for at least 30 minutes before slicing.
Storage and Serving Wisdom
Through years of brownie baking, I've learned that proper storage enhances their texture. At room temperature, keep them in an airtight container, layered with parchment paper. For a more fudgy consistency, store them in the refrigerator - the cold temperature intensifies their chocolate flavor and creates an almost truffle-like texture. Let them come to room temperature before serving for the best flavor release.
Recipe FAQs
→ Can I use natural cocoa powder instead of Dutch-process?
Yes! While Dutch-process cocoa gives a smoother, richer flavor, natural cocoa powder works perfectly fine in this recipe without any other adjustments needed.
→ How do I know when the brownies are done?
Test with a toothpick after 30 minutes - you want moist crumbs, not wet batter. For less fudgy brownies, bake 5-7 minutes longer until the toothpick shows only melted chocolate.
→ What's the best way to store these brownies?
Keep them in an airtight container for up to 3 days at room temperature or 5 days in the fridge. Pro tip: chilled brownies have an amazing fudgy texture!
→ Are these brownies too sweet?
If you're worried about sweetness, use dark or bittersweet chocolate chips instead of semisweet. Don't reduce the sugar as it affects the texture.
→ Can I make my own toffee bits?
Absolutely! While store-bought toffee bits work great, you can make your own homemade toffee and chop it into small pieces for an extra-special touch.
Chewy Toffee Chocolate Brownies
Ultra fudgy homemade brownies packed with chocolate chips and buttery toffee pieces. These no-mixer brownies have a perfect chewy texture and rich chocolate flavor that's impossible to resist!
Get your oven heating to 325°F and line an 8x8-inch metal pan with parchment paper, leaving some hanging over the sides for easy lifting later.
Step 02
Melt your butter in a large microwave-safe bowl (about 1 minute). Whisk in both sugars and let it cool until just warm. Add your eggs, yolk, and vanilla, then whisk like you mean it for 30 seconds. Finally, whisk in the oil and cocoa powder until smooth.
Step 03
Switch to a rubber spatula and gently fold in the flour, cornstarch, and salt until just combined. Save some for sprinkling, but stir most of your chocolate chips and toffee bits into the batter.
Step 04
Spread that thick batter evenly in your pan and sprinkle the reserved toffee bits and chocolate chips on top. Bake for 30 minutes - you want moist crumbs on your tester, not wet batter. For less fudgy brownies, give them another 5-7 minutes.
Notes
Natural cocoa powder works too, but Dutch-process gives these a smoother, richer flavor
Store in an airtight container for 3 days at room temp or 5 days in the fridge
Try them chilled for an even fudgier texture
Use dark chocolate chips if you want them less sweet
Required Equipment
8x8-inch metal baking pan
Parchment paper
Large microwave-safe bowl
Whisk
Rubber spatula
Allergen Information
Review each component for possible allergens and consult a health professional when concerned.

 Pin
Pin