
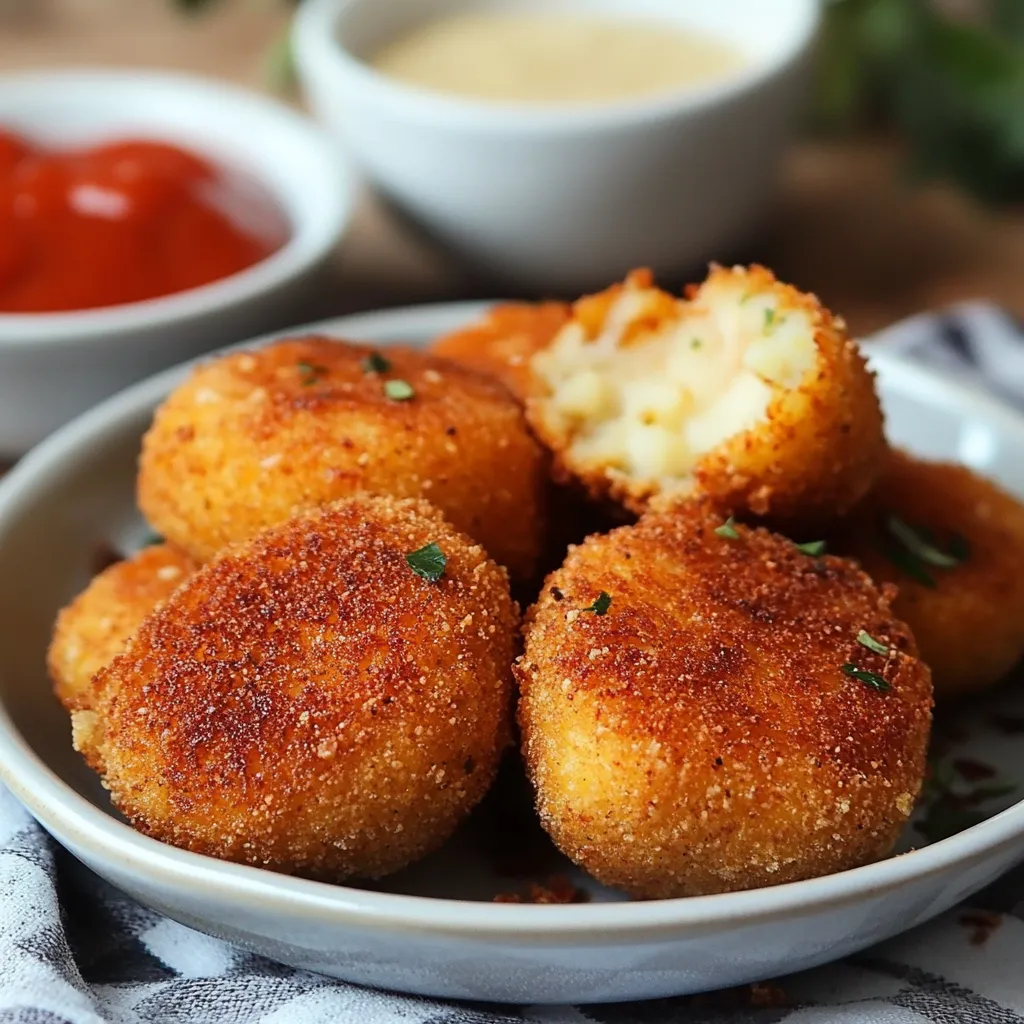
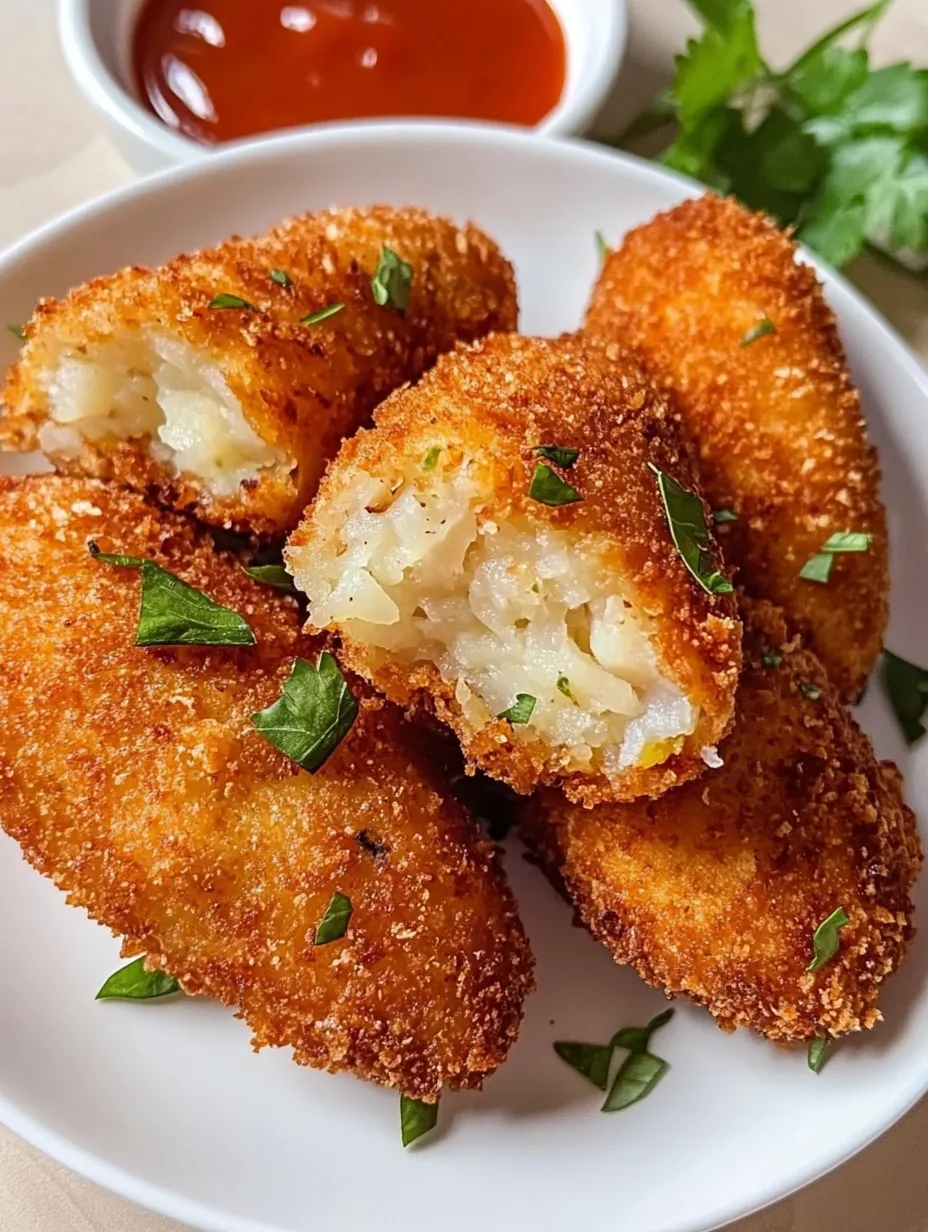
 Pin
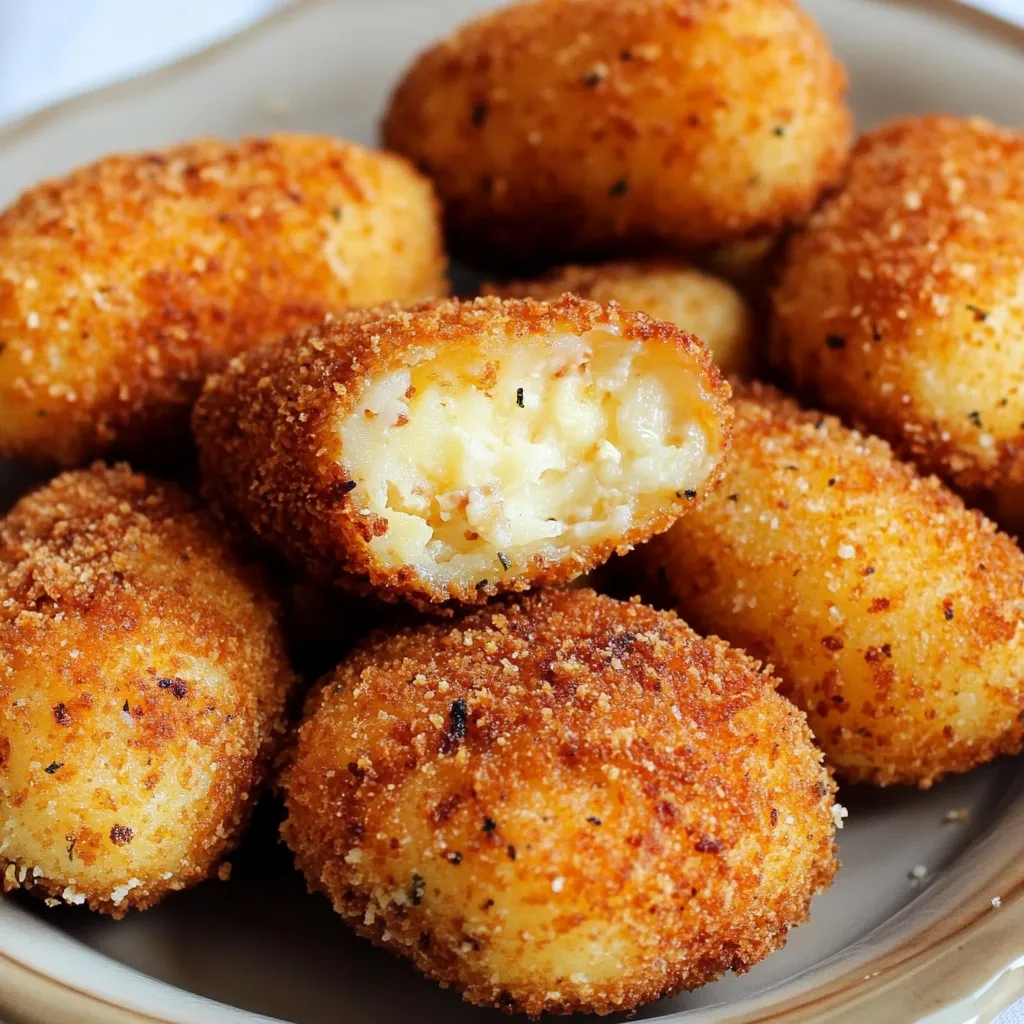
Pin
The perfect croquette combines a delicate, crispy shell with a creamy, well-seasoned interior. These chicken and potato bites achieve that balance through careful preparation and proper temperature control. When shaped properly and fried to golden perfection, they offer an irresistible contrast of textures. The key lies in thorough chilling between steps and maintaining consistent oil temperature throughout cooking. These croquettes work equally well as an elegant appetizer or casual snack.
Every time I serve these croquettes at family gatherings, they disappear within minutes. The secret to their popularity lies in double-coating each piece and allowing proper chill time between steps. My mother-in-law, initially skeptical of homemade croquettes, now requests them for every holiday dinner.
Essential Ingredients Selection
- Select starchy Russet potatoes for the fluffiest interior
- Choose chicken thighs over breast meat for better flavor
- Use panko breadcrumbs for maximum crunch
- Pick good melting cheeses like Gouda or Gruyere
The magic of these croquettes comes from quality ingredients. Fresh herbs elevate the flavor profile, while proper potato selection ensures the perfect texture. Through years of testing, I've found that investing in high-quality breadcrumbs makes a noticeable difference in the final crunch.
Detailed Cooking Instructions
- 1. Potato Preparation
- Boil whole potatoes in salted water until a fork slides easily through. Drain and peel while hot - the skins slip off more easily. Pass through a ricer or mash thoroughly, avoiding overworking which creates gummy texture. Spread on a baking sheet to cool quickly. The potato base must be completely smooth and free of lumps for the best texture. Season with salt and white pepper while still warm to ensure even distribution.
- 2. Chicken Preparation
- Poach chicken thighs in simmering water with aromatics - bay leaf, peppercorns, and garlic. Cook until just done, about 15-20 minutes. Let cool in the liquid to retain moisture. Shred meat using two forks, keeping pieces uniform but not too fine. The texture should be loose and fluffy, not packed or dense. Season the shredded chicken separately before mixing with potatoes.
- 3. Mixture Assembly
- Combine cooled potatoes and chicken in a large bowl. Add grated cheese while mixture is still slightly warm, allowing it to melt slightly. Season generously with salt, pepper, and chosen herbs. Test mixture by forming a small ball - it should hold shape without being too sticky. If needed, add a small amount of breadcrumbs to achieve proper consistency.
- 4. Shaping and Coating
- Form mixture into uniform cylinders or ovals, about 3 inches long. Place shaped croquettes on parchment-lined tray and chill for 30 minutes. Set up breading station: seasoned flour, beaten eggs with milk, and seasoned breadcrumbs. Use left hand for dry ingredients, right for wet. Double-coat each croquette for extra crunch.
- 5. Cooking Process
- Heat oil to exactly 350°F using a thermometer. Fry croquettes in small batches, turning gently until golden brown, about 3-4 minutes. Drain on wire rack set over baking sheet. For baked version, spray with oil and cook at 400°F for 15-20 minutes, turning halfway. Maintain consistent temperature throughout cooking for even results.
- 6. Serving and Storage
- Serve immediately while hot and crispy. Arrange on platter with complementary sauces - garlic aioli, spicy mayo, or herb-infused sour cream. For make-ahead, freeze uncooked croquettes on tray until solid, then transfer to freezer bags. When ready to serve, fry directly from frozen, adding 2-3 minutes to cooking time.
Flavor Variations
Customize base mixture with sautéed mushrooms and caramelized onions for depth. Add fresh herbs like dill, parsley, or thyme. Experiment with cheese combinations - try sharp cheddar with gruyere, or manchego with mozzarella. Incorporate roasted garlic or sun-dried tomatoes for Mediterranean flair. Season with international spice blends: curry powder, Cajun seasoning, or Italian herbs. Add finely chopped spinach or roasted peppers for color and nutrition.
Make-Ahead Planning
Prepare components over two days for best results. Day one: cook and shred chicken, prepare mashed potatoes, measure seasonings. Day two: mix filling, shape, and coat croquettes. Freeze uncoated croquettes for up to three months. For party planning, coat frozen croquettes day before serving. Reheat cooked croquettes in 350°F oven until crispy, about 10 minutes. Keep warm in 200°F oven for up to one hour.

Troubleshooting Common Issues
If mixture is too wet, add breadcrumbs gradually. Too dry? Mix in small amounts of cream or broth. Falling apart while frying? Return mixture to refrigerator for 30 minutes. Coating falling off? Pat croquettes completely dry before breading. Oil not hot enough? Use thermometer for accuracy. Uneven browning? Rotate croquettes while frying. Interior not hot? Make croquettes smaller or increase cooking time.
Professional Plating Tips
Arrange croquettes on warmed plates with decorative sauce swirls. Garnish with micro greens or fresh herbs. Create height by stacking three croquettes at angles. Serve on bed of lightly dressed arugula or watercress. Add color contrast with pickled vegetables or roasted cherry tomatoes. For buffet service, place in paper cups lined with parchment. Provide variety of sauces in squeeze bottles for artistic presentation.
Final Thoughts
These croquettes represent the perfect fusion of comfort food and elegant appetizer. Success lies in proper preparation, temperature control, and patience between steps. Whether served at casual family gatherings or upscale parties, they consistently impress guests with their professional appearance and satisfying texture. The versatility of the base recipe allows endless creativity while maintaining the essential crispy-creamy contrast that makes them irresistible.
Recipe FAQs
- → Can I bake instead of fry?
- Yes, brush with oil and bake at 400°F for 20-25 minutes, turning halfway.
- → Can I freeze these?
- Yes, freeze before frying. Arrange on tray until solid, then transfer to freezer bag.
- → Why chill before frying?
- Helps coating adhere and maintain shape during cooking.
- → What cheese works best?
- Any melting cheese like cheddar, mozzarella, or monterey jack.
- → Can I make smaller portions?
- Yes, adjust size as needed but watch cooking time.