
 Pin
Pin
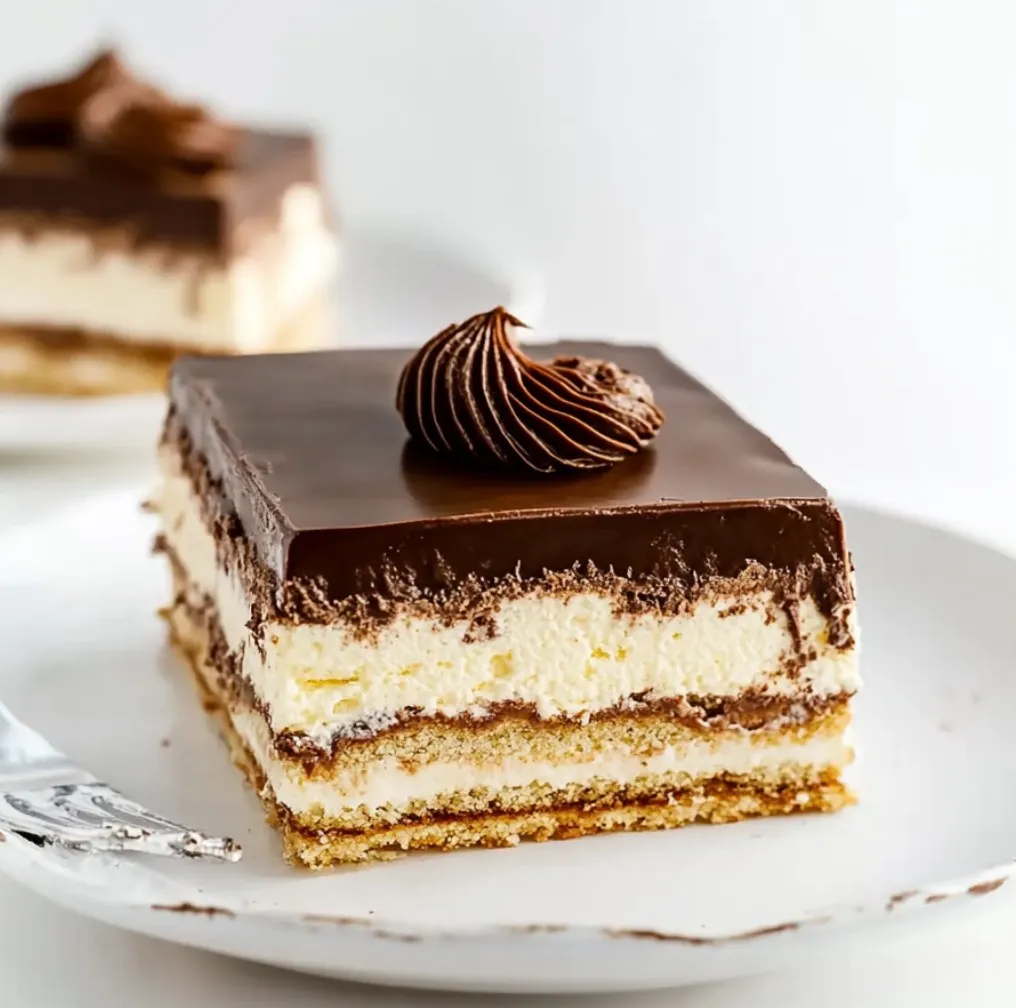
The magic of a classic chocolate éclair transforms into an effortless layered dessert that captures all the beloved flavors without any baking required. Silky vanilla pudding, buttery graham crackers, and rich chocolate frosting come together to create a dessert that tastes like it came from a French patisserie, yet assembles in minutes. After countless times making this family recipe, I've discovered that the real secret lies in giving the layers time to meld together, creating that perfect éclair-like texture.
Last night, I served this at my daughter's birthday party, and my mother-in-law, a devoted French pastry enthusiast, couldn't believe it wasn't made with choux pastry. The secret? Patience - allowing those layers to develop their magic overnight.
Essential Ingredients and Selection Tips
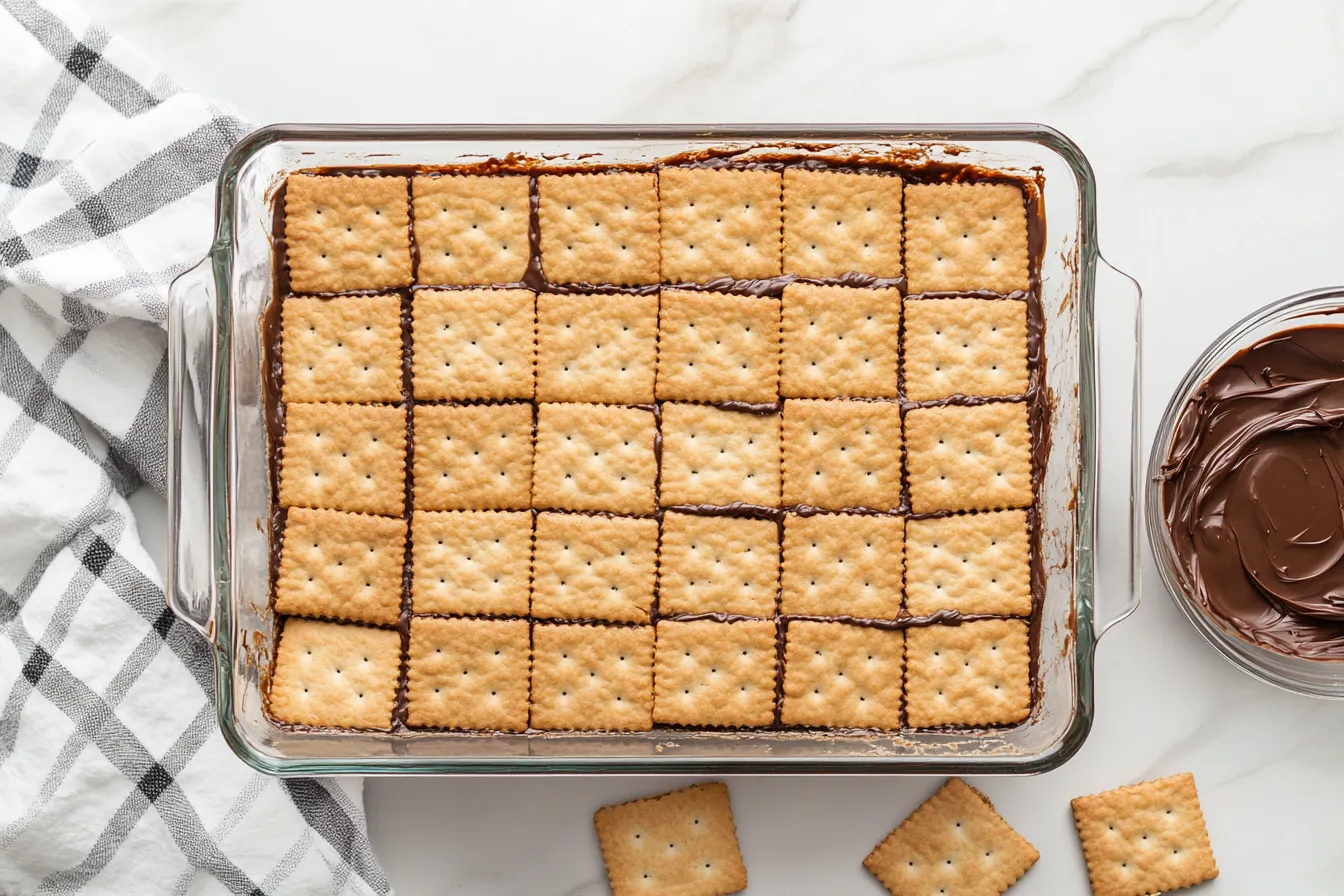
- Graham Crackers: Choose fresh, whole crackers without any cracks. The standard honey graham variety works best, as they have the perfect sweetness level and structure to absorb the pudding
- Vanilla Pudding Mix: Instant pudding is crucial here; cook-and-serve won't achieve the same texture. I prefer French vanilla for that authentic éclair taste
- Heavy Whipping Cream: Skip the pre-made whipped topping and opt for real cream. The richness makes a noticeable difference in the final texture
- Chocolate Frosting: A high-quality store-bought frosting works perfectly, but choose one that's rich and glossy for that classic éclair look
Detailed Preparation Steps
- Pudding Mixture Creation:
- Start by whipping up your pudding base - this is where the magic begins. Pour your instant pudding mix into a large bowl and add cold milk. Here's a trick I learned from years of making this: whisk it by hand for about 2 minutes until it starts to thicken but isn't fully set. Fold in the whipped cream gently using a spatula, making figure-eight motions to keep the mixture light and fluffy. This gentle touch keeps your filling perfectly creamy.
- Layer Building Process:
- Grab a 13x9 inch pan and start your first layer with graham crackers. Don't worry if you need to break some to fit - think of it like putting together a puzzle. Spread a generous layer of the pudding mixture over the crackers, making sure to reach the edges. This even coverage is key for that perfect slice later. Keep layering crackers and pudding until you've used everything up, ending with crackers on top.
- Frosting Application:
- Here's my favorite part - the chocolate topping. Warm your frosting in the microwave for just 15-20 seconds. This little trick makes it spread like silk across those top crackers. Start from the center and work your way out, letting the frosting naturally flow to the edges. Don't worry if it's not perfect - it'll settle beautifully as it cools.
Just last week, my youngest helped me make this for a school bake sale. She couldn't believe how the crispy crackers turned into soft, cake-like layers overnight. It's become our special dessert to make together, with her always calling dibs on licking the pudding spoon!
Creating the Perfect Texture
The real secret to this dessert lies in the waiting. As it chills, the crackers slowly absorb moisture from the pudding mixture, transforming from crisp to tender. Think of it like magic happening in your fridge - each hour makes it better. I love peeking in the fridge and knowing that time is working its wonder on those layers.
Make-Ahead Magic
One of the best things about this dessert is how well it handles being made in advance. I often prepare it two days before a party, and it's actually better for the waiting. The flavors meld together, and the texture becomes absolutely perfect. Just keep it covered in the fridge, and resist the temptation to peek too often!
Serving Suggestions
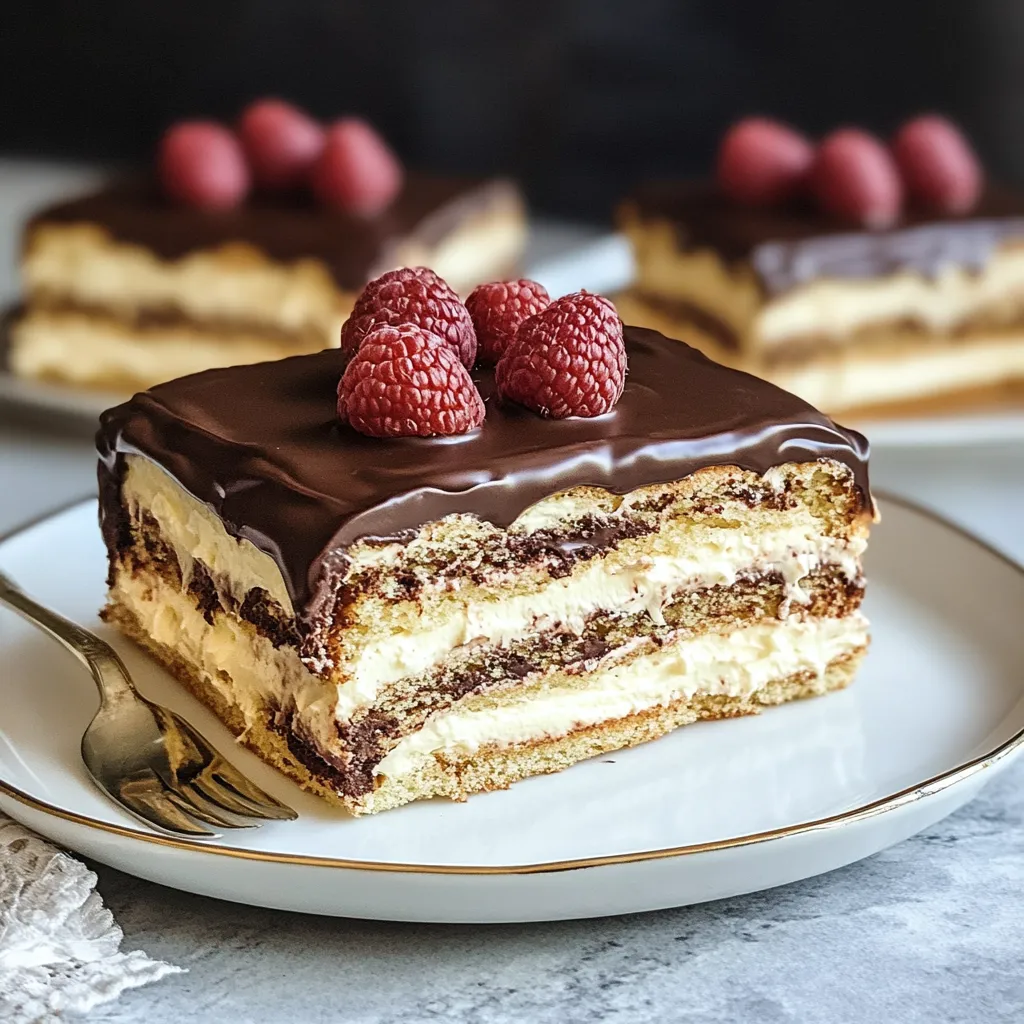
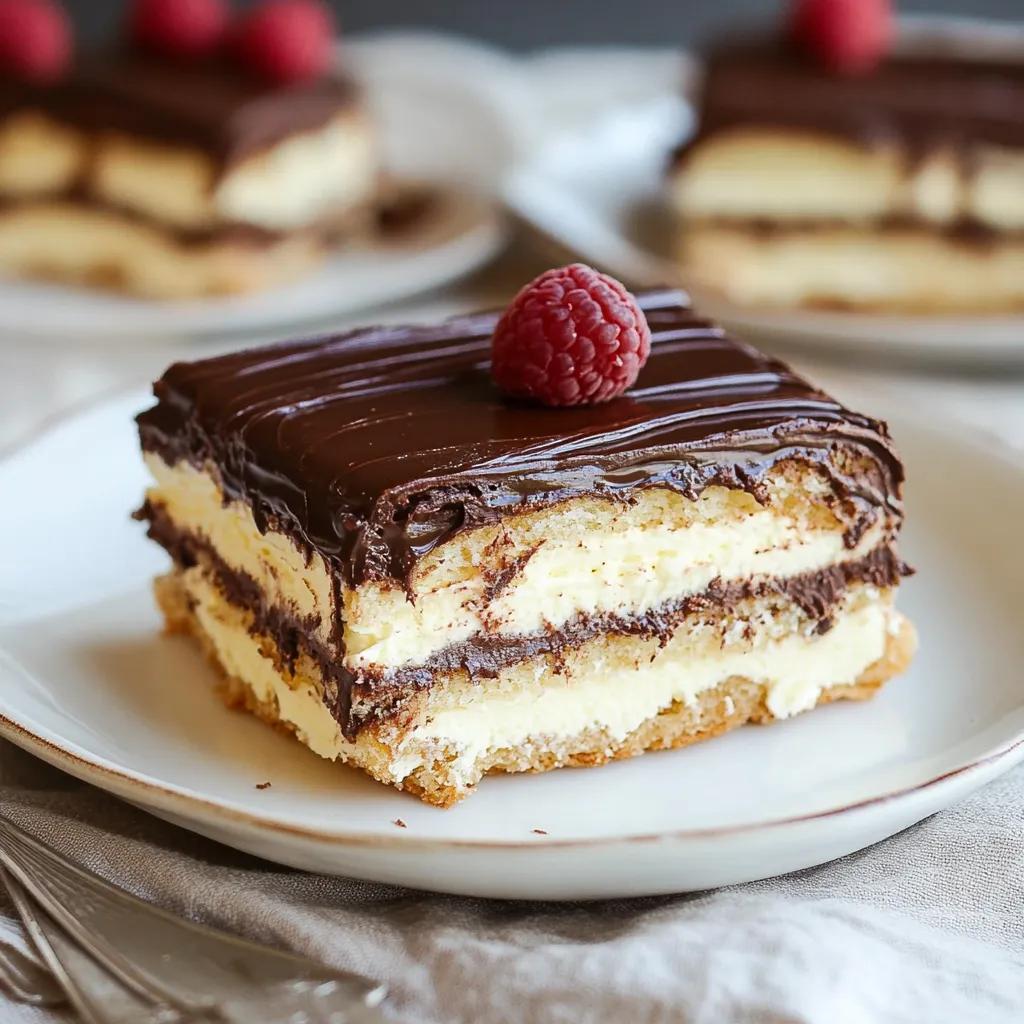
I've found that cutting this dessert into squares works best when it's fully chilled. Use a sharp knife, and wipe it clean between cuts for the prettiest slices. A small drizzle of chocolate sauce or a fresh berry on top makes it look extra special for company.
Storage Success
This dessert keeps beautifully in the fridge for up to 5 days, though it rarely lasts that long in my house. Cover it well with plastic wrap to prevent it from absorbing any fridge odors. The chocolate top will protect your layers, but you want to keep everything fresh.
Final Thoughts: This no-bake éclair cake brings back memories of summer afternoons in my grandmother's kitchen. She taught me that sometimes the simplest recipes create the most special moments. What started as a way to make something sweet without turning on the oven has become a cherished family tradition. Each time I make it, I think of her wisdom - patience in the kitchen often yields the sweetest rewards.
Whether you're making this for a family dinner, a potluck, or just because you're craving something special, this recipe proves that you don't need fancy techniques or complicated ingredients to create something memorable. It's a reminder that sometimes, the best things in life just need a little time and love to come together perfectly.
Recipe FAQs
- → How long should I let the cake chill?
At least 8 hours or overnight is best. The cake actually gets better after 24 hours as the crackers soften to the perfect texture.
- → Can I make this cake ahead of time?
Yes, you can make it up to 2 days ahead. The graham crackers will continue to soften, which makes the cake even better.
- → What's the best way to spread the frosting?
Warm the frosting in the microwave for about 20 seconds and stir. This makes it much easier to spread without breaking the crackers.
- → How long do leftovers last?
Keep covered in the fridge for up to 4 days. You can also freeze it for up to 2 months if wrapped well.
- → Can I use homemade ingredients instead of store-bought?
Yes, you can use homemade pastry cream instead of pudding, fresh whipped cream instead of whipped topping, and homemade chocolate frosting.