 Pin
Pin
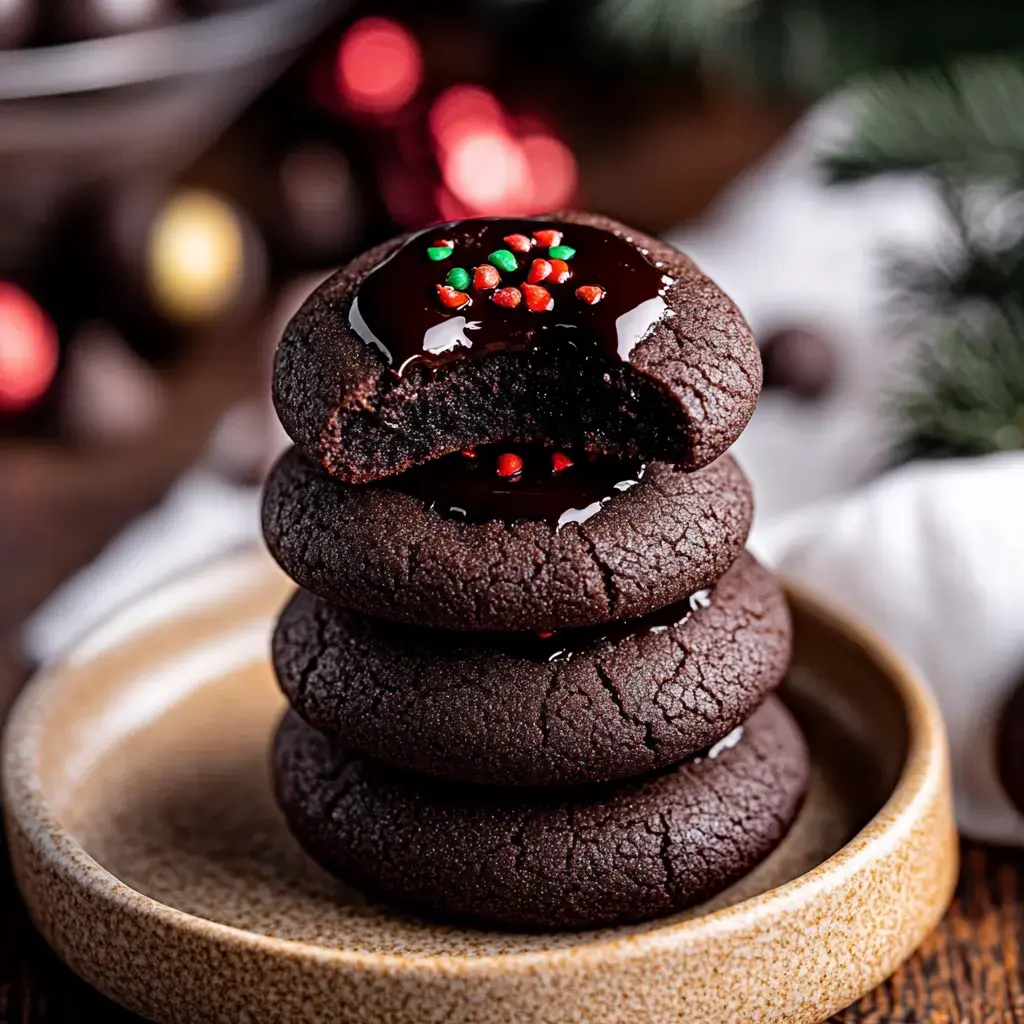
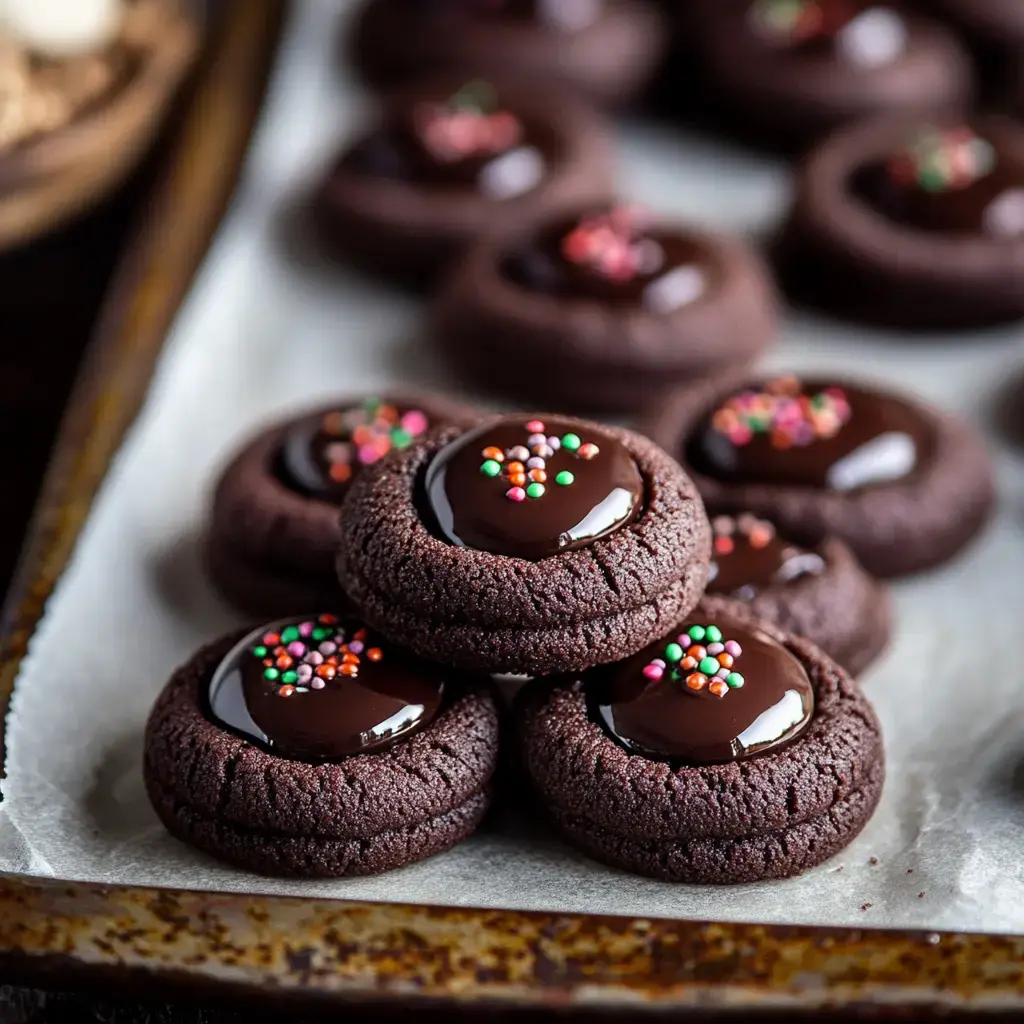
Started making these double chocolate thumbprint cookies after finding this amazing cocoa powder on sale. First batch was bit messy - had chocolate everywhere including somehow in my hair, but that rich chocolate smell had whole family hovering around kitchen. Now they're our favorite treat to make together. My kids love making the little dents with their thumbs, though sometimes cookies end up with more than one thumbprint cause they get excited!
Why You'll Love These Cookies
- Rich chocolate flavor inside and out
- Fun to make with kids they love helping
- Look super fancy but actually pretty easy
- Make house smell like chocolate heaven
- Perfect for chocolate lovers in your life
- Great for cookie swaps or gifting
- Stay soft and fudgy for days if they last that long!
What You'll Need
- For The Cookies:
- Regular flour nothing fancy needed
- Good dark cocoa powder worth splurging here
- Real butter let it soften on counter
- White and brown sugar both make them extra good
- Couple egg yolks room temp best
- Good chocolate for filling melts better
- Heavy cream makes filling super smooth
- Kitchen Stuff:
- Measuring cups and spoons
- Big mixing bowl
- Cookie sheets
- Small pot for melting chocolate
Let's Make Some Cookies
- Getting Started
- Let butter get soft on counter - tried rushing in microwave once ended up with chocolate soup instead of cookies. While waiting, mix flour and cocoa powder together. Used whisk this time no more cocoa clouds in kitchen!
- Making Cookie Dough
- Beat butter and sugars till fluffy and light - takes about 5 minutes with mixer or forever by hand (ask my tired arm). Mix in egg yolks one at time. Add dry stuff slowly unless want look like worked in chocolate factory.
- The Fun Part
- Roll dough into little balls - about size of golf balls works great. Kids love this part though somehow lots dough disappears during process. Make thumbprints in middle carefully - small thumbs make cutest cookies!
- Baking Time
- Pop in oven 10-12 minutes. House starts smelling amazing about now. Don't overbake or they get dry - better slightly underdone than overdone.
- Making The Filling
- While cookies cool make chocolate filling. Heat cream till bubbles start then pour over chocolate. Let sit few minutes then stir till smooth and shiny. If lumpy just keep stirring promise it works out.
- Final Touch
- Fill each thumbprint with chocolate mixture. Try not eat them all while waiting for chocolate set. Sprinkles on top make them extra pretty if can find them before kids use all for 'decorating'.

Tips From My Kitchen
Learned few tricks making these bunch times now. Room temp eggs blend way better than cold ones. Don't skip chilling dough if you want pretty cookies otherwise spread all over pan. If thumbprints puff up during baking just press them down again while still warm. And maybe put cookies up high if want any left for later - even top shelf not safe from my cookie-loving family!
Mix It Up
Love playing around with different fillings. Sometimes use white chocolate inside makes pretty contrast. Tried peanut butter filling once - kids went crazy for those. Adding little mint extract to chocolate filling makes them taste like fancy after-dinner chocolate. Even filled some with caramel sauce once though bit messy to eat nobody complained!
Keeping Them Fresh
These stay good in sealed container about week if they last that long (never do at my house). Layer them with wax paper so don't stick together. Can freeze unfilled cookies month or two just fill after thaw out. Perfect for making ahead for parties or when know cookie cravings coming - which basically always at our house!
Recipe FAQs
- → Why measure flour properly?
Proper flour measurement prevents dry, dense cookies. Scooping directly compacts flour, leading to excess. Spoon and level or weigh for accuracy.
- → Why chill the dough?
Chilling prevents spreading during baking and helps maintain the thumbprint shape. Don't skip this step or cookies may flatten.
- → Why reshape while hot?
Reshaping hot cookies with a cutter gives perfect circles and restores any lost indents. They're pliable right from the oven.
- → Can I make ganache ahead?
Yes, but it may thicken as it cools. Gently rewarm if needed for proper filling consistency. Don't overheat or it will separate.
- → Why use Dutch process cocoa?
Dutch process cocoa gives deeper color and smoother chocolate flavor. Natural cocoa can work but will affect taste and appearance.
