
 Pin
Pin
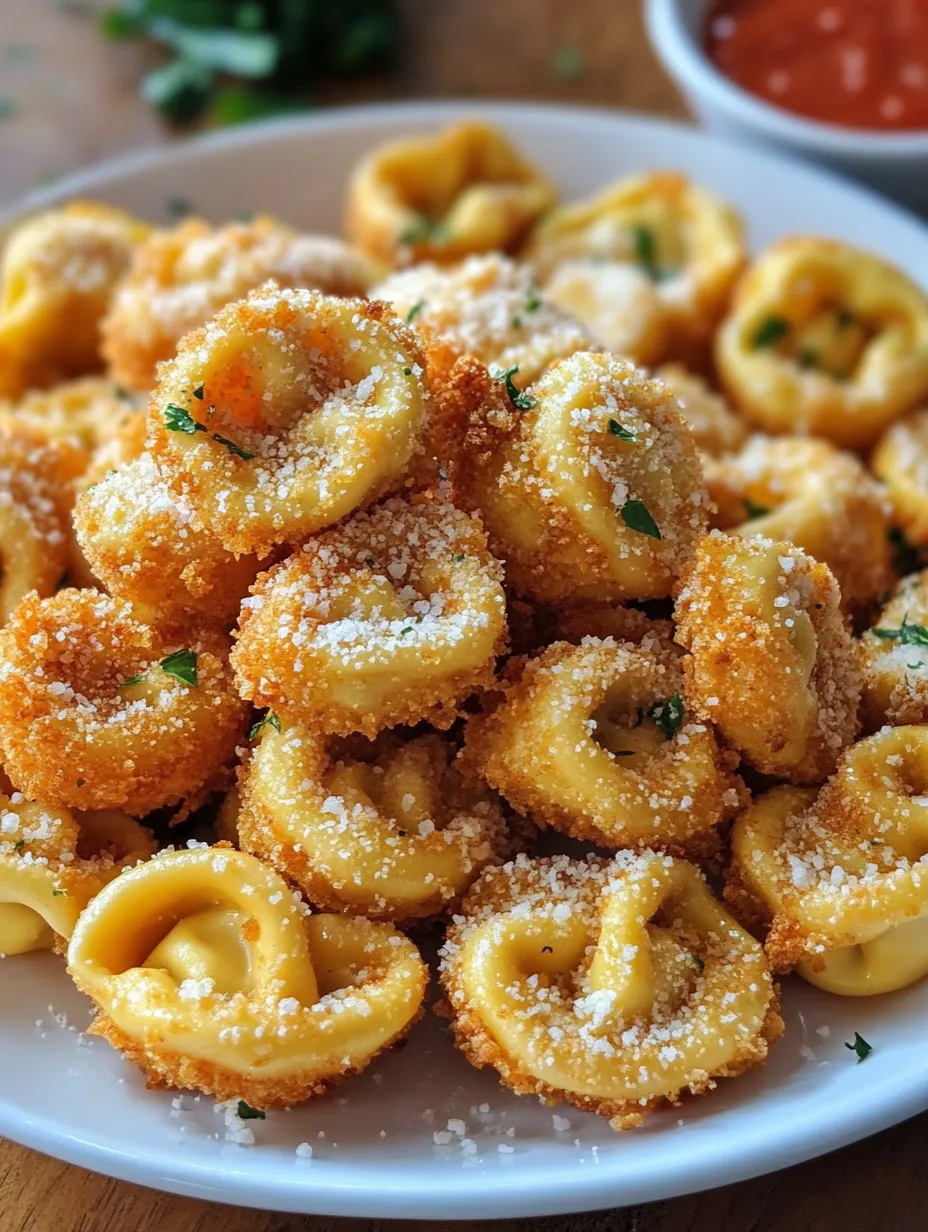
Crispy Parmesan Fried Tortellini transforms regular cheese-filled pasta into golden, crunchy bites of perfection. Each piece delivers that irresistible contrast between the crispy exterior and creamy interior. The first time I made these, I was amazed how such a simple technique could elevate tortellini into an addictive appetizer that disappeared almost as quickly as I served them.
Last weekend, I served these at a family game night, and my nephew who usually avoids pasta asked for the recipe after his third helping. The secret? Taking time to properly coat each piece and frying at the perfect temperature.
Essential Ingredients and Selection Tips
- Cheese Tortellini: Fresh or refrigerated work best for texture and flavor
- Parmesan Cheese: Freshly grated adds more flavor than pre-packaged
- Italian Breadcrumbs: Pre-seasoned simplifies the process
- Garlic Powder: Enhances savory notes without overpowering
- Italian Seasoning: Provides aromatic herb flavor
- High-Quality Oil: Use vegetable or canola for neutral taste
Detailed Cooking Instructions
- Cook Tortellini: Boil tortellini until just al dente, about 2-3 minutes for fresh pasta. They'll finish cooking during frying, so slightly undercook them to prevent mushiness.
- Prepare Dredging Station: Arrange three shallow bowls in a row: flour seasoned with salt in the first, beaten eggs with a splash of water in the second, and breadcrumbs mixed with Parmesan and herbs in the third.
- Dry Thoroughly: Drain tortellini and spread on paper towels. Pat completely dry from all sides - moisture prevents coating adhesion and causes dangerous oil splatters during frying.
- Coat Tortellini: Using one hand for dry ingredients and one for wet, coat each piece in flour, shake off excess, dip in egg, then roll in breadcrumb mixture, pressing gently to adhere.
- Heat Oil: Pour oil 1-inch deep in a heavy skillet and heat to 350°F. Test with a breadcrumb - it should sizzle gently without burning. Maintain this temperature throughout cooking.
- Fry in Batches: Working with small batches to maintain oil temperature, fry tortellini for 2-3 minutes until golden brown, turning once halfway through. Overcrowding causes uneven cooking.
- Drain Properly: Remove with a slotted spoon to a paper towel-lined plate to absorb excess oil, then transfer to a wire rack to prevent sogginess from condensation underneath.
- Season While Hot: Immediately sprinkle with salt and additional Parmesan while still hot. The residual heat helps seasonings adhere and enhances their flavors as they slightly melt.
- Keep Warm: Place finished batches on a baking sheet in a 200°F oven while completing remaining tortellini. Arrange in a single layer to maintain crispiness throughout.
- Serve Immediately: Arrange on a serving platter with warm marinara, garlic aioli, or pesto for dipping. Garnish with fresh herbs and serve while still hot for maximum flavor and texture.
My Italian grandmother taught me that proper frying is about patience and attention. "Watch the bubbles," she'd say, "they tell you everything about your oil temperature."
Serving Suggestions
Whether as party appetizers or Friday night snacks, these versatile bites shine with various accompaniments. Try marinara for classic flavor, garlic aioli for richness, or pesto for herbaceous notes. I've served them alongside antipasto platters, as soup toppers, and even as croutons on Caesar salad. At my daughter's graduation party, I created a tortellini bar with different dipping sauces that became the talk of the event.
Make-Ahead Options
Need to prep ahead? Bread the tortellini and freeze in a single layer, then transfer to freezer bags. They'll keep for a month and can be fried directly from frozen (just add 1-2 minutes cooking time). The convenience makes them perfect for impromptu gatherings. Last Christmas, I prepped these weeks in advance, which saved tremendous time during holiday entertaining.
Healthier Alternatives
While traditional frying gives the best texture, air frying offers a lighter version. Coat as directed, spray with oil, then air fry at 375°F for 8-10 minutes. The texture differs slightly but still satisfies that craving for crunch. My health-conscious sister prefers this method and swears her kids can't tell the difference.
Troubleshooting Tips
If your coating falls off during frying, the tortellini was likely too wet or the oil not hot enough. If they're browning too quickly outside but remaining cool inside, your oil is too hot. Perfect fried tortellini should take 2-3 minutes to reach golden brown, giving the interior time to heat through completely.
I learned these tips through trial and error, like the time I rushed and didn't dry the tortellini properly, resulting in a messy, falling-apart disaster. Now I take my time with each step.
Final Thoughts
Creating these crispy treats connects me to family traditions while adding my own twist. They're my signature potluck contribution and the first thing guests request when visiting. What I love most is watching people's surprise when they bite into what looks like a simple appetizer but delivers such satisfying texture and flavor. These golden bites prove that transforming everyday ingredients with thoughtful technique creates something extraordinary. Whether you're entertaining guests or treating yourself, these crispy tortellini bring joy with every bite. They've become my go-to recipe when I want to impress without spending hours in the kitchen.
Recipe FAQs
- → Can I air fry these instead?
- Yes, air fry at 375°F for 8-10 minutes, flipping halfway through, until golden and crispy.
- → Can I make these ahead of time?
- Best served fresh, but can be reheated in the oven at 350°F until crispy again.
- → What dipping sauces work well?
- Marinara, alfredo, pesto, or ranch dressing all pair nicely.
- → Can I use frozen tortellini?
- Fresh or refrigerated work best, but if using frozen, thaw and cook completely first.
- → How do I prevent the breading from falling off?
- Ensure tortellini are well-drained and patted dry before coating, and press breading firmly to adhere.