
 Pin
Pin
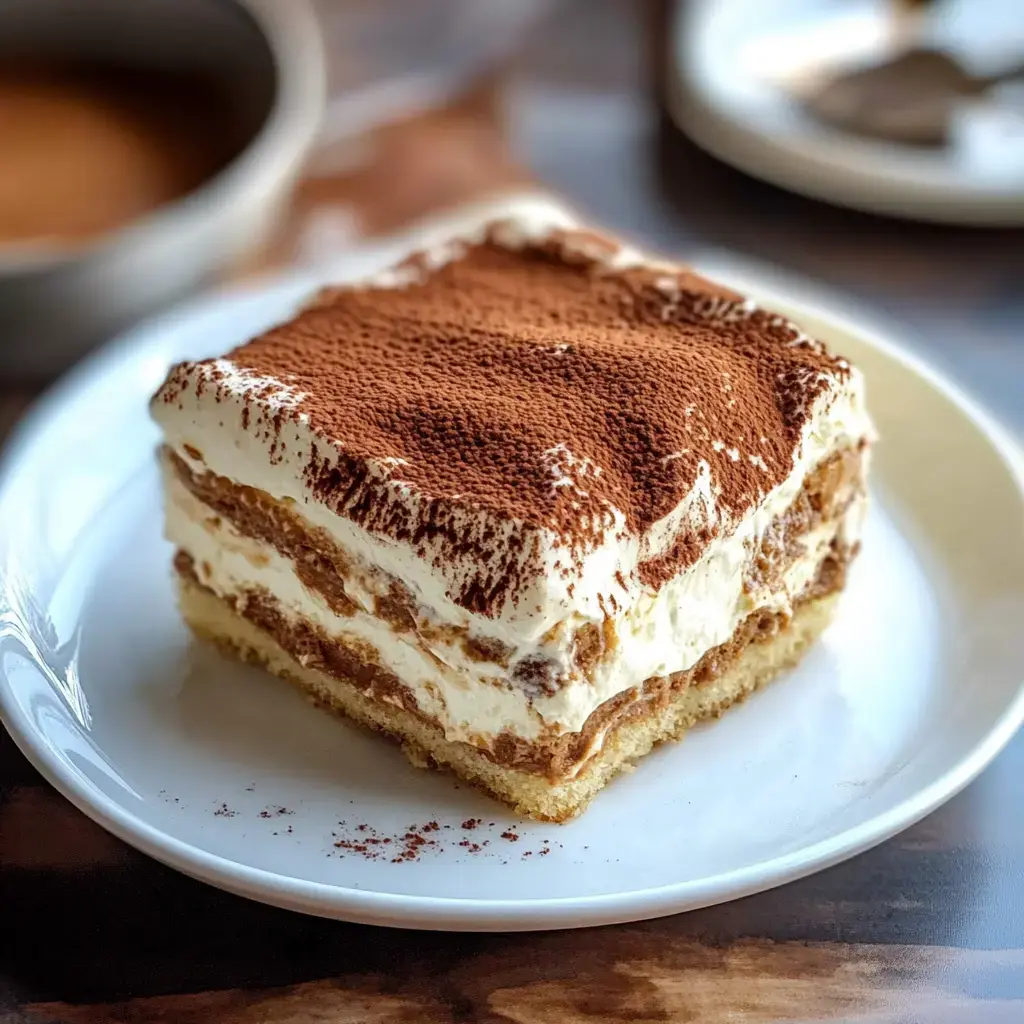
Ever wondered about tiramisu? This homemade Italian dessert couldn't be simpler to make. If you've tasted it at fancy places or always wanted to whip one up yourself, our straightforward approach gives you that genuine Italian flavor without any hassle. We use coffee-drenched ladyfingers and smooth mascarpone to create a treat that's just as good as anything you'd pay for at a restaurant.
Benefits Of This Homemade Tiramisu
This version beats other methods because it's so darn easy yet incredibly tasty. We've skipped raw eggs but kept all the authentic flavor you're looking for. Whether it's for a birthday celebration or just because you want something sweet, you'll get amazing results every time. Even if you've never made desserts before, you can nail this one by following our simple instructions.
Ingredients For Delicious Tiramisu
- Heavy Whipping Cream: The foundation of any proper tiramisu
- Mascarpone Cheese: What gives this Italian treat its signature creaminess
- Granulated Sugar: Adds just enough sweetness to balance everything out
- Vanilla Extract: Brings out the lovely background notes
- Cold Espresso: The unmistakable flavor that makes it authentic
- Coffee Liqueur: You can skip it, but it adds wonderful depth
- Ladyfingers: Soft cookies that soak up all the goodness
- Cocoa Powder: For that classic dusting on top
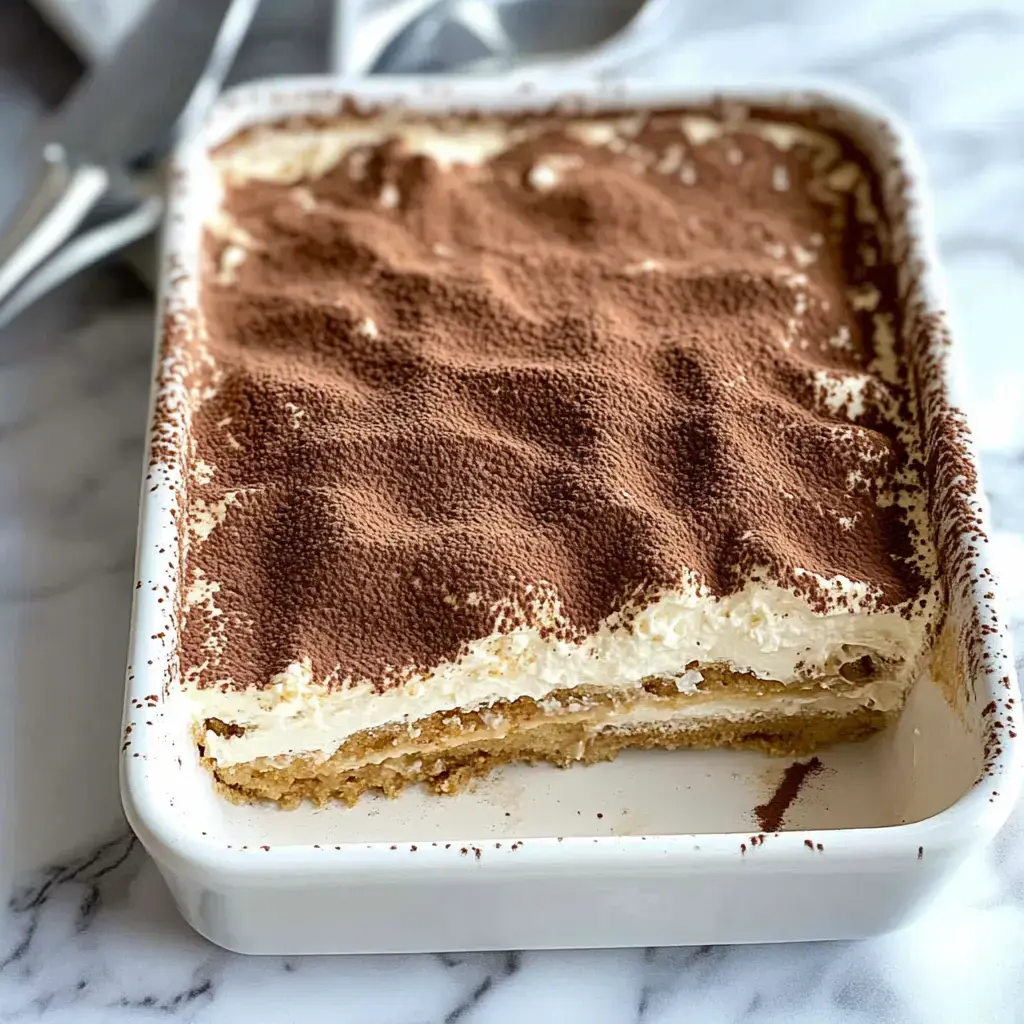
How To Make Tiramisu
- Whip Your Cream:
- Beat the heavy cream until it forms stiff peaks and holds its shape.
- Work The Mascarpone:
- Carefully fold it into your whipped cream for that restaurant-quality texture.
- Get Your Coffee Ready:
- Mix the espresso with liqueur for that characteristic coffee kick.
- Bottom Layer:
- Quickly dip your ladyfingers and arrange them at the bottom.
- Spread The Creamy Mix:
- Cover those ladyfingers with your mascarpone mixture.
- Stack It Up:
- Do another round of dipped cookies and cream to build it higher.
- Dust The Top:
- Sprinkle cocoa powder generously over everything.
- Patience Pays Off:
- Let it sit in the fridge so all those flavors can mingle together.
The Essence Of Italian Tiramisu
Tiramisu is all about those beautiful layers working together. Unlike baked desserts, this one gets better after sitting in your fridge. Our approach shows you don't need fancy equipment or a professional kitchen to make something truly special - just good stuff and a bit of waiting.
Mastering The Creamy Texture
The magic happens with good mascarpone. Our method gives you that velvety smoothness you'd pay good money for, without any complicated steps. The trick is getting the right consistency when you mix your cream and cheese - that's how you get those dreamy, cloud-like layers.
Balancing The Flavors
That coffee kick is what makes tiramisu special. We've worked out the perfect balance between coffee and booze. You can always adjust how strong you want these flavors, making this dessert truly yours to customize.
Secrets For Amazing Results
Getting tiramisu right comes down to letting it rest. This works best when you make it a day ahead and leave it overnight in the fridge. The waiting part is what brings all those flavors together, just like they do in fancy Italian restaurants.
Add Your Personal Touch
The best thing about making tiramisu at home is you can tweak it however you want. While keeping true to what makes it authentic, feel free to adjust things to match your preferences. Maybe you want it boozier or less sweet - whatever version makes you happiest is the right one.
Summary
Love this? Try rich egg cream version next. Or make chocolate coffee layers. Both fancy but quick.
Recipe FAQs
- → Skip the booze?
More vanilla works good. Just use strong coffee. Maybe add bit cream. Still tastes rich. Kids can eat it.
- → How long to chill?
Four hours works fine. All night's better though. Lets flavors mix good. Don't rush the cold. Worth the wait.
- → Can you freeze it?
Skip cocoa powder first. Wrap it real tight. Good three months cold. Thaw slow in fridge. Dust top fresh.
- → No strong coffee?
Dark brew works fine. Double up regular. Use instant maybe. Need good coffee taste. Don't make it weak.
- → Good for veggies?
Sure is - no meat stuff! Check your cream cheese. Most kinds work fine. Just dairy and eggs. Real simple stuff.
- → Getting too wet?
Dip cookies quick. Just one-two dips. Don't soak too long. Layer right away. Firm cream helps hold.
- → Taking it places?
Keep it cold boxed. Pack cocoa separate. Dust there maybe. Take backup cream. Watch the bumps.
- → Need it faster?
Buy ready cookies. Have coffee cold. Mix cream quick. Skip long chill. Still tastes good.
- → Making big batch?
Double works fine. Need bigger pan. More layers okay. Watch cream amount. Takes longer cold.
- → Want more coffee kick?
Use espresso shots. Add coffee powder. Make brew stronger. Even mocha works. Don't make too wet.
- → Cream not thick?
Beat it longer. Keep stuff cold. Check dates good. Fresh cream works best. Maybe strain it.
- → Layers falling?
Press gentle like. Keep cream thick. Don't stack high. Chill between layers. Square pan helps.