
 Pin
Pin
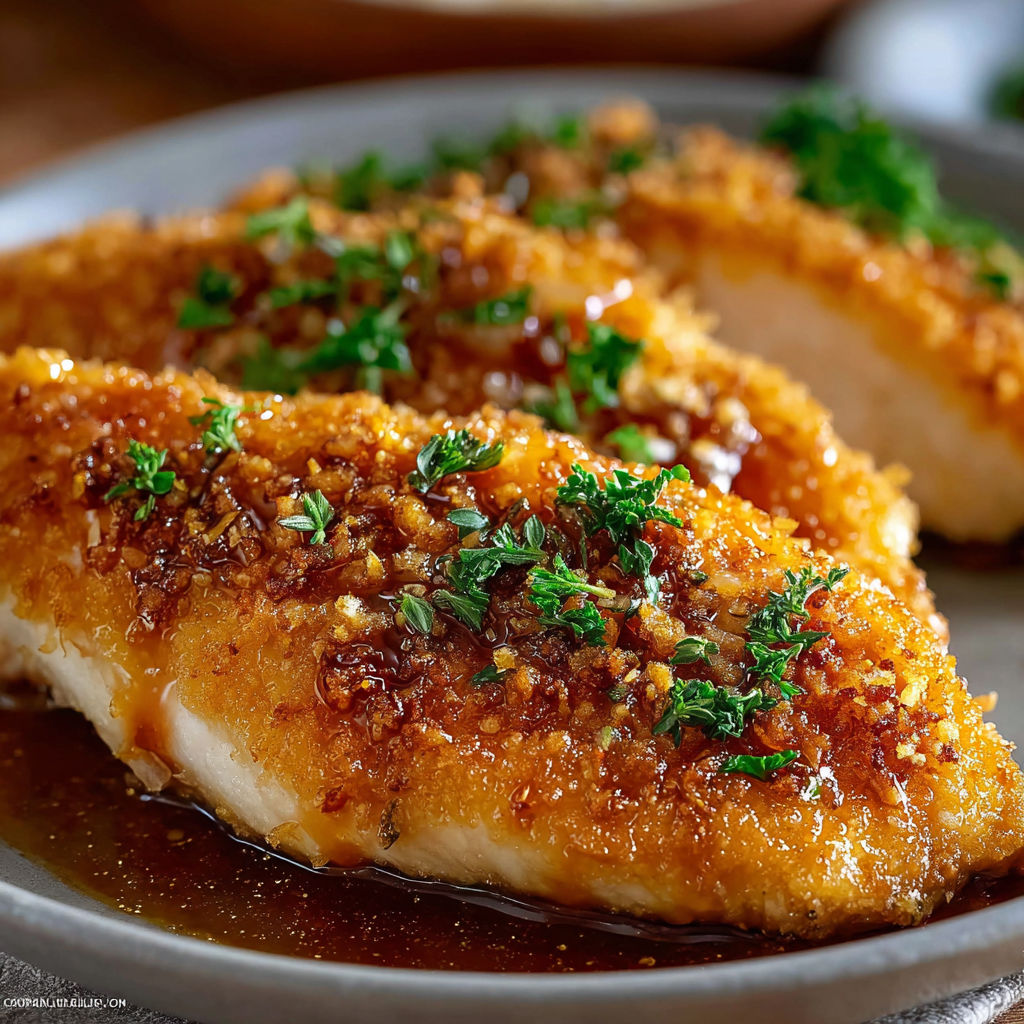
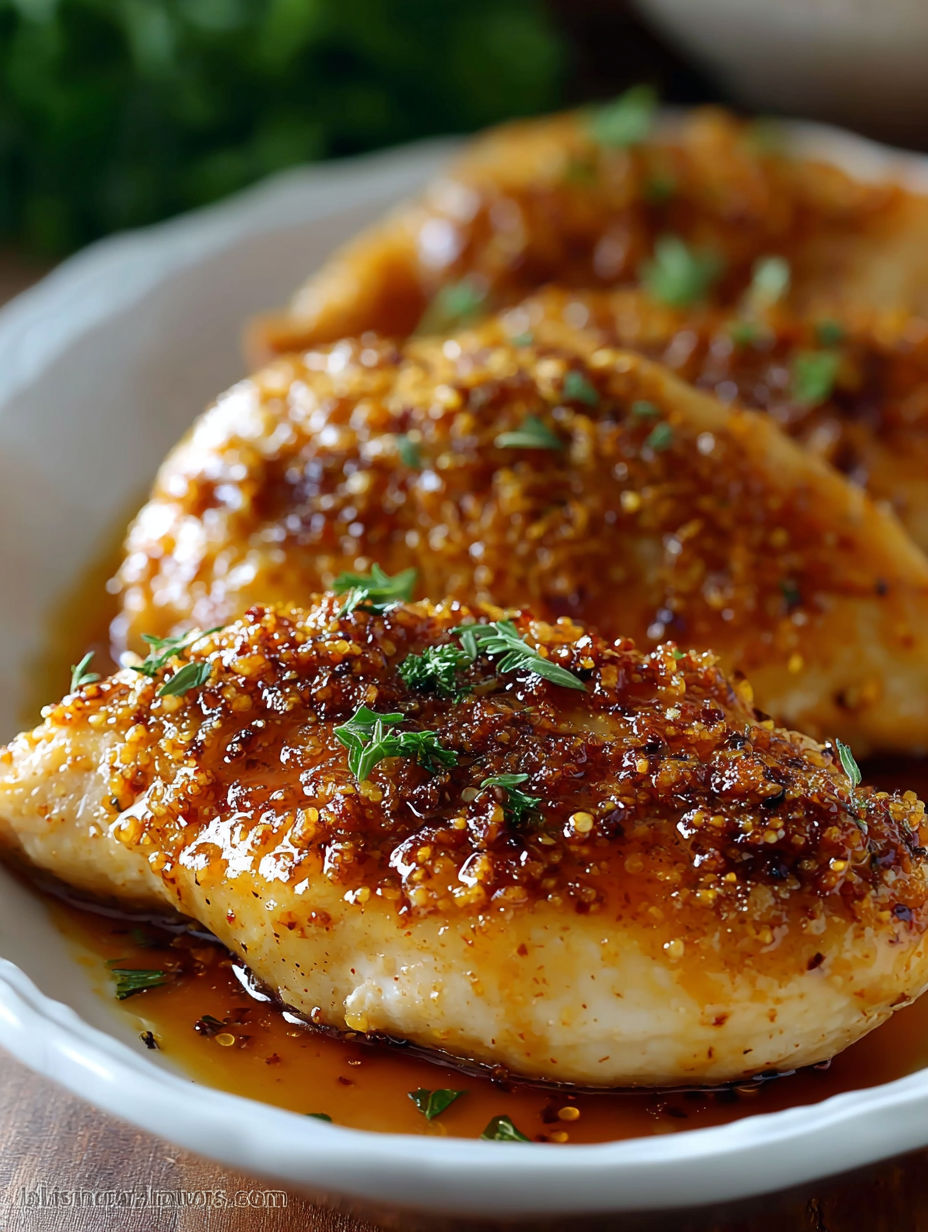
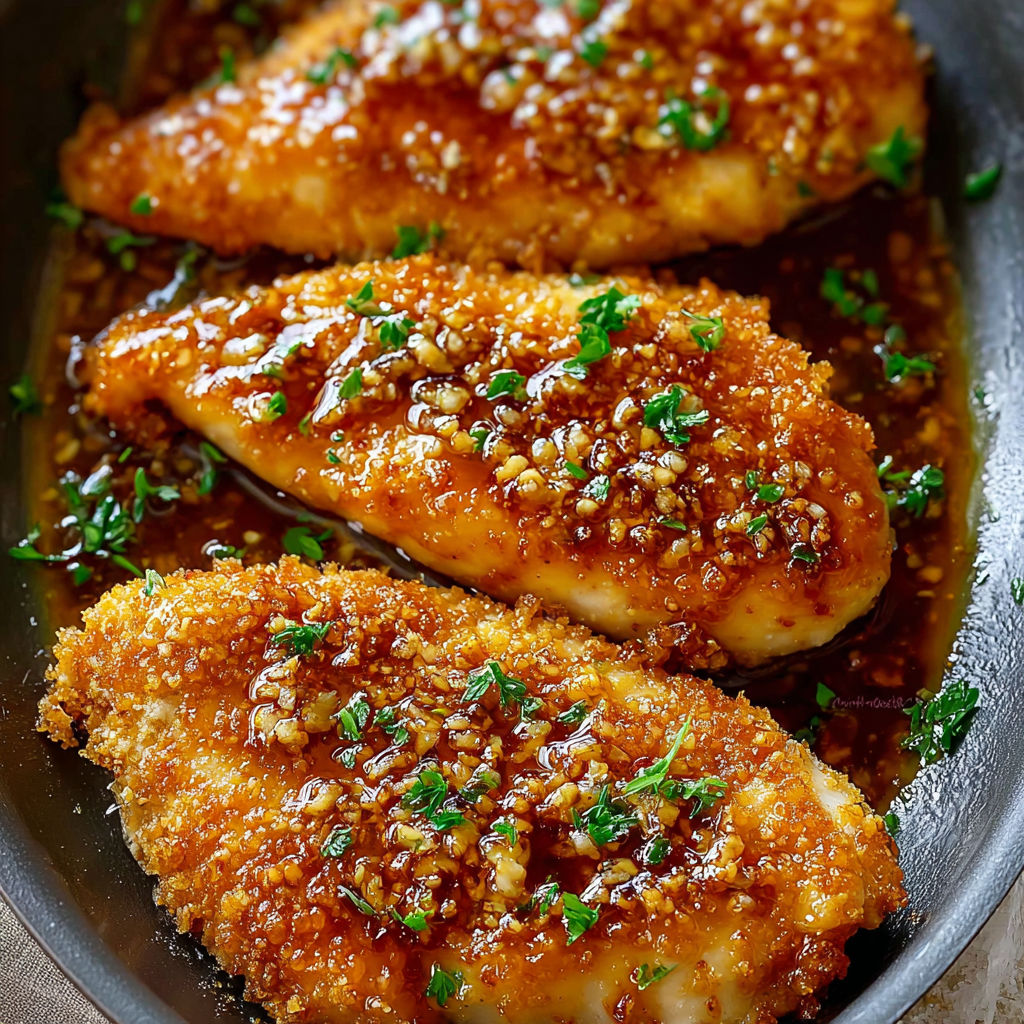
This crispy honey chicken delivers the perfect balance of crunchy exterior and tender, juicy interior, all bathed in a sweet and savory honey garlic sauce. I've perfected this recipe over countless family dinners, and it's become our go-to when we're craving something that's restaurant-quality but made right at home.
This recipe saved me during a particularly hectic week when I needed something impressive for unexpected dinner guests. They were convinced I had ordered from our favorite takeout spot until they caught me in the kitchen preparing the second batch.
Ingredients
- Chicken breasts: select plump ones with even thickness for consistent cooking
- Flour: creates the base for our crispy coating and helps seasonings adhere
- Salt and black pepper: enhances all the other flavors in the dish
- Ground ginger: adds warmth and slight spiciness to complement the honey
- Freshly ground nutmeg: use whole nutmeg and grate it yourself for best flavor
- Ground thyme and sage: herbaceous notes that balance the sweetness
- Cayenne pepper: brings just enough heat without overwhelming
- Paprika: adds beautiful color and mild smoky flavor
- Eggs: acts as the glue for our coating layers
- Olive oil: use a good quality one for the sauce
- Garlic: fresh cloves make all the difference in the sauce
- Honey: get local if possible for the best flavor
- Soy sauce: low sodium lets you control the saltiness
- Canola oil: high smoke point makes it ideal for frying
How To Make Crunch Honey Chicken
- Prepare the chicken:
- Flatten chicken breasts between plastic wrap to even 1/2 inch thickness. This ensures quick and even cooking while tenderizing the meat. Take your time with this step as proper thickness prevents dry overcooked spots.
- Create the seasoned flour:
- Sift together flour with all dry seasonings in a bowl until thoroughly combined. The combination of warming spices with herbs creates our signature flavor profile. Reserve half of this mixture for the second coating which creates extra crunch.
- Prepare the egg wash:
- Whisk eggs and water together until completely smooth. The water lightens the egg mixture allowing for a more delicate coating that will crisp perfectly during cooking.
- Season and coat the chicken:
- Season chicken with salt and pepper then dredge in flour mixture covering completely. Dip into egg wash allowing excess to drip off then coat again in reserved flour mixture. Press gently to adhere coating to ensure maximum crunchiness.
- Cook the chicken:
- For traditional frying heat canola oil in a skillet to medium heat and cook chicken for 4 to 5 minutes per side until golden brown and internal temperature reaches 165°F. The double coating creates a protective shell that keeps the chicken juicy.
- Prepare the honey garlic sauce:
- Heat olive oil in a separate pan and sauté garlic until fragrant about 30 seconds. Add honey and soy sauce simmering gently until slightly thickened. The sauce should coat the back of a spoon but still pour easily.
- Serve:
- Drizzle the warm sauce over the crispy chicken just before serving. This timing preserves the crunch while adding incredible flavor.
The ground ginger in this recipe has become my secret weapon in many dishes beyond this chicken. My daughter once declared this "magic chicken" after watching me prepare it, and the name has stuck in our household ever since. The combination of spices creates an aromatic experience that fills the kitchen with an irresistible fragrance.
Baking Option
If you prefer a lighter version with less oil, the oven-baked method produces remarkably crispy results. Preheat your oven to 425°F and generously grease a baking sheet. Follow the same coating process, then arrange chicken on the sheet without crowding. Bake for 15 minutes, carefully flip each piece, then continue baking for another 10-15 minutes until golden and cooked through. The high temperature creates a wonderfully crispy exterior while keeping the inside juicy. I discovered this method during summer months when I wanted something lighter but equally satisfying.
Make-Ahead Tips
The spice and flour mixture can be prepared up to two weeks in advance and stored in an airtight container. This makes weeknight preparation significantly faster. You can also coat the chicken up to eight hours before cooking keeping it covered in the refrigerator on a wire rack to maintain coating integrity. The sauce stays fresh in the refrigerator for up to five days and reheats beautifully in the microwave or on the stovetop with a splash of water if needed. These make-ahead options have saved countless dinners on busy evenings when time is short but appetites are large.
Serving Suggestions
This crispy chicken pairs wonderfully with steamed rice which soaks up the delicious honey garlic sauce. For a complete meal add a side of stir-fried vegetables like broccoli snap peas or bell peppers. The crispy texture contrasts beautifully with something cool like a cucumber salad dressed simply with rice vinegar. When entertaining I serve this chicken cut into strips with toothpicks and extra sauce on the side for dipping making it perfect finger food for gatherings.
Cultural Context
This recipe draws inspiration from several culinary traditions. The double coating technique comes from Southern American cooking where it creates the perfect crispy fried chicken. The honey garlic sauce has Asian influences particularly from Chinese sweet and savory preparations. The spice blend incorporates both Western herbs and Eastern spices creating a truly global flavor profile. This fusion approach represents how modern home cooking evolves across cultural boundaries making something uniquely delicious that honors multiple traditions.
Recipe FAQs
- → Can I make this dish ahead of time?
Yes, you can prepare the spice mixture and coat the chicken in advance. Store the coated chicken in the refrigerator for up to 4 hours before cooking. For best results, make the honey sauce fresh just before serving, as it maintains the perfect consistency when warm.
- → How do I know when the chicken is cooked through?
The chicken is done when it reaches an internal temperature of 165°F (74°C). If you don't have a meat thermometer, cut into the thickest part of a piece - the meat should be completely white with no pink showing and the juices should run clear.
- → Can I use chicken thighs instead of breasts?
Absolutely! Boneless, skinless chicken thighs work wonderfully in this dish and often result in juicier meat. You may need to adjust cooking time slightly as thighs typically cook a bit faster than breasts of the same thickness.
- → What sides pair well with this chicken?
This chicken pairs beautifully with steamed jasmine rice or coconut rice to soak up the delicious sauce. For vegetables, consider steamed broccoli, stir-fried bok choy, or a simple Asian-inspired slaw with cabbage and carrots.
- → Can I make this dish gluten-free?
Yes, simply substitute the all-purpose flour with a gluten-free flour blend and use tamari or certified gluten-free soy sauce. Double-check your spice blends to ensure they don't contain any gluten additives.
- → How spicy is this chicken dish?
With 1 teaspoon of cayenne pepper in the coating, this chicken has a mild to moderate heat level. You can adjust the spiciness by reducing the cayenne to 1/4 teaspoon for a milder version or increasing it to 2 teaspoons for more heat.