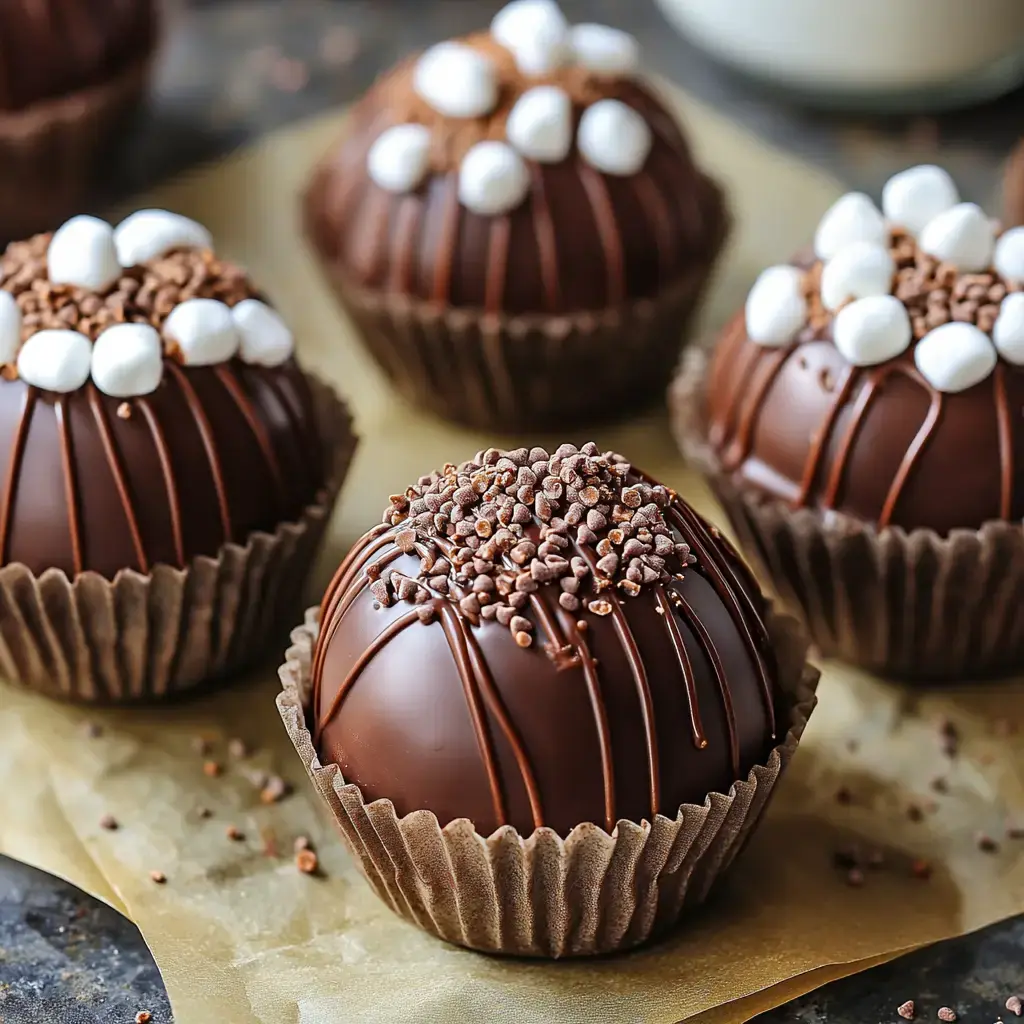
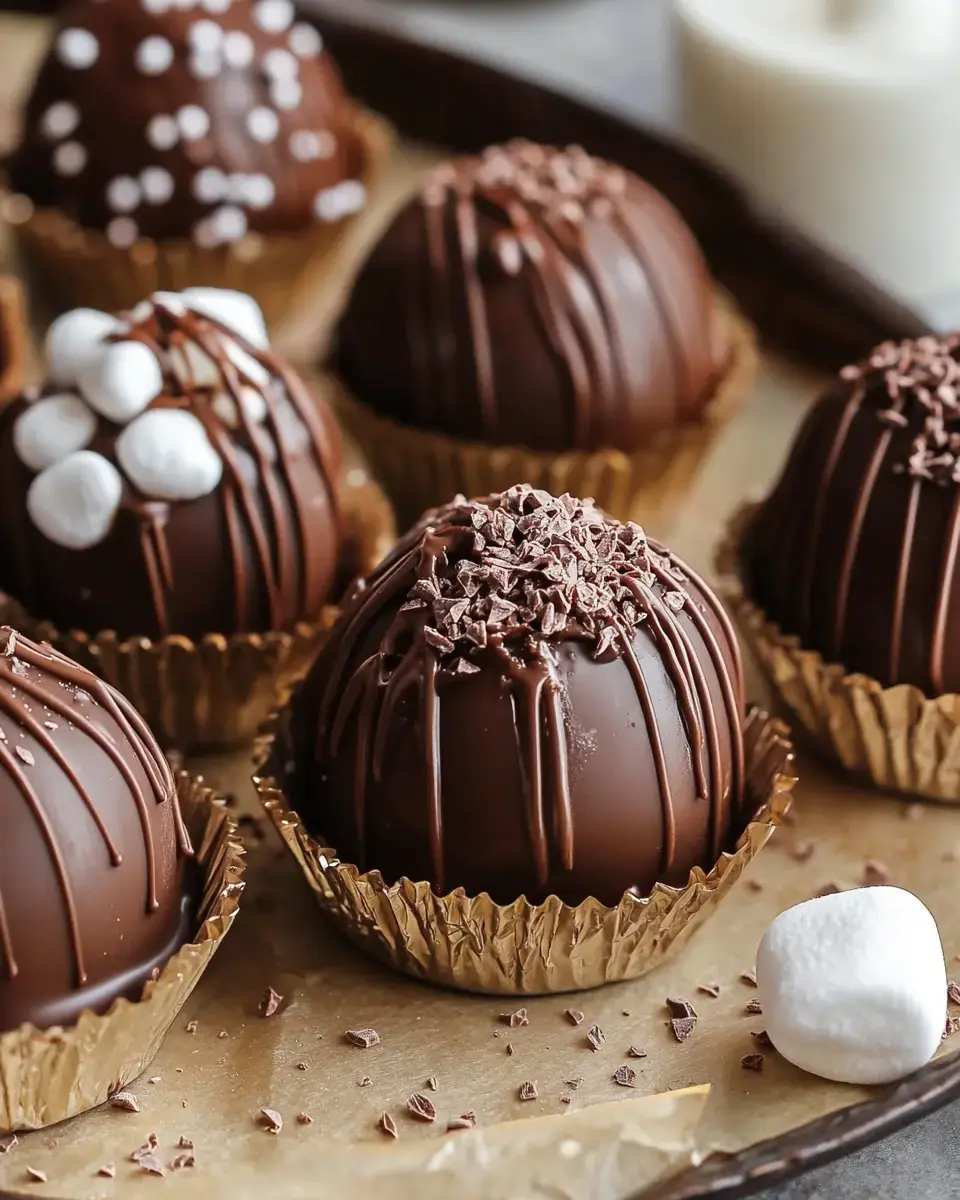
 Pin
Pin
Let me share how these easy homemade hot chocolate bombs became my signature winter gift. Last December, after watching my kids go crazy for a store-bought version, I thought 'I can make these better!' Twenty batches and countless chocolate-covered fingers later, I cracked the code. Now my kitchen turns into a chocolate bomb factory every holiday season, and friends start dropping hints about them as soon as the weather turns cold.
The Secret to Success
After many failed attempts at this homemade recipe (including one memorable batch that melted before gifting!), I've learned that choosing the right chocolate makes all the difference. Skip those chocolate chips in the pantry - trust me, I tried and ended up with a sticky mess. For this easy recipe to work like magic, grab some quality chocolate with real cocoa butter. Callebaut is my go-to, though Ghirardelli works great too if that's what you can find.
Let's Get Set Up
- Your Shopping List
- Grab some good chocolate - you'll need about 12 ounces for 6 bombs. Hunt down those sphere molds (I got mine online for cheap), and don't forget fresh marshmallows - the ones that have been in your pantry since last winter won't cut it. For the hot cocoa mix, I love making my own with Dutch cocoa and a pinch of sea salt.
- Kitchen Setup
- Clear your counter space - these can get messy until you get the hang of it. Line up your tools: thermometer, spatula, brush for the molds (I use a clean makeup brush - works perfectly!), and some parchment paper for working on.
- Temperature Matters
- Here's something I wish I knew when starting: your kitchen needs to be cool, around 70°F. I learned this the hard way when my first batch wouldn't set during a hot cocoa making party. Turn down that thermostat!
The Making Process
- Chocolate Prep
- Chop your chocolate super fine - seriously, like confetti size. Big chunks won't melt evenly (learned that one the hard way). Warm 2/3 of it gently to exactly 100°F - I use the microwave in 20-second bursts, stirring between each. When melted, stir in the remaining chocolate until smooth.
- Molding Magic
- Paint your molds with a thin layer of chocolate. Pop in the fridge for 5 minutes - no longer, or you'll get condensation. Add a second coat, making the edges slightly thicker. This prevents cracks later - trust me on this one!
- Assembly Time
- Once shells are set, fill half with your cocoa mix and marshmallows. To seal, heat a pan and press the empty half's edges on it for just a second - instant melting for a perfect seal!
When Things Go Wrong
Listen, even with this easy homemade recipe, stuff happens. If your chocolate looks streaky, it's probably too hot or too cold - aim for that sweet spot around 88-91°F. Shells sticking to molds? Pop them in the freezer for exactly 3 minutes. Got fingerprints on your finished bombs? A quick stroke with a warm brush fixes that right up. Remember, even the 'ugly' ones taste amazing!

Making Them Your Own
Once you've got this easy recipe down, have some fun with it! I love adding peppermint pieces to the hot cocoa mix for Christmas, or a pinch of cinnamon and cayenne for Mexican hot chocolate bombs. My kids' favorite version of this homemade recipe includes colorful sprinkles inside - they call them 'unicorn bombs.' Try painting the molds with colored cocoa butter first for a marbled effect.
Wrapping and Storing
These homemade beauties need some TLC for storage. Keep them in a cool, dry spot - I use the cabinet furthest from my oven. They'll last about three weeks if you can resist them that long! For gifting, I pop each bomb in a clear cellophane bag with a pretty ribbon. Include a little note with instructions - 'Drop in hot milk, watch the magic happen, stir and enjoy!' Warning: once you start giving these as gifts, you'll be making them every winter!
Recipe FAQs
- → Why won't my chocolate set right?
Temperature is key. Keep it between 88-91°F when working. Too hot or cold and it won't set with a nice shine.
- → No molds - what now?
Cupcake liners work great too. Just build up chocolate layers inside them instead of using sphere molds.
- → Why wear gloves?
Your fingerprints will show on shiny chocolate. Gloves keep the bombs looking perfect and clean.
- → Best milk for serving?
Whole milk makes it creamiest, but 2% works too. Heat until almost boiling for the best 'explosion' effect.
- → How do I store these?
Keep them cool and dry in an airtight container. They'll stay good for weeks if the chocolate was tempered right.
