
 Pin
Pin
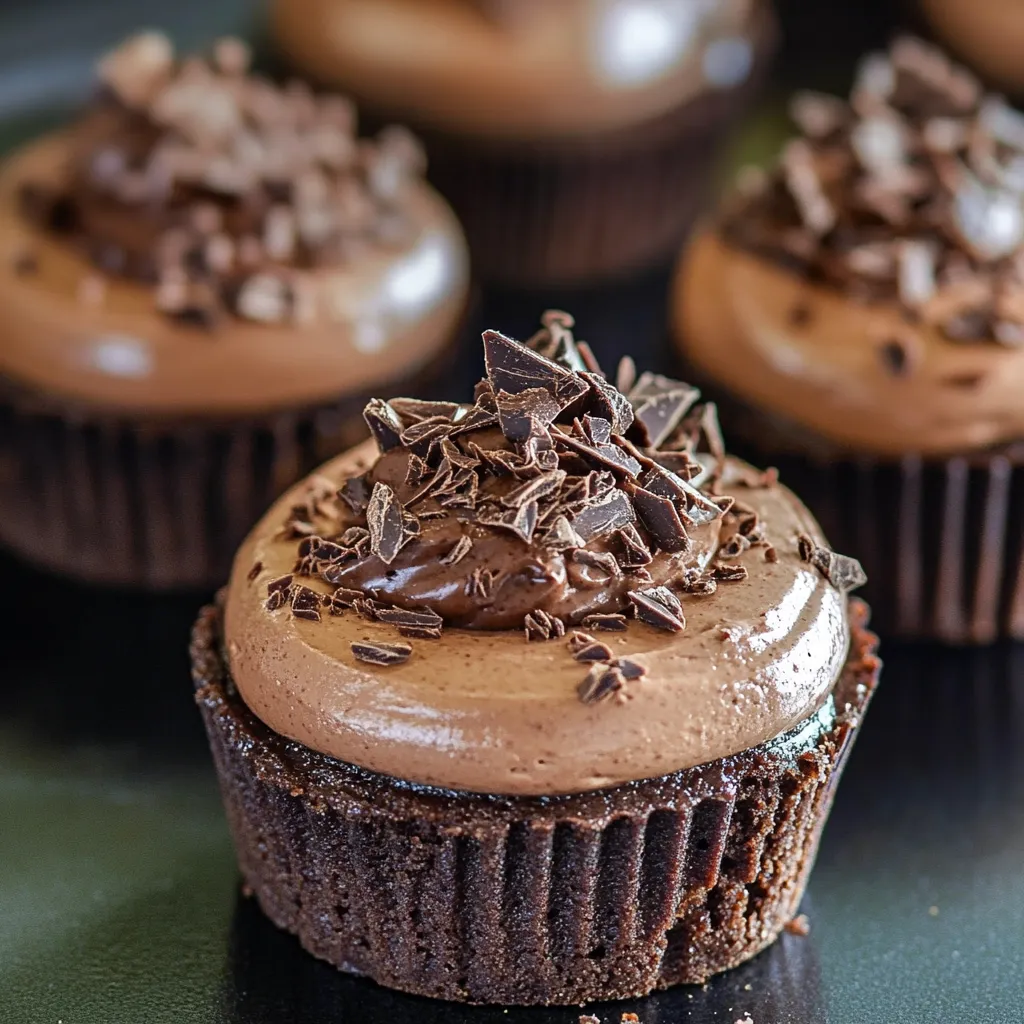
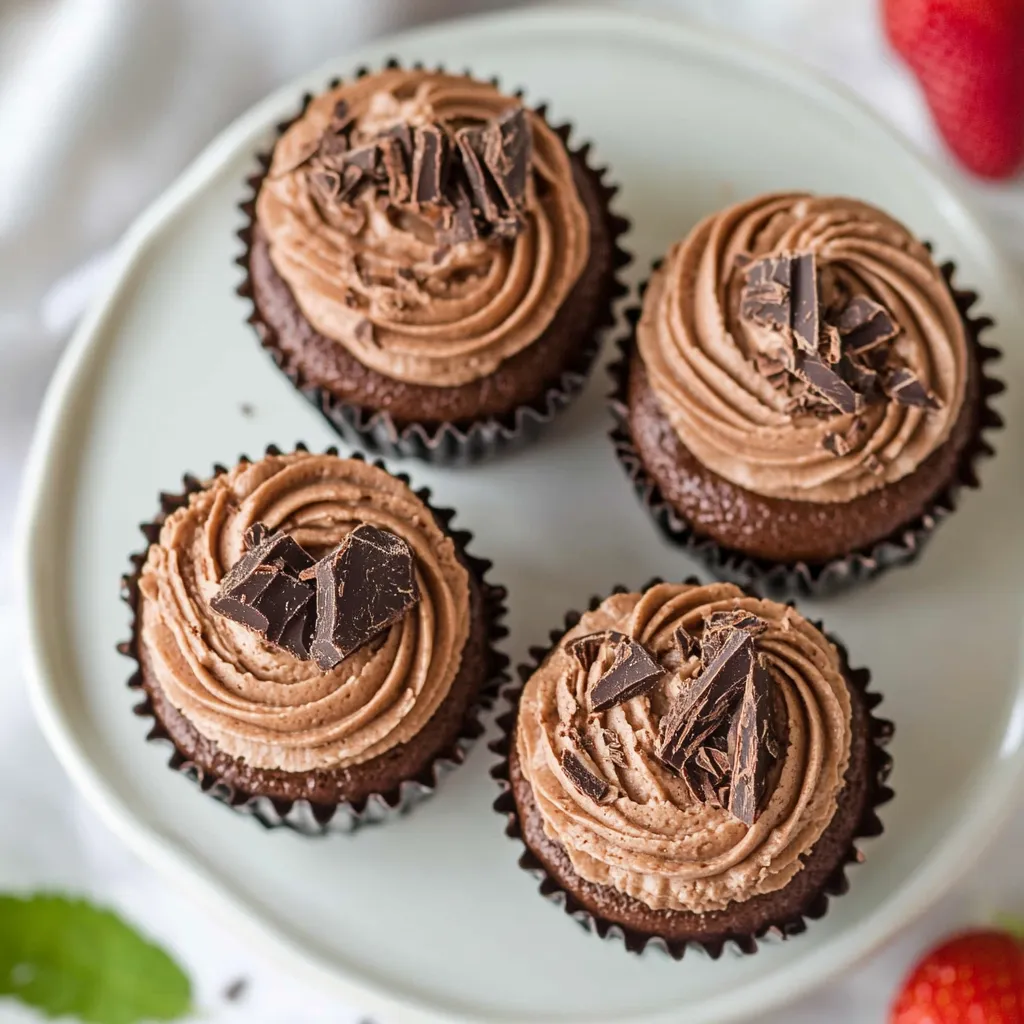
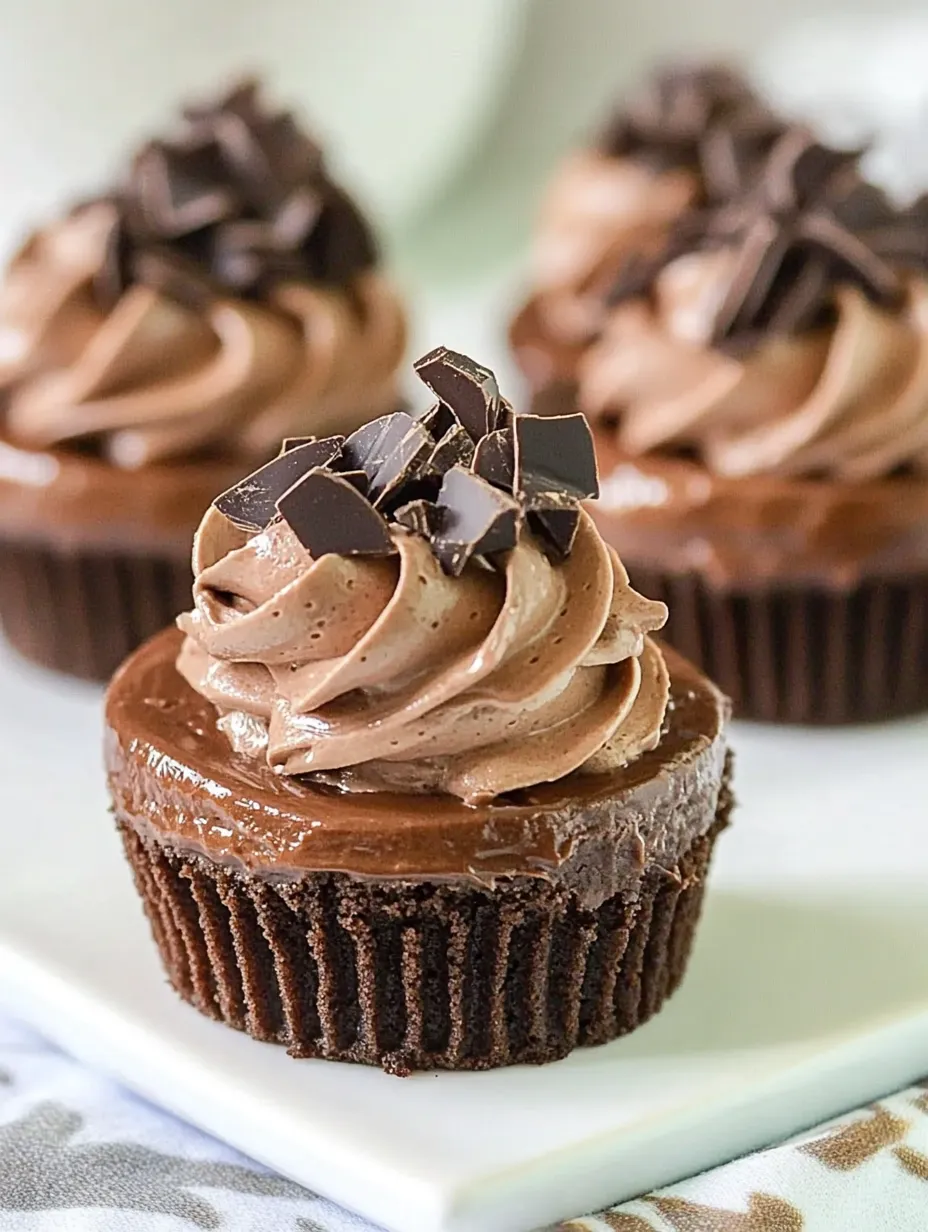
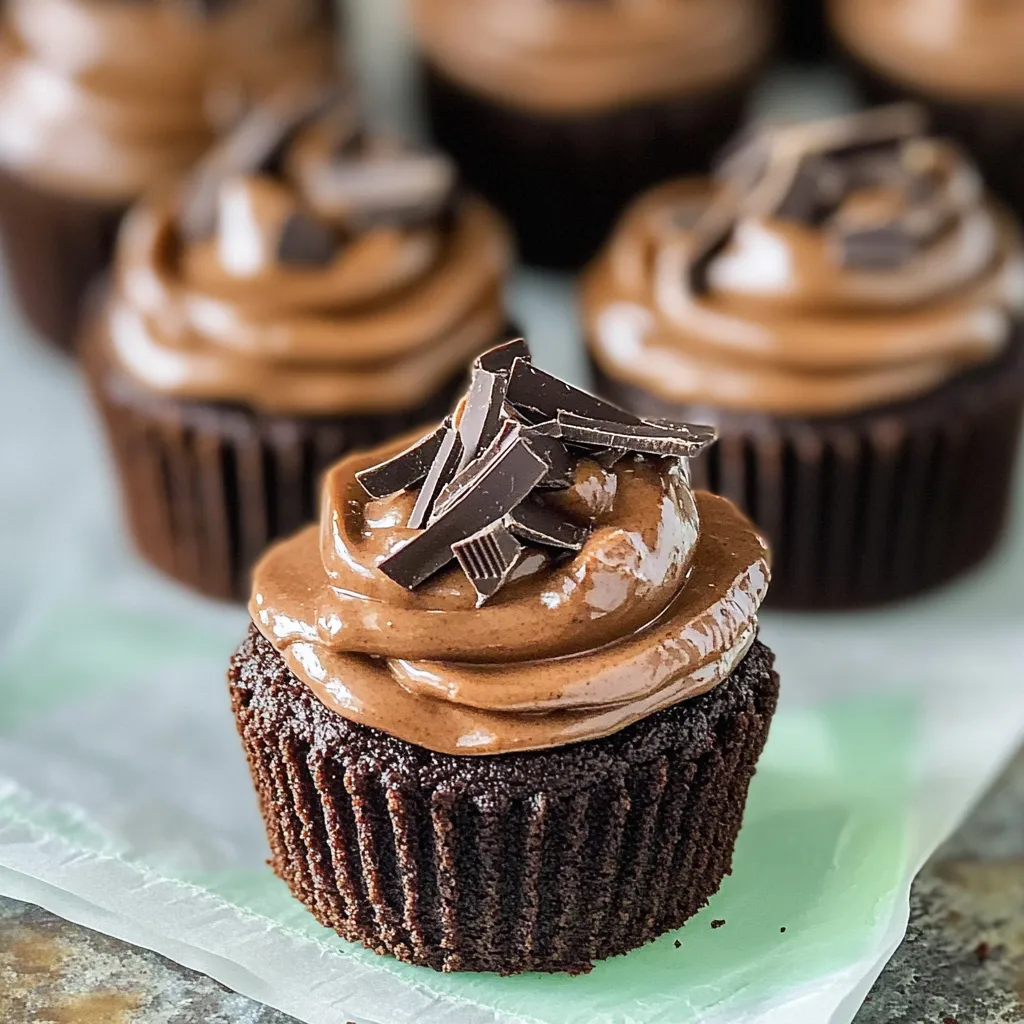
Indulge in the ultimate chocolate lover's dream with these Mini Chocolate Cheesecakes. Four spectacular layers of chocolate decadence come together to create bite-sized pieces of heaven that'll make any dessert table shine. Each miniature masterpiece starts with a crisp Oreo crust, followed by a silky chocolate cheesecake layer, topped with glossy ganache, and crowned with clouds of chocolate whipped cream.
I first created these mini cheesecakes for my sister's birthday, and they've become her most requested dessert ever since. The way each layer adds its own unique chocolate character creates such an incredible depth of flavor that even my chocolate-ambivalent husband can't resist them.
Essential Ingredients Selection
- Cream Cheese: Must be full-fat and completely softened - cold cream cheese leads to lumpy batter
- Chocolate: Choose high-quality semi-sweet chocolate around 54-60% cacao - I prefer Ghirardelli baking bars
- Oreos: Regular, not Double Stuf - the extra cream filling throws off the crust texture
- Heavy Cream: Look for cream with at least 36% fat content for the best whipping results
- Cocoa Powder: Dutch-processed gives the whipped cream a deeper color and richer taste
Detailed Instructions
- Mastering the Perfect Crust
- Pulse Oreos with filling intact until they're super fine crumbs
- Press firmly but gently - too much pressure makes them hard to remove
- Check edges are even height all around
- Pre-bake for 5 minutes to set the crust completely
- Creating Silky Cheesecake Batter
- Beat cream cheese until completely smooth before adding sugar
- Scrape bowl frequently to catch hidden lumps
- Mix in chocolate while it's still slightly warm for better incorporation
- Fill cups using an ice cream scoop for even portions
- Achieving Ganache Perfection
- Chop chocolate very finely for smooth melting
- Heat cream just until bubbles form around edges
- Let sit untouched for full 2 minutes before stirring
- Tap pan gently to settle ganache into a smooth layer
After years of making cheesecakes, I've found chocolate brings out everyone's inner dessert enthusiast. My daughter loves helping crush the Oreos, though I've learned to accept that some will mysteriously disappear during the process.
The Art of Layering
Each layer needs time to set properly. I usually make these over two days, letting the cheesecake base chill overnight before adding the ganache and whipped cream. The patience pays off in perfectly defined layers.
Temperature Control
The secret to pristine layers lies in temperature management. Each layer should be properly set before adding the next. I keep my cream and bowl in the freezer for 15 minutes before whipping - it makes the fluffiest topping.
Making these mini cheesecakes has taught me that sometimes the best things come in small packages. The combination of textures and intensities of chocolate creates such a memorable dessert experience that guests always leave asking for the recipe. Remember, good chocolate deserves patience - take your time with each step, and you'll be rewarded with absolutely stunning results.
Seasonal Adaptations
I've discovered these mini cheesecakes are perfect for adapting throughout the year. During summer, I'll top them with fresh berries and mint leaves. For fall, a sprinkle of cinnamon and caramel drizzle transforms them into autumn treats. Winter holidays call for crushed candy canes or gold shimmer dust.
The Science of Smooth Cheesecake
Understanding how ingredients work together has helped me perfect this recipe. The egg provides structure while maintaining creaminess, and the melted chocolate must be warm enough to blend smoothly but not so hot it melts the cream cheese. It's a delicate balance that becomes intuitive with practice.
Serving with Style
Setting up a mini cheesecake bar at parties has become my signature move. I'll prepare various toppings - fresh fruit compote, chocolate curls, crushed nuts, and caramel sauce - letting guests customize their own. It's always a hit and makes for great conversation.
Making Ahead Magic
These cheesecakes actually improve with a day or two of rest in the refrigerator. The flavors deepen and meld together beautifully. Just wait to add the whipped cream until shortly before serving for the freshest presentation.
Portion Control
One of the beauties of this recipe is its built-in portion control. Each mini cheesecake is perfectly sized to satisfy without overwhelming. Though I've noticed guests often can't resist coming back for seconds!
After countless batches and many happy taste-testers, these mini chocolate cheesecakes have earned their place in my permanent recipe collection. They prove that sometimes the most impressive desserts don't require advanced baking skills - just attention to detail and quality ingredients. Whether you're making them for a special celebration or simply because it's Tuesday, these little bites of chocolate heaven never fail to bring smiles to faces. Remember, the key to success lies in patience, proper temperature control, and of course, using the best chocolate you can find. Happy baking! 🍫✨
I hope this detailed guide helps you create these delightful treats. The combination of four different chocolate experiences in one bite makes these mini cheesecakes truly unforgettable. Enjoy making them as much as serving them!
Recipe FAQs
- → Can I make these ahead of time?
- Yes! Make up to 2 days ahead and store covered in the refrigerator. Add whipped cream and garnish just before serving.
- → Why did my cheesecakes crack?
- Don't worry if they crack - they'll be covered with ganache! Cracks usually happen from overbaking or cooling too quickly.
- → Can I freeze these cheesecakes?
- Yes, freeze for up to 2 months without the whipped cream. Thaw overnight in the refrigerator.
- → What can I use instead of Andes mints?
- Try chocolate shavings, mini chocolate chips, or chocolate sprinkles as alternatives.
- → Why are my ingredients room temperature?
- Room temperature ingredients blend better and create a smoother cheesecake texture without lumps.