
 Pin
Pin
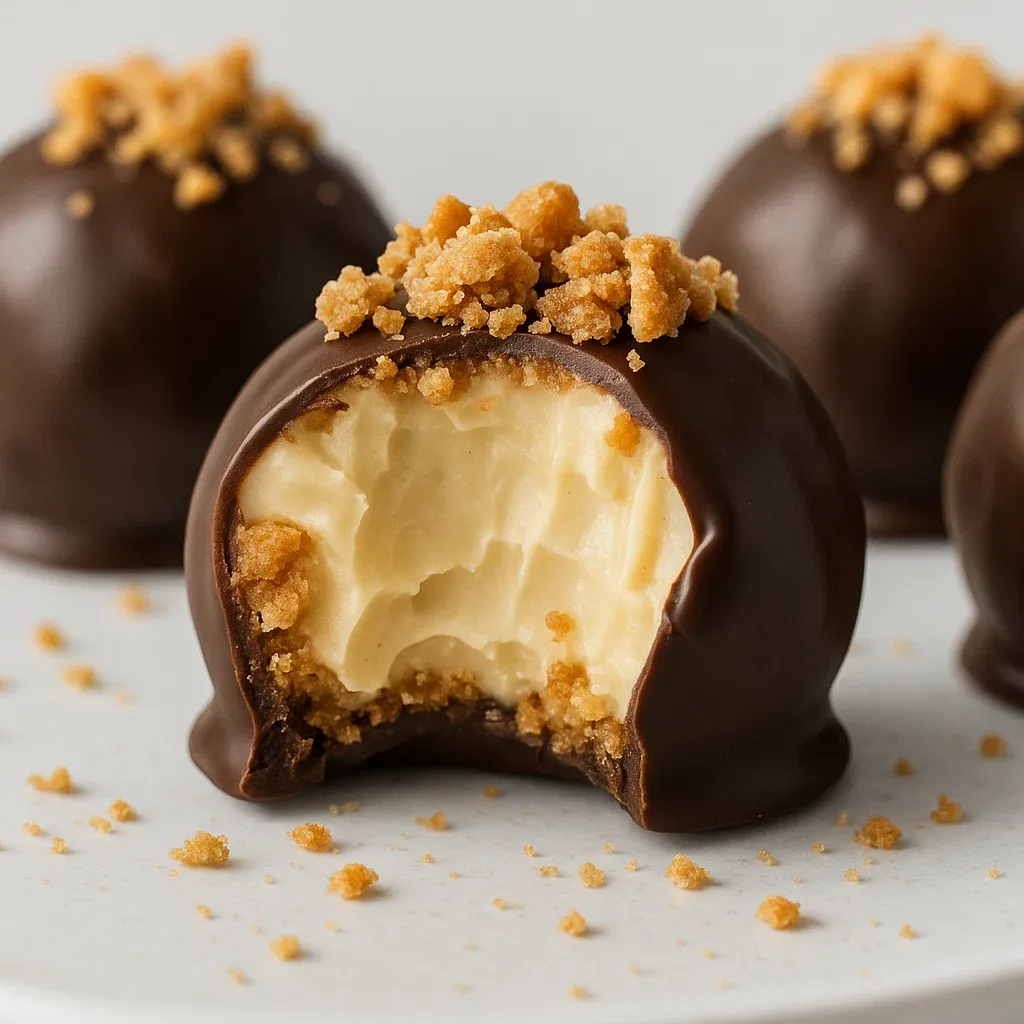
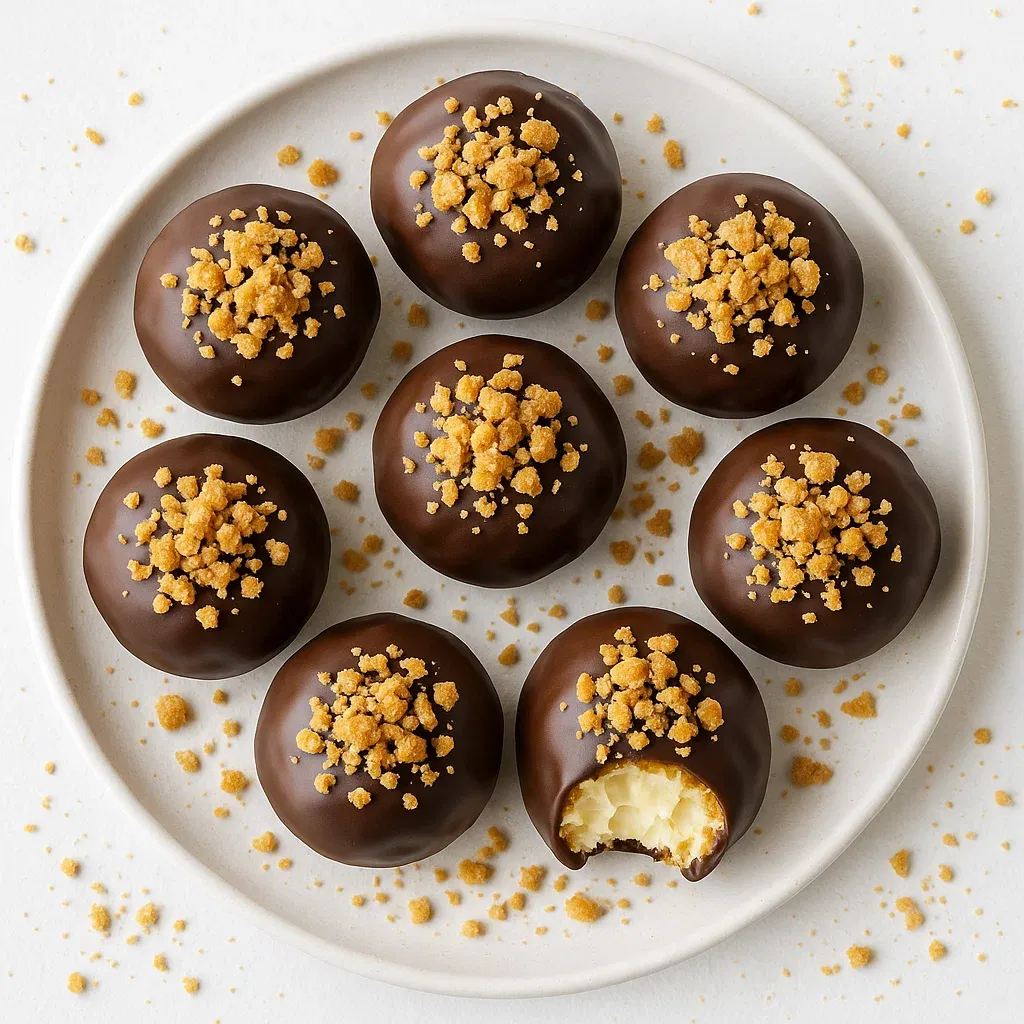
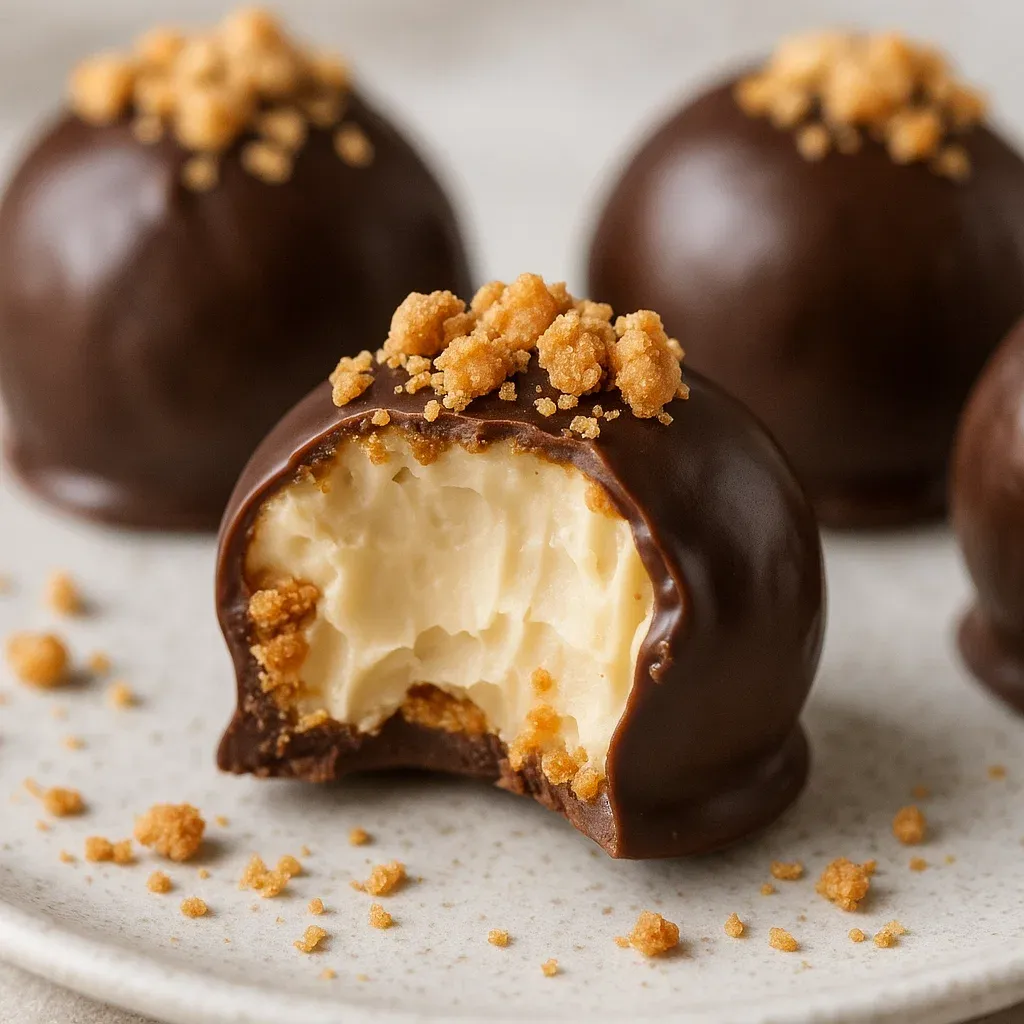
This caramel crunch Butterfinger truffle recipe transforms simple ingredients into irresistible bite-sized indulgences that never fail to impress at gatherings. The combination of crunchy Butterfinger candy, smooth caramel, and rich chocolate creates an addictive texture contrast that makes these truffles impossible to resist. These no-bake treats have become my signature dessert contribution to holiday parties ever since I first made them three years ago on a rainy weekend with my nieces.
I discovered this recipe during a power outage when I was craving something sweet but couldn't use my oven. What started as a kitchen experiment has become my most requested treat at family gatherings and potlucks.
Ingredients
- Crushed Butterfinger candy bars: these provide the signature flavor and crunchy texture that makes these truffles special. For best results use fresh bars not ones that have been sitting in your pantry for months.
- Caramel sauce: adds a creamy sweetness that binds everything together. Look for thick premium caramel sauce for best results.
- Chocolate chips: semisweet works best as it balances the sweetness of the other ingredients. The quality of chocolate makes a noticeable difference in the final taste.
- Coconut oil: helps create a smooth glossy chocolate coating that sets perfectly. This ingredient prevents the chocolate from becoming too brittle when cold.
- Crushed pretzels: adds a salty crunch that contrasts beautifully with the sweet filling. Choose thin pretzel sticks for the finest texture.
How To Make Caramel Crunch Butterfinger Truffles
- Prepare the mixture:
- Combine crushed Butterfinger pieces with caramel sauce until fully incorporated. The mixture should be sticky but firm enough to hold its shape when rolled. If it seems too loose refrigerate for 15 minutes before proceeding.
- Shape the truffles:
- Scoop tablespoon-sized portions and roll between slightly dampened palms to form balls. Work quickly as the mixture softens at room temperature. Place each rolled ball on a parchment-lined baking sheet spacing them at least an inch apart.
- Chill the centers:
- Freeze the shaped centers for at least 30 minutes until firm. This crucial step ensures they maintain their shape during the dipping process and helps the chocolate coating adhere properly.
- Prepare the coating:
- Melt chocolate chips with coconut oil using 30-second microwave intervals stirring thoroughly between each. Continue until completely smooth with no visible lumps. The coconut oil creates a silky texture that makes dipping effortless.
- Coat the truffles:
- Working with one frozen center at a time dip completely in melted chocolate using a fork to lift allowing excess to drip off. Tap the fork gently against the bowl edge to remove additional chocolate before transferring to parchment.
- Add crunchy topping:
- While chocolate remains wet immediately sprinkle with crushed pretzels pressing gently to adhere. Work quickly as the cold centers cause the chocolate to set rapidly. Complete each truffle individually rather than dipping all before adding toppings.
The crushed pretzels are what truly elevate these truffles from good to unforgettable. I discovered this addition by accident when my daughter suggested adding some crunch to contrast with the soft filling. Now I always keep pretzels on hand specifically for this recipe since the sweet-salty combination creates such a perfect flavor balance.
Storage Solutions
These truffles maintain their best quality when stored in the refrigerator in a single layer inside an airtight container. Separate layers with parchment paper to prevent sticking. They will remain delicious for up to 7 days though they rarely last that long in my household.
For longer storage freeze the finished truffles on a baking sheet until solid then transfer to a freezer container. When properly stored they maintain their flavor and texture for up to 3 months. Allow frozen truffles to thaw in the refrigerator for about an hour before serving.
Flavor Variations
While the classic Butterfinger version is outstanding this versatile recipe welcomes creative adaptations. Try substituting Snickers for a nuttier profile or Twix for a shortbread element. For an adult version consider adding a tablespoon of bourbon or rum to the caramel mixture which creates a sophisticated depth of flavor.
White chocolate coating offers a striking visual contrast and sweeter profile that pairs beautifully with the crunchy filling. Dark chocolate creates a more intense less sweet experience that many chocolate connoisseurs prefer. Match your coating to your audience's preferences for guaranteed success.
Serving Suggestions
These truffles shine as part of a dessert grazing board alongside fresh berries chocolate-dipped strawberries and shortbread cookies. The varied textures and complementary flavors create an impressive spread for entertaining with minimal effort.
For an elevated presentation place each truffle in a mini cupcake liner and arrange on a tiered serving stand. This not only looks elegant but makes them easier for guests to handle without getting chocolate on their fingers. Add a dusting of edible gold powder for special occasions to create a truly luxurious impression.
Recipe FAQs
- → How do I prevent truffles from sticking during rolling?
Keep your hands slightly damp while rolling the truffles. This prevents the mixture from sticking to your fingers and makes shaping much easier.
- → Can I replace Butterfinger candy bars in the recipe?
Yes! Try using other crunchy candy bars you enjoy, such as Snickers, Milky Way, or Heath bars, for different flavor profiles.
- → What’s the best way to melt chocolate for dipping?
Melt chocolate in short 30-second bursts in the microwave, stirring between intervals, or use a double boiler for better temperature control.
- → Can these truffles be made ahead of time?
Absolutely! Store them in the refrigerator for up to a week or freeze in an airtight container for up to three months.
- → How do I make this dessert nut-free or dairy-free?
Use nut-free caramel sauce and dairy-free chocolate chips for a nut-free or dairy-free alternative. These substitutions work well in this recipe.