
 Pin
Pin
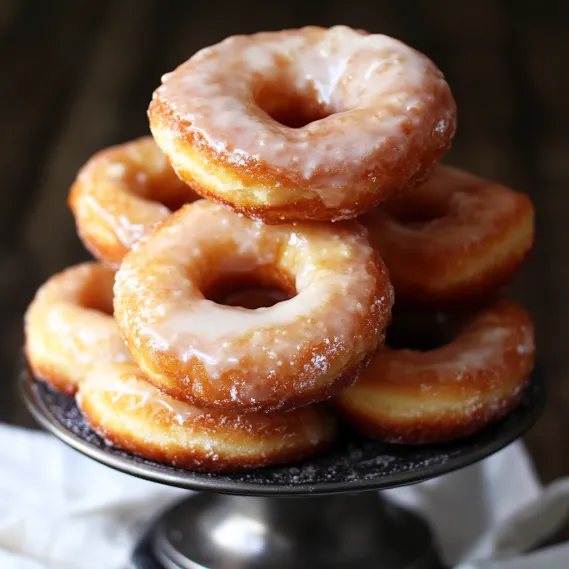
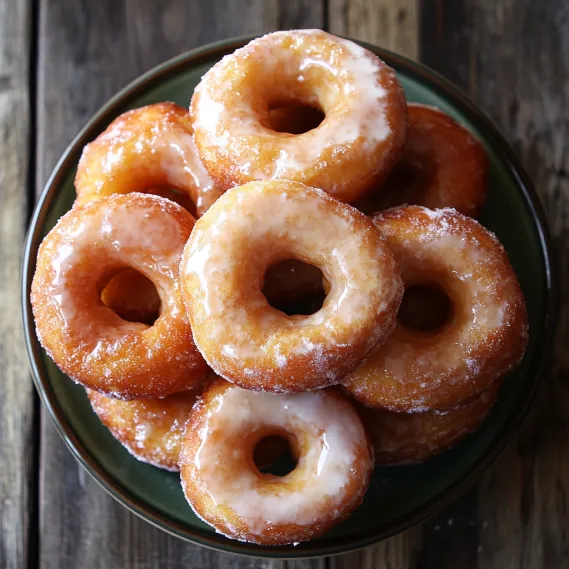
This old-fashioned sour cream doughnut recipe delivers bakery-quality treats right in your own kitchen. The secret lies in the sour cream, which creates that distinctive tangy flavor and moist, tender crumb that makes these doughnuts irresistible when paired with the sweet glaze.
I discovered this recipe during a snowy weekend when my family was craving something special for breakfast. After that first batch disappeared within minutes, these doughnuts became our Sunday morning tradition, with everyone gathering in the kitchen to help cut out the shapes.
Ingredients
- Cake flour: Ensures a tender texture that regular flour cannot achieve
- Nutmeg: Provides that classic doughnut shop flavor you instantly recognize
- Sour cream: Adds tanginess and keeps the doughnuts moist for days
- Room temperature butter: Must be cool but pliable for proper creaming
- Corn syrup: In the glaze creates that characteristic shine and prevents crystallization
- Canola oil: Has a high smoke point making it ideal for frying at consistent temperatures
Step-by-Step Instructions
- Prepare the Dry Ingredients:
- Sifting the cake flour with baking powder, salt, and nutmeg creates a light texture by removing any lumps and incorporating air. This step is crucial for achieving that delicate crumb texture that defines a perfect old-fashioned doughnut.
- Create the Base:
- Beating the butter and sugar until sandy rather than fluffy is an important distinction in doughnut making. You want a granular texture that will later create those characteristic cracks on the surface as the doughnuts fry. The egg yolks add richness and help bind everything together.
- Combine Wet and Dry:
- Alternating dry ingredients with sour cream prevents overmixing which would develop too much gluten. The key is stopping just when the dough becomes smooth but retains a slight stickiness. Overmixing will result in tough doughnuts so exercise restraint here.
- Chill the Dough:
- This hour long refrigeration is non-negotiable. The dough needs to firm up so it holds its shape during cutting and frying. The chilled fats will also create those iconic craggy edges when they hit the hot oil. If your kitchen is warm, you might need even longer chilling time.
- Roll and Cut:
- The half inch thickness is your target for the perfect rise during frying. Too thin and they will be crispy throughout. Too thick and they may remain doughy inside. Flour your surface generously to prevent sticking and work efficiently to keep the dough cool.
- Fry with Precision:
- Maintaining exactly 325°F is crucial for these doughnuts. Too hot and they will burn before cooking through. Too cool and they will absorb excess oil becoming greasy. Watch for the signature crack forming around the middle during frying which indicates they are cooking properly.
- Glaze While Warm:
- Dipping the still warm doughnuts into the glaze allows for maximum absorption and adherence. The hot water in the glaze recipe creates the right consistency that will set into that characteristic crackly finish as it cools.
Nutmeg is truly the secret ingredient that gives these doughnuts their distinctive old-fashioned flavor. I once accidentally doubled the amount and discovered my family actually preferred the more pronounced spice profile. Now I always add a generous sprinkle, especially during fall and winter months when those warm flavor notes are particularly welcome.
Storing Your Doughnuts
These doughnuts stay remarkably fresh when stored in an airtight container at room temperature. Unlike yeast doughnuts which go stale quickly, the sour cream in this recipe helps maintain moisture for up to three days. For longer storage, freeze unglazed doughnuts then thaw and glaze when ready to serve. Just ten seconds in the microwave will restore that fresh made quality.
Troubleshooting Sticky Dough
If you live in a humid climate, you may find your dough particularly sticky even after chilling. Adding flour tablespoon by tablespoon until the dough is workable is perfectly acceptable. The key indicator is when the dough no longer clings to your fingers but still feels slightly tacky. Remember that too much flour will create dense doughnuts, so add conservatively.
Perfect Pairings
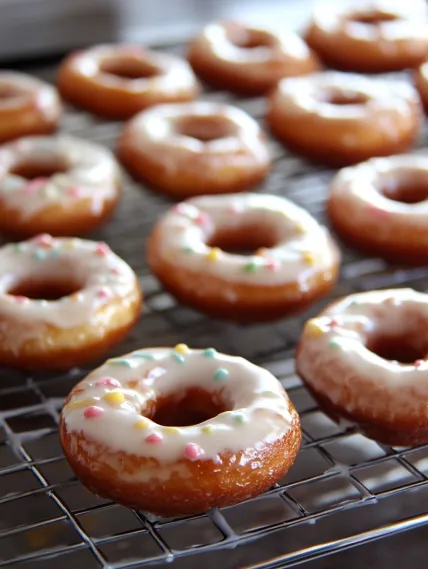
These doughnuts shine when served alongside a bitter coffee that cuts through the sweetness. For a special breakfast, try serving with fresh berries and whipped cream for dipping. They also make an unexpected dessert when split and filled with ice cream for doughnut sandwiches. For a party platter, consider making both glazed and cinnamon sugar coated varieties for visual appeal and flavor options.
The History Behind the Recipe
Old-fashioned doughnuts originated in the early 20th century as a cake style alternative to yeast doughnuts. The distinctive shape with cracked edges came about because bakers discovered that cutting a hole in the center helped the dough cook more evenly. The sour cream variation became popular in the 1940s when dairy companies were promoting cultured dairy products for home baking. Today they remain a staple in artisan doughnut shops where their rustic appearance and complex flavor are celebrated.
Recipe FAQs
- → How do I keep my doughnut dough from sticking?
Keep your dough lightly floured and handle it gently. Dipping your cutters in flour can also prevent sticking.
- → Can I fry doughnuts without a thermometer?
While a thermometer ensures the right frying temperature (325°F), you can test the oil by adding a small piece of dough; it should sizzle and float to the surface.
- → Can I make the dough ahead of time?
Yes, the dough can be prepared and chilled in the refrigerator for up to a day before cutting and frying.
- → What can I use if I don’t have cake flour?
You can substitute by using all-purpose flour and mixing in a bit of cornstarch to mimic cake flour’s texture.
- → Can I bake these doughnuts instead of frying?
These doughnuts are traditionally fried to achieve their unique texture, but you could experiment with baking for a lighter version, although the texture will differ.