
 Pin
Pin
This decadent Oreo Layered Halloween Brownie recipe transforms ordinary brownies into a spooky treat that's guaranteed to be the star of any Halloween gathering. The combination of fudgy chocolate brownies with festive orange-filled Oreos creates an irresistible dessert that's as fun to make as it is to eat.
I first made these brownies for my niece's Halloween party last year and they disappeared faster than a ghost at sunrise. Now they've become our official Halloween tradition, with the kids begging to help press the Oreos into the batter every October.
- Brownie Mix your favorite brand works perfectly as the dense chocolate base
- Eggs provide structure and richness to the brownies
- Oil creates that perfect fudgy texture we all crave
- Milk substituted for water gives extra creaminess to the brownies
- Oreos with orange filling seasonal Halloween Oreos add festive color and flavor
- Milk chocolate frosting adds an extra layer of decadence
- White or Vanilla frosting serves as the base for our vibrant orange topping
- Orange food coloring gel gives a more intense color than liquid coloring
How To Make Oreo Layered Halloween Brownies
- Prepare the Baking Pan
- Preheat your oven to 350°F and line your 9x9 inch baking pan with parchment paper, allowing some overhang for easy removal. The parchment prevents sticking and makes cleanup a breeze.
- Mix the Brownie Batter
- In a large mixing bowl, combine the brownie mix, eggs, oil, and milk until fully incorporated. Aim for a smooth consistency without overmixing, which can lead to tough brownies. The milk substitution creates a richer brownie than using water.
- Add the Oreo Layer
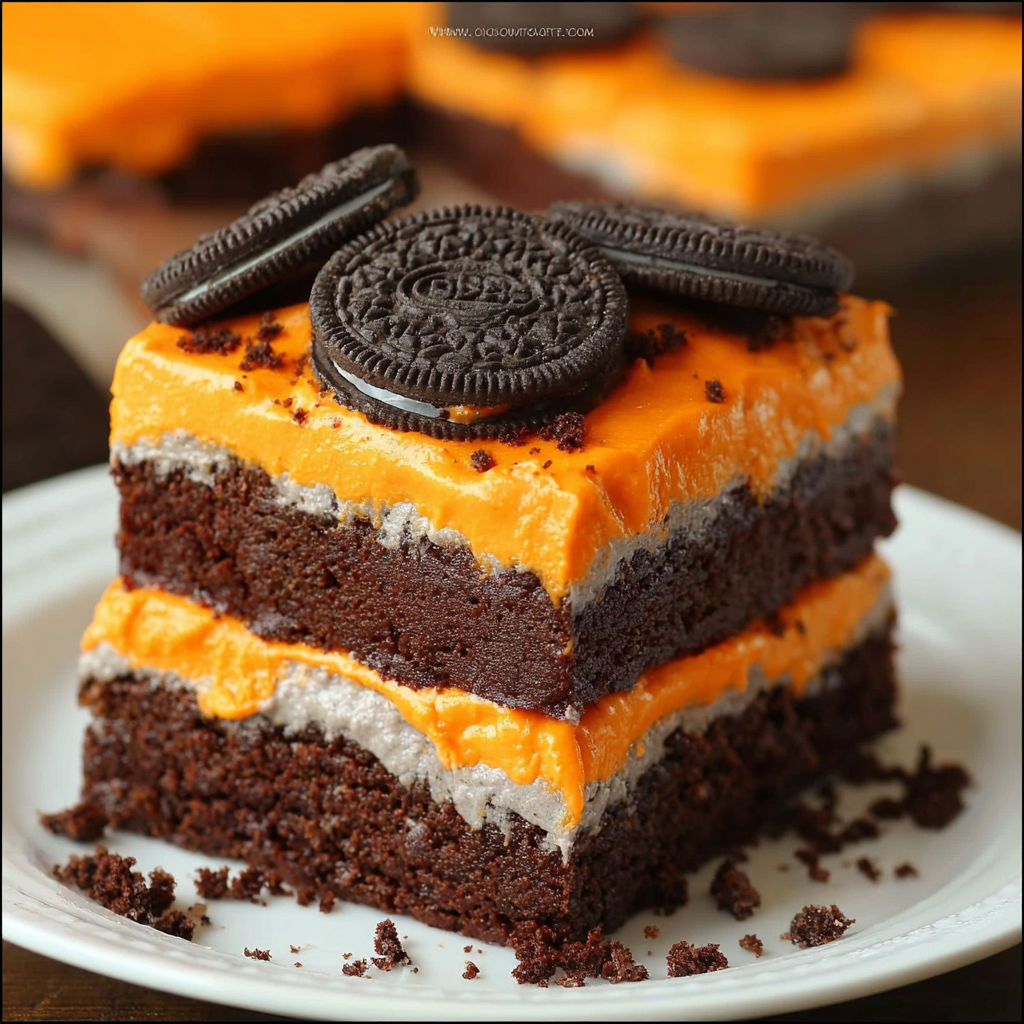
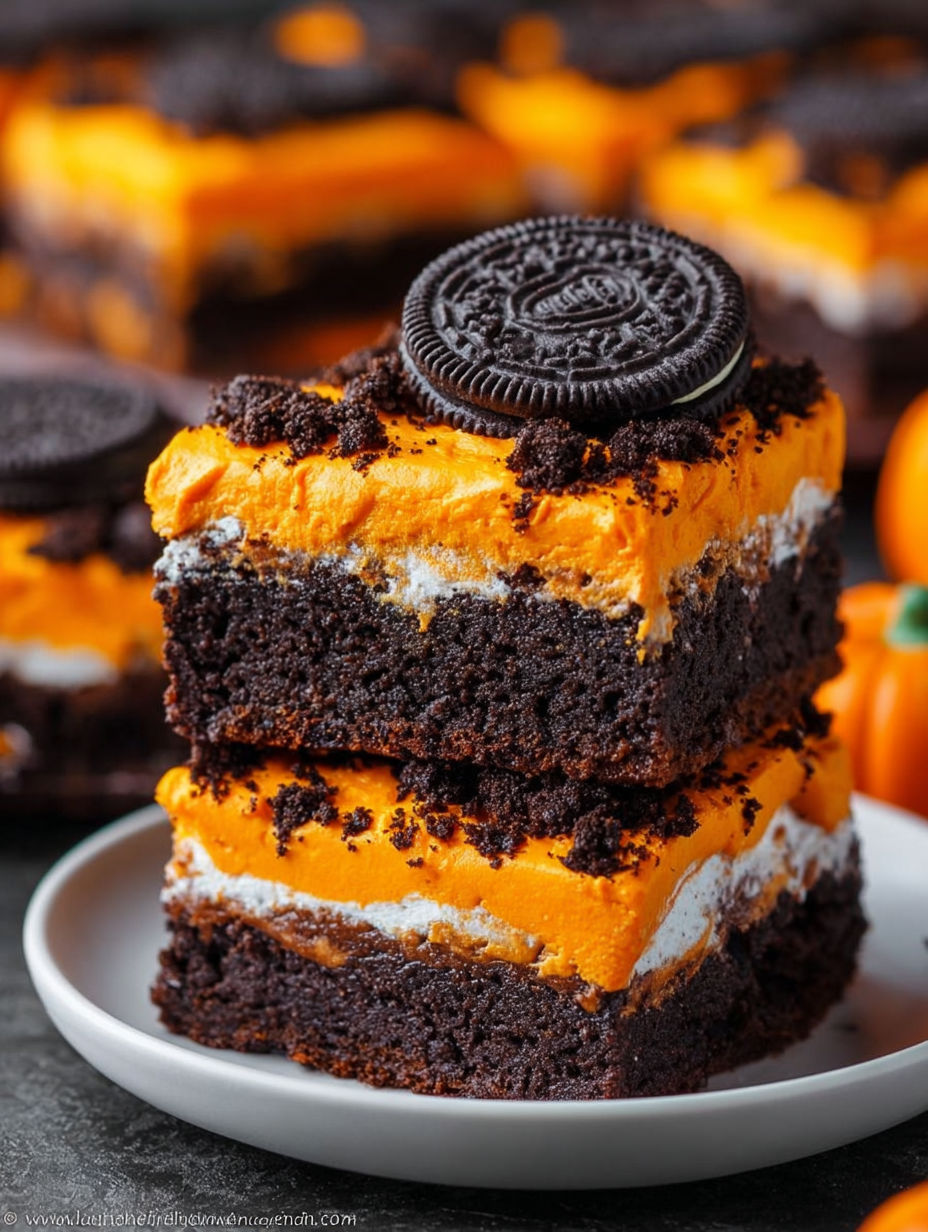
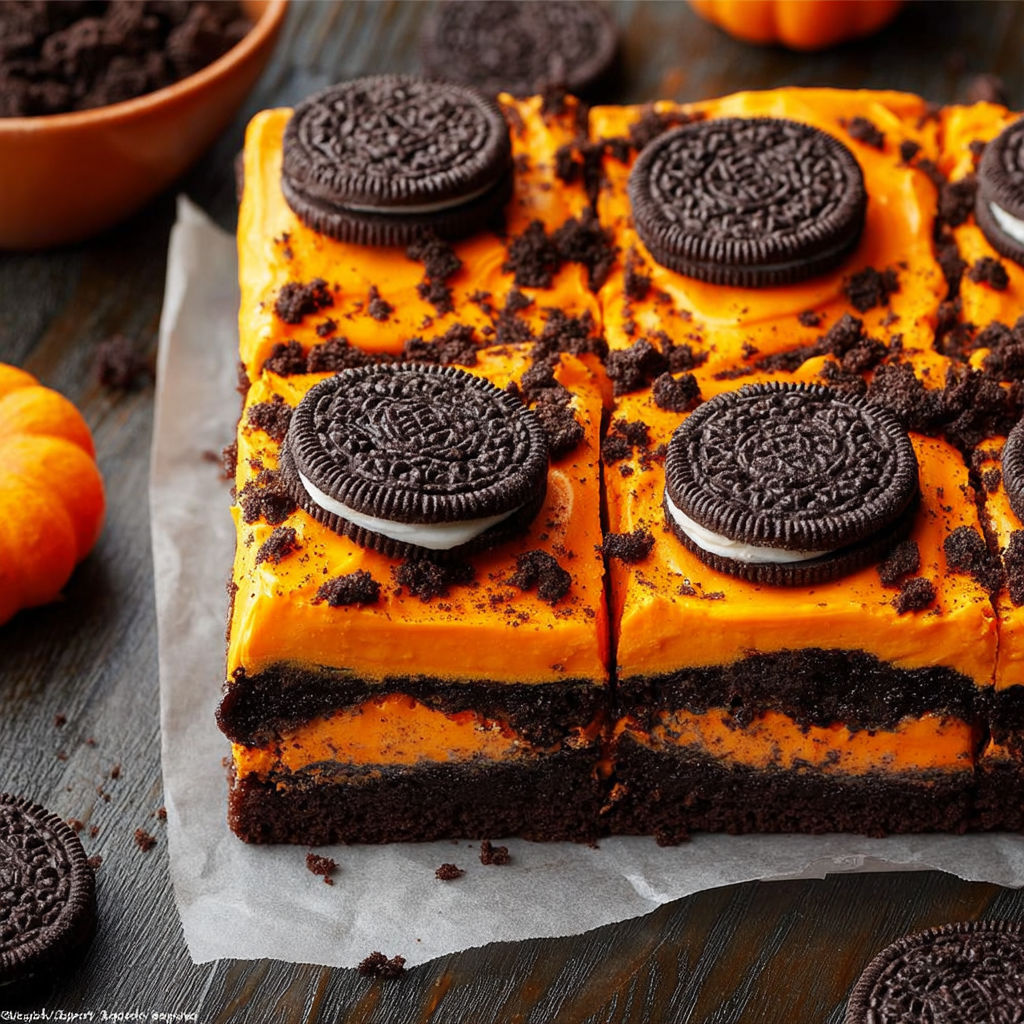
- Pour the brownie batter into your prepared pan, spreading it evenly to the corners. Arrange the orange-filled Oreos in rows on top of the batter, gently pressing them down so they slightly sink but remain visible. This creates that perfect layered effect when cut.
- Bake to Perfection
- Bake in your preheated oven for 25 to 30 minutes. Check doneness by inserting a toothpick into the center area between Oreos. It should come out with a few moist crumbs but not wet batter. Allow to cool completely in the pan on a wire rack.
- Create the Orange Frosting
- While the brownies cool, prepare your orange frosting by scraping the filling from about 10 Oreos into the white frosting. Add the orange food coloring gel and stir until you achieve a vibrant Halloween orange color, adjusting with more coloring if needed.
- Apply the First Frosting Layer
- Once brownies are completely cool, spread the orange frosting in an even layer across the top. Use an offset spatula for the smoothest application. Refrigerate for 30 minutes to set this layer before adding the next frosting.
- Add the Chocolate Layer
- After the orange layer has set, spread the milk chocolate frosting evenly on top. This creates a striking contrast with the orange layer beneath it and adds another dimension of chocolate goodness.
- Garnish and Serve
- Crumble the remaining Oreo cookies over the top for decoration and a hint at the surprise inside. Cut into squares and watch them disappear at your Halloween celebration.
The orange-filled Oreos are what make this recipe truly special. I found them by chance one October while grocery shopping with my kids, and they insisted we buy them. That spontaneous purchase sparked what has become our most requested Halloween treat. Something about the combination of those bright orange centers against the deep chocolate is just magical.
Storage and Make-Ahead Tips
These brownies actually taste even better the day after baking. The flavors meld together and the Oreos soften slightly into the brownie, creating an amazing texture contrast. Store them in an airtight container at room temperature for up to 3 days. If your kitchen is warm, refrigeration will keep the frosting from becoming too soft. Just bring to room temperature before serving for the best texture.
Clever Substitutions
No Halloween Oreos available? No problem. Use regular Oreos and add a bit more orange food coloring to your frosting layer. You can also substitute any seasonal Oreo variety throughout the year green filling for St. Patricks Day, red for Christmas, or pink for Valentine's Day. The recipe works beautifully with any color scheme.
Serving Suggestions
Turn these brownies into a showstopping dessert by serving them slightly warmed with a scoop of vanilla ice cream on the side. The contrast between the warm brownie and cold ice cream is divine. For a Halloween party, arrange them on a platter with plastic spiders or candy eyeballs scattered around for an extra spooky effect that kids absolutely love.
Recipe FAQs
- → Can I use regular Oreos instead of the orange-filled variety?
Yes, you can use regular Oreos and add orange food coloring to the white frosting instead. This gives you the same festive appearance without requiring specialty Oreos that might only be available seasonally.
- → How far in advance can I make these brownies?
These brownies can be made 2-3 days in advance and stored in an airtight container in the refrigerator. The layers actually benefit from time to set, making this a perfect make-ahead dessert for Halloween parties.
- → Can I freeze these layered brownies?
Yes, you can freeze these brownies for up to 3 months. Cut them into portions, wrap individually in plastic wrap, then store in a freezer bag. Thaw overnight in the refrigerator before serving.
- → What can I substitute for milk in the brownie batter?
You can substitute the milk with an equal amount of water, almond milk, or any other plant-based milk. The brownies will still turn out delicious with a slightly different texture.
- → How do I achieve clean-cut squares when slicing?
For clean cuts, refrigerate the brownies for at least 2 hours after applying the final layer. Use a sharp knife dipped in hot water and wiped clean between cuts. This helps create those picture-perfect brownie squares with distinct layers.
- → Can I add other Halloween decorations to these brownies?
Absolutely! Consider adding Halloween sprinkles, candy eyes, or other themed decorations on top of the chocolate frosting layer before the Oreo crumbles. This adds more festive flair to your creation.