
 Pin
Pin
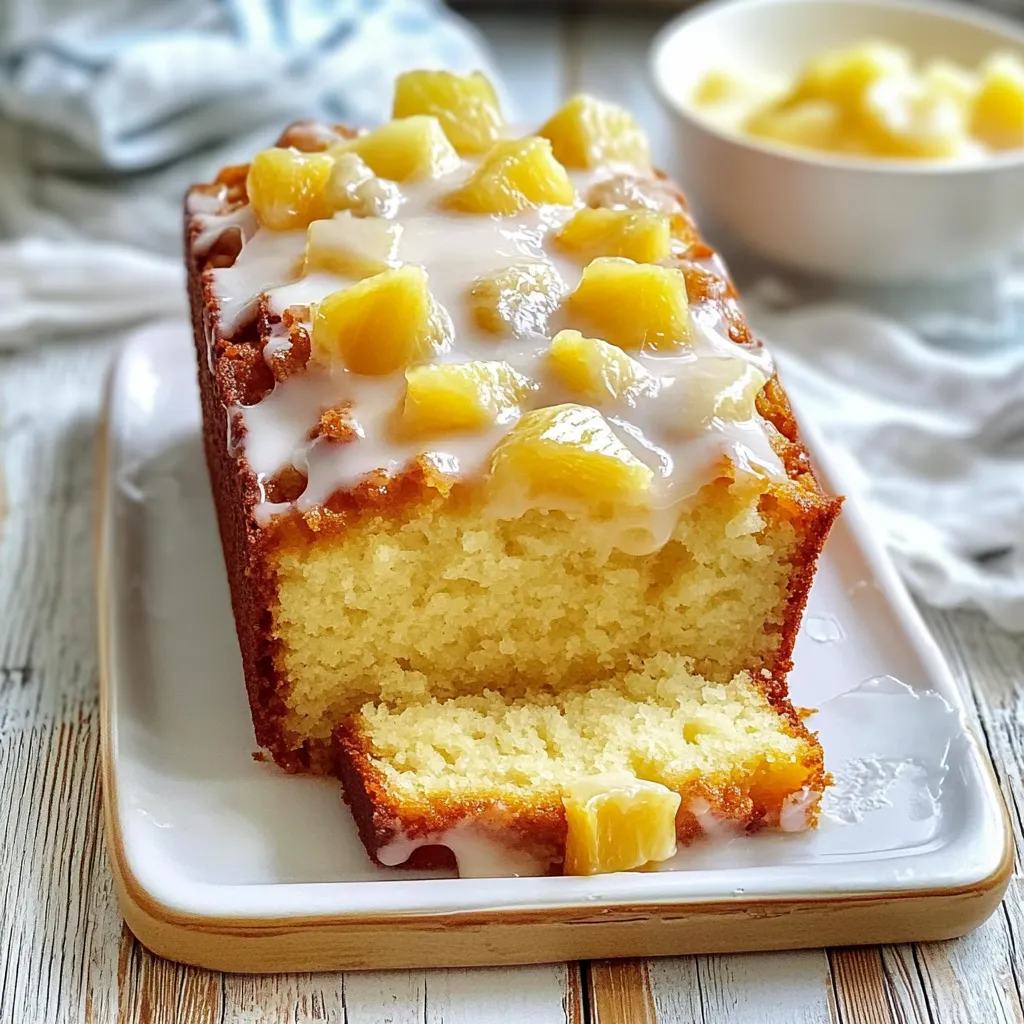
A heavenly Pineapple Cake that brings tropical paradise to your plate. Each slice delivers perfectly balanced sweetness with bursts of juicy pineapple, wrapped in a tender, moist crumb that melts in your mouth. This isn't just dessert - it's a vacation for your taste buds, bringing sunshine to any occasion.
I discovered this recipe during a summer gathering, and it's become my go-to cake for brightening grey days. The way the pineapple caramelizes slightly during baking creates an irresistible aroma that draws everyone to the kitchen. My neighbor now requests this for every potluck!
Essential Ingredients
- All-Purpose Flour: Spooned and leveled for accurate measurement
- Unsalted Butter: Room temperature for perfect creaming
- Large Eggs: Room temperature for better incorporation
- Fresh Pineapple: Crushed and well-drained to prevent sogginess
- Sour Cream (Full-fat): Creates incredible moisture and tender crumb
- Pure Vanilla Extract: Enhances the tropical flavors
- Powdered Sugar: Sifted for silky-smooth glaze
- Baking Powder: Fresh for proper rise
STEP-BY-STEP PREPARATION
- 1. Initial Setup:
- Preheat oven to 350°F. Grease and flour a 9x13 inch baking pan, or line with parchment for easy removal. Ensure all ingredients are at room temperature. Crush fresh pineapple until fine but not pureed, drain excess juice and reserve for glaze.
- 2. Dry Ingredients:
- In a medium bowl, whisk together spooned and leveled flour, baking powder, and salt. This pre-mixing ensures even distribution of leavening agents. Sift if lumpy - this extra step prevents flour pockets in your finished cake.
- 3. Creaming Process:
- Using a stand mixer with paddle attachment, cream butter and sugar for 4-5 minutes until light and fluffy. The mixture should be pale yellow and doubled in volume. Scrape bowl frequently. This step creates air pockets for a tender crumb.
- 4. Wet Ingredients:
- Add eggs one at a time, beating well after each addition. Mix in vanilla extract and sour cream until just combined. The batter might look slightly curdled - this is normal. Add crushed pineapple, folding gently to maintain air in the batter.
- 5. Final Assembly:
- Gradually add dry ingredients in three additions, folding gently after each. Stop mixing as soon as flour streaks disappear. Pour into prepared pan, spreading evenly. Tap pan gently on counter to remove air bubbles.
EXPERIENCE PARAGRAPHS
- Tropical Inspiration:
- This cake was born from memories of Hawaiian vacations, where fresh pineapple sweetened every morning. The challenge was capturing that perfect balance of tartness and sweetness in a cake. After countless tests, this version brings that tropical sunshine right to your kitchen.
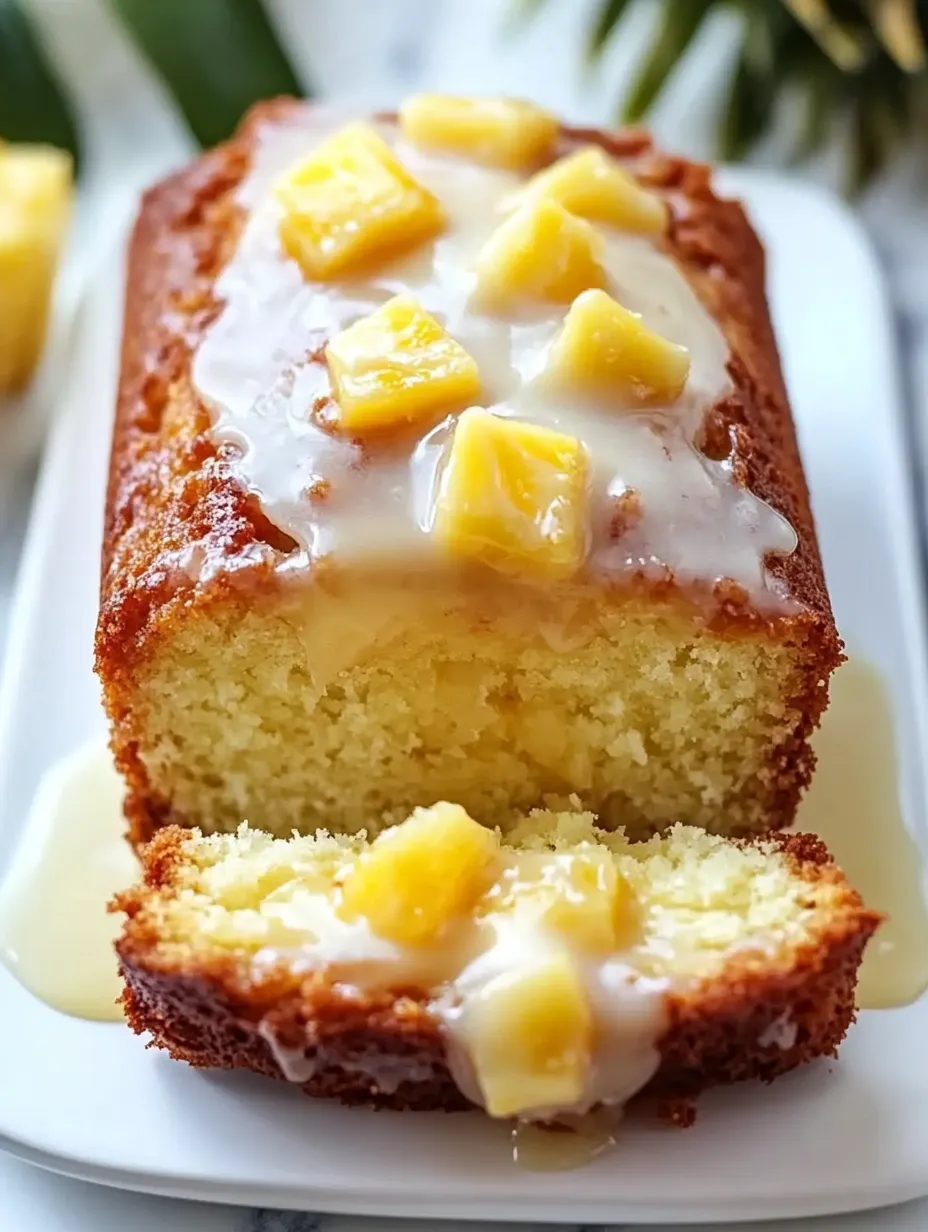
- Texture Perfection:
- The secret lies in proper pineapple preparation. Too wet, and the cake becomes soggy; too dry, and you lose the fruit's juicy essence. I learned this through trial and error, finally discovering that hand-crushing creates the ideal texture.
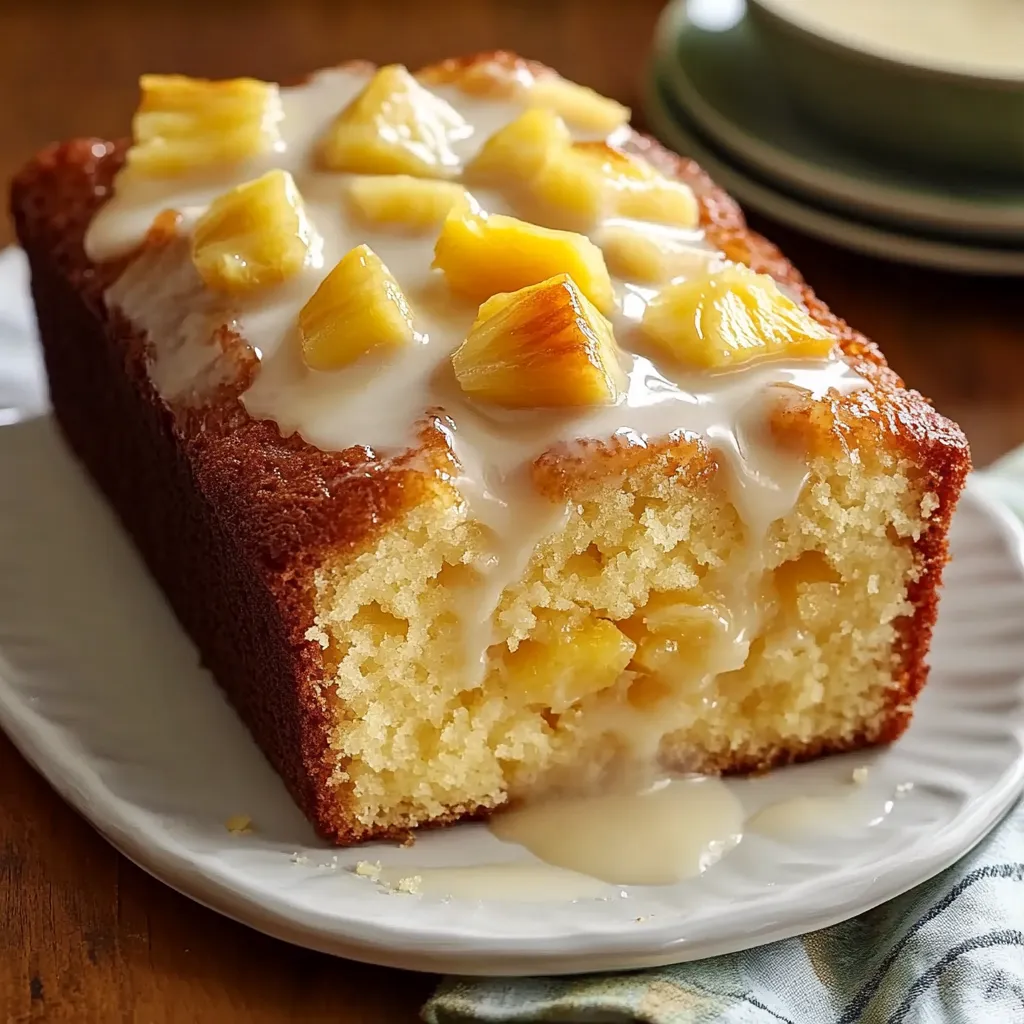
- Seasonal Adaptations:
- While fresh pineapple is ideal, I've made this cake year-round using canned pineapple when necessary. The key is thorough draining and gentle folding. Each version brings its own charm, though fresh always provides that extra special touch.
- Family Traditions:
- This cake has become our official summer birthday tradition. My daughter helps crush the pineapple, and my son's job is testing the glaze consistency. These moments of baking together create memories sweeter than any dessert.
- Storage Success:
- I've discovered this cake actually improves overnight as flavors meld. Store at room temperature for up to three days, though it rarely lasts that long in my house. For longer storage, freeze unglazed portions wrapped individually.
You Must Know
- Room temperature ingredients are crucial for proper incorporation
- Never overmix after adding flour - it toughens the cake
- Fresh pineapple must be well-drained to prevent soggy spots
- Let cake cool completely before glazing
- The glaze consistency should be like thick honey
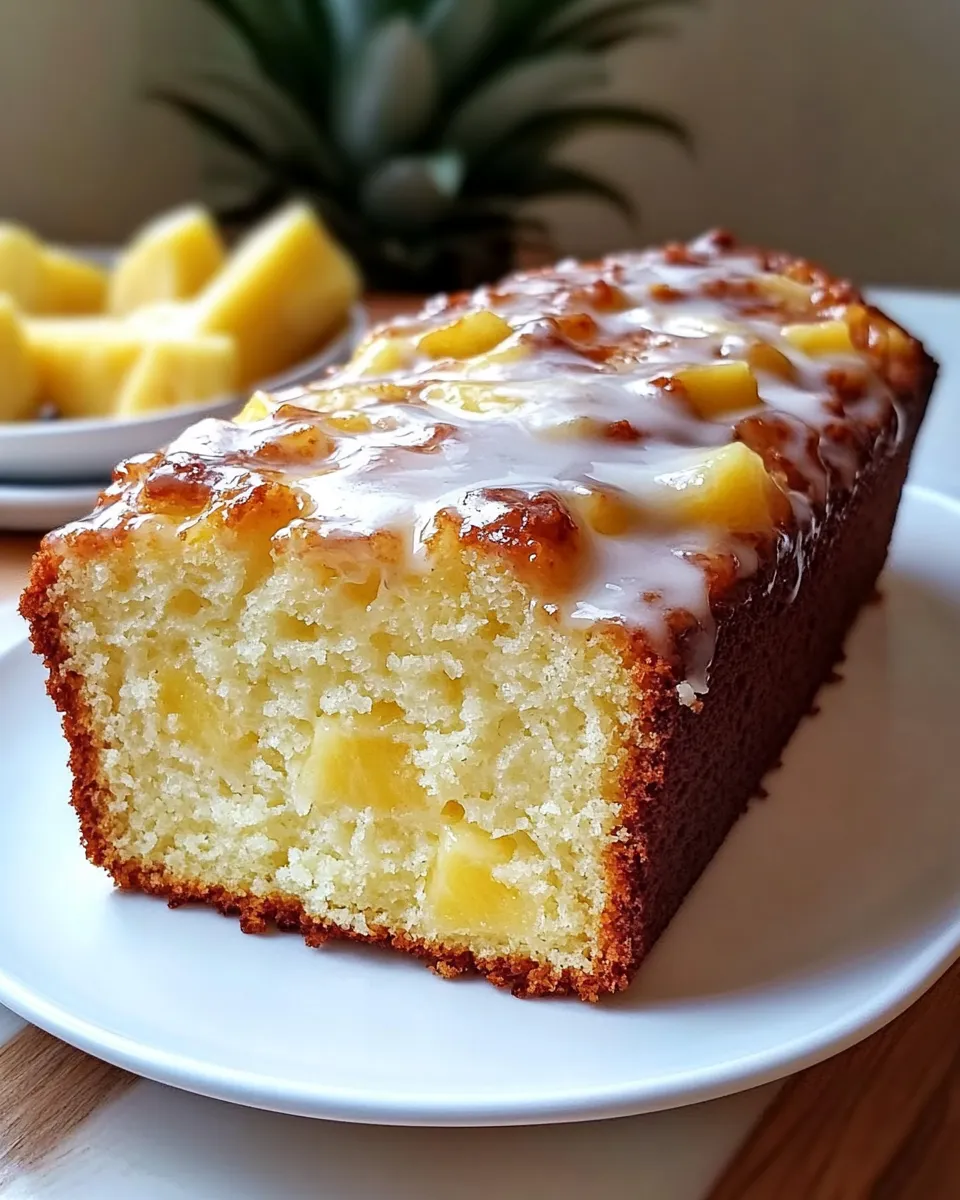
Growing up in a family of bakers, I learned that pineapple cake requires special attention to moisture balance. My grandmother would always say, "Let the pineapple sing, but don't let it swim." This cake perfectly captures that wisdom - each bite bursts with pineapple flavor without becoming soggy.
Chef's Helpful Tips
- Press crushed pineapple against a fine-mesh sieve to control moisture
- Test cake 5 minutes before recommended baking time
- Apply glaze while cake is slightly warm for better absorption
- Reserve extra pineapple juice for adjusting glaze consistency
- Store with a slice of bread to maintain moisture level
Creating this Pineapple Heaven Cake has taught me that sometimes the simplest ingredients create the most memorable desserts. The key lies in respecting each component - from properly creamed butter to well-drained pineapple. It's become my signature bring-along dessert, earning the nickname "sunshine cake" from friends who request it for every gathering.
Recipe FAQs
- → Why drain the crushed pineapple?
- Draining removes excess liquid that could make the cake too wet, but save the juice for the glaze.
- → Can I use fresh pineapple instead?
- Canned crushed pineapple works best as it's more consistent in moisture content.
- → How should I store this cake?
- Store in an airtight container at room temperature for up to 3 days, or refrigerate for up to a week.
- → Can I freeze this cake?
- Yes, wrap unglazed cake well and freeze for up to 3 months. Glaze after thawing.
- → Why alternate wet and dry ingredients?
- This method ensures even mixing and prevents overmixing, resulting in a tender cake.