
 Pin
Pin
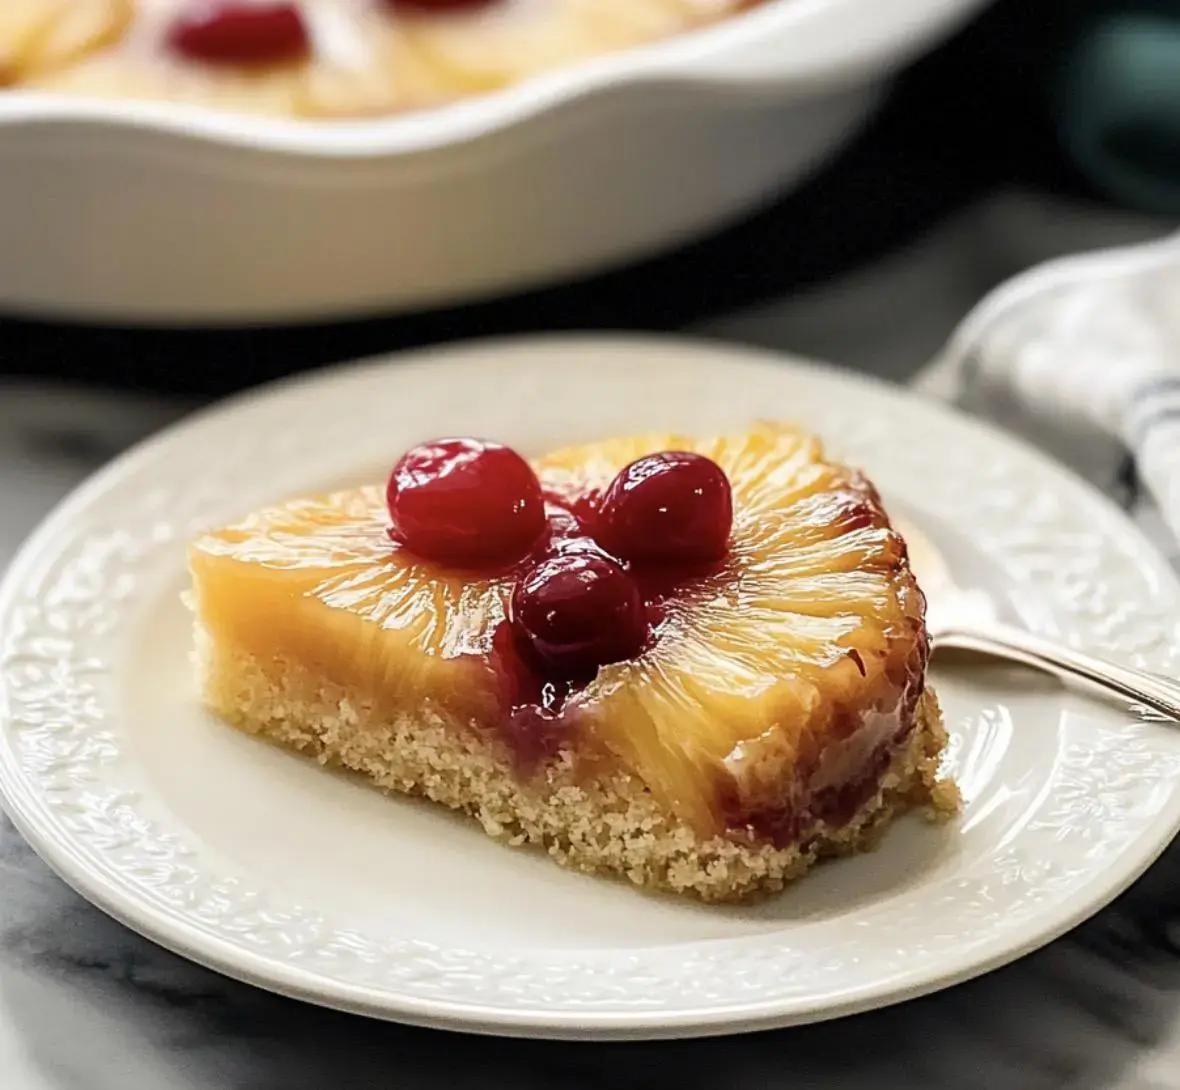
Remember that first bite of pineapple cake with the fruit on top? This dessert brings those good times flooding back. We've crafted a super moist, buttery cake topped with golden pineapple rings and bright cherries. It works great from scratch or with a box mix when you're in a hurry - either way, you'll get that amazing upside-down magic everyone loves.
What Makes This Cake Special
We've tweaked this classic to make it even tastier. Our recipe uses specific flour types and whipped egg whites for extra softness, while the fruit creates its own amazing glaze as it bakes. Forget those novelty drinks at parties - this authentic treat hits the spot every time. One slice of this sweet masterpiece will fix any dessert craving you might have.
Must-Have Components
- Butter (melted): Forms the sweet base coating
- Sugar (brown): Turns into gooey caramel
- Rings of Pineapple: The star of the show
- Maraschino Cherries: For pops of color
- Flour (cake variety): Creates softness
- Powder for Baking: Gives lift
- Soda for Baking: Adds airiness
- Pinch of Salt: Enhances flavors
- Butter (room temp): Makes cake tender
- Granulated Sugar: Sweetens the batter
- Whites from Eggs: Creates lightness
- Cream (sour): Keeps everything moist
- Extract of Vanilla: Deepens taste
- Juice from Pineapple: Boosts fruit flavor
- Dairy Milk: Adds softness
How To Make Pineapple Upside Down Cake
- Mix Your Base:
- Grab a large bowl and blend your flour, sugar, salt and yeast together. Take your cold butter and chop it into tiny bits, then rub it in with your fingertips until you've got something that looks crumbly. Don't rush this part - it's what gives you those fantastic layers later on.
- Work The Dough:
- Add cold milk and stir until it forms a ball. Dump it on your countertop and push it around for about 10 minutes till it feels smooth. You want a dough that's soft but not tacky. A tiny sprinkle of flour helps if things get sticky.
- Initial Shaping:
- Flatten your dough into a rectangle - rough is fine for now. Wrap it up in plastic and press it down. This helps when we start the folding steps later.
- Rest Period:
- Stick it in your fridge for at least 2 hours. This isn't just waiting time - it's when the butter firms up and the flour drinks in all the liquid. Leaving it overnight works great too.
- Butter Block Prep:
- During the wait, make your butter layer. Take cold butter and beat it between sheets of wax paper until you've got a 5x8 inch rectangle. Keep the edges neat and straight since this creates your layers. Pop it back in the fridge if it starts getting soft.
- First Fold:
- Roll your cold dough to twice the size of your butter block. Put the butter in the middle and fold the dough over it like you're sealing an envelope. Pinch all the edges closed so no butter can escape.
- Building Layers:
- Roll this package into a long rectangle, trying to keep straight edges. Fold it like a business letter - bottom third up, top third down. Wrap it up and chill for 30 minutes. You'll repeat this step three more times.
- Overnight Magic:
- After your final fold, wrap your dough well and let it sleep in the fridge overnight. This long break makes rolling easier and builds amazing flavor.
- Cutting Shapes:
- Next day, roll your dough about 1/4 inch thick. Cut triangles for traditional croissants or squares for chocolate ones. Make your cuts clean and even.
- Proofing Time:
- Put your shaped pieces on baking sheets and let them sit at room temperature until they're puffy - around 2 hours. They should look airy and jiggle slightly when you move the pan.
- Getting Ready:
- Heat up your oven to 400°F. Mix an egg with a splash of milk and gently brush this all over your pastries, including the sides. This gives them that gorgeous golden color.
- Baking to Perfection:
- Pop them in the oven for 20-25 minutes until they're deeply golden. They'll smell wonderful and look rich. Let them cool a bit before diving in - the inside is super hot!
Ingredient Breakdown
The stuff you put in your upside down cake really counts. The special cake flour (or cake mix if you're going quick) makes everything extra tender. Those egg whites and sour cream aren't just there for fun - they team up to make your cake fluffy but sturdy enough to handle that fruit on top without getting soggy.
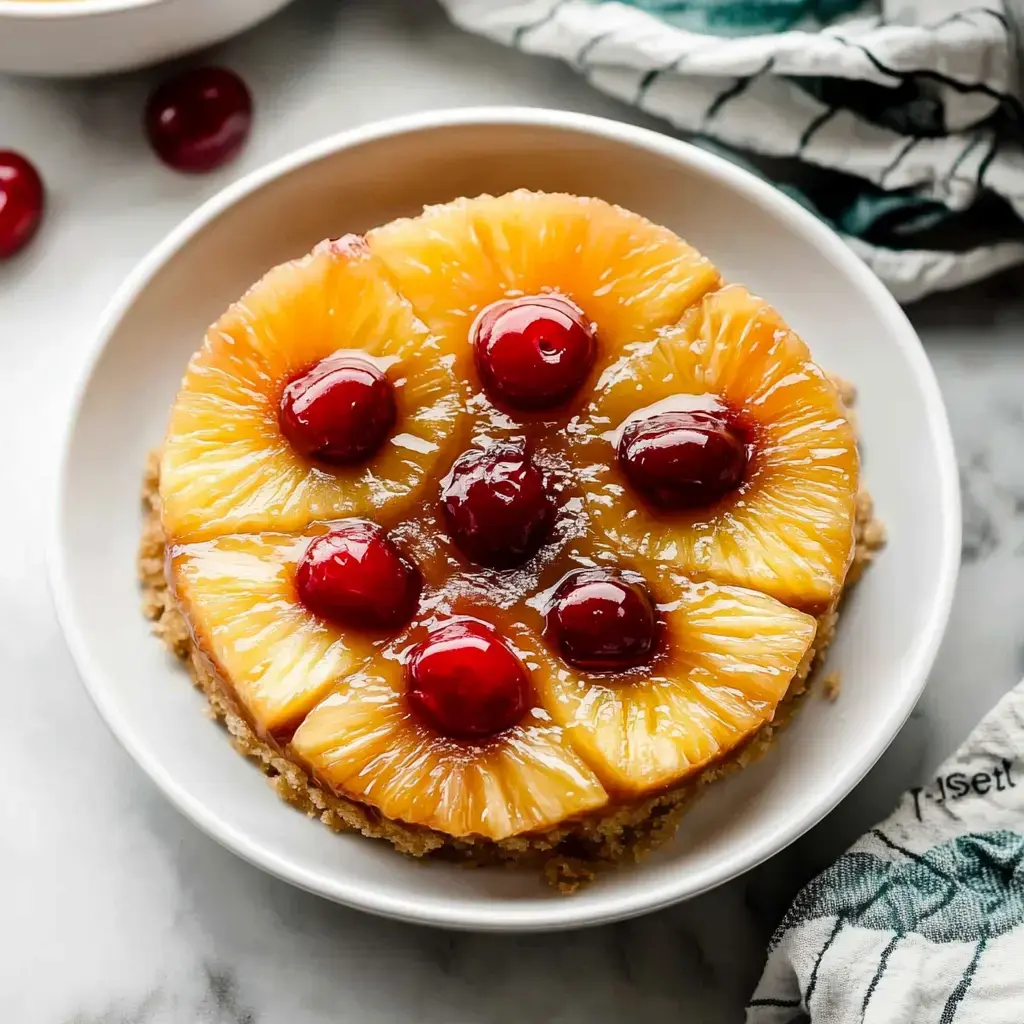
Nailing The Fruit Layer
The fruit layer is what makes this dessert stand out. First, dry off those pineapple slices with a paper towel, then arrange them with bright cherries over your butter and brown sugar mix. This setup creates that wow-factor look everyone recognizes. The butter and sugar turn into an amazing caramel-like sauce as it bakes, no matter if you're making it from scratch or using a box mix.
Oven Tricks
Getting your upside down cake just right takes a bit of patience. Since there's fruit on the bottom, it needs more time in the oven than your average cake. Don't forget to put a baking sheet underneath to catch any sweet drips, and let it cool a while before you flip it over. Follow these simple tricks and your cake will come out picture-perfect every single time.
Feel And Flavor
This isn't your typical light and airy cake. It's got a richer, slightly heavier feel because of that amazing fruit topping - and that's exactly what makes it so good! Every forkful gives you a perfect combo of soft, buttery cake with sweet, sticky fruit that's been transformed by heat into something magical.
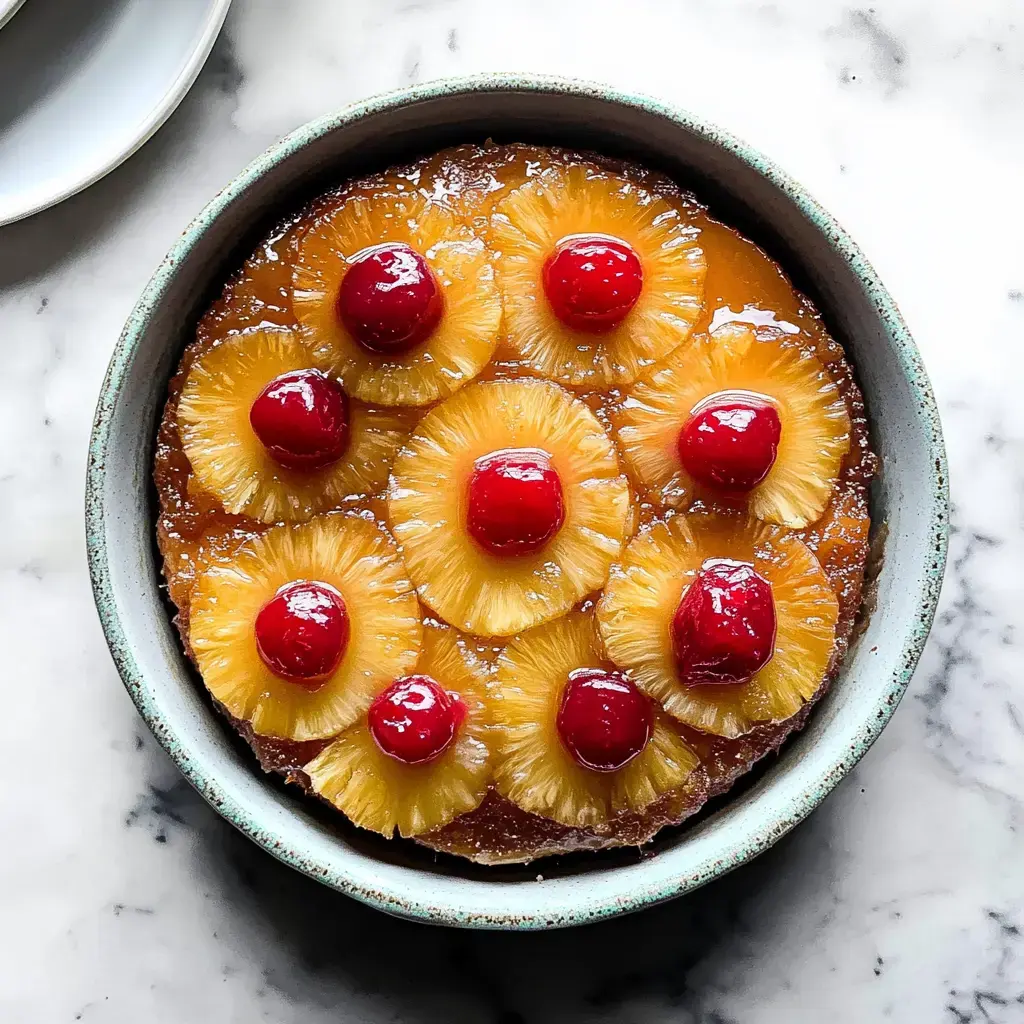
Ways To Enjoy
This fruity masterpiece fits in anywhere - from casual family dinners to fancy get-togethers. The pattern of fruit makes it naturally beautiful without any fancy decorating skills needed. You can serve it warm right from the oven or at room temperature later. Try adding a dollop of whipped cream or a scoop of vanilla ice cream for an extra treat that beats any cocktail version hands down!
Summary
Love this? Try sweet fruit tarts next. Or make cold fruit cream cake. Both use good fruit tops.
Recipe FAQs
- → Can use can fruit?
Works just perfect. Pat rings real dry. Save some juice maybe. Fresh works too. Just need good slices.
- → Sugar not browning?
Spread butter even. Cover all with sugar. Let it melt good first. Watch the heat. Don't stir it up.
- → No sour cream?
Greek yogurt works. Plain yogurt's good. Buttermilk maybe. Need something tangy. Keeps cake moist.
- → Keeping leftovers?
Box it up tight. Keep it cold good. Three days tops fresh. Let warm up some. Still tastes nice.
- → Need foil cover?
Helps top not burn. Don't wrap tight though. Just tent it loose. Check under quick. Might need early.
- → Getting too brown?
Cover top loose. Lower the heat. Move pan down some. Check it early. Watch edges close.
- → Taking it places?
Keep it flat packed. Box with high sides. Take serving plate. Flip there maybe. Watch the bumps.
- → Need it quick?
Use cake mix base. Have fruit ready. Quick flip works. One pan does it. Still looks good.
- → Making big batch?
Double works fine. Need bigger pan. More time maybe. Watch middle done. Space in oven helps.
- → Want more flavor?
Add some spice in. Try rum maybe. More vanilla good. Even nuts work. Don't hide fruit though.
- → Cake not flipping?
Let rest bit more. Run knife round edge. Flip quick while warm. Need good plate. Two hands help.
- → Fruit stuck in pan?
Put back quick. Scrape gentle like. Put on cake top. Still looks fine. Next time more butter.