 Pin
Pin
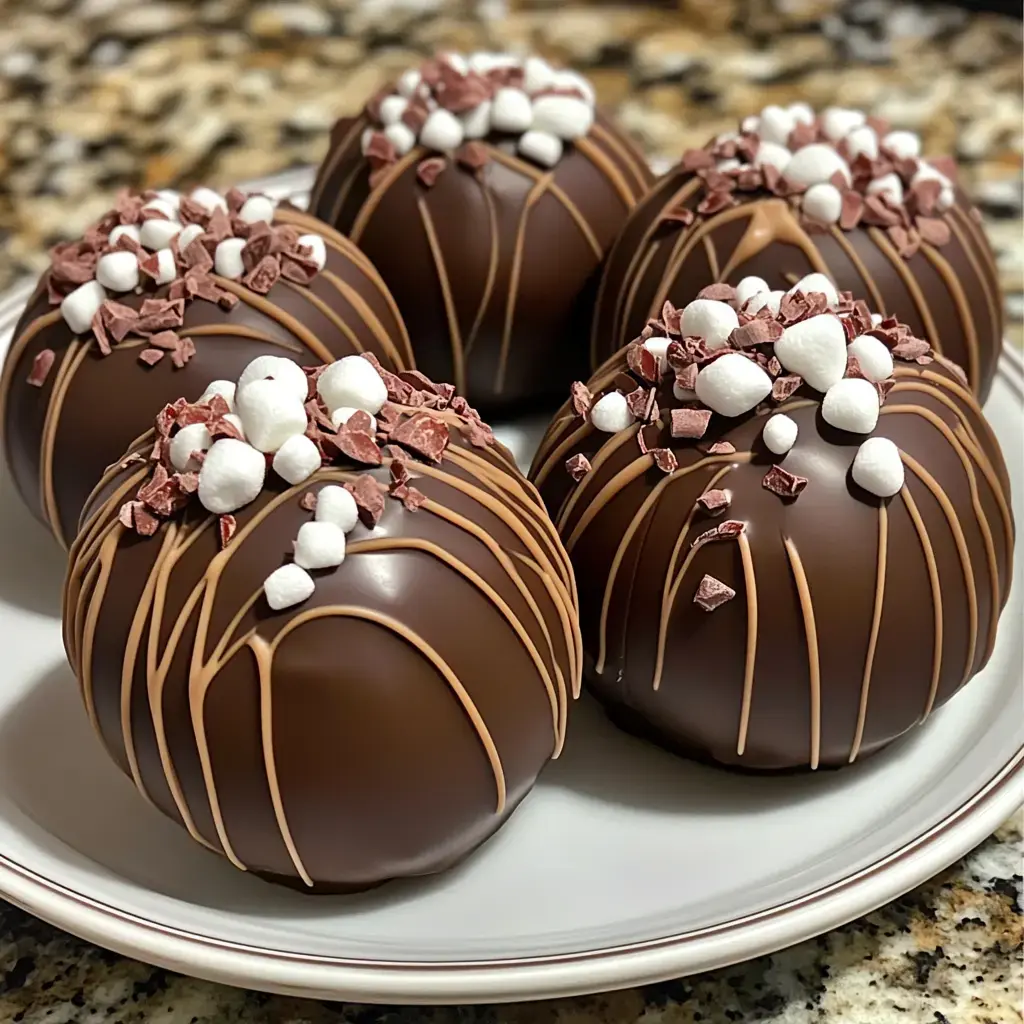
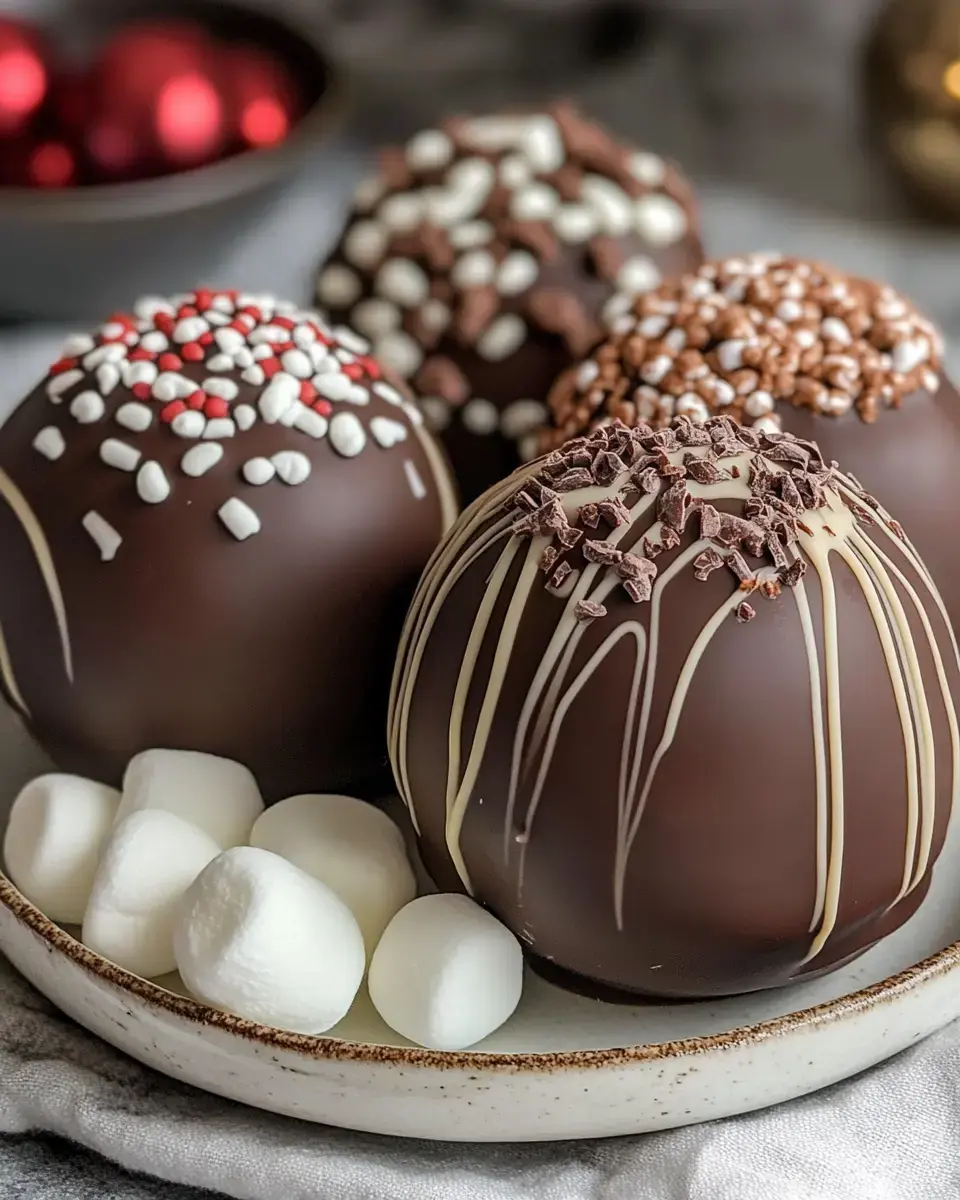
I stumbled onto this easy homemade hot chocolate bomb recipe last Christmas when my kids begged me to recreate the fancy ones they saw at the boutique downtown. After quite a few chocolate-covered disasters (and lots of taste-testing from my eager family!), I finally cracked the code. Now these beautiful treats have become my signature holiday gift, and friends start hinting about them as soon as the weather turns cold.
The Heart of Great Hot Chocolate Bombs
- Choosing Your Chocolate
- Here's my biggest lesson learned - splurge on the good chocolate. I tried using regular chocolate chips once and ended up with a sticky mess! Look for chocolate with at least 31% cocoa butter - I love Callebaut, but Ghirardelli works great too.
- The Inside Scoop
- For the hot cocoa mix inside, Dutch-process cocoa makes all the difference. Mix it with some good quality powdered sugar and a pinch of salt - trust me on the salt!
- Little Extras
- Fresh, soft mini marshmallows are a must. Those hard ones from last winter's hot cocoa stash just won't cut it.
Setting Up Your Workspace
- Getting Organized
- Clear your counter space completely - these can get messy until you get the hang of it. Line everything up like you're performing surgery: thermometer, sphere molds (I use silicone ones), brushes. I actually use a clean makeup brush for coating the molds - works better than any pastry brush I've tried!
- Temperature Control
- Here's something I wish I knew at the start: your kitchen needs to be cool, around 70°F. I learned this the hard way during a summer attempt that turned into a melty disaster.
Let's Make Magic
- The Tempering Dance
- Chop your chocolate super fine - I mean confetti-size pieces. Heat about two-thirds of it slowly in the microwave, 30 seconds at a time. Stir between each burst, even if it doesn't look melted yet. Once it's smooth, add the remaining chocolate bit by bit. This is how we get that gorgeous shine!
- Molding Your Spheres
- Paint your molds with a thin layer of chocolate. Pop them in the fridge for exactly 5 minutes - any longer and you'll get condensation. Add a second coat, making the edges slightly thicker. I learned about reinforcing edges after a few tragic collapses!
When Things Go Wrong
- Fixing Mishaps
- Got streaky chocolate? Your temperature probably wandered off track. Dark chocolate likes 88-91°F, milk prefers 86-88°F, and white chocolate is happiest at 84-86°F. I keep a sticky note with these numbers on my microwave!
- Quick Fixes
- Shells stuck in molds? Pop them in the freezer for 3 minutes. Fingerprints on your finished bombs? A quick swipe with a warm brush fixes that right up.

Getting Creative
- Fun Variations
- Once you've got the basic technique down, go wild! My kids love galaxy bombs - brush the molds with colored cocoa butter before the chocolate. For Christmas, I add peppermint oil to the shells and fill them with crushed candy canes.
- Decoration Station
- A little shimmer dust or edible gold paint turns these into pure magic. Just wait until they're completely set before decorating.
Storing and Gifting
- Keeping Them Perfect
- Never put these in the fridge - learned that lesson when my beautiful shiny bombs turned cloudy! Store them in a cool spot (around 65-70°F) in an airtight container. I tuck a silica packet in there to keep moisture away.
- Gifting Tips
- These need gentle handling! I wrap each one in cellophane and nestle them in boxes with tissue paper. Include a little note: 'Drop in hot milk (180°F), watch the magic, stir and enjoy!'
Summary
Professional hot chocolate bombs require precise chocolate tempering techniques. By carefully controlling temperature and using high-quality chocolate, you can create glossy, professional-grade chocolate spheres filled with cocoa mix and marshmallows.
Recipe FAQs
- → Which chocolate works best?
Use couverture or high-quality bar chocolate. Skip candy melts or chips - they won't temper right and the taste isn't as good.
- → Silicone or acrylic molds?
Silicone is easier but slower, acrylic is trickier but lets you make more at once. Both work well if you follow the steps.
- → My chocolate won't release?
If it's stuck in acrylic molds, the chocolate wasn't properly tempered. It needs to contract in the freezer to pop out easily.
- → Why check temperature?
Don't go over 90°F or you'll lose the temper. Properly tempered chocolate gives that professional shine and snap.
- → Why are my bombs dull?
Shiny bombs come from properly tempered chocolate. Follow the heating steps carefully and don't rush the process.
