
 Pin
Pin
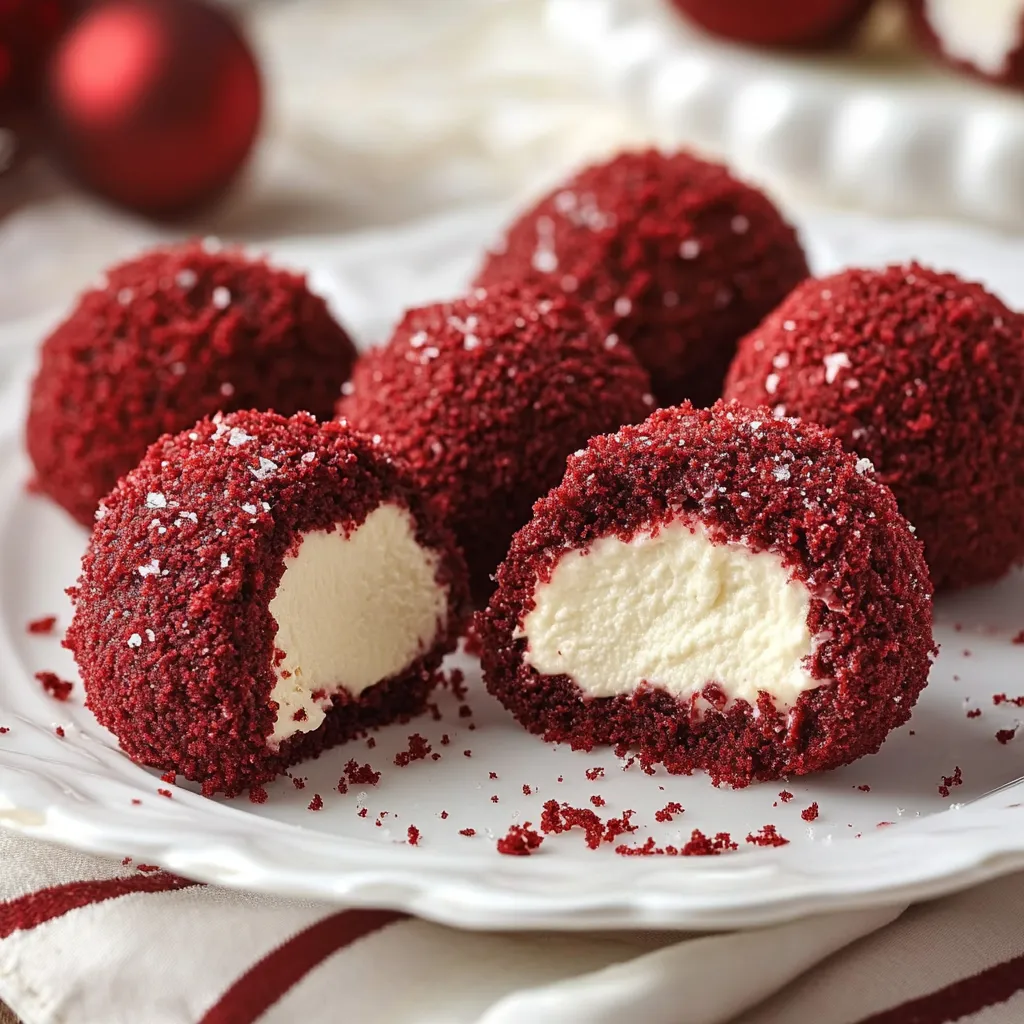
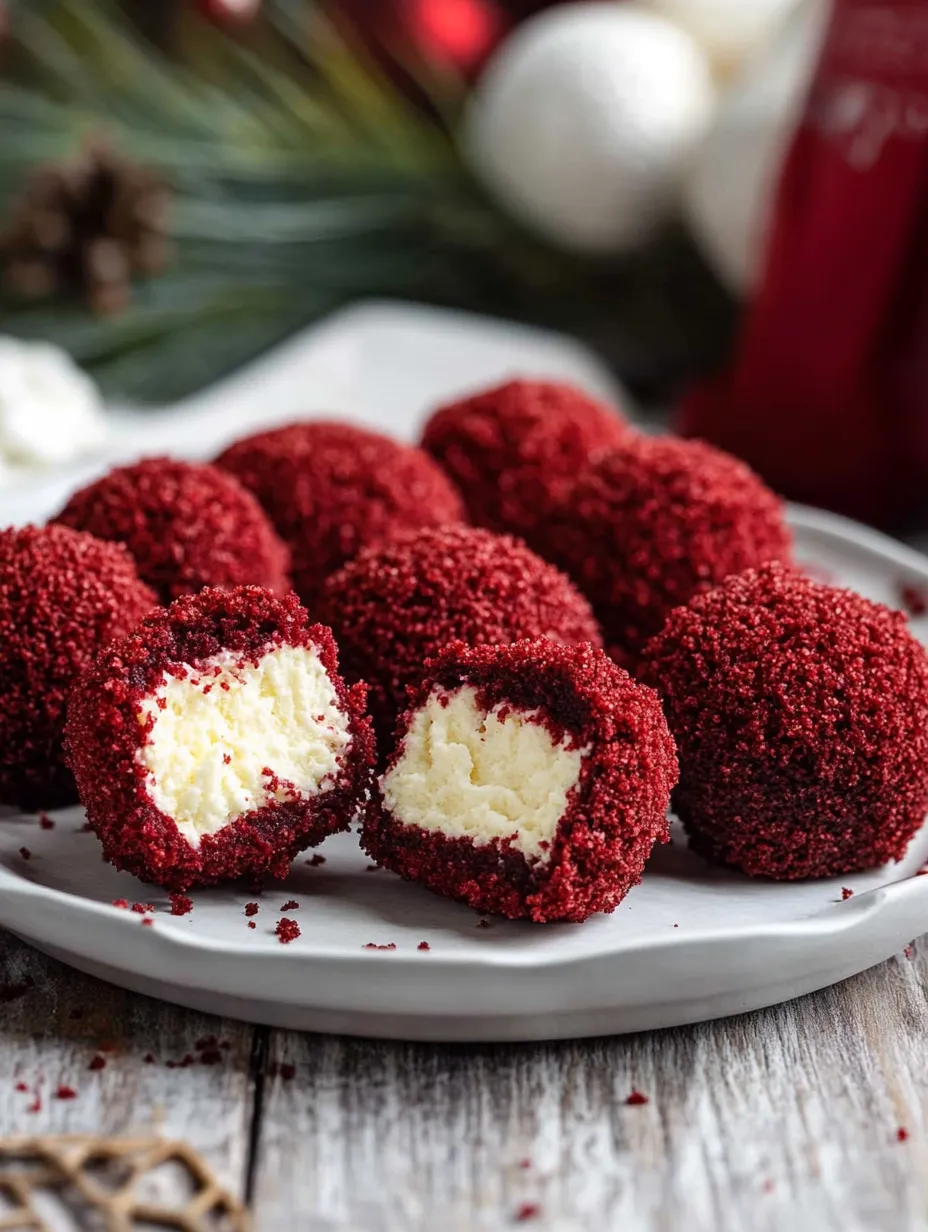
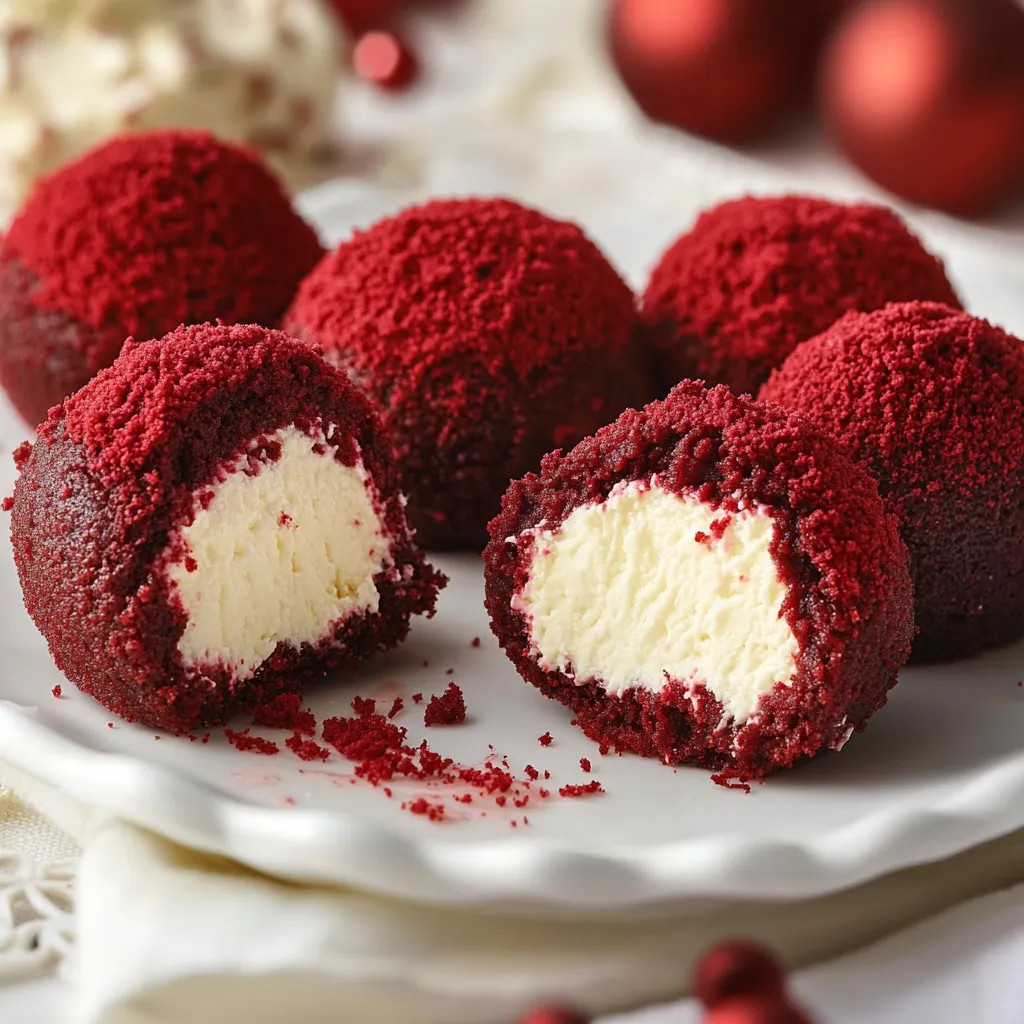
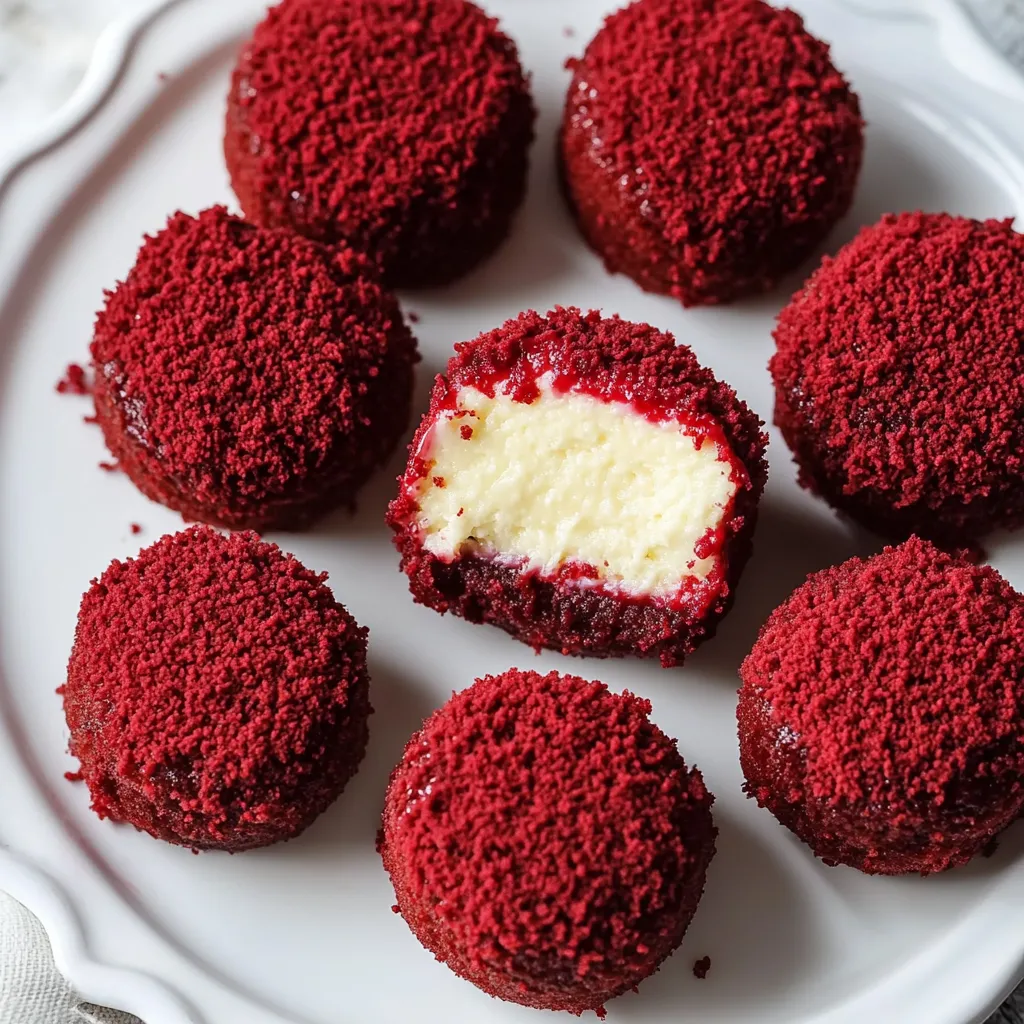
These Red Velvet Cheesecake Bites combine the classic appeal of red velvet cake with creamy cheesecake in perfect, poppable portions. Their rich crimson color and velvety texture make them an eye-catching addition to any dessert table, while their no-bake preparation keeps things simple and stress-free.
Once, while making these for a Valentine's Day party, I discovered that letting the mixture chill before rolling resulted in perfectly shaped balls that held their form beautifully. Now it's become my go-to technique for foolproof results.
Essential Ingredients Selection
- Cream Cheese: Use full-fat, room temperature cream cheese for the smoothest texture
- Red Velvet Cake Mix: Choose a quality brand for the best color and flavor
- Graham Crackers: Fresh, crisp crackers create the perfect textural element
- Butter: Unsalted butter allows better control of the overall sweetness
Detailed Preparation Steps
- Perfecting the Base
- Crumble cake when completely cool to prevent clumping
- Break down any large pieces for uniform texture
- Use your fingers to test for consistent crumb size
- Creating the Filling
- Beat cream cheese mixture until absolutely smooth
- Incorporate graham crackers gradually for even distribution
- Check consistency before adding all powdered sugar
- Mastering Assembly
- Use a small cookie scoop for uniform sizing
- Roll balls between palms with gentle pressure
- Chill between steps for easier handling
Growing up, my grandmother's red velvet cake was legendary. These bites capture that same nostalgic flavor in a modern, portable form.
The versatility of these treats makes them perfect for any occasion, from casual gatherings to elegant affairs.
The combination of cake and cheesecake creates a perfectly balanced sweetness that keeps people coming back for more.
Each bite delivers the perfect ratio of cake to cheesecake filling, ensuring a consistent experience.
After countless batches and many happy taste-testers, these red velvet cheesecake bites have become one of my most requested recipes, proving that sometimes the simplest treats are the most memorable.
Creative Presentation Ideas
Transform these simple bites into elegant dessert displays:
- Arrange them in concentric circles on a mirrored platter
- Create a dessert tower with varying heights of cake stands
- Place each bite in a mini cupcake liner for easy serving
- Drizzle white chocolate in a pattern across arranged bites
Make-Ahead and Storage Solutions
These bites become even better with proper timing:
- Make and shape up to 3 days before serving
- Layer between parchment paper to prevent sticking
- Store in airtight containers away from strong odors
- Let sit at room temperature for 5-10 minutes before serving
Troubleshooting Common Issues
If mixture is too soft:
- Add more cake crumbs gradually
- Chill mixture for 30 minutes before rolling
- Keep finished balls in freezer briefly between steps
If mixture is too dry:
- Add cream cheese 1 tablespoon at a time
- Slightly warm your hands before rolling
- Incorporate a small amount of softened butter
Seasonal Variations
Valentine's Day: Add heart sprinkles to coating
Christmas: Incorporate peppermint extract and crushed candy canes
Easter: Roll in pastel-colored white chocolate
Halloween: Use orange-tinted white chocolate drizzle
These red velvet cheesecake bites have taught me that sometimes the most impressive desserts don't require complicated techniques. Whether served at a casual gathering or an elegant event, they never fail to delight guests with their perfect balance of flavors and textures.
Remember, the key to success lies in patience and attention to detail. Take your time with each step, and you'll be rewarded with treats that look and taste professionally made. Happy baking, and may your red velvet bites bring as much joy to your celebrations as they have to mine!
Recipe FAQs
- → How long do these bites keep?
- They keep well refrigerated for up to 5 days when stored properly.
- → Can I freeze these cheesecake bites?
- Yes, they freeze well for up to 3 months in an airtight container.
- → Why do I need to dry the cake crumbs?
- Drying prevents the coating from becoming too moist and helps it stick better.
- → Can I make these without graham crackers?
- Yes, you can use crushed cookies or additional cake crumbs instead.
- → Why must ingredients be room temperature?
- Room temperature ingredients blend more smoothly and prevent lumps in the filling.