
 Pin
Pin
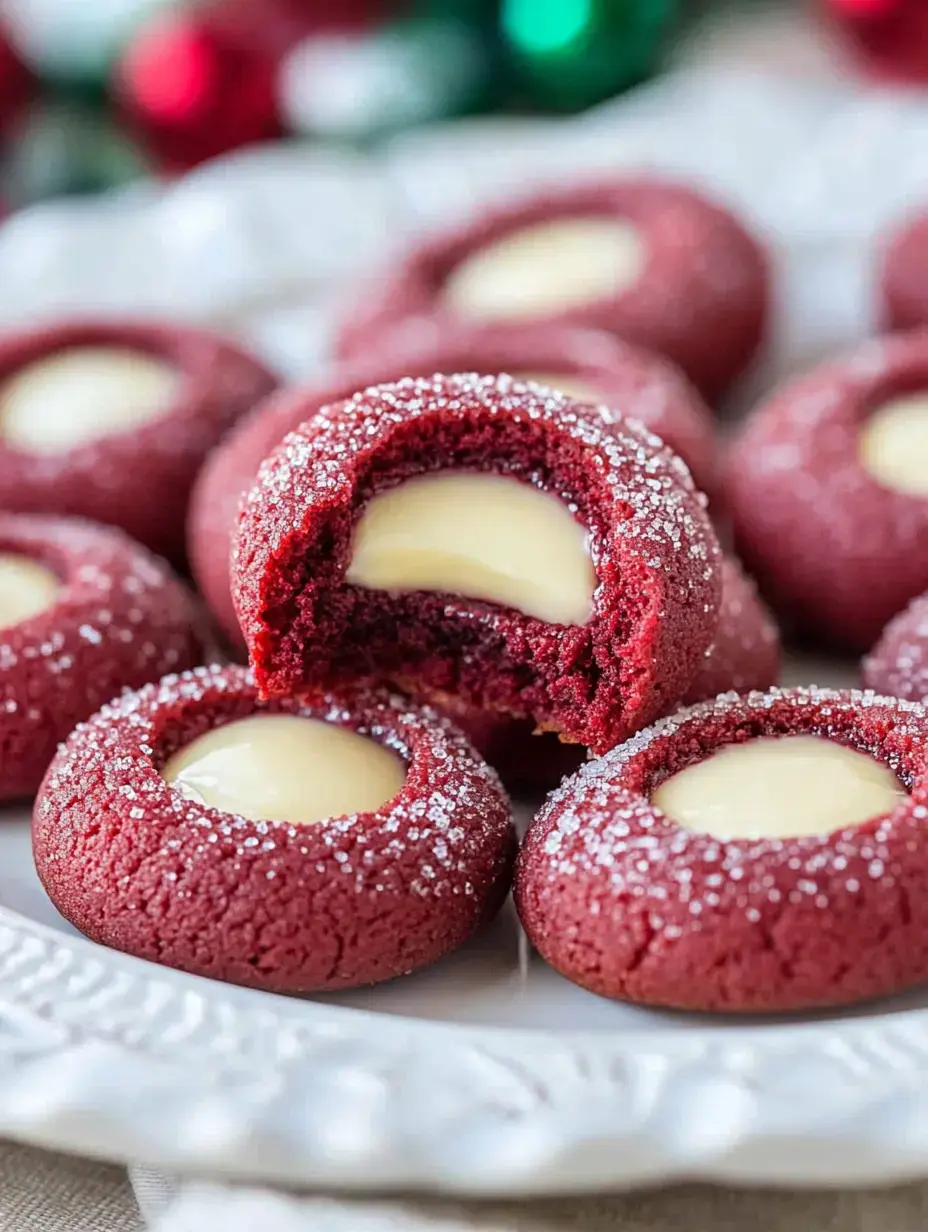
I stumbled upon these Red Velvet Thumbprint Cookies last Christmas and they've now become my go-to holiday sweet. The soft red velvet cookie paired with that silky cheese center just dissolves when you bite in. Whenever I show up with these at gatherings, folks can't help but smile at their festive appearance. Take my word for it – these tiny treats work wonders during Christmas, Valentine's, or simply when you need something sweet to brighten your day.
Vibrant and Tasty
There's something wonderful about the way these cookies mix that red velvet flavor with the tangy cream cheese center. The filling brings this perfect zingy sweetness that keeps you reaching for another. They're super simple to whip up too – my little ones love rolling the dough balls in glittery sugar. No matter what else is on my cookie tray, these always vanish first.
Key Ingredients
- Red Velvet Cookies: You'll want butter that's been sitting out – it blends way better. White sugar for the sweet kick, a big egg right from the fridge, and some vanilla for that homemade taste. Don't forget red gel coloring – it's crucial. Then you need your standard flour, a bit of cocoa to get that slight chocolate hint, plus a pinch of baking soda and salt to pull it all together.
- Cream Cheese Filling: Make sure your cream cheese is completely soft, grab some powdered sugar and run it through a sifter for smoothness, then add a dash of vanilla to boost the flavor.
- For Rolling: I'm a fan of red and green sugar crystals or seasonal sprinkles to give them that festive shine.
How To Make Red Velvet Thumbprints
- Get Your Dough Ready
- First, whip your butter with sugar until it gets all fluffy. Throw in your egg, vanilla, and that pretty red coloring. Grab another bowl for your dry stuff, mix it up, then slowly combine everything. Don't mix too much or your cookies will turn out hard.
- Let It Cool Down
- Stick your dough in the fridge for 30 minutes. In a rush? The freezer works for 15 minutes too.
- Whip Up Your Filling
- During the wait time, blend your cream cheese mixture until it's totally smooth, then keep it cool until you're ready.
- Form and Cook
- Take small dough chunks, coat them in sparkly sugar, make a dent with your thumb, and bake until they're done but still soft. If the centers rise, just push them back down while they're hot.
- Add Filling and Set
- After they've cooled off, drop some creamy filling in each dent. Pop them in the fridge so they can firm up.
Special Ingredient Notes
Each component has its job in these amazing cookies. The butter keeps them soft and rich, while the sugar balances everything with sweetness. That small amount of cocoa? That's the secret to true red velvet flavor. I only use gel food coloring because it gives such a deep red without making things soggy. But honestly, the cream cheese center steals the show – it's like the perfect finishing touch.
Serving Suggestions
These treats look amazing when placed beside regular sugar cookies or spicy gingerbread on a holiday plate. For gifting, I pack them in see-through bags with colorful ribbons. Sometimes I'll add a little white chocolate on top or sprinkle extra sugar for fancy times. They always catch everyone's eye no matter how you dish them up.
Expert Baking Advice
After tons of batches, I've picked up some handy tricks. Always grab gel food coloring instead of liquid drops – the results are way better. Don't try to skip the cooling time – it really affects how they turn out. Your cream cheese needs to be super soft before mixing or you'll end up with bumpy filling. If you find the dough getting sticky while rolling, just put a bit of flour on your hands. And don't go overboard with filling or you'll have a messy situation.
Recipe FAQs
- → Why chill the dough?
Chilling firms dough for easier shaping and prevents spreading while baking.
- → What food coloring works best?
Gel food coloring provides vibrant color without adding excess liquid.
- → Can I make these ahead?
Yes, store filled cookies in fridge up to 3 days.
- → Why let cookies cool before filling?
Prevents cream cheese filling from melting or becoming runny.
- → Can I freeze these cookies?
Freeze unfilled cookies up to 3 months; add filling after thawing.