 Pin
Pin
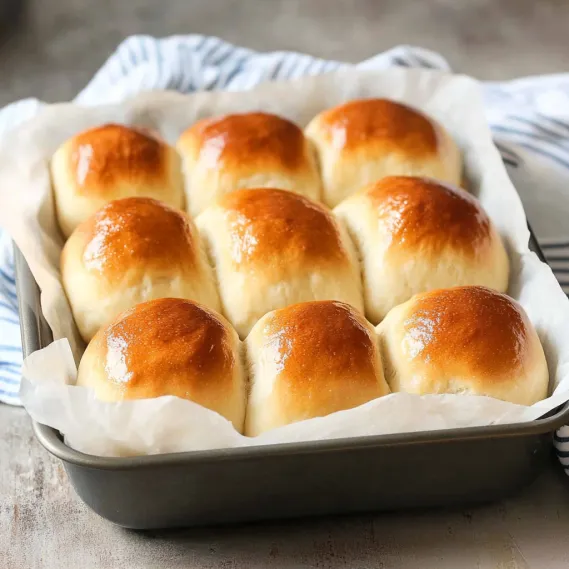
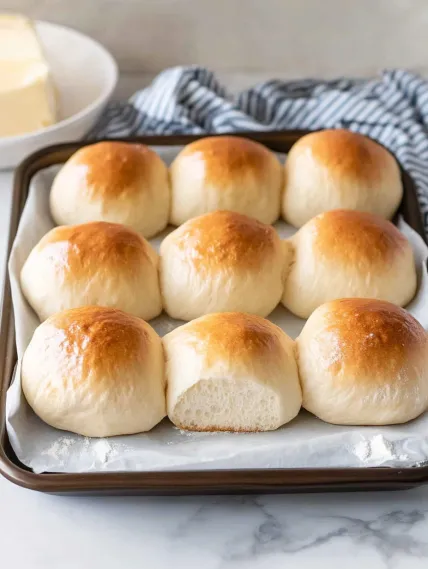
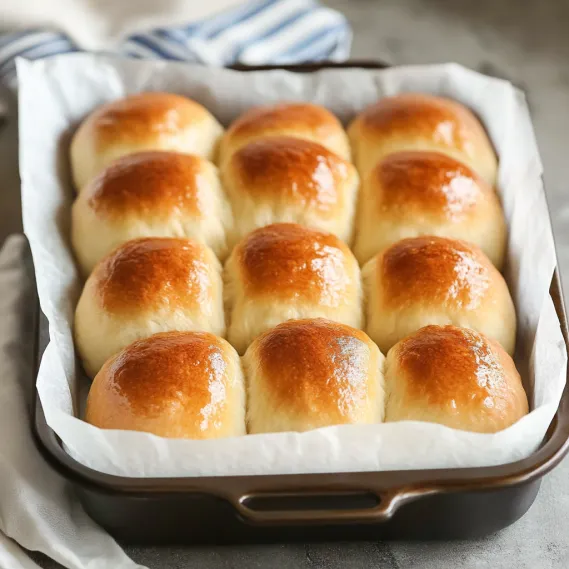
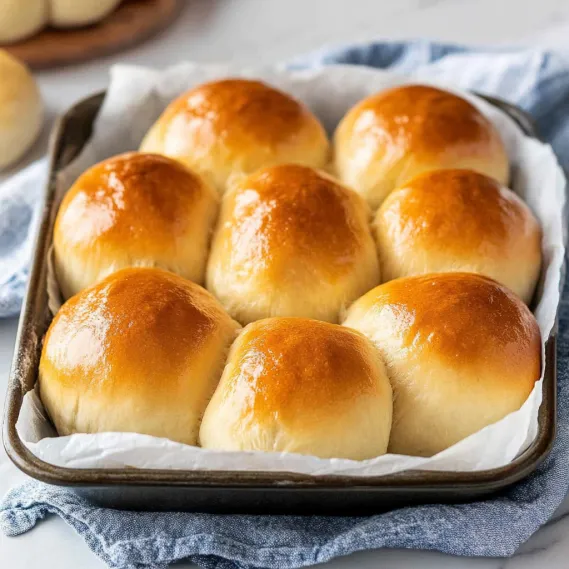
These soft no knead dinner rolls are the kind of bread that makes you wonder why you ever bothered with complicated recipes. You just toss everything into a bowl, stir it with a spoon, and let time do the work—no kneading, no fancy mixer, nothing but a little patience. They come out golden on top, fluffy inside, with that perfect hint of sweetness and salt that makes them impossible to resist. Whether you’re serving them warm with butter at dinner or saving them for a sandwich the next day, they’re a game-changer for anyone who loves fresh bread without the fuss.
I made these for a family Sunday supper, and they vanished faster than anything else on the table. My husband, who’s all about crusty artisan loaves, couldn’t stop raving about how fluffy they were. I’ve been making them ever since—sometimes just because I need that warm bread smell in the house.
Ingredients That Make It Work
- Bread Flour: Gives that extra fluffiness—plain flour works too, but bread flour’s the secret to the lightest texture. Look for a fresh bag; old flour can taste flat.
- Dry Yeast: The key to the rise—make sure it’s active and frothy when you start. I use instant yeast from the baking aisle, and it’s never let me down.
- Milk: Lukewarm whole milk adds richness—low-fat’s fine, but it won’t be quite as tender. Warm it just enough to feel cozy, not hot.
- Butter: Melted and cooled, it brings flavor and keeps things soft. Unsalted lets you control the saltiness.
- Eggs: Room-temp eggs blend in smooth and help the dough stay plush—cold ones can slow the rise.
The butter’s my favorite touch—it makes these rolls taste like a treat without being fussy. I tried skipping it once, and they just weren’t the same. My family notices the difference too—they’ll sniff out that buttery goodness from across the room.
Let’s Make Them Step by Step
- Step 1: Wake Up the Yeast
- In a small bowl, mix 1 tablespoon dry yeast with 2 teaspoons of sugar (from your ¼ cup total) and ½ cup warm water. Let it sit for 5 minutes until it’s foamy—if it doesn’t bubble, your yeast’s a dud, and you’ll need fresh stuff.
- Step 2: Mix the Dough
- In a big bowl, stir together 4 cups bread flour, the rest of the ¼ cup sugar, and 1 ½ teaspoons kosher salt. Make a well in the center, then pour in 1 cup lukewarm milk, 3 ½ tablespoons melted butter, 2 beaten eggs, and all the frothy yeast mix. Stir with a wooden spoon until it’s a thick, sticky batter—think muffin mix, not pourable dough.
- Step 3: First Rise
- Cover the bowl with a damp tea towel and set it somewhere warm (around 77°F or higher) for 1 ½ to 2 hours until it’s nearly tripled and bubbly on top. My trick? Run the empty dryer for a minute, then tuck the bowl inside—works like a charm every time.
- Step 4: Shape the Rolls
- Line a 9x13-inch pan with parchment, leaving some overhang. Punch down the dough to knock out big bubbles, then scrape it onto a floured counter. Dust the top, shape it into a log, and cut into 12 equal pieces. For each piece, flatten it lightly, pull the edges up like a pouch, flip it over, and roll it into a smooth ball—keeps the tops tight and pretty. Place them in the pan, 3 across, 4 down.
- Step 5: Second Rise
- Mist the rolls with oil (or cover with oiled cling wrap) and let them rise in that warm spot for 30-45 minutes until they’ve grown about 75%—not quite doubled. Preheat your oven to 350°F (fan) or 390°F (standard) halfway through.
- Step 6: Bake and Finish
- Bake for 15-18 minutes until golden brown—tap the middle roll; it should sound hollow. Brush with 1 tablespoon melted butter right out of the oven, then lift them onto a rack to cool a bit before serving warm.

I can’t get over the yeast in this—it’s like a little miracle worker. My mom tried these and said they reminded her of her grandma’s rolls, but without all the elbow grease. We’ve been hooked ever since, especially with a smear of butter straight from the oven.
Make Them Ahead
These rolls are a dream for busy days. Shape them, pop them in the fridge overnight (covered tight), and let them sit out 30 minutes before baking fresh. I’ve done this for holiday dinners—fresh rolls on the table without morning chaos.

Flavor Twists to Play With
Brush them with garlic butter after baking for a savory kick—my kids devour those. Or sprinkle a little cinnamon sugar into the dough for a sweet treat. Once, I mixed in some shredded cheddar—golden cheesy rolls that didn’t last an hour.
Storing and Reheating
Day-old rolls dry out a bit, but 15 seconds in the microwave brings them back to life. Freeze them baked or as dough balls—thaw overnight in the fridge, then warm at 320°F under foil for 8 minutes. I’ve stashed extras this way and pulled them out for quick dinners.
Serving Ideas
They’re heaven with a bowl of soup—the soft insides soak up broth like a sponge. For Thanksgiving, I’ve split them for mini turkey sliders—huge hit. Even plain with jam at breakfast, they feel special.

These soft no knead dinner rolls are my kind of kitchen magic—simple, forgiving, and downright delicious. They prove you don’t need to sweat over dough to get that fresh-baked joy. One bite, and you’ll be hooked on how easy and good they are.
Recipe FAQs
- → Why don't these rolls need kneading?
- The high hydration level (ratio of liquid to flour) allows the gluten to develop naturally during the long rising period without mechanical kneading. The sticky, wet dough gives the yeast plenty of mobility to create air pockets, resulting in fluffy rolls. It's a more hands-off approach that works because time does the work that kneading would normally do.
- → Can I use active dry yeast instead of instant yeast?
- Yes, you can use active dry yeast instead of instant. The recipe already includes a step for dissolving the yeast in liquid, which works for both types. If using active dry yeast, follow the same measurements and simply proceed with the recipe as written - the initial proofing in warm water with sugar ensures the yeast is activated before mixing with the other ingredients.
- → My kitchen is cold - how can I find a warm place for the dough to rise?
- There are several ways to create a warm environment for your dough: 1) Heat your oven to its lowest setting for 1-2 minutes, then turn it off and place the dough inside, 2) Use a clothes dryer as suggested - run it empty for 1-2 minutes then place the bowl inside, 3) Place the dough near a warm appliance, 4) Put the covered dough in a microwave with a cup of hot water (don't turn the microwave on), or 5) Use a proofing box if you have one.
- → Can I make these rolls ahead of time?
- Yes! You can prepare the dough through the first rise, shape the rolls, then refrigerate them covered for 4-24 hours (this acts as the second rise, though slower in the fridge). Take them out 30 minutes before baking to come to room temperature. Alternatively, you can fully bake the rolls, let them cool completely, and freeze them in an airtight container for up to a month. Thaw and reheat briefly in the oven wrapped in foil or 15 seconds in the microwave to refresh.
- → Why is my dough too sticky to handle?
- This dough is supposed to be stickier than traditional kneaded dough - that's part of what makes the rolls so soft. When shaping, use plenty of flour on your work surface and hands, but only on the outside for handling. Don't knead the extra flour into the dough. In very humid environments, you may need to be especially generous with the flour for shaping. The technique of quickly gathering and flipping the dough minimizes contact with the sticky interior.
- → Can I use this dough to make different shapes or filled rolls?
- Yes, this versatile dough can be used for different shapes. You can form it into knots, mini loaves, or place multiple smaller balls in a muffin tin for cloverleaf rolls. For filled rolls, flatten each piece, add a small amount of filling (like cheese, herbs, or a sweet filling), then seal well before placing seam-side down on the baking tray. Just be gentle when handling, as the soft dough can tear easily.
