These Valentine's Day chocolate truffles are the perfect way to show your love through a handmade treat. Made with quality chocolate and cream, these luxurious candies have an incredibly smooth, melt-in-your-mouth texture that rivals any fancy chocolate shop. The secret to their silky consistency is a touch of butter, while vanilla extract adds depth of flavor. You can get creative with romantic toppings like pink sprinkles, cocoa powder, or a drizzle of white chocolate. While they look impressive, they're surprisingly simple to make - just melt, chill, and roll. They're perfect for gifting to your Valentine or sharing at a romantic dinner, and can even be made a few days ahead. Each truffle is a little bite of chocolate heaven that shows just how much you care.
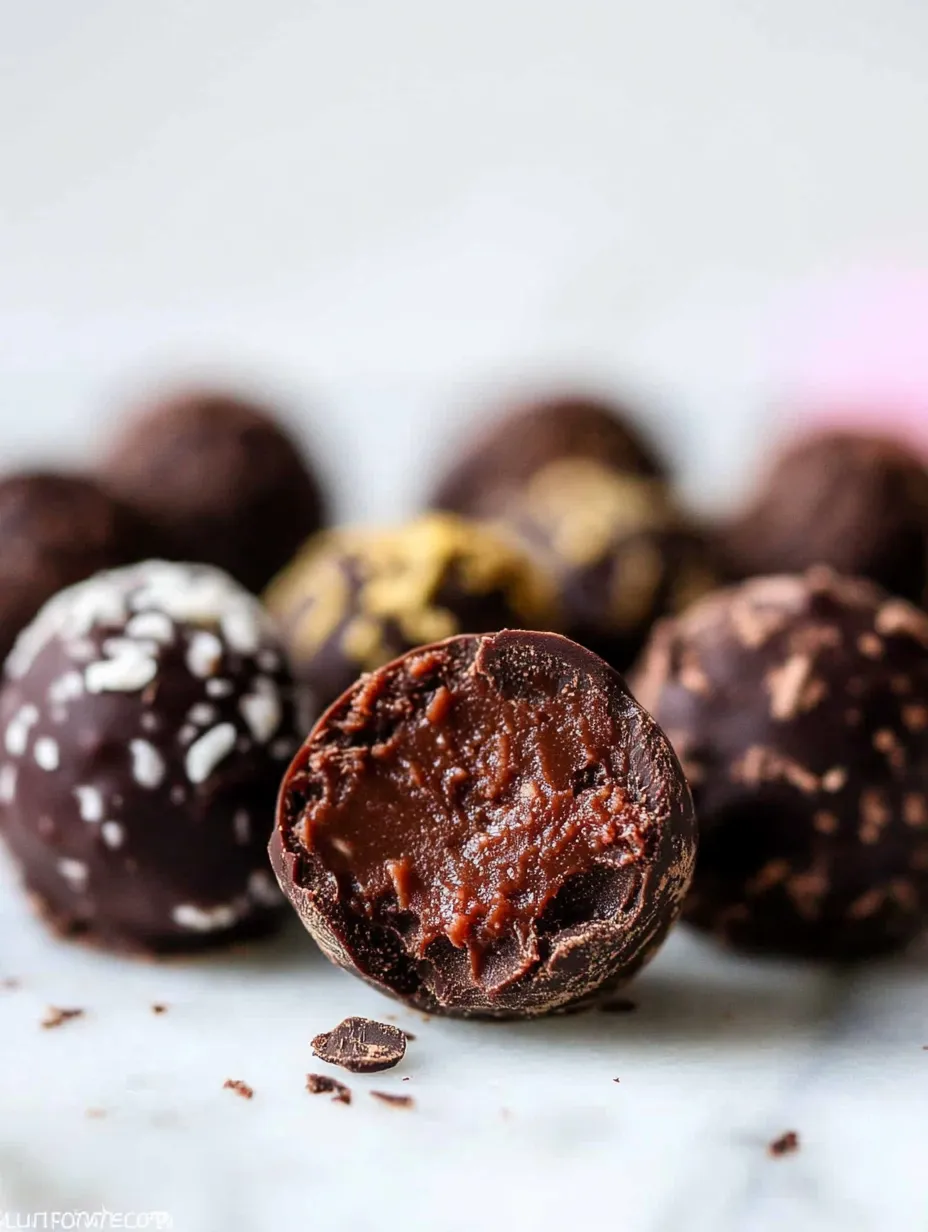
The moment you bite into a handmade chocolate truffle, time seems to slow down. That perfect shell giving way to reveal an impossibly smooth, creamy center - it's pure chocolate artistry in bite-sized form. In my kitchen, these truffles have evolved from a simple chocolate-and-cream combination into a luxurious treat that rivals any high-end confection. The secret lies in using premium chocolate and adding just a touch of butter for that extra silky mouthfeel that makes these irresistible.
Last Valentine's Day, I gifted these truffles to my closest friends. The look of pure joy when they discovered these weren't store-bought, but handcrafted in my kitchen, made all the careful tempering and rolling worthwhile. The secret? Taking time with each step and using the highest quality ingredients you can find.
Essential Ingredients and Selection Tips
Chocolate: Choose premium chocolate bars - I prefer Ghirardelli or Lindt with 60-70% cocoa content. The chocolate forms the heart of your truffles, so this is where quality truly matters
Heavy Cream: Only use heavy cream or heavy whipping cream with at least 36% fat content. The richness is essential for that perfect ganache texture
Butter: Unsalted butter at room temperature adds an incredible silkiness. Even this small amount makes a noticeable difference in the final texture
Vanilla Extract: Pure vanilla extract adds depth and warmth. Skip the artificial vanilla - the difference is noticeable in such a simple recipe
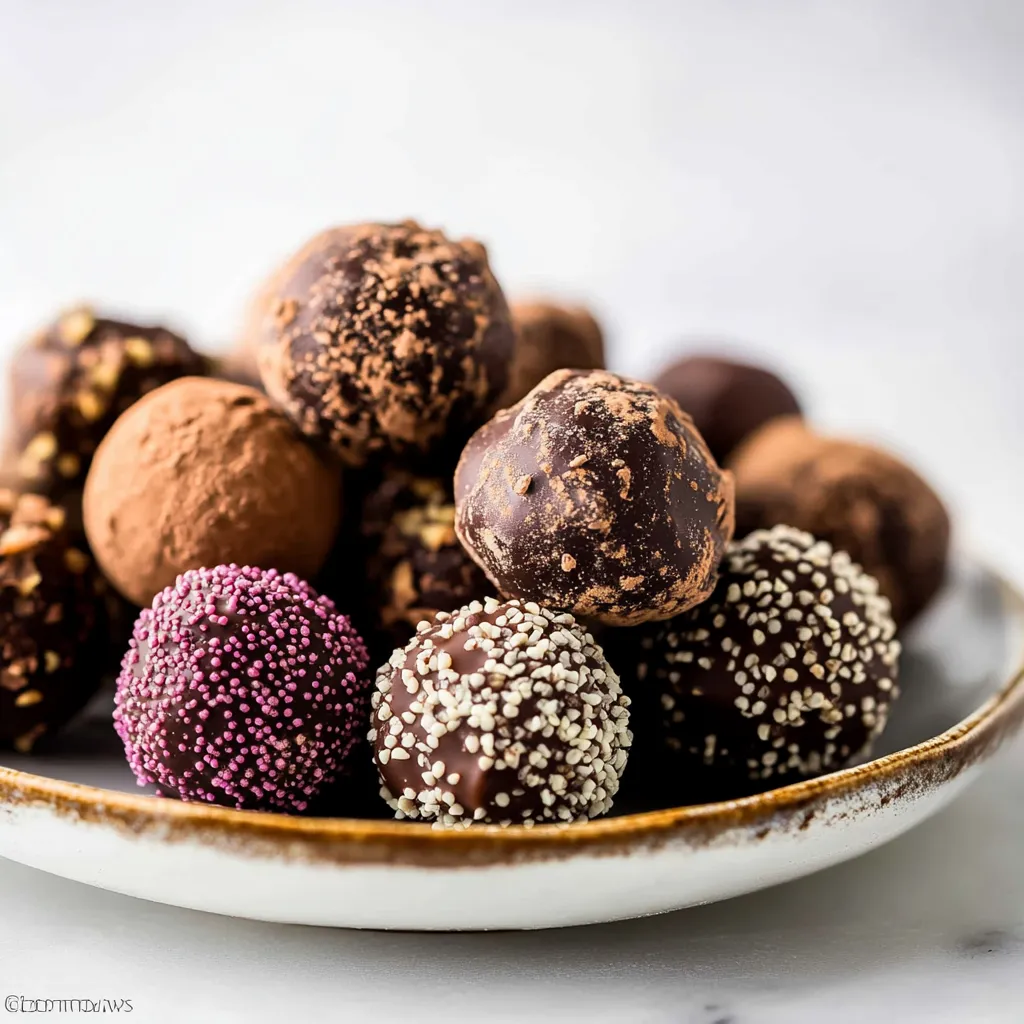
Optional Toppings: Keep cocoa powder, crushed nuts, or your favorite sprinkles ready for coating. Each adds its own delightful texture
After years of making these truffles, I've learned that patience and attention to temperature are the keys to success. Each ingredient plays its crucial role in creating that perfect moment when the truffle melts on your tongue.
Detailed Instructions
1. The Essential Setup
Begin your truffle journey with perfect mise en place. Chop the chocolate into very fine, uniform pieces - think small pebbles, not chunks. This ensures even melting and smooth ganache. Position your heatproof bowl, cream, softened butter, and tools within easy reach. In my experience, organization at this stage prevents any panic once the hot cream hits the chocolate.
2. The Cream Warming
Pour your heavy cream into a small, clean saucepan. Heat over medium-low, watching for those telling signs - tiny bubbles around the edges, steam rising, and slight movement on the surface. Never let it boil; we're aiming for that perfect simmer where the cream is hot enough to melt chocolate but not so hot it scorches. This usually takes 3-4 minutes, but trust your eyes more than the clock.
3. The Ganache Creation
Here's where magic happens. Pour your hot cream slowly over the chopped chocolate, ensuring all pieces are covered. Add your room-temperature butter now - it will melt alongside the chocolate. This is a moment of patience - let everything stand untouched for 5 full minutes. The heat gently melts the chocolate while the butter adds future silkiness. Resist the urge to stir too soon.
4. The Perfect Blend
Start stirring from the center with a rubber spatula, working outward in small, steady circles. Watch as the mixture transforms from separate elements into a glossy, unified ganache. When no streaks remain and it looks like liquid silk, add your vanilla extract. One final gentle stir incorporates it perfectly. If you notice any unmelted chocolate pieces, place the bowl over a pan of warm (not hot) water for 30 seconds.
5. The Crucial Rest
Cover your ganache with plastic wrap, pressing it directly onto the surface - this prevents that dreaded skin from forming. Refrigerate for 1-2 hours, until the mixture is firm enough to scoop but still pliable. I usually give mine a gentle poke after an hour - you want it to hold a finger imprint but not be rock hard.
6. The Rolling Stage
Line a baking sheet with parchment paper. Using a small cookie scoop or spoon, portion the chilled ganache into 1-inch mounds. Don't aim for perfect balls yet - just consistent sizes. If the ganache starts sticking, pop it back in the fridge for 15 minutes. I've learned that cold ganache is much easier to handle than room temperature.
7. The Perfect Shape
Now comes the hands-on artistry. Working quickly, roll each mound between your palms into smooth spheres. A pro tip I learned in a chocolate workshop: keep your hands cold by running them under cool water and drying them completely between every few truffles. This prevents the chocolate from melting as you work.
8. The Finishing Touch
Prepare your coating stations before you start rolling - whether it's cocoa powder, crushed nuts, or melted chocolate. Roll each truffle in your chosen coating immediately after shaping. For cocoa-dusted truffles, use a fork to gently toss them in the powder - this creates a more even coating than rolling.
My love affair with truffle making began in my grandmother's kitchen, where she taught me that patience makes perfect truffles. Each batch has refined my technique, showing me how small adjustments can make significant differences in the final result.
The Art of Coating
Through countless batches, I've discovered that different coatings need different techniques. Cocoa powder should be sifted to avoid clumps. For chocolate coating, let it cool slightly before dipping to create a thicker shell. Crushed nuts should be very fine to adhere properly.
Homemade Chocolate Truffles Recipe | zestplate.com
Storage Secrets
These truffles actually develop better flavor after 24 hours in the refrigerator. The ganache becomes perfectly set, and the flavors meld beautifully. They'll keep for up to three weeks when stored properly in an airtight container.
Seasonal Adaptations and Flavor Variations
The beauty of this basic truffle recipe lies in its versatility across seasons. During winter holidays, I infuse the cream with peppermint or add a splash of spiced rum before heating. Spring calls for lighter touches - perhaps orange zest or a hint of lavender. Summer brings opportunities for fresh berry-infused ganache, while autumn welcomes warming spices like cinnamon and nutmeg. The key is adding these flavors during the cream-heating stage, allowing them to fully integrate into the ganache. Through years of experimenting, I've found that less is more - subtle flavors allow the chocolate's complexity to shine through.
The Art of Gifting and Presentation
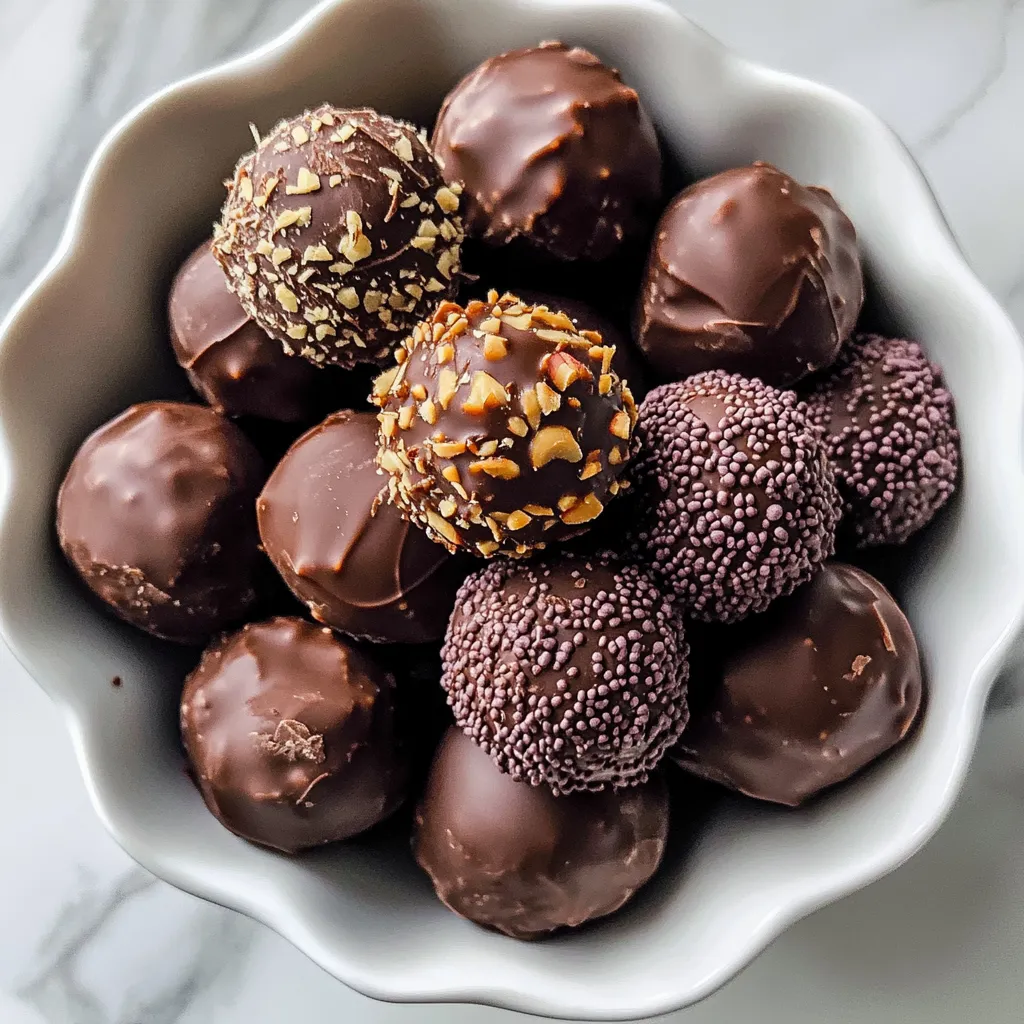
Handmade truffles deserve beautiful presentation. I've discovered that small paper candy cups in elegant gift boxes create the most professional look. For special occasions, I arrange different coatings - cocoa, nuts, and chocolate-dipped - in a single box, creating a stunning assortment that rivals high-end chocolatiers. Keep presentation boxes in the refrigerator until about 30 minutes before gifting. I learned this timing through trial and error - it allows the truffles to reach the perfect temperature for that ideal first bite. Include a small note explaining the flavors and suggesting they be enjoyed within two weeks (though they rarely last that long!).
Temperature and Environment Mastery
Making truffles has taught me to respect the impact of environment on chocolate work. During humid summer months, I reduce the cream by a tablespoon and work in a well-air-conditioned space to ensure proper setting. In winter, when my kitchen runs cool, allowing the ganache to sit at room temperature for an extra 10 minutes before rolling makes shaping much easier. I've also found that working early in the morning, when the kitchen is coolest, yields the best results. These small adjustments, learned through countless batches in different seasons, ensure consistent, professional-quality truffles year-round.
Chef's Essential Tips
Never try to rush the cooling process in the freezer - it creates uneven setting
If your ganache splits, warm it gently while stirring until it comes back together
Keep a digital thermometer nearby to monitor cream temperature
Clean your scoop or spoon between each truffle for more uniform sizes
Homemade Chocolate Truffles | zestplate.com
Final Thoughts
Creating the perfect chocolate truffle is like conducting a delicate dance between temperature and timing. Each step builds upon the last, creating something truly special. Whether you're making them for a loved one or treating yourself, these truffles remind us that sometimes the simplest combinations yield the most magnificent results. The satisfaction of creating something so luxurious from just a few ingredients makes every careful moment worthwhile.
Recipe FAQs
→ Can I make these truffles ahead for Valentine's Day?
Yes! They keep for 3-4 days at room temperature or 2 weeks in the fridge. Perfect for preparing before the big day.
→ How can I make these more Valentine's Day themed?
Use red or pink sprinkles, heart-shaped decorations, or drizzle with pink-tinted white chocolate for a romantic touch.
→ What's the best chocolate to use for truffles?
Use high-quality baking chocolate bars like Ghirardelli or Baker's - not chocolate chips - for the smoothest, most luxurious truffles.
→ Can I add different flavors for variety?
Yes! Try raspberry or strawberry extract for a romantic twist, or add your favorite liqueur for adult versions.
→ Why did my truffles get too soft while rolling?
If they're too soft, pop them back in the fridge for 15-20 minutes. Cold truffles are much easier to roll and shape.
Valentines Day Chocolate Truffles
Creamy homemade chocolate truffles perfect for Valentine's Day - a romantic treat made with love that's sure to impress your special someone.

 Pin
Pin