 Pin
Pin
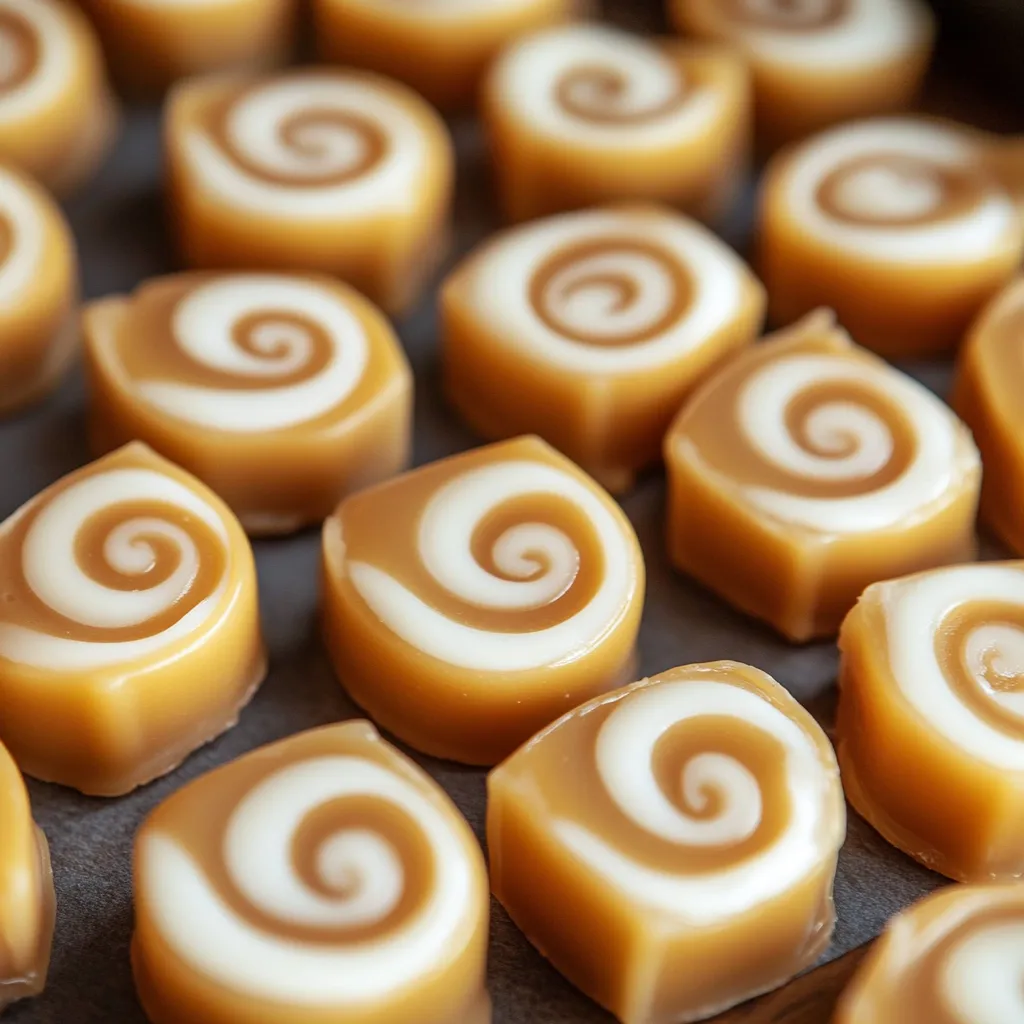
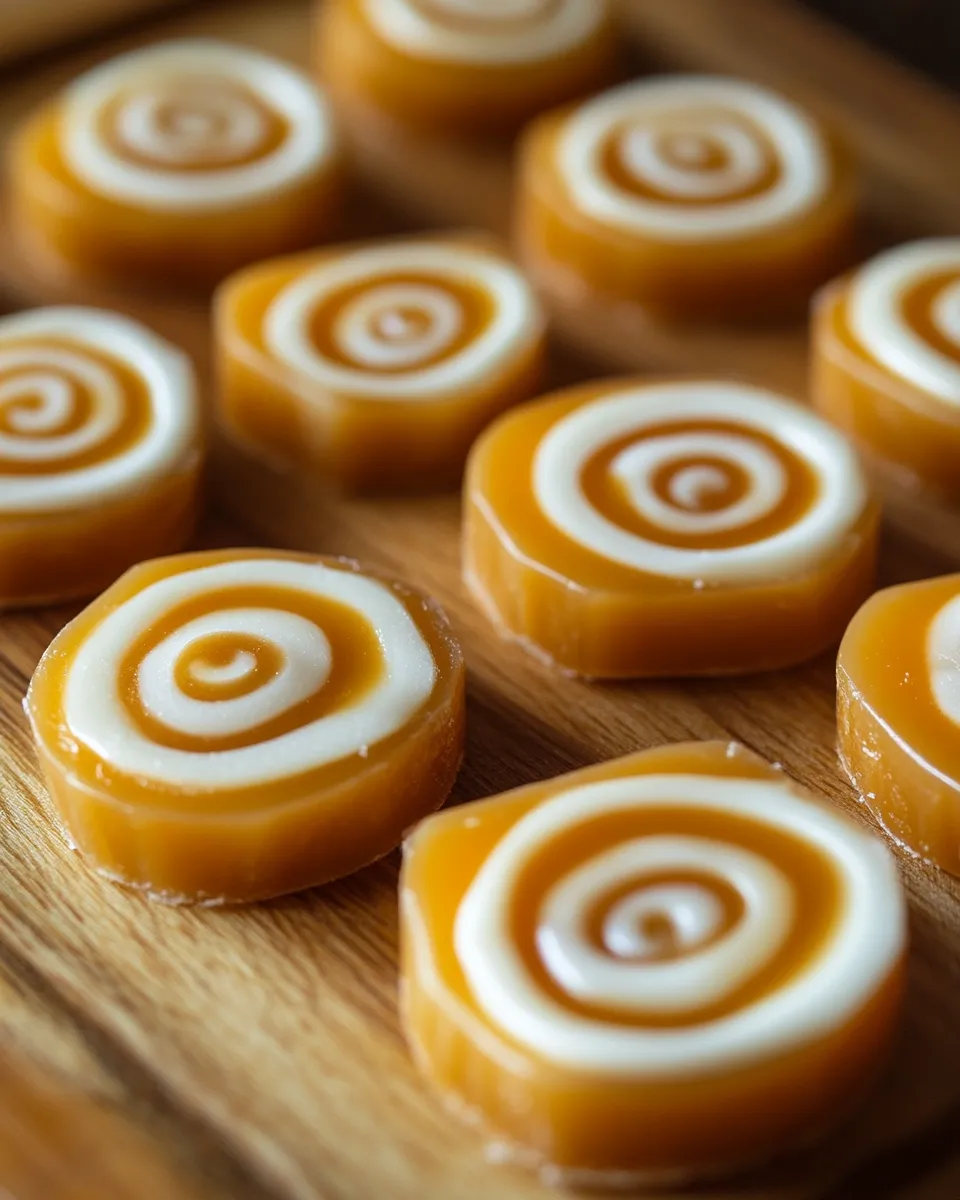
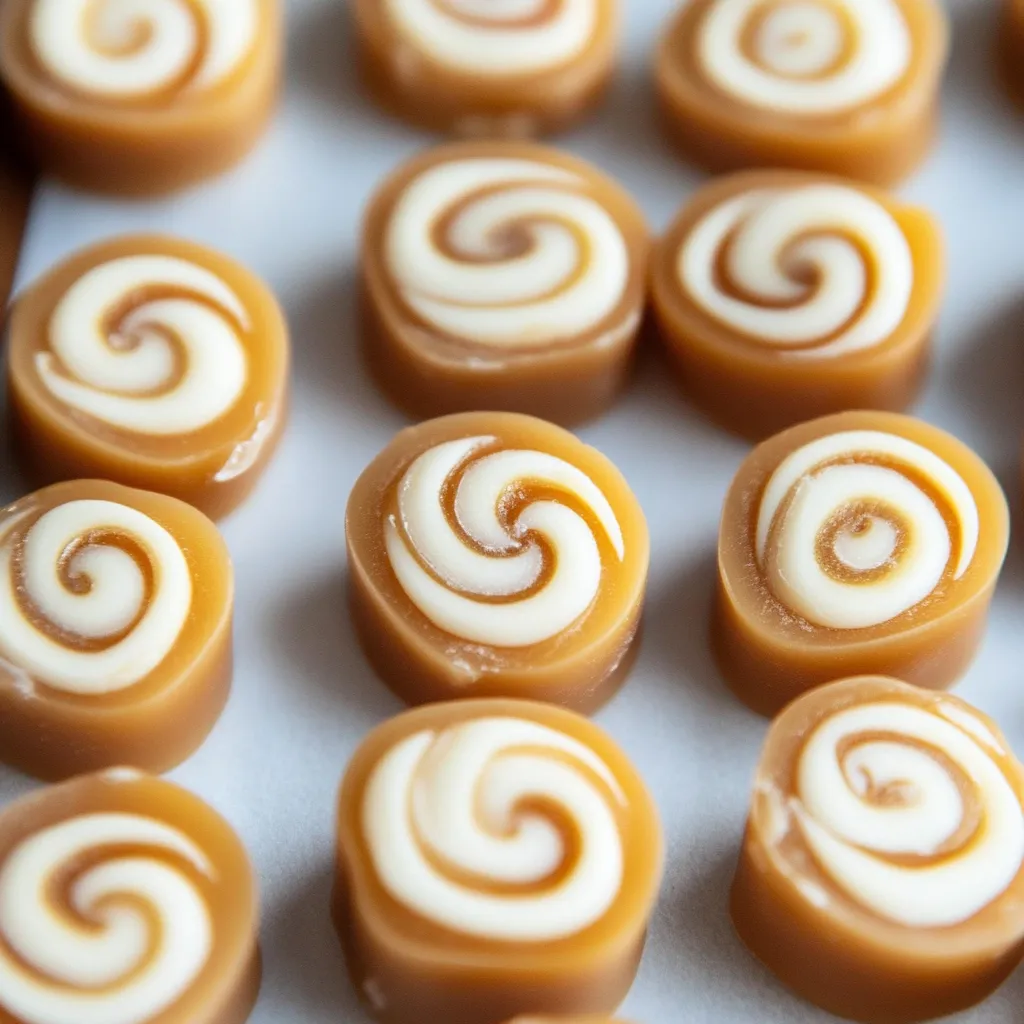
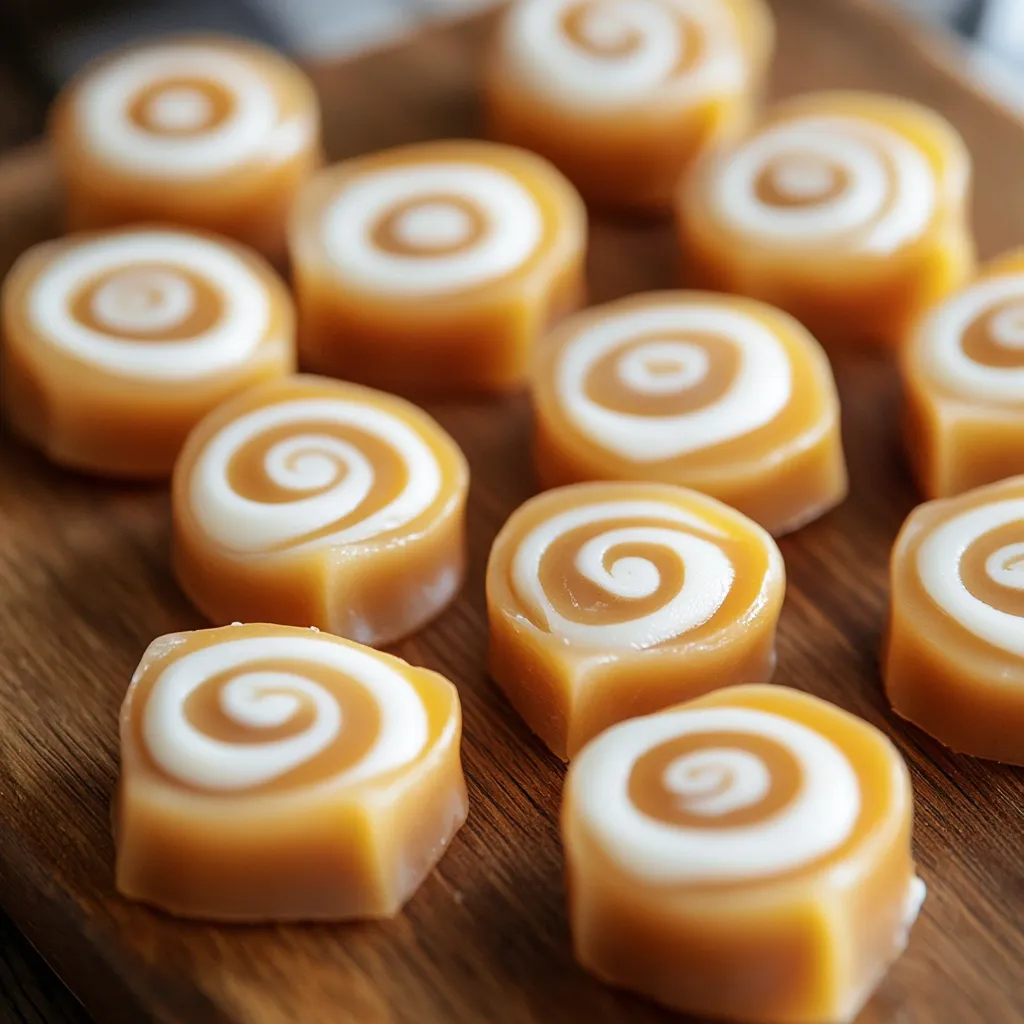
Transform simple ingredients into luxurious cream-filled caramels that rival any candy shop creation. These homemade treats feature buttery caramel wrapped around vanilla-scented cream filling, creating the perfect balance of chewy and smooth textures.
Through countless batches, I've discovered that proper temperature control and timing create the perfect caramel texture.
Essential Ingredients
- For Caramel:
- Unsalted European-Style Butter: Higher fat content
- Light Brown Sugar: Fresh and soft
- Full-Fat Evaporated Milk: No substitutes
- Light Corn Syrup: Prevents crystallization
- Vanilla Extract: Pure, not imitation
- For Filling:
- Powdered Sugar: Sifted before measuring
- Regular Vegetable Shortening: Room temperature
- Vanilla Bean Paste: For intense flavor
- Pinch of Salt: Enhances vanilla
Detailed Instructions
- 1. Caramel Preparation:
- In 5-quart heavy-bottomed pot, combine butter, brown sugar, evaporated milk, and corn syrup. Heat over medium, stirring constantly with silicone spatula until mixture reaches 241°F (soft ball stage). Remove from heat, stir in vanilla. Pour into parchment-lined 9x13 pan, using offset spatula for even layer.
- 2. Vanilla Cream:
- Beat sifted powdered sugar, shortening, vanilla bean paste, and salt until light and fluffy. Mixture should hold shape but remain spreadable. Let caramel cool until just warm before spreading cream.
- 3. Assembly Process:
- Spread vanilla cream evenly over caramel, leaving ½-inch border. Starting from long edge, roll tightly using parchment to assist. Roll second time to compress filling. Wrap in plastic and chill 2 hours.
- 4. Cutting Method:
- Using lightly greased sharp knife, cut log into 1-inch pieces. Clean knife between cuts for cleanest results.
- 5. Wrapping Process:
- Wrap individual pieces in food-safe cellophane, twisting ends securely. Let wrapped candies rest at room temperature 24 hours to develop optimal texture.

Storage and Serving Solutions
Store wrapped caramels in airtight container at room temperature up to 3 weeks. For longer storage, refrigerate up to 2 months. Bring to room temperature before serving for best texture.
Perfect Pairings
- Chocolate truffles
- Candied nuts
- Shortbread cookies
- Hot cocoa mix
- Coffee beans
- Gift boxes or tins
Flavor Variations
Create signature versions with:
- Coffee extract in filling
- Chocolate ganache center
- Sea salt topping
- Maple flavoring
- Orange extract
- Crushed peppermint

These homemade caramels prove that candy-making can be accessible and rewarding. The key to success lies in patience, proper temperature control, and careful wrapping. Whether given as gifts or enjoyed at home, they deliver professional results that showcase the beauty of handcrafted confections.

Final Notes
Remember that candy-making is both science and art. Take time with each step, paying special attention to temperature and texture. The result is a batch of caramels that brings joy with every bite.
Recipe FAQs
- → Why use a candy thermometer?
- Precise temperature control is crucial for achieving the right caramel texture.
- → Can I make these without a stand mixer?
- The vanilla cream requires significant mixing power, so a stand mixer is strongly recommended.
- → How should I store these candies?
- Wrap individually in wax paper and store at room temperature for up to 2 weeks.
- → Why roll the caramel log?
- Rolling helps seal the seam and creates uniform pieces when sliced.
- → Can I flavor these differently?
- Yes, try different extracts in the cream filling like maple or almond.
