 Pin
Pin
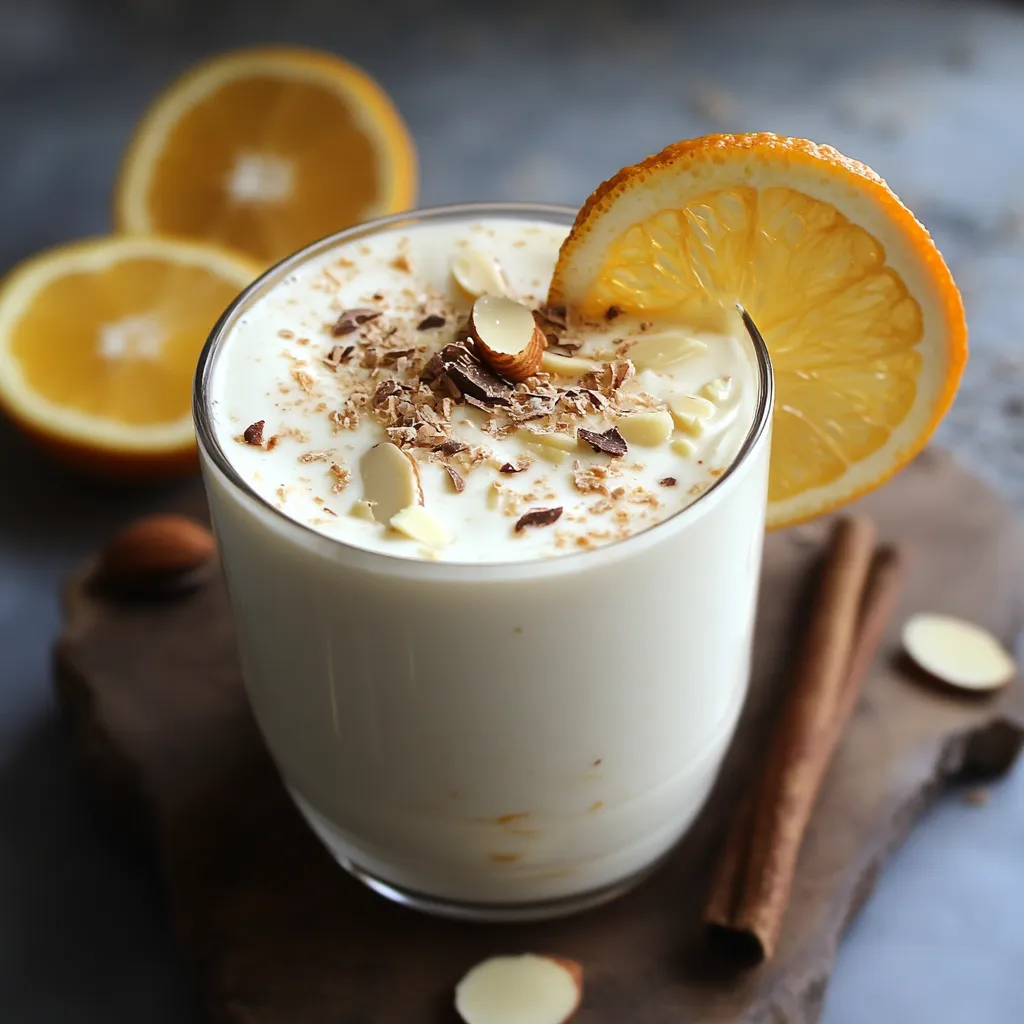
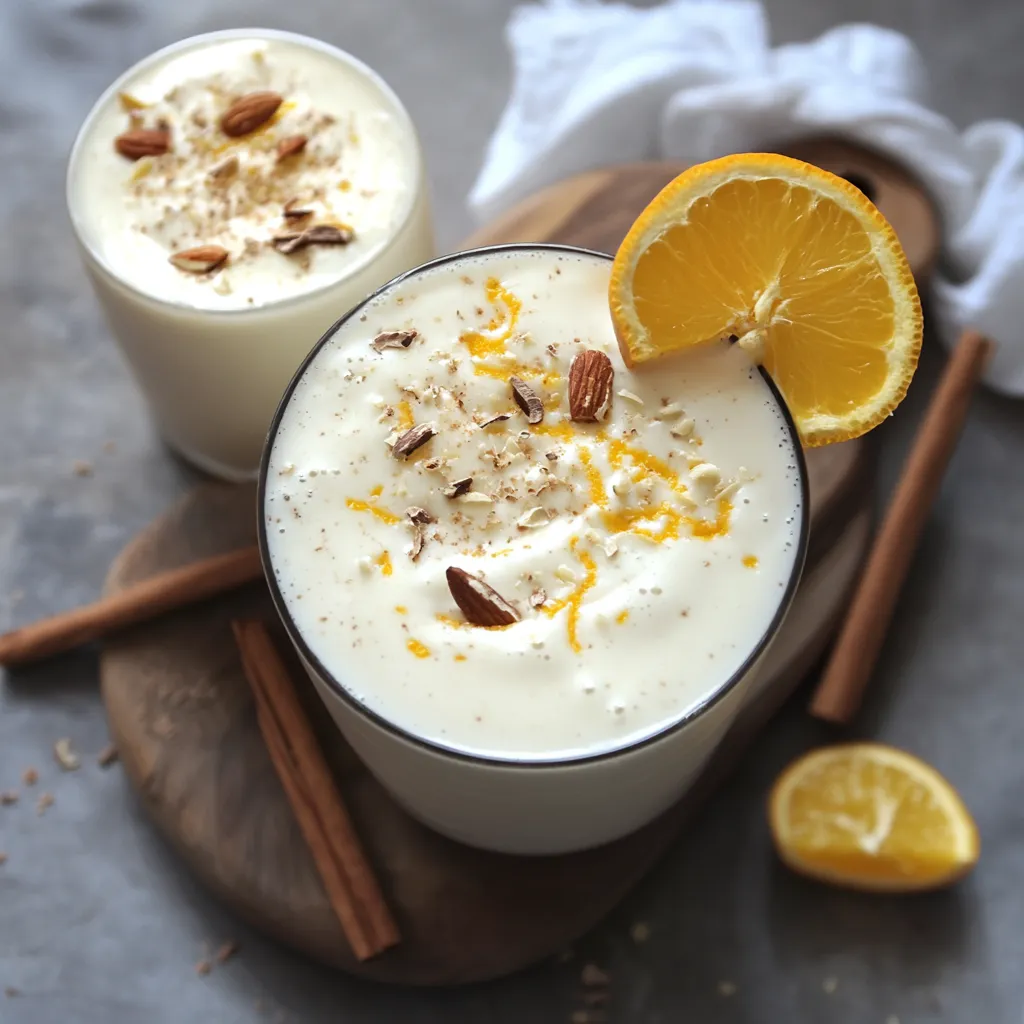
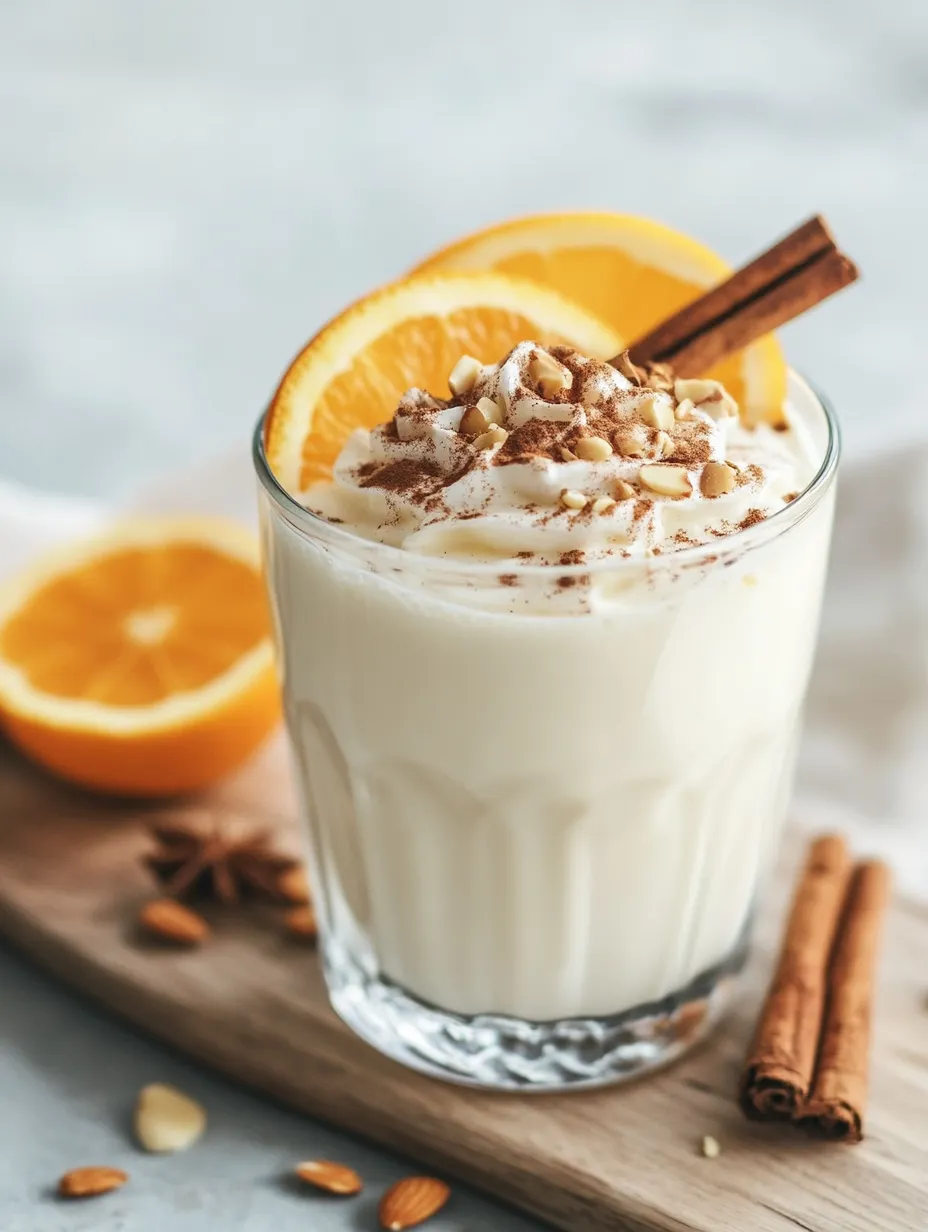
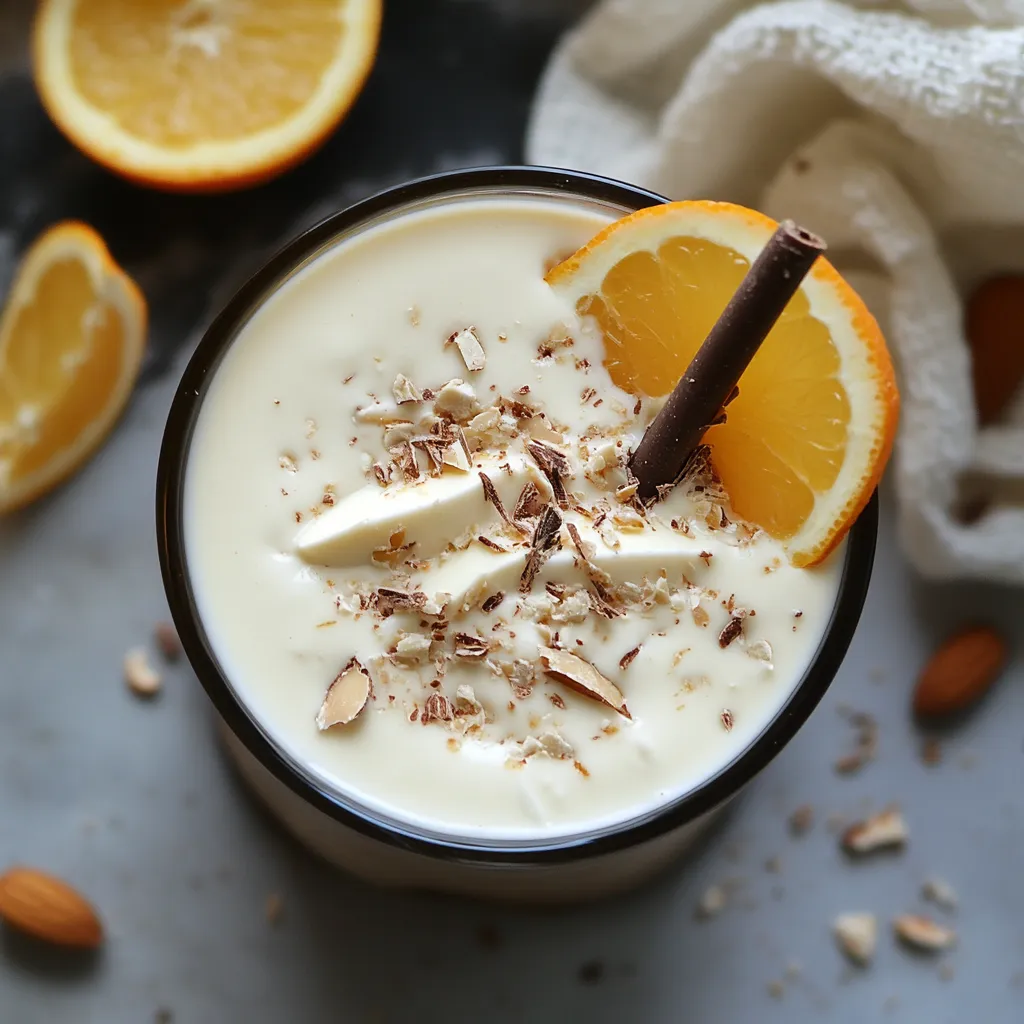
The magic of white chocolate and orange together reminds me of childhood winters, but this sophisticated hot chocolate elevates those familiar flavors into something extraordinary. Each cup tells a story of careful technique and quality ingredients, creating a drink that's both comforting and elegant.
Last evening, I served this to guests after dinner, and watching their expressions change from curiosity to delight made all the recipe testing worthwhile. The secret lies in quality ingredients and precise technique.
Essential Ingredients and Selection Tips
- White Chocolate: Use only premium couverture white chocolate with at least 30% cocoa butter. Lesser qualities won't create the silky ganache we're after
- Orange: Choose fragrant, unwaxed oranges. The oils in the zest are crucial for flavor development
- Vanilla Bean: Fresh beans provide complex flavor that extract can't match. Look for plump, oily pods
- Almond Paste: Pure almond paste adds body and nutty depth. Avoid marzipan, which contains too much sugar

Mastering the Ganache Base
Begin with chocolate chopped into uniform pieces no larger than a pea - this ensures even melting. Create a double boiler with barely simmering water, keeping the bowl's bottom well above the water. Heat chocolate slowly until just melted, maintaining a temperature between 113-118°F. Add room-temperature almond paste in small amounts, stirring until completely smooth.

Infusion Technique
The cream infusion is crucial for flavor development. Heat cream just until tiny bubbles form around the edges - never let it boil. Add orange zest, vanilla seeds and pod, and cinnamon. Cover and let steep for exactly 15 minutes. The warmth releases essential oils from the zest and vanilla, creating aromatic complexity.
Temperature Control
Successful emulsion requires precise temperature management. Your cream mixture should be hot but not scalding (around 180°F) when combining with chocolate. Pour it through a fine-mesh strainer in three additions, stirring in a circular motion from the center outward. This creates a stable emulsion that won't separate.
Final Assembly
When heating milk for serving, stop just before boiling - around 185°F. Add ganache gradually while whisking. A hand blender creates microscopic bubbles that give the drink its luxurious texture. Pour in a circular motion to create a natural swirl of cream on top.

Personal Reflection
My journey with this recipe began in a small Parisian chocolaterie, where I first encountered the combination of white chocolate and orange in a traditional French chocolat chaud. The master chocolatier there taught me that temperature control isn't just about preventing chocolate from seizing - it's about maintaining the delicate flavors that make each sip memorable.
Temperature Mastery
Each heating stage requires attention. Infusion temperatures affect how flavors develop - too hot strips citrus oils of their brightness, too cool prevents proper extraction. Watch for visual cues: tiny bubbles around the pan's edge signal perfect cream temperature.
Seasonal Adaptations
Winter calls for blood oranges, adding dramatic color and complex flavor. Spring welcomes Meyer lemons for brightness. Summer might see additions of fresh lavender, while autumn brings warming spices like cardamom or star anise.
Storage Strategy
Ganache keeps beautifully when properly stored. Transfer to an airtight container, press plastic wrap directly onto the surface, and refrigerate for up to ten days. Let soften slightly before using.
Garnish Artistry
Create chocolate curls from white chocolate warmed to exactly 84°F. Candied orange peel adds elegance and intensity. For special occasions, I dust the top with edible gold leaf, creating a luxurious presentation.
Cultural Context
Hot chocolate's evolution from ancient Mayan drink to European luxury mirrors our changing relationship with chocolate. This recipe represents modern artisanal chocolate culture, where technique meets tradition. White chocolate, once dismissed by purists, now stands alongside dark varieties in sophisticated preparations.
Serving Suggestions
Present in warmed cups - cold vessels shock the ganache and affect texture. Offer accompanying orange-scented shortbread or toasted almonds. For evening service, a small glass of Cointreau makes an elegant pairing.
Troubleshooting Wisdom
If ganache breaks, warm gently while whisking, adding a few drops of warm cream. If too thick when serving, thin with warm milk gradually. Watch for signs of scorched chocolate - there's no saving it once burnt.
Equipment Excellence
Your tools significantly impact success. Use a heavy-bottomed saucepan for even heat distribution when infusing cream. Digital thermometers ensure precise temperatures. A high-quality hand blender creates the silkiest texture.
Make-Ahead Magic
Prepare larger batches of ganache for entertaining. Scale the recipe carefully, maintaining ratios. Store in portioned containers for quick service. Having this base ready transforms everyday moments into special occasions.
Professional Presentation
Learn to "paint" your serving cups with ganache before adding hot milk - this creates beautiful marbling effects. Practice pouring techniques for latte art-style designs using the natural separation of cream and chocolate.
Creative Variations
- Winter Spice: Add a star anise pod and cardamom to the cream infusion
- Raspberry Kiss: Replace some orange juice with raspberry puree
- Salted Caramel: Add a touch of caramel sauce and flaky sea salt
- Coconut Dream: Use coconut cream for part of the heavy
-
Final Thoughts
Creating the perfect white chocolate orange hot cocoa is about understanding the interplay between fat, sugar, and aromatics. Each component must be treated with respect: chocolate melted gently, cream infused patiently, and flavors balanced carefully. Through countless iterations, I've discovered that success lies not just in ingredients but in technique and timing.
Recipe FAQs
- → Can I use a different type of chocolate?
- While white chocolate is recommended for this recipe, you can experiment with milk or dark chocolate if you prefer a richer cocoa flavor.
- → Can I make this cocoa dairy-free?
- You can try substituting the heavy cream with a plant-based alternative like coconut cream or almond milk, but the texture and flavor may differ slightly.
- → How long does the ganache base last?
- The ganache base can be stored in the refrigerator for up to a week, making it easy to prepare a warm cup of cocoa whenever you crave it.
- → Can I add other flavors or spices?
- Absolutely! Feel free to experiment with different citrus zests, spices like nutmeg or cardamom, or even a touch of liqueur for an adult twist.
- → Can I make this cocoa ahead of time?
- While the ganache base can be made in advance, it's best to heat and serve the cocoa fresh for the optimal texture and flavor.
-
