
 Pin
Pin
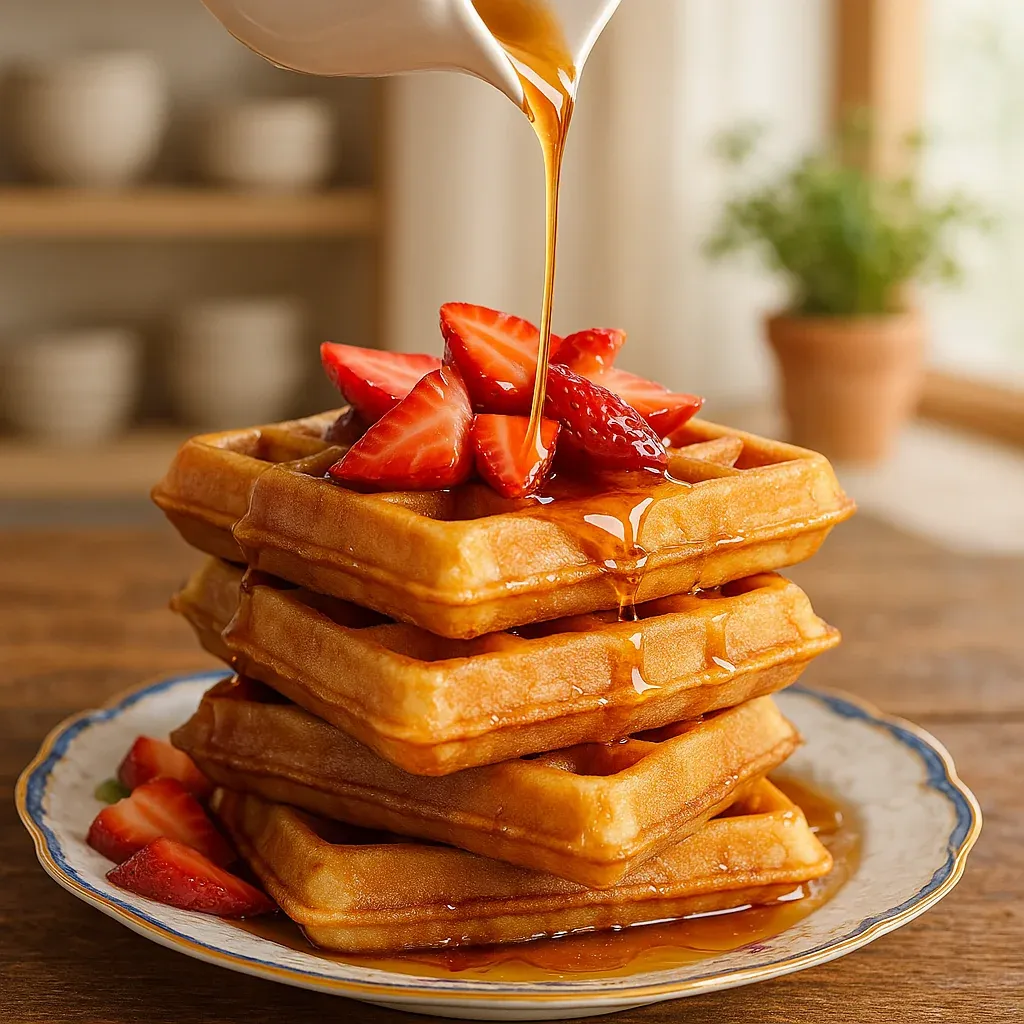
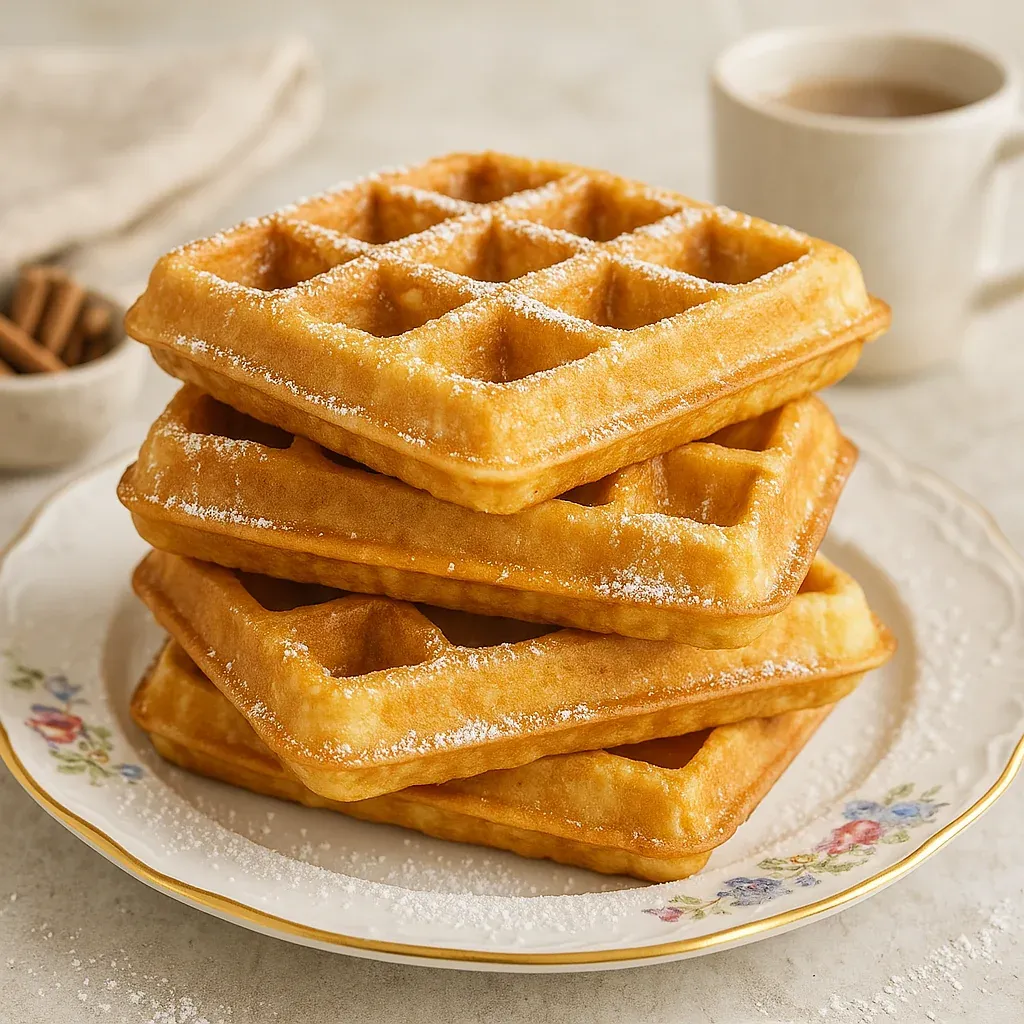
This homemade waffle recipe transforms ordinary mornings into special occasions with crisp exteriors and fluffy interiors that rival any breakfast spot. After years of testing various techniques, I've perfected this family favorite that consistently delivers golden, restaurant-quality waffles right from your kitchen.
I discovered this recipe during a snowy weekend when we couldn't make our usual breakfast outing. What started as a necessity has become our Saturday tradition, with my children now preferring these homemade waffles to any restaurant version.
Ingredients
- All purpose flour: The backbone of your waffles providing structure use 270g for perfect texture or follow measuring tips for accurate results
- Granulated sugar: Adds just enough sweetness without overpowering adjust down to 2 tablespoons if preferred for less sweetness
- Baking powder: The secret to fluffy waffles helps batter rise and fill every crevice of your waffle iron for perfect results
- Salt: Enhances all other flavors and balances the sweetness for a well-rounded taste profile
- Milk: Use whole or 2 percent for richness provides moisture and helps create that tender interior
- Unsalted butter: Melted butter creates richness and helps achieve that beautiful golden color and crisp exterior
- Eggs: Provide structure and richness room-temperature eggs incorporate better but cold will work in a pinch
- Vanilla extract: A touch of warmth and complexity that elevates your waffles from good to outstanding
Step-by-Step Instructions
- Preheat Your Waffle Iron:
- This critical first step ensures your batter hits a properly hot surface. Set to a higher heat setting for crispier results. While heating combine all dry ingredients in a large bowl whisking flour sugar baking powder and salt together. The whisking aerates the flour and ensures even distribution of leavening agents for consistent waffles.
- Mix Wet Ingredients:
- In a separate bowl combine milk eggs and vanilla then pour in melted butter while whisking. Using slightly cooled melted butter prevents it from cooking the eggs while whisking ensures even distribution of fats throughout the batter which leads to consistent texture.
- Combine Wet and Dry Ingredients:
- Pour wet ingredients into dry ingredients and stir just until combined. Stop when you no longer see dry flour even if small lumps remain. Overmixing develops gluten which makes tough waffles instead of tender ones. The batter should look slightly lumpy but consistent with no obvious dry patches.
- Cook The Waffles:
- Grease your preheated waffle iron thoroughly even if it has a nonstick surface. Add approximately one third cup of batter per waffle spreading it slightly before closing the lid. The exact amount depends on your waffle maker size. Cook until golden brown and the steam subsides which indicates moisture has evaporated and created that perfect crisp exterior.
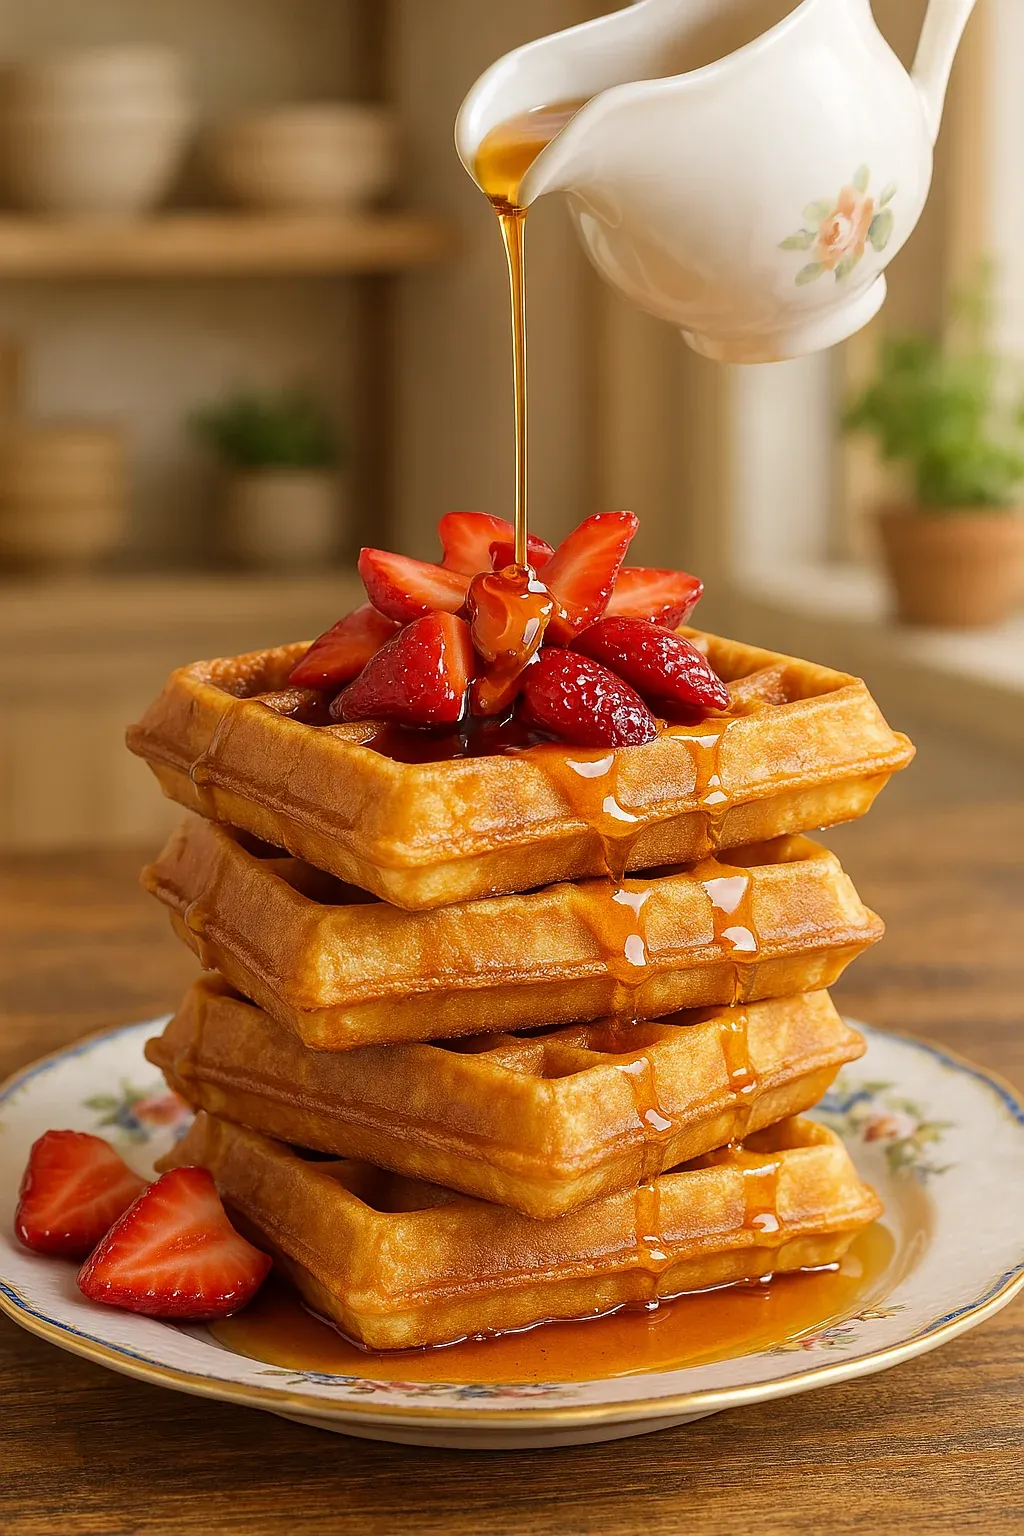
My favorite way to enjoy these waffles involves fresh strawberries and real maple syrup. The combination of the crisp waffle soaking up the maple syrup while the fresh berries add brightness creates a perfect breakfast harmony. When my children were younger, we started a weekend tradition of waffle bar mornings where everyone could customize their toppings – a tradition that continues even as they've grown older.
Storage Tips
These waffles freeze beautifully for quick weekday breakfasts. Once cooled completely, place waffles in a single layer on a baking sheet and freeze until solid, about one hour. Transfer to a freezer bag with parchment paper between each waffle to prevent sticking. Frozen waffles last up to three months and reheat perfectly in a toaster on a medium setting.
Substitution Options
For dairy-free waffles, substitute plant-based milk and vegan butter in equal amounts. The texture remains nearly identical, though slightly less rich. For a whole grain variation, replace half the all-purpose flour with whole wheat flour, which adds a nutty flavor and more fiber. Those with egg allergies can substitute each egg with a quarter cup of unsweetened applesauce, though the waffles will be slightly less fluffy.
Serving Suggestions
While maple syrup and butter remain classic toppings, these waffles offer endless possibilities. For a decadent treat, top with whipped cream and chocolate sauce. Fresh fruit and yogurt create a lighter option with added protein. For a savory spin, omit the vanilla and top with fried chicken, creating homemade chicken and waffles. These waffles also make an excellent base for breakfast sandwiches with egg and cheese.
Waffle History
The waffle dates back to medieval Europe, with the first waffle irons appearing in the 13th century. Early versions were cooked over open fires using irons with decorative patterns. The Belgian waffle, characterized by deeper pockets and lighter texture, became popular in America after being introduced at the 1964 World's Fair in New York. This recipe incorporates elements of both American and Belgian styles, creating a waffle with the best of both worlds.
Recipe FAQs
- → How do I make my waffles crispier?
Make sure your waffle iron is preheated to a high setting and allow it to reheat between batches for the crispiest results. Also, avoid stacking waffles as they release steam, softening the texture. Use a wire rack instead.
- → Can I use cold eggs in this recipe?
Yes, cold eggs will work, but room temperature eggs blend more evenly, resulting in lighter waffles. If time allows, set out your eggs 30 minutes before starting.
- → What toppings go well with waffles?
Classic toppings include butter, maple syrup, and fresh fruits like strawberries or bananas. For savory options, try fried chicken, bacon, or sautéed vegetables.
- → How do I store leftover waffles?
Place cooled waffles in an airtight container or freezer bag. They can be frozen for up to three months and reheated in a toaster for a quick treat.
- → How do I measure flour accurately for waffles?
Lightly fluff the flour in its container, then spoon it into a measuring cup and level it off with a knife. Alternatively, weigh it (270g for this recipe) for precise results.
- → Can I make the batter ahead of time?
It’s best to prepare the batter fresh, as baking powder starts acting immediately after mixing. For convenience, measure the dry ingredients ahead of time and combine with wet ingredients when ready to cook.