
 Pin
Pin
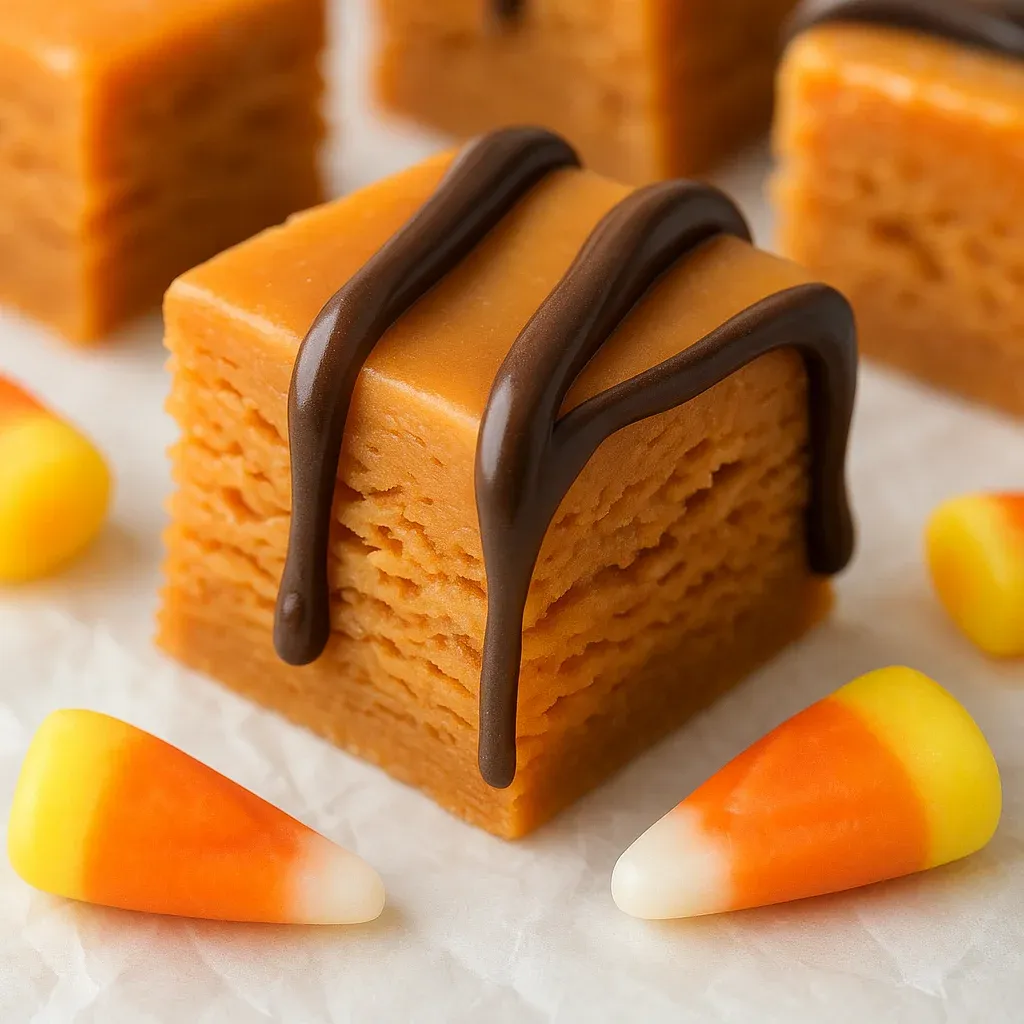
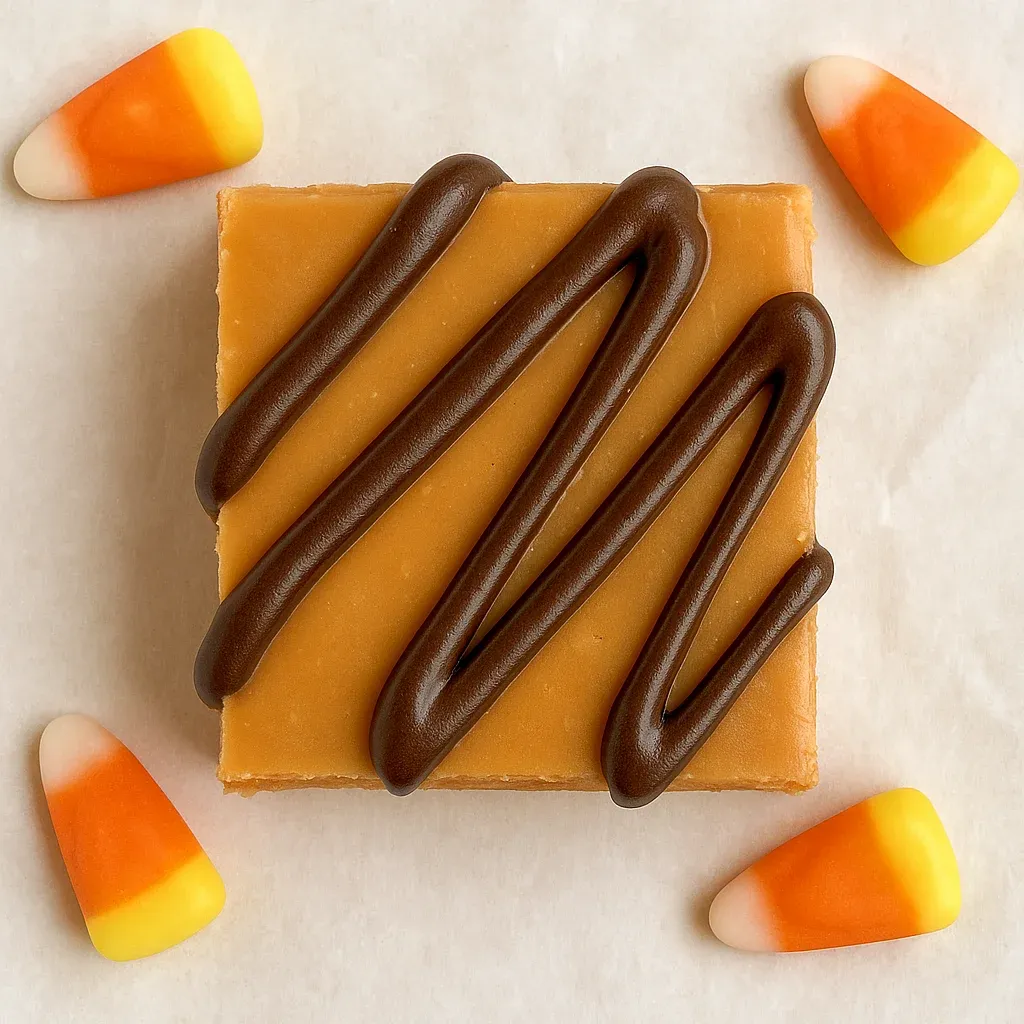
This nostalgic Butterfinger Fudge transforms simple candy corn into a creamy confection that perfectly mimics the iconic candy bar's flavor and texture. The combination of melted candy corn and peanut butter creates that distinct Butterfinger crunch and taste, while the sweetened condensed milk and white chocolate chips provide the perfect fudgy base.
I first made this fudge for a Halloween party when I had leftover candy corn, and it was such a hit that it's now requested year-round. The shocked looks on people's faces when I tell them the secret ingredient is candy corn makes this recipe even more fun to share.
Ingredients
- Candy Corn: Provides that distinctive Butterfinger honeycomb texture when melted with peanut butter. Choose fresh candy corn for best results.
- Peanut Butter: Creates the nutty flavor essential to the Butterfinger taste. Creamy works best but crunchy adds interesting texture.
- Sweetened Condensed Milk: Helps bind everything while adding creaminess and sweetness. Be sure to use the full-fat version for proper setting.
- White Chocolate Chips: Create the perfect fudge base and help everything set properly. Higher quality chips melt more smoothly.
- Milk Chocolate Chips: Are optional but recommended for that authentic chocolate coating. Premium chips result in a smoother dip.
Step-by-Step Instructions
- Prepare the Pan:
- Line your pan with foil and spray with cooking spray. A 9x9 pan is recommended for a more manageable thickness, though an 8x8 pan will work for thicker pieces. Make sure the foil extends up the sides for easy removal later.
- Melt the Base:
- Add candy corn and peanut butter to a medium saucepan over low heat. This mixture needs gentle heat to prevent burning, so stir frequently about every 30 seconds. The candy corn will slowly begin to melt and combine with the peanut butter after about 3 minutes. Patience is key here as rushing with higher heat will ruin the texture.
- Add Remaining Ingredients:
- Pour in the sweetened condensed milk and stir thoroughly. Continue cooking for another 3 minutes, maintaining that gentle heat and stirring every 30 seconds. You want to avoid boiling the milk a slight simmer is fine. Watch for the mixture to become smooth and well incorporated.
- Incorporate White Chocolate:
- Add white chocolate chips and stir continuously until completely melted and incorporated. This step might seem like it takes forever, as the mixture will initially resist melting together. Keep stirring patiently and it will eventually become smooth and uniform. The resulting mixture should be thick but pourable.
- Set and Cool:
- Transfer the mixture to your prepared pan and spread evenly with a spatula. Allow to cool at room temperature for about 15 minutes before transferring to the refrigerator to set completely. This gradual cooling helps prevent sugar crystallization and maintains the proper texture.
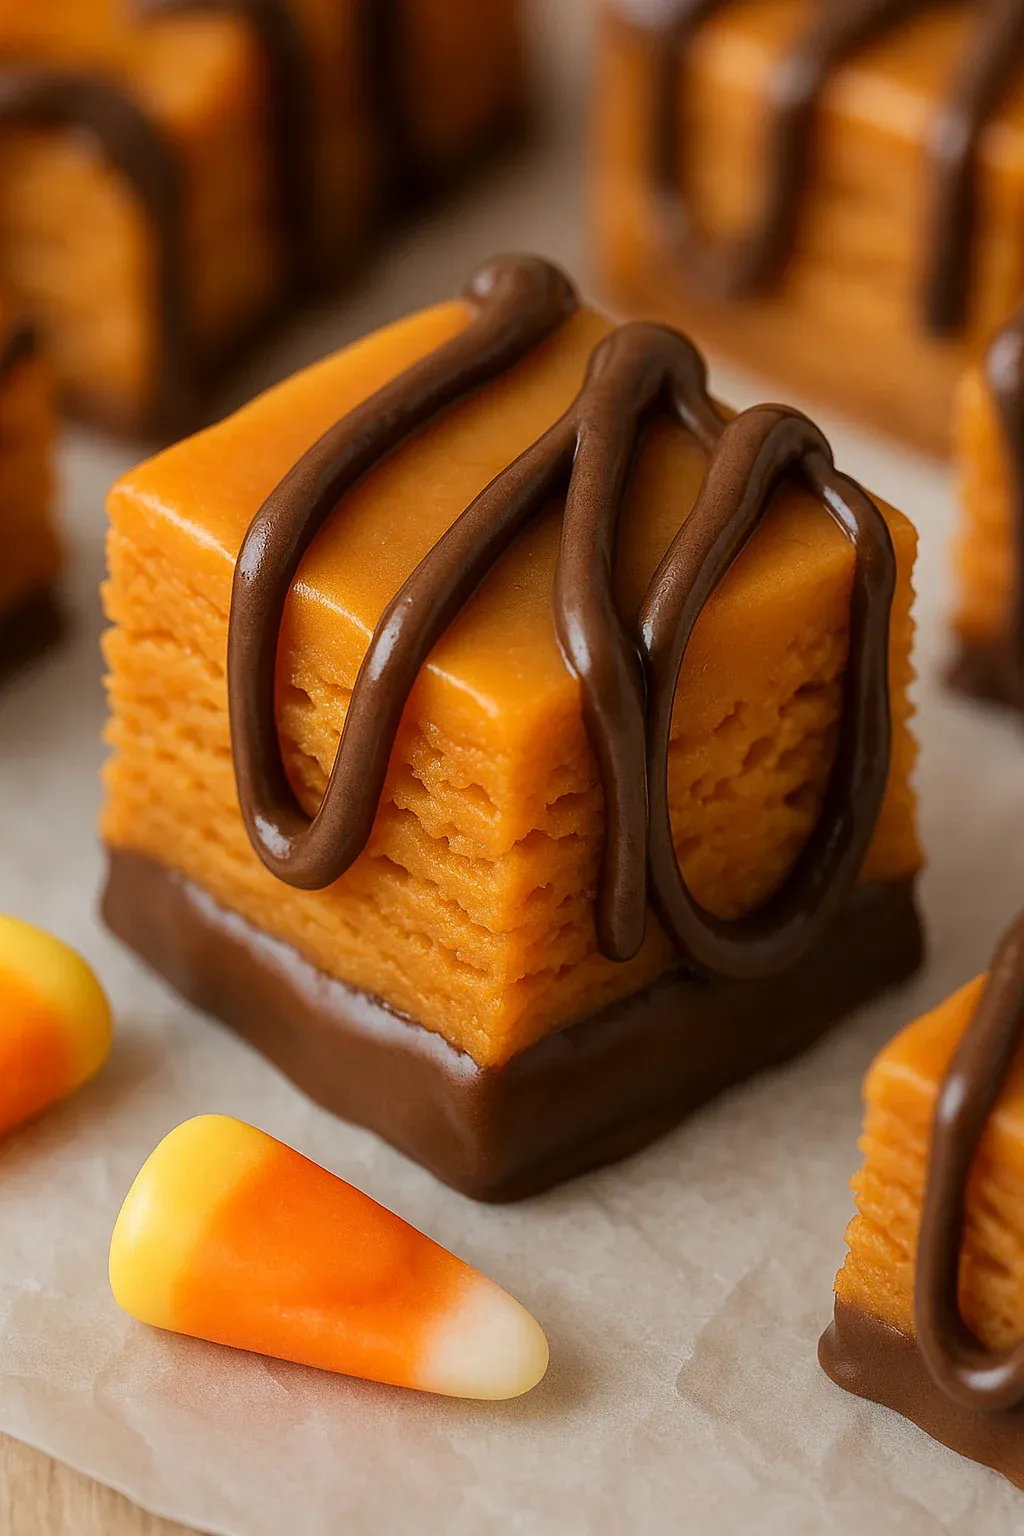
- Optional Chocolate Dipping:
- If desired, melt milk chocolate chips with a little vegetable oil to thin the consistency. Dip the bottoms of the cut fudge squares into the melted chocolate and place on wax paper to harden. This extra step adds that authentic Butterfinger chocolate layer and elevates the presentation.
The candy corn transformation is truly magical in this recipe. I discovered this method by accident when experimenting with leftover Halloween candy, and it's become one of my signature treats. My nephew once ate six pieces before I told him it contained candy corn, which he claimed to hate!
Storage Solutions
This fudge keeps beautifully when stored properly. Place cut pieces in an airtight container with parchment paper between layers to prevent sticking. At room temperature, it will maintain its texture for about 5-7 days. For longer storage, refrigerate for up to two weeks, though the texture becomes slightly firmer when chilled. You can also freeze the fudge for up to three months wrapped tightly in plastic wrap and stored in a freezer bag. Allow frozen pieces to thaw in the refrigerator overnight before serving.
Seasonal Variations
While this recipe is perfect for using up Halloween candy corn, you can enjoy it year-round with creative twists. Try using different flavored candy corn during various holidays. Thanksgiving candy corn with its chocolate and caramel layers creates a more complex flavor profile. For a festive Christmas version, use the red and green candy corn varieties and add a few drops of peppermint extract. Valentine's Day candy corn works beautifully and creates a pretty pink-tinted fudge. These seasonal adaptations keep this recipe in rotation throughout the year.
Troubleshooting Tips
The most common challenge with this recipe is achieving the right melting temperature. If your mixture seems grainy, the heat was likely too high or inconsistent. Always use low heat and stir frequently. If your fudge doesn't set properly, you might need to return it to the saucepan, add a bit more white chocolate, and reheat gently. For easier cutting, chill the fudge completely and use a knife dipped in hot water and wiped dry between cuts. If your chocolate coating cracks when cutting, allow the fudge to come closer to room temperature before serving.
Recipe FAQs
- → How can I ensure the candy corn melts evenly?
Chop the candy corn into smaller pieces or use a food processor before melting. Heat slowly and stir frequently to avoid sticking or burning.
- → Can I use a larger pan for thinner fudge?
Yes, using a 9x9-inch pan instead of an 8x8 pan will result in thinner fudge pieces, making them easier to dip in chocolate if desired.
- → Is dipping the fudge in chocolate necessary?
No, it's optional. The fudge is delicious on its own, but adding a chocolate coating enhances the flavor and gives a richer texture.
- → Can I substitute the sweetened condensed milk?
Sweetened condensed milk is key for this recipe's sweetness and texture. Substituting it may alter the results significantly.
- → How should I store Butterfinger fudge?
Store the fudge in an airtight container in the refrigerator for up to a week. If dipped in chocolate, layer wax paper between pieces to prevent sticking.