 Pin
Pin
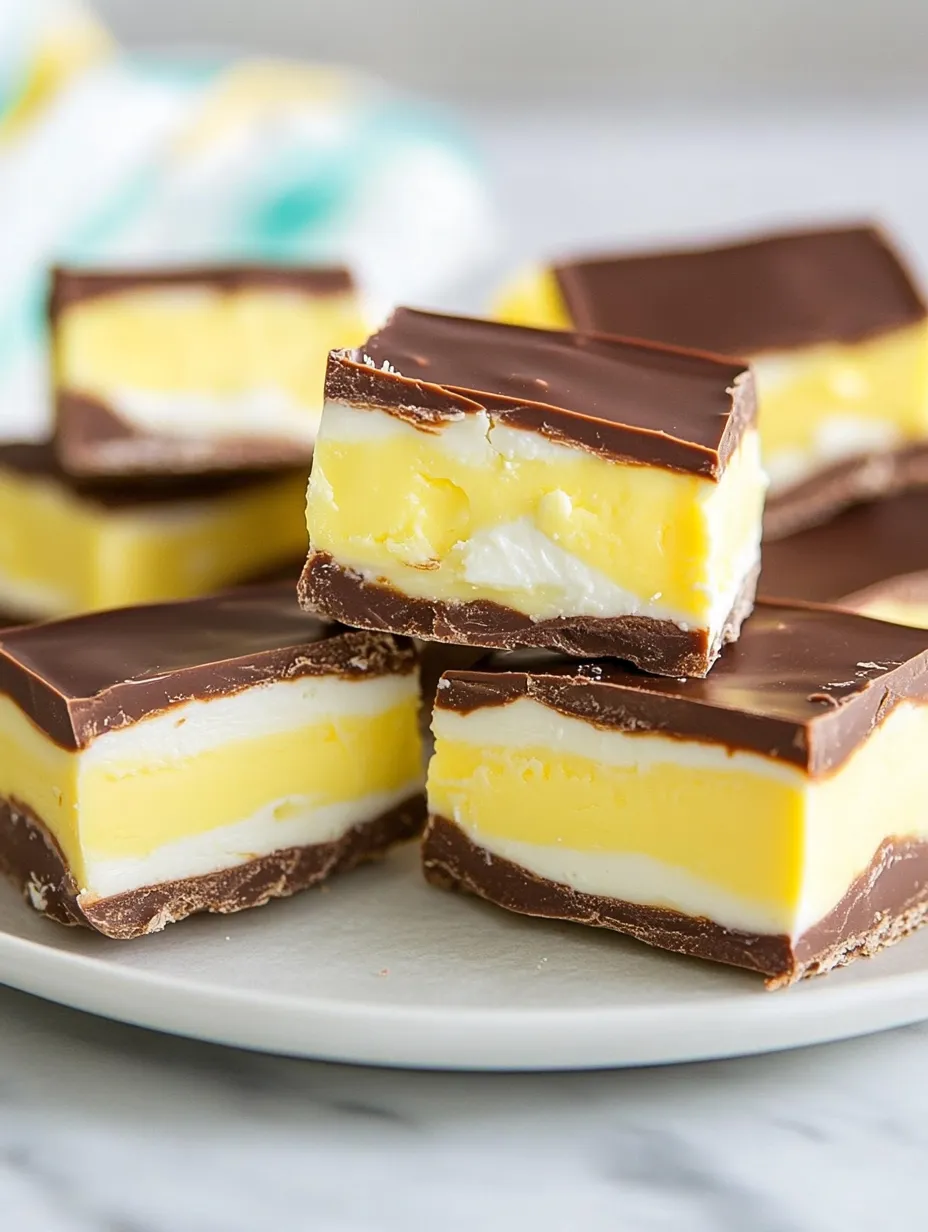
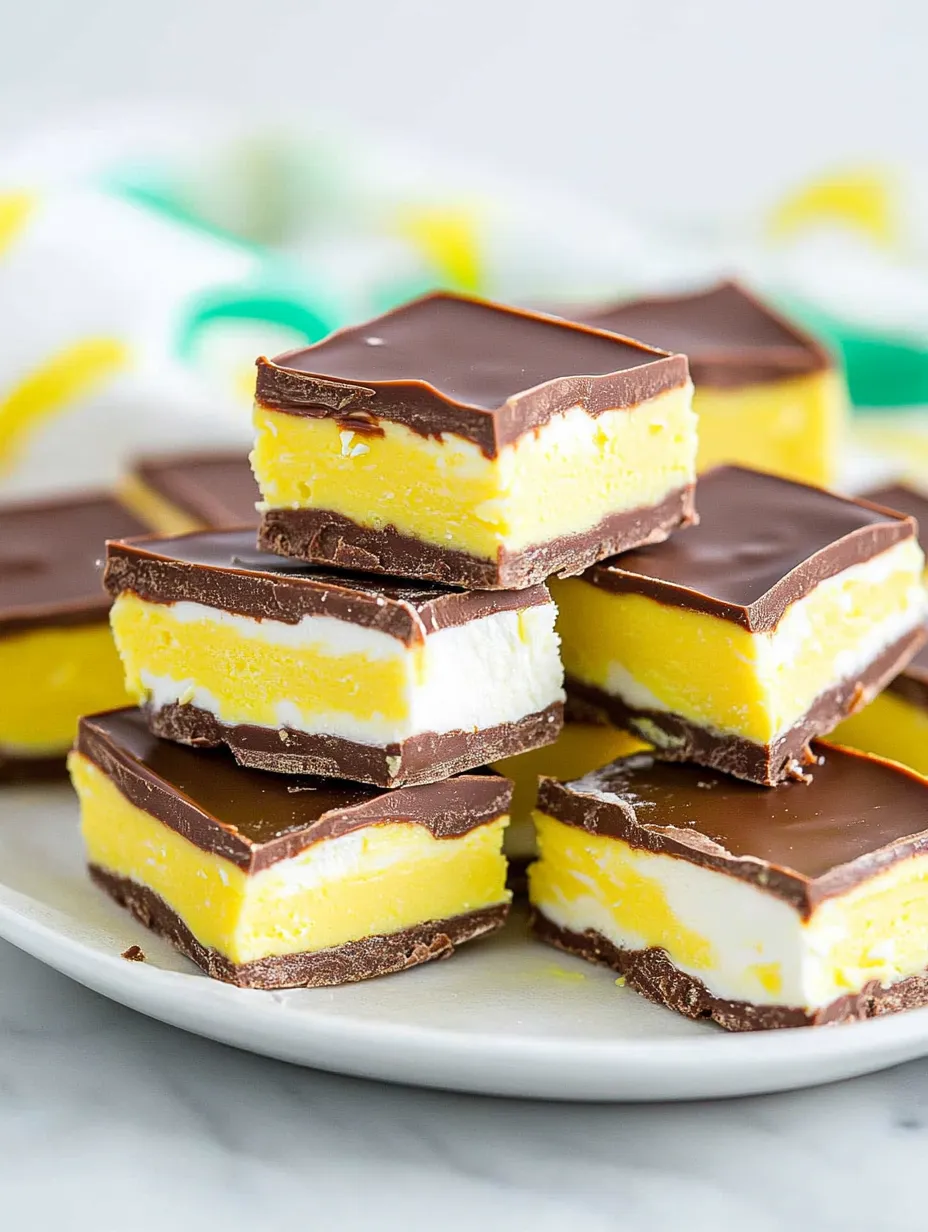
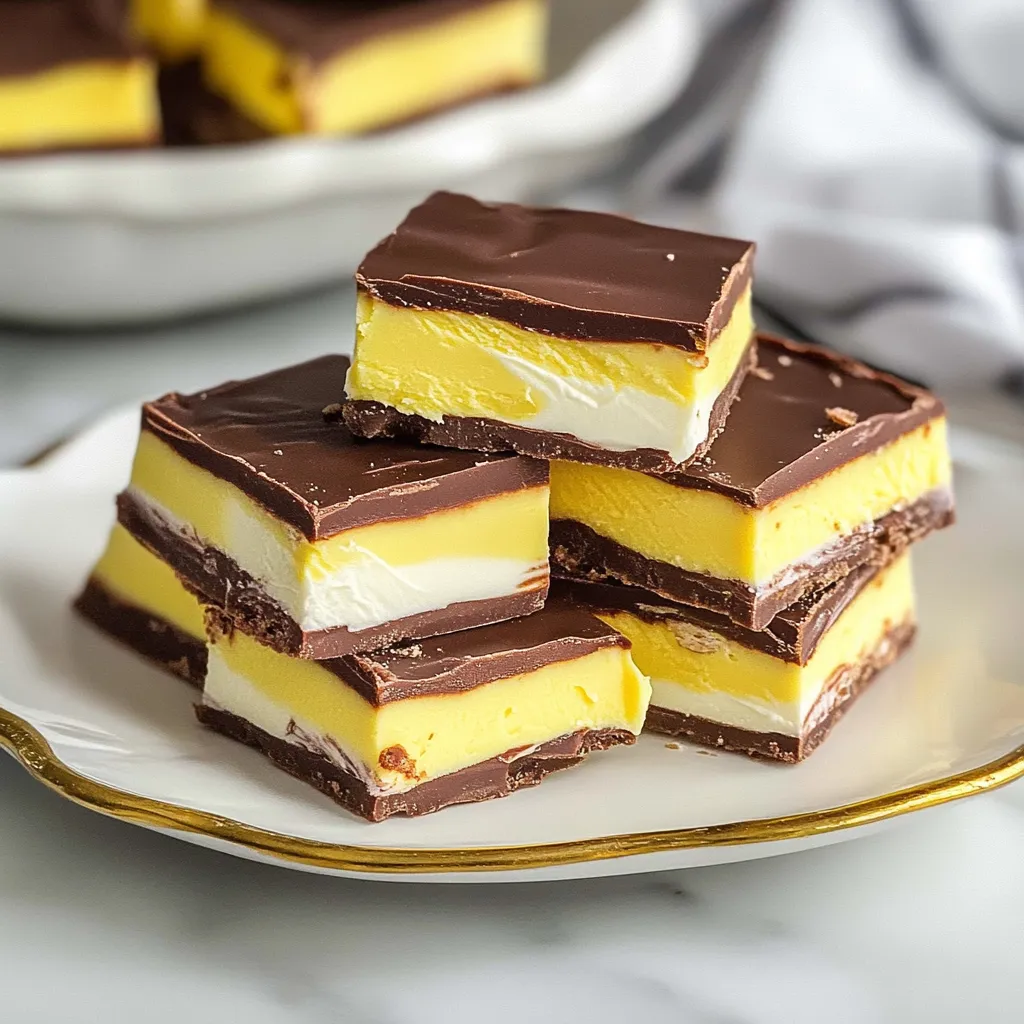
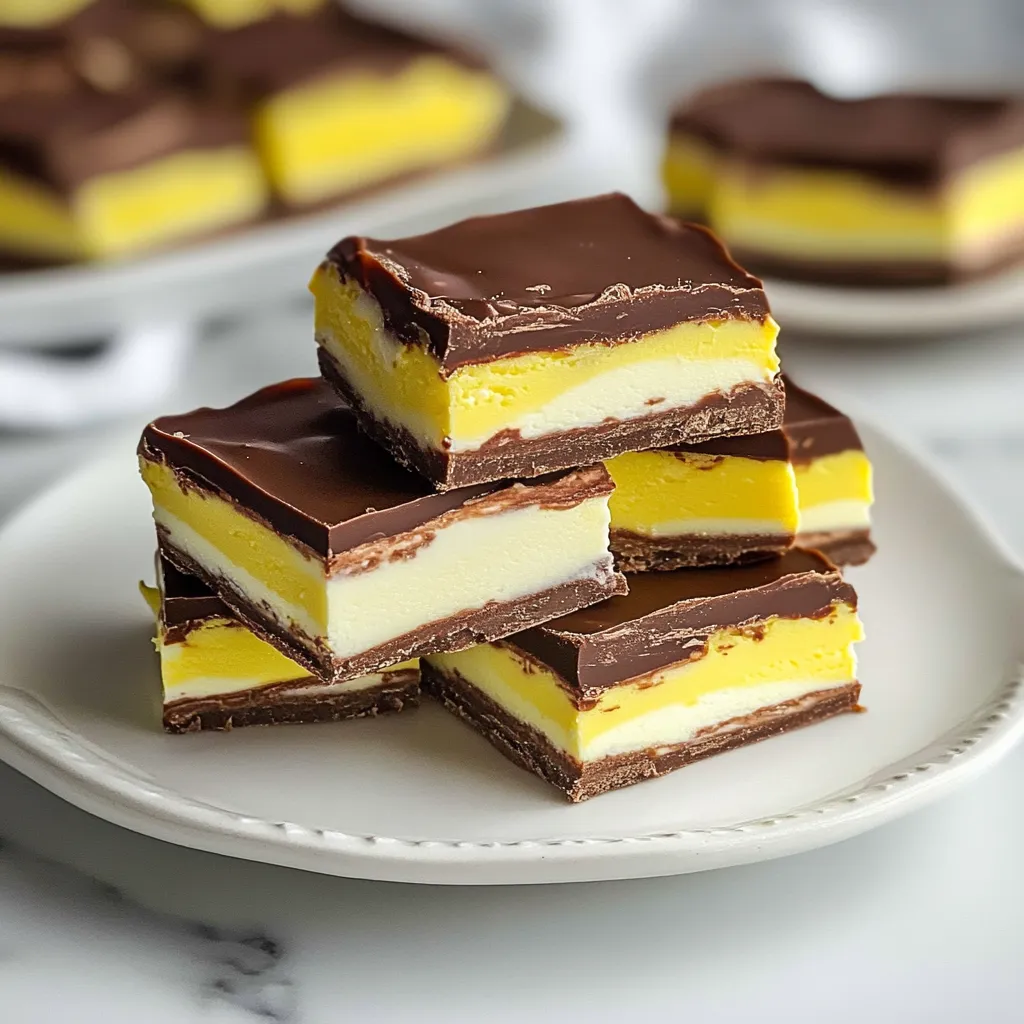
This Cadbury Egg Fudge captures everything we love about those iconic Easter treats, transformed into a decadent layered dessert. A creamy sweet filling sandwiched between rich chocolate layers delivers that nostalgic Cadbury taste without wrestling with chocolate molds or tempering. I discovered this recipe when looking for an easier way to enjoy that classic flavor combination while entertaining guests during spring gatherings.
Last Easter, I brought this fudge to a family brunch and my niece, who normally picks at desserts, asked for seconds and then begged for the recipe. The secret is the perfect balance between rich chocolate and that signature sweet filling.
Essential Ingredients and Selection Tips
- Corn Syrup: Light corn syrup is essential for creating that authentic Cadbury filling texture
- Milk Chocolate: Ghirardelli melting wafers produce the smoothest results and best flavor
- Powdered Sugar: Creates the perfect sweet, creamy texture in the filling
- Yellow Food Coloring: Gel food coloring provides vibrant color with just a small amount
- Vanilla Extract: Use pure vanilla for the best flavor profile
Detailed Cooking Instructions
- Prepare the White Filling: Beat softened butter and corn syrup until completely smooth. Add vanilla, powdered sugar, a pinch of salt, and milk, mixing until creamy with no lumps. The consistency should be thick but spreadable.
- Create the Yellow Center: Remove about 2/3 of the white filling to a separate bowl. Add yellow food coloring gel to the remaining 1/3 and mix thoroughly. This creates the distinctive "yolk" appearance of traditional Cadbury eggs.
- Melt the Chocolate: Place milk chocolate in microwave-safe bowl. Heat in 20-30 second intervals, stirring between each, until completely melted and smooth. Be careful not to overheat which can make chocolate seize.
- Create Bottom Layer: Line 9-inch square pan with parchment paper, leaving overhang for easy removal. Pour half the melted chocolate into pan, spreading into even layer. Refrigerate briefly (about 5 minutes) to partially set.
- Add White Filling Layer: Gently spread the white filling over slightly firm chocolate base. Work carefully to create an even layer without disturbing the chocolate beneath.
- Add Yellow "Yolk" Layer: Drop spoonfuls of yellow filling over white layer. Using offset spatula or knife, gently swirl or spread yellow mixture, creating a marbled effect that mimics egg yolk.
- Complete with Chocolate Top: Pour remaining melted chocolate over filling layers. Tilt pan to ensure even coverage or use spatula to spread carefully over entire surface.
- Chill Until Set: Refrigerate fudge for at least 30 minutes until chocolate is completely firm. The layers will bond together as they chill.
- Cut with Hot Knife: Remove from refrigerator. Lift fudge from pan using parchment overhang. Cut into small squares using knife warmed in hot water and wiped clean between cuts.
- Store Properly: Place cut fudge in airtight container, separating layers with parchment if stacking. Keep refrigerated until ready to serve.

The first time I made this fudge, I was skeptical it could capture that distinctive Cadbury taste, but one bite took me straight back to childhood Easter basket memories.
Creative Variations
Over the years, I've experimented with several variations that have been huge hits with family and friends. For a mint chocolate version, I add a few drops of peppermint extract to the white filling, creating a refreshing twist on the original. During Christmas, I've adapted this recipe with red and green layers instead of white and yellow, topped with crushed candy canes for a festive holiday treat. The base recipe is so versatile that once you master the technique, you can customize it endlessly to suit different occasions and flavor preferences.

Gift-Giving Potential
This fudge makes an exceptional homemade gift that shows thoughtfulness beyond store-bought treats. I've packaged small squares in decorative Easter tins lined with colorful tissue paper for teachers and neighbors. For an extra special presentation, try cutting the fudge into egg shapes using cookie cutters and wrapping each piece in pastel colored foil – they look remarkably similar to the commercial eggs but with that special homemade touch. The reactions when recipients realize they're biting into something familiar yet uniquely crafted are priceless.
Working with Children
Making this fudge has become a cherished activity with my grandchildren each spring. The multiple steps are perfect for little helpers – younger kids can assist with stirring and dropping the yellow "yolks" while older ones can help measure ingredients and monitor the melting chocolate. Beyond creating delicious treats, it's a wonderful opportunity to explain the significance of eggs as symbols of new life during Easter. These kitchen moments create lasting memories while passing down both culinary skills and holiday traditions to the next generation.
I've learned these tricks through trial and error - like the time I tried cutting straight from the refrigerator with a cold knife and ended up with cracked chocolate and messy edges.

Final Thoughts
This fudge has become my signature Easter contribution, requested by friends and family every spring. There's something deeply satisfying about transforming a beloved seasonal candy into a homemade treat that everyone can share. The layers create a beautiful visual effect when sliced, making it as impressive to look at as it is delicious to eat. The beauty of this recipe is its flexibility - you can adjust the ratio of white to yellow filling for a more dramatic "egg" appearance, or even tint the white filling pale blue or pink for a fun twist on the traditional look. However you customize it, this fudge brings the joy of Cadbury eggs to your table in a whole new way.
Recipe FAQs
- → Why use a hot knife to cut?
- Hot knife cuts through chocolate cleanly without cracking.
- → Can I skip the food coloring?
- Yes, yellow color is optional and won't affect taste.
- → What chocolate works best?
- Milk chocolate for authentic taste, but semi-sweet works too.
- → How should I store this fudge?
- Keep in covered container in refrigerator.
- → Can I freeze this fudge?
- Yes, wrap well and freeze up to 3 months.
