 Pin
Pin
Transform ordinary canned tuna into something extraordinary with these Asian-inspired Sriracha Tuna Cakes. Crispy on the outside, tender and flavorful on the inside, these elevated tuna cakes deliver a perfect balance of heat and savory satisfaction in every bite. Paired with a zesty spicy tartar sauce, they make a quick yet impressive meal that comes together with minimal effort. Whether you're looking for a speedy lunch option or a simple weeknight dinner, these tuna cakes prove that pantry staples can create restaurant-worthy dishes with just a few minutes of preparation.
I started making these tuna cakes when looking for creative ways to use my pantry staples during busy weeks. What began as a simple experiment has become a regular in my meal rotation. Last month, I served these to friends who claimed they "didn't like canned tuna" - they ended up asking for the recipe before leaving. The combination of sriracha heat and the crispy exterior won them over completely.
Essential Ingredients and Selection Tips
- Canned Tuna: Opt for solid white albacore packed in water for the best texture and flavor. Thoroughly drain it to prevent soggy cakes.
- Rice Crumbs or Breadcrumbs: Trader Joe's rice crumbs make these naturally gluten-free, but any breadcrumbs work well. Panko creates an especially crispy exterior.
- Sriracha: Adjust the amount according to your heat preference. The recipe's suggested measurement provides moderate heat that most people enjoy.
- Mini Sweet Peppers: These add color, flavor, and a touch of sweetness that balances the heat. Red bell pepper works perfectly as a substitute.
The beauty of this recipe is its flexibility - you can easily adjust the heat level by changing the amount of sriracha, or swap ingredients based on what you have available. The first time I made these with diced jalapeño instead of sweet peppers for an extra kick, and the results were equally delicious.
Detailed Cooking Instructions
- Step 1: Prepare the Spicy Tartar Sauce
- Begin by combining 1/4 cup mayonnaise, 1/4 cup dill pickle relish, and 2 tablespoons sriracha in a small bowl. Add a pinch of ground ginger for depth if available, then season with salt and pepper to taste. Stir thoroughly until well combined, cover, and refrigerate while preparing the tuna cakes.
- Step 2: Create the Tuna Mixture
- Thoroughly drain two 5-ounce cans of tuna and add to a medium mixing bowl. Use a fork to break apart any chunks until the texture is consistent throughout. Whisk one egg in a separate small bowl, then add to the tuna and mix well. Add 1/2 cup rice crumbs or breadcrumbs, 2 tablespoons mayonnaise, 1 tablespoon sriracha, one minced garlic clove, and seasonings. Gently fold in finely chopped sweet peppers and sliced green onions until all ingredients are evenly distributed.
- Step 3: Form the Patties
- With slightly wet hands to prevent sticking, scoop approximately 1/3 cup of the tuna mixture and form into a ball. Gently flatten between your palms to create a patty about 3/4-inch thick. Place formed patties on a plate or cutting board and repeat with remaining mixture until you have about five equal-sized cakes.
- Step 4: Cook to Golden Perfection
- Heat 1-2 tablespoons olive oil in a large skillet over medium-high heat until shimmering but not smoking. Carefully place the tuna cakes in the hot oil, ensuring they don't touch each other. Cook for 3-4 minutes on the first side until golden brown and crispy, then gently flip using a thin spatula. Cook an additional 3-4 minutes on the second side until equally golden and heated through.
- Step 5: Serve and Enjoy
- Transfer the hot tuna cakes to a paper towel-lined plate to absorb any excess oil. Serve immediately with a generous dollop of the spicy tartar sauce on top or on the side for dipping. For a complete meal, add a simple side salad with Asian-inspired dressing, cauliflower rice, or roasted vegetables. Garnish with additional sliced green onions and lime wedges for a bright finish.

My first attempt at these tuna cakes taught me an important lesson about patience. I tried flipping them too early before a good crust had formed, resulting in a crumbly mess. Now I wait until I can see the golden edges forming before attempting to turn them, which makes all the difference in achieving that perfect presentation.
Serving Inspiration
These versatile tuna cakes pair beautifully with numerous side dishes. For a light lunch, serve them atop mixed greens dressed with a simple rice vinegar and sesame oil vinaigrette. For a heartier dinner, pair with sesame cucumber salad and cauliflower rice. They also make excellent sliders - just place each cake on a small bun with some spicy tartar sauce, sliced avocado, and microgreens for an impressive appetizer or game day snack that will disappear quickly.

Make-Ahead Options
These tuna cakes are excellent for meal prep and can be prepared in several ways ahead of time. The mixture can be made and formed into patties up to 24 hours in advance - simply cover and refrigerate until ready to cook. You can also fully cook the cakes, cool them completely, and refrigerate for up to three days. Reheat in a 350°F oven for about 10 minutes or in an air fryer for 3-4 minutes at 350°F until warmed through. The spicy tartar sauce actually improves after a day in the refrigerator as the flavors meld together.
Air Fryer Method
For a hands-off cooking approach with less oil, these tuna cakes work beautifully in an air fryer. Preheat your air fryer to 350°F for about 5 minutes. Lightly spray both sides of each tuna cake with cooking oil spray, then place them in a single layer in the air fryer basket, leaving space between each cake. Cook for 8-10 minutes, carefully flipping halfway through the cooking time, until golden brown and heated through. This method creates exceptionally crispy exteriors that many people prefer.

These Sriracha Tuna Cakes have become my go-to solution for those nights when the refrigerator seems empty but the pantry is full. With just a few simple ingredients that I always keep on hand, I can create a meal that feels special rather than last-minute. The combination of crispy exterior, flavorful interior, and zesty sauce transforms humble canned tuna into something truly crave-worthy that I'm proud to serve to both family and guests alike.
Recipe FAQs
- → Why do I need to soak the potatoes in water?
- Soaking the cut potatoes in ice water serves several important purposes. First, it removes excess starch from the surface of the potatoes, which helps them crisp up better during cooking. Without this step, the extra starch can cause the fries to stick together and become soggy. Second, the cold water helps keep the potatoes from oxidizing and turning brown. Finally, soaking adds moisture to the potatoes, which creates steam during cooking, helping to make the insides light and fluffy while the outsides get crispy. For best results, soak for at least 30 minutes, though overnight in the refrigerator is even better.
- → Can I adjust the spice level of these Cajun fries?
- Absolutely! The cayenne pepper is what primarily controls the heat level in this recipe. For milder fries, reduce the cayenne to 1/4 teaspoon or omit it completely. For extra spicy fries, increase the cayenne to 1 teaspoon or add 1/4 teaspoon of ground chipotle powder for a smoky heat. You can also add 1/4 teaspoon of crushed red pepper flakes for a different kind of heat. Remember that the paprika (especially if using hot paprika instead of smoked) can also contribute to the overall spiciness, so adjust accordingly based on your preference.
- → Why does the deep-frying method call for frying the potatoes twice?
- The double-fry method is the secret to achieving restaurant-quality french fries with a perfectly crispy exterior and fluffy interior. The first fry at a lower temperature (260°F) essentially cooks the potatoes through, allowing the starches to gelatinize and creating a protective barrier. After this initial fry, the potatoes are cooled, which causes the moisture inside to move outward. The second fry at a higher temperature (350°F) removes this surface moisture and creates the golden, crispy exterior. Without the double-fry process, it's difficult to get fries that are both crispy on the outside and properly cooked on the inside.
- → How can I make the baked version crispier?
- To achieve crispier baked fries, try these tips: 1) Make sure the potatoes are thoroughly dried after soaking - any excess moisture will create steam and make them soggy. 2) Don't overcrowd the baking sheets; leave space between the fries so air can circulate. 3) Preheat the baking sheets in the oven before adding the fries - the hot surface helps create an immediate sear. 4) Use a bit more oil, up to 4 tablespoons for 2 pounds of potatoes. 5) Flip them halfway through baking and rotate the trays as directed. 6) For extra crispiness, after the regular baking time, turn off the oven and leave the fries inside with the door slightly ajar for 5-10 minutes; this helps moisture escape.
- → What dipping sauces pair well with Cajun fries?
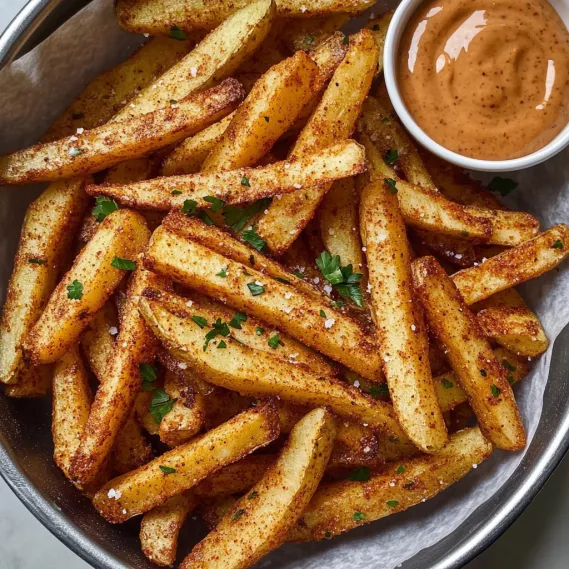
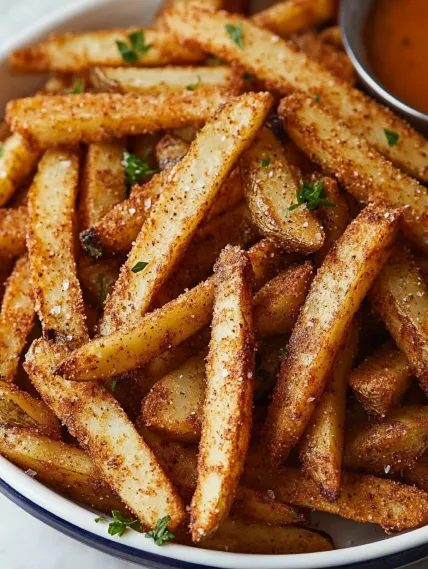
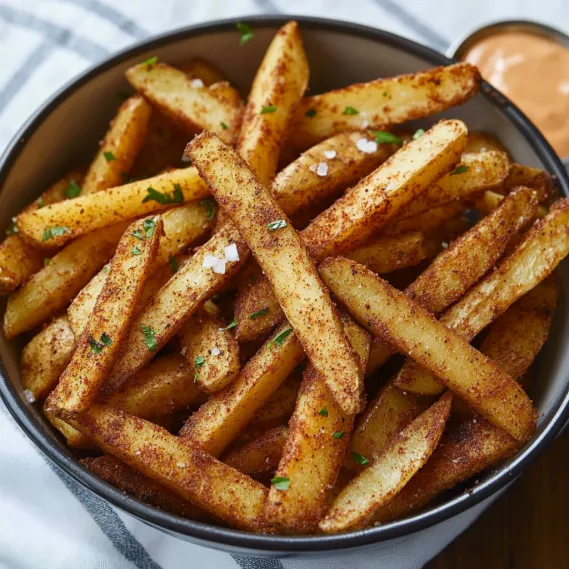
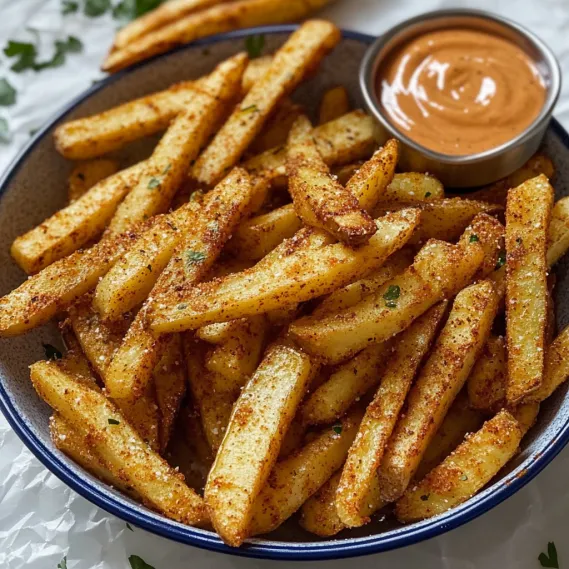
- Cajun fries pair beautifully with many sauces. Traditional options include remoulade sauce (a spicy mayo-based sauce with herbs and pickles) or fry sauce (a mixture of mayo and ketchup with additional seasonings). Other great choices include: garlic aioli, spicy mayo (mayo mixed with hot sauce or sriracha), honey mustard, ranch dressing with a dash of hot sauce, blue cheese dressing, or a cooling yogurt-based dip to balance the spiciness. For something different, try a creole mustard sauce or even a tangy barbecue sauce.
- → Can I prepare any components of this recipe in advance?
- Yes, you can prep several components ahead of time: 1) Cut potatoes can be stored in water in the refrigerator for up to 24 hours. 2) The Cajun spice blend can be mixed and stored in an airtight container for months - make extra to have on hand for future use! 3) For the baked version, you can parboil the potatoes for 5 minutes, drain, cool, and refrigerate for up to 24 hours before proceeding with oiling and seasoning. 4) While the fries themselves are best served fresh, you can have all your equipment, spices, and sauces ready in advance to streamline the cooking process when you're ready to make them.
