 Pin
Pin
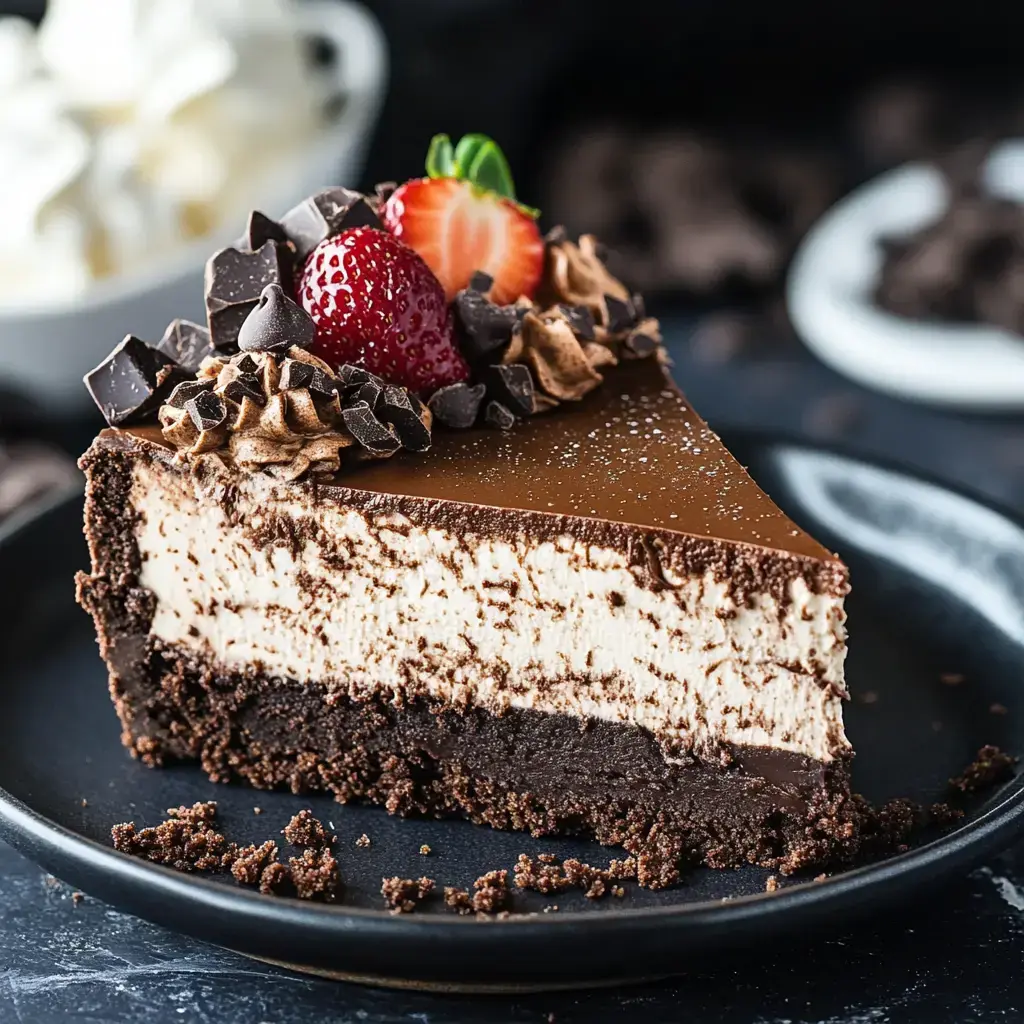
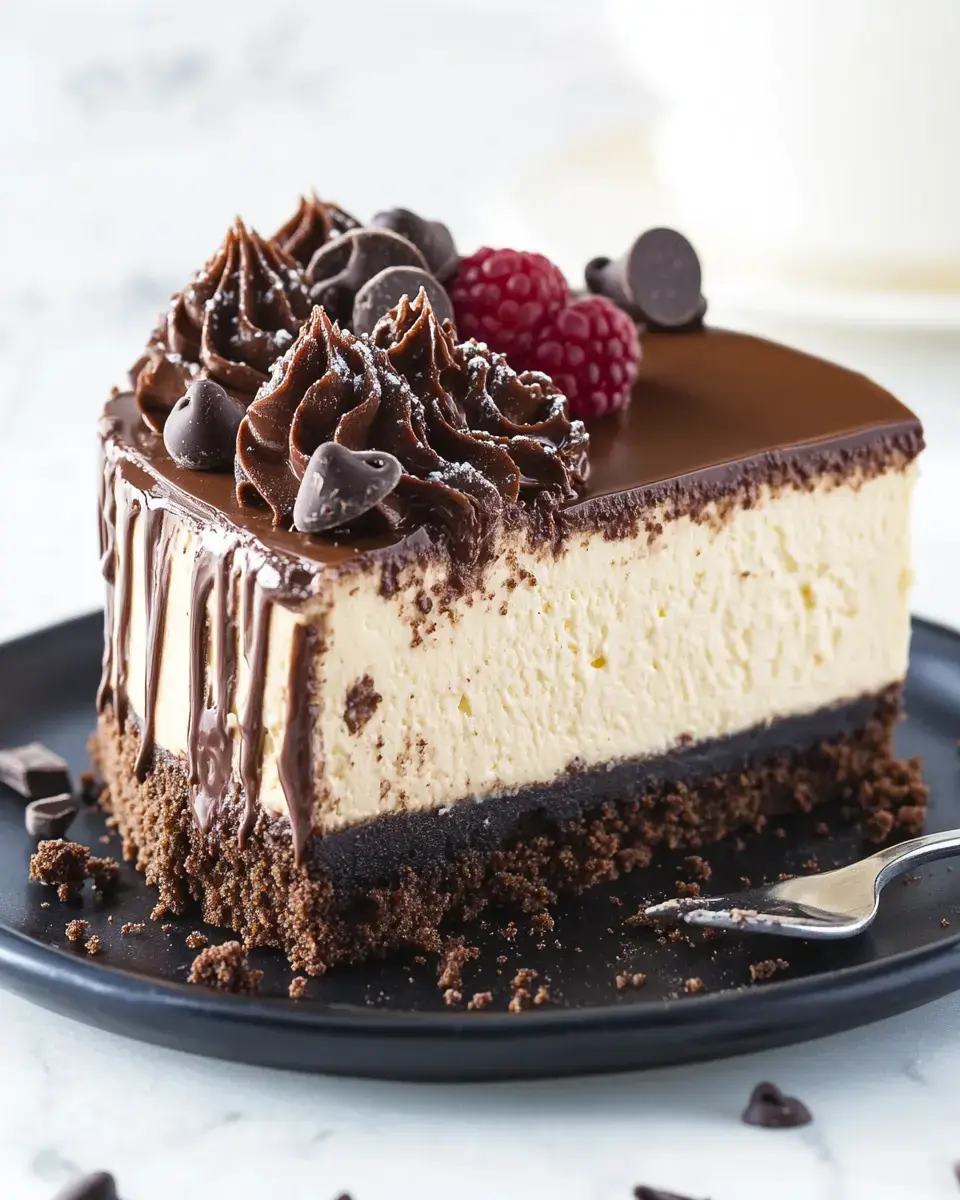
- Let me share my absolute favorite chocolate cheesecake recipe! After years of testing I've perfected this rich creamy dream of a dessert. It starts with a buttery chocolate cookie crust filled with the smoothest chocolate cheesecake you've ever tasted. Top it with fresh whipped cream or berries and watch everyone's eyes light up at first bite!
Why This Recipe Works
- Trust me this cheesecake is pure magic! The filling comes out silky smooth every time and that chocolate flavor goes deep. Don't worry if you've never made cheesecake before I'll walk you through every step. Plus you can dress it up however you like perfect for any celebration!
Round Up These Ingredients
- Cookie Crumbs: Chocolate ones make the best crust.
- Cream Cheese: Full fat only let's be real here!
- The Sweet Stuff: Regular sugar lets chocolate shine.
- Double Chocolate: Cocoa powder and melted chips.
- Secret Weapon: Espresso makes chocolate taste better.
- Heavy Cream: Makes everything extra silky.
- Fresh Eggs: Room temp for perfect mixing.
- Good Vanilla: Ties all the flavors together.
Let's Get Baking
- Perfect Crust Creation
- Start by combining your cookie crumbs with melted butter until it feels like wet sand in your hands. Press this mixture firmly into your springform pan, using the bottom of a measuring cup to create an even layer. Pop it in the oven at 350°F for exactly 7 minutes - this quick bake makes it sturdy. Let it cool completely while you work on the filling, this foundation is crucial for the perfect slice.
- Filling Preparation
- Begin with room temperature cream cheese - this is essential for that silky smooth texture. Beat it on medium speed for 3-4 minutes, scraping down the sides frequently until it's completely lump-free. Gradually add your sugar and cocoa powder, mixing until well combined. Pour in your melted chocolate and espresso, beating until the mixture is uniform and glossy. Finally, add your eggs one at a time on low speed, just until each disappears into the batter. Over-mixing here can lead to cracks later.
- Careful Baking Process
- Pour your filling into the prepared crust slowly to avoid creating air bubbles. Start baking at 325°F for the first 30 minutes - this sets the edges. Then reduce the temperature to 250°F and continue baking for another 45 minutes. The center should still have a slight wobble. Turn off the oven but leave the cheesecake inside with the door closed for an additional 30 minutes - this gentle cooling prevents cracks.
- Patience in Cooling
- After the oven rest, crack the door open slightly and let the cheesecake cool for another hour. Then bring it to room temperature before refrigerating for at least 2 hours, though overnight is even better. This slow cooling process ensures that perfect, silky texture we're looking for.
- Final Presentation
- Run a warm knife around the edge of the pan before releasing the springform. For picture-perfect slices, dip your knife in hot water and wipe clean between each cut. Decorate with swirls of fresh whipped cream, delicate chocolate shavings, or fresh berries. Serve chilled but not ice-cold - 15 minutes at room temperature brings out the best flavor.
Make It Perfect
- Everything needs to be room temp cold ingredients make lumpy batter.
- Go easy with those eggs overbeating leads to cracks.
- That slow cooling in the oven? Super important for perfect texture.
- Give your bowl a few good taps before baking gets rid of air bubbles.

Mix It Up
- Want it extra fancy? Pour some warm ganache on top.
- Love fruit? Add raspberry swirls.
- Switch up the crust with Oreos instead.
- Feeling adventurous? A pinch of cinnamon or chili powder makes it interesting!
Keep It Fresh
- This beauty keeps for 5 days in the fridge if it lasts that long!
- Want to freeze some? Wrap it tight it'll stay good a month.
- My trick? Make it a day ahead the flavor gets even better overnight.
Recipe FAQs
- → Why room temperature ingredients?
Ensures smooth texture without lumps.
- → Why cook at two temperatures?
Helps prevent cracking and ensures even baking.
- → Why tap out air bubbles?
Prevents bubbles and cracks in finished cake.
- → Why cool so gradually?
Prevents surface cracking and sinking.
- → Can I freeze this?
Yes, wrap well and freeze up to 3 months.
- → Why line pan with parchment?
Makes removal easier and prevents sticking.
- → What if I don't have espresso?
Can use strong coffee or omit.
