
 Pin
Pin
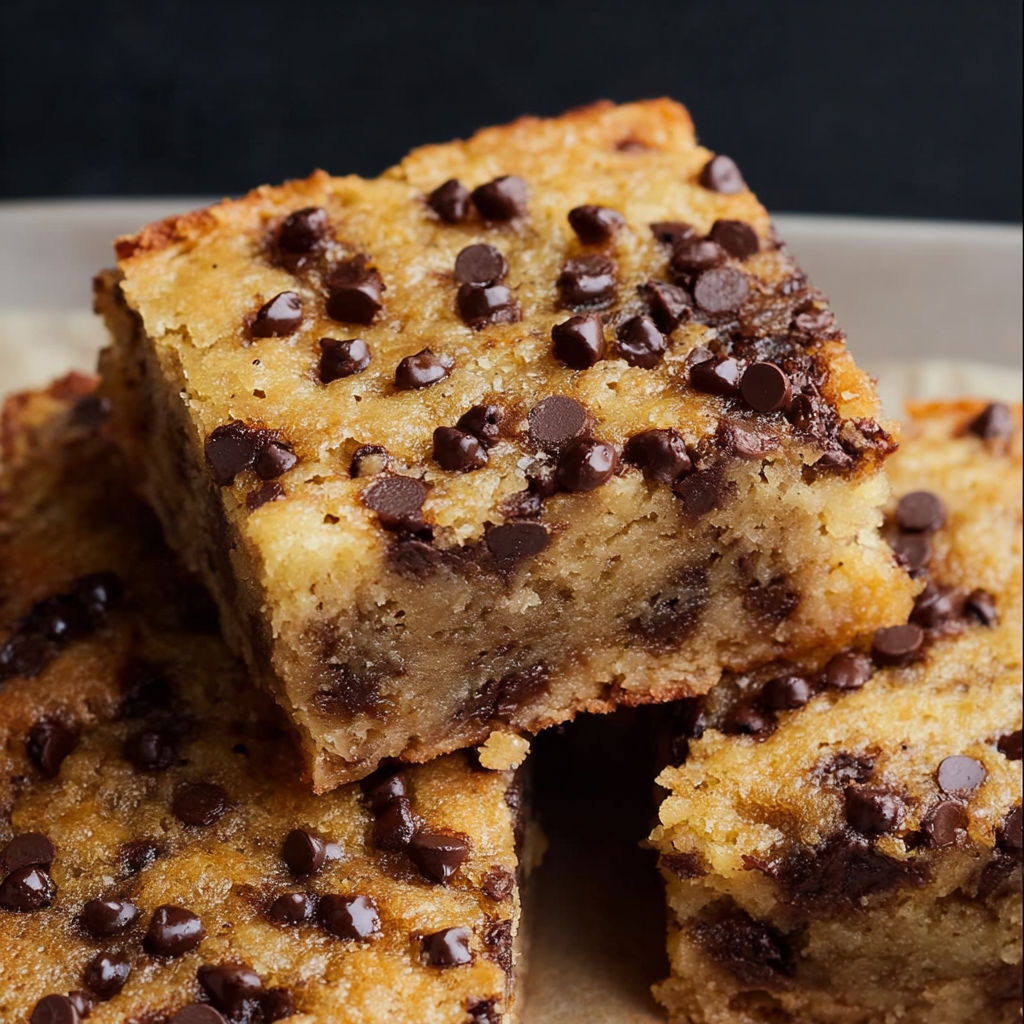
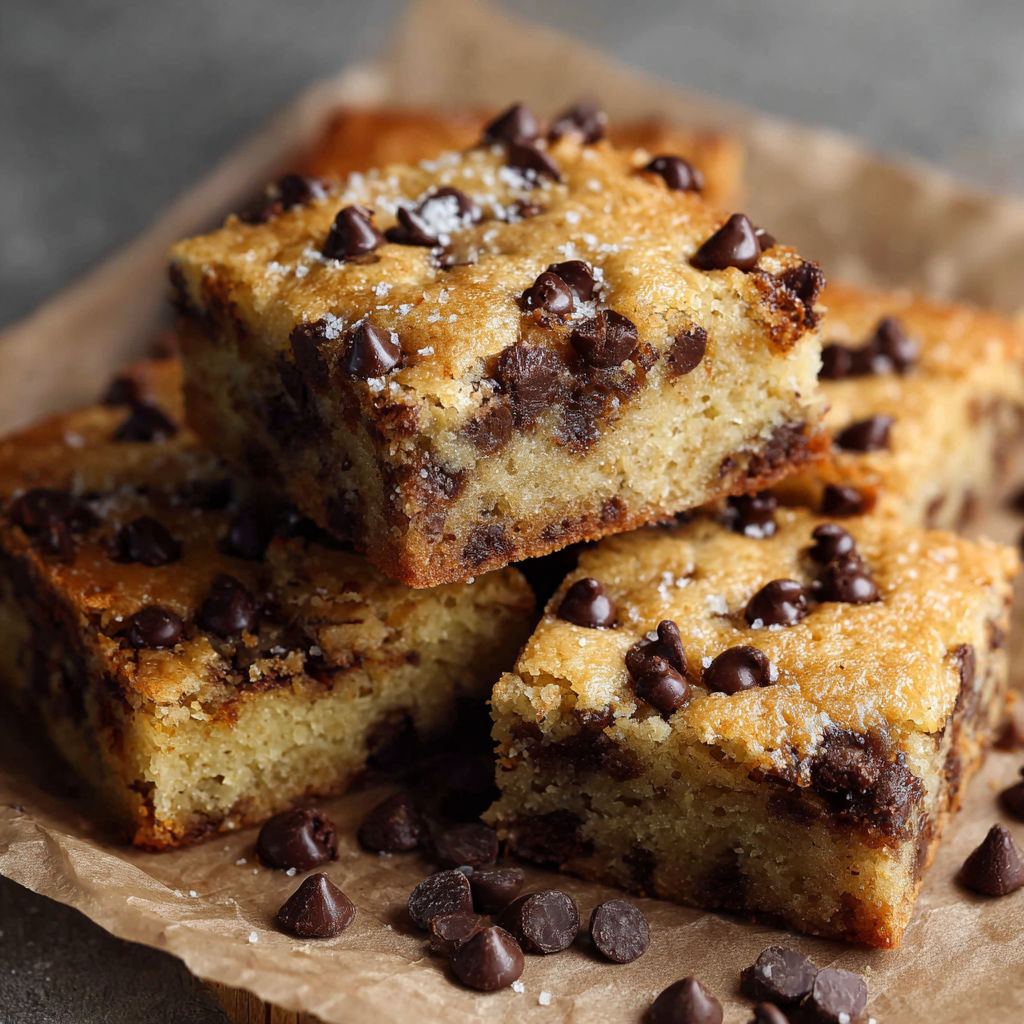
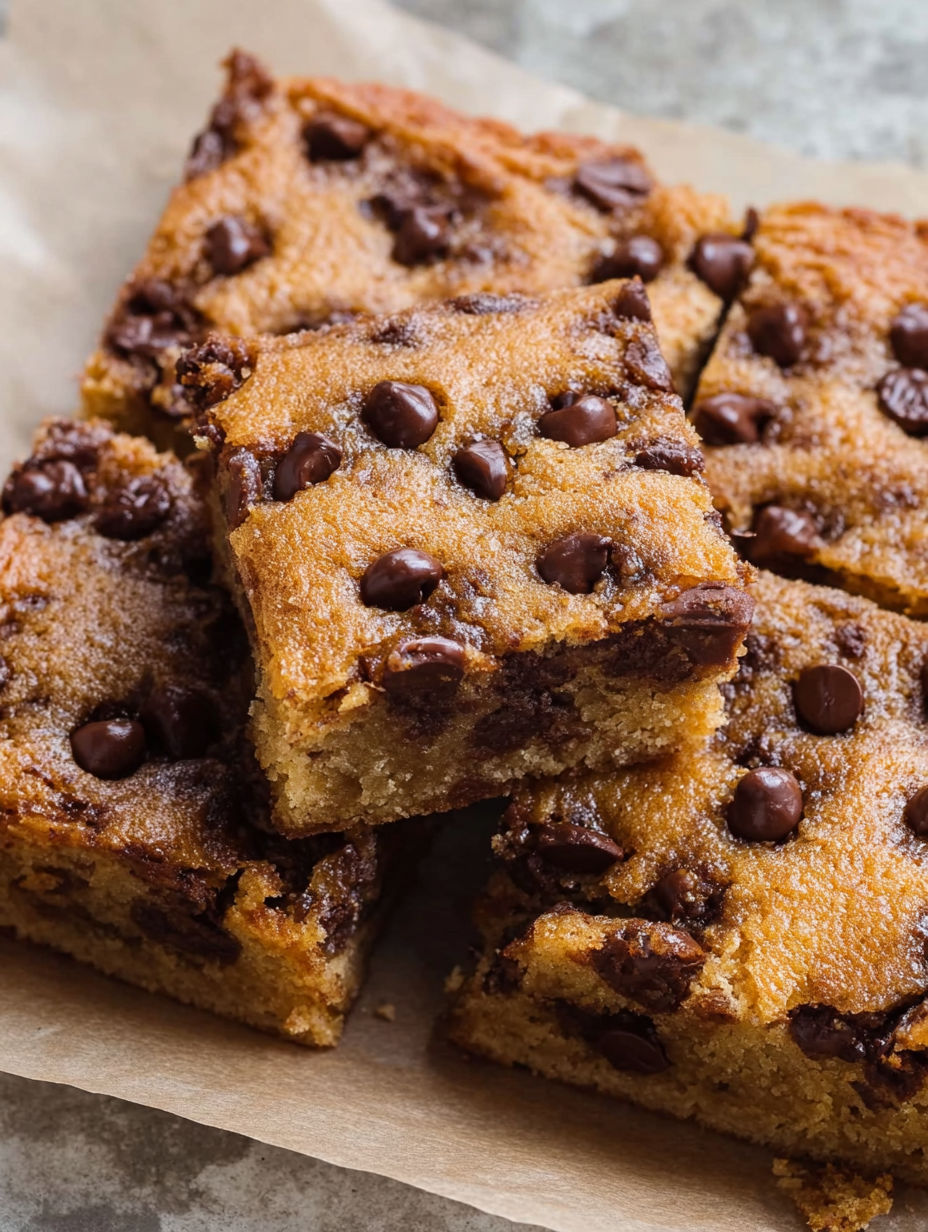
This buttery, soft chocolate chip banana bar recipe transforms overripe bananas into a delicious treat that's somewhere between a blondie and banana bread. The perfect balance of banana flavor and melty chocolate chips creates an irresistible dessert that disappears quickly at any gathering.
I first made these bars when my daughter asked for "something different" with our browning bananas. Now they've become our go-to recipe for potlucks because they're always the first treat to disappear from the dessert table.
Ingredients
- Unsalted butter provides richness and that wonderful buttery flavor foundation
- All purpose flour creates the perfect tender structure
- Baking powder gives just enough lift without making them cakey
- Salt enhances all the flavors especially the chocolate
- Light brown sugar adds moisture and caramel notes that pair perfectly with banana
- Egg binds everything together and adds structure
- Ripe bananas the spottier the better for maximum sweetness and flavor
- Vanilla extract complements both the banana and chocolate flavors
- Mini chocolate chips distribute evenly throughout the bars for chocolate in every bite
How To Make Chocolate Chip Banana Bars
- Prepare Your Pan
- Line an 8x8 inch pan with parchment paper creating handles on two sides for easy removal later. The parchment prevents sticking and makes cleanup much easier.
- Melt The Butter
- Microwave butter for about 1 minute until fully melted then allow it to cool for 10 to 15 minutes. Using melted rather than creamed butter creates a denser more blondie like texture.
- Mix Dry Ingredients
- Whisk together flour baking powder and salt in a separate bowl. This ensures even distribution of the leavening agent for proper rising.
- Combine Wet Ingredients
- Whisk the cooled melted butter with brown sugar until well combined. Add the egg mashed bananas and vanilla extract mixing until smooth. The mixture might look slightly curdled which is completely normal.
- Create The Batter
- Gently fold the dry ingredients into the wet ingredients until just combined adding half at a time. Overmixing will develop gluten and make your bars tough instead of tender.
- Add Chocolate
- Fold in most of the mini chocolate chips reserving some for the top. The mini size ensures chocolate distribution throughout every bite.
- Bake To Perfection
- Smooth the batter into your prepared pan top with remaining chocolate chips and bake for 30 to 35 minutes. The edges should be firm and golden while the center is just set.
- Cool Completely
- Allow the bars to cool fully in the pan before lifting out with the parchment handles and slicing. This resting period allows the flavors to develop and the texture to set properly.
My family's favorite way to enjoy these is slightly warm with a scoop of vanilla ice cream on top. My son once declared these "better than birthday cake" which in our house is the highest possible compliment a dessert can receive.
Perfect Banana Selection
For the absolute best flavor use bananas that are very ripe with plenty of brown spots on the peel. These overripe bananas are sweeter and have a more concentrated banana flavor that makes these bars irresistible. If your bananas aren't quite ripe enough place them in a paper bag with an apple for a day or two to speed up the ripening process. The natural ethylene gas will work its magic.
Clever Substitutions
These bars are incredibly versatile and can be customized to your preferences. Swap the all purpose flour for a 1 to 1 gluten free baking blend if needed. Dark chocolate chips can replace mini chips for a more intense chocolate flavor. Add 1/2 cup of chopped walnuts or pecans for delightful crunch and nutty flavor. For a tropical twist fold in 1/3 cup of shredded coconut along with the chocolate chips.
Storage Success
These banana bars stay wonderfully moist when stored properly. Keep them in an airtight container at room temperature for up to 4 days. For longer storage refrigerate for up to a week though the texture is best when brought back to room temperature before eating. To freeze wrap individual portions in plastic wrap then place in a freezer bag. Thaw at room temperature for about an hour before enjoying.
Recipe FAQs
- → Can I use regular-sized chocolate chips instead of mini chips?
Yes, you can substitute regular chocolate chips for mini chips in equal amounts. Mini chips distribute more evenly throughout the batter, but regular chips work well too. You might want to use a slightly lighter hand when sprinkling them on top.
- → How ripe should the bananas be for this recipe?
The best bananas for these bars are overripe with plenty of brown spots or even mostly brown peels. These bananas are sweeter and have a more intense flavor that will shine through in your finished bars.
- → Can I double this recipe for a larger batch?
Absolutely! Double all ingredients and use a 9x13 inch baking pan instead. You may need to increase the baking time by 5-10 minutes, but still check with a toothpick to ensure they're done in the center.
- → Are these bars freezer-friendly?
Yes, these bars freeze beautifully. Cool completely, then wrap individual pieces in plastic wrap and store in an airtight container or freezer bag for up to one month. Thaw at room temperature for about an hour before enjoying.
- → How do I know when the bars are fully baked?
The bars are done when the edges look set and slightly pulled away from the sides of the pan, and a toothpick inserted in the center comes out clean or with a few moist crumbs (but no wet batter). The center should spring back lightly when touched.
- → Can I add nuts or other mix-ins?
Definitely! Chopped walnuts, pecans, or even shredded coconut make excellent additions. Add about 1/2 cup of any mix-in along with the chocolate chips. Just be careful not to overload the batter, which could affect the texture.