 Pin
Pin
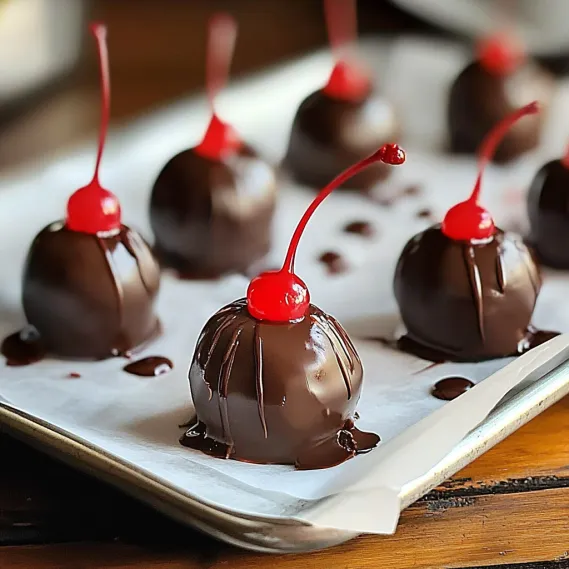
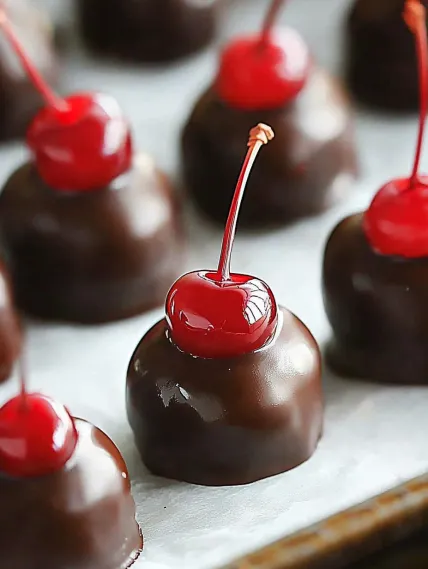
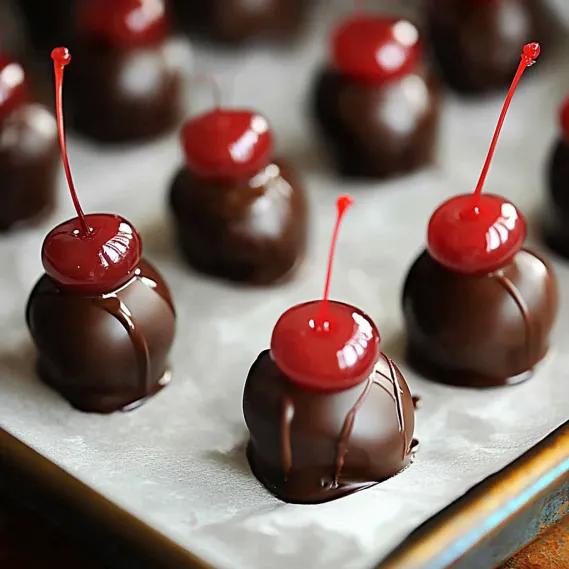
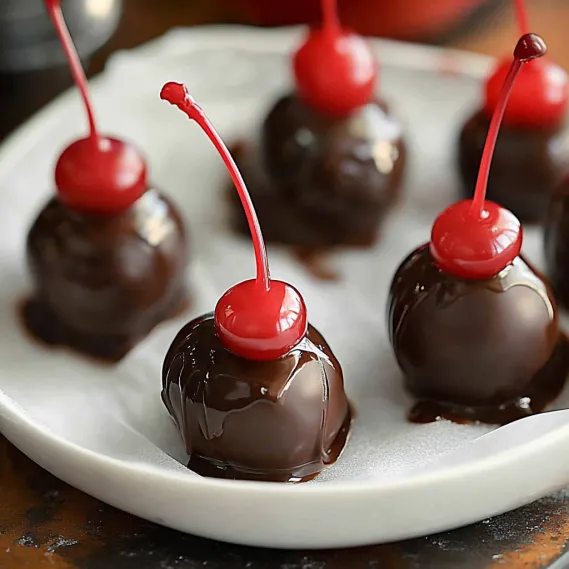
The moment you bite into a homemade Amish Chocolate Covered Cherry, you experience pure magic – that delicate chocolate shell giving way to reveal a sweet fondant layer, then finally releasing that burst of cherry and cordial liquid at the center. It's an explosion of textures and flavors that's utterly addictive.
Last Christmas, I packaged these in small decorative boxes for teacher gifts. My daughter's math teacher pulled me aside at the next parent conference and confessed she'd hidden them from her family so she wouldn't have to share. The secret? Taking the time to properly dry the cherries and allowing the finished candies to develop that magical liquid center naturally.
Essential Ingredients and Selection Tips
- Maraschino Cherries: Look for plump, firm cherries with good color. I prefer cherries with stems for a traditional look, but stemless work perfectly.
- Powdered Sugar: Use fresh powdered sugar without lumps. The fine texture creates the smooth fondant that will eventually transform into that luscious liquid center.
- Butter: Use salted butter at room temperature for easy mixing. The salt provides a subtle contrast to the sweetness of the fondant.
- Chocolate: Choose a high-quality semisweet or dark chocolate for the smoothest melt and best flavor. Chocolate chips contain stabilizers that can make dipping more difficult.
- Cherry Juice: Reserved from the maraschino cherry jar, this adds flavor and helps create the magical transformation from solid to liquid centers.
I've discovered that the quality of your maraschino cherries makes the biggest impact on flavor. The vibrant red hue and distinctive sour-sweet flavor comes from using authentic maraschino cherries rather than regular black tea with food coloring, which some recipes suggest as a substitute.
Detailed Cooking Instructions
- Step 1: Prepare the Perfect Cherry Base
- Drain maraschino cherries, reserving ¼ cup of the juice for the fondant. Pat cherries thoroughly dry with paper towels, then spread them on a fresh layer of paper towels and allow to air dry for at least 30 minutes. This crucial drying step ensures the fondant will adhere properly and the chocolate won't seize when dipping.
- Step 2: Create the Transformative Fondant
- In a large mixing bowl, combine 3 cups of sifted powdered sugar with 3 tablespoons of room-temperature salted butter and the reserved cherry juice. Beat with an electric mixer until a soft, pliable dough forms, adding up to 1 additional cup of powdered sugar if needed to achieve a workable consistency that holds its shape when molded.
- Step 3: Master the Cherry Wrapping Technique
- Chill fondant for 20 minutes to firm slightly. Take a tablespoon of fondant, roll into a ball, then flatten into a disc. Place a dried cherry in the center and gently wrap the fondant around it, completely encasing the cherry except for the stem if using stemmed cherries. Return wrapped cherries to the refrigerator for 20 minutes to firm up before dipping.
- Step 4: Perform the Chocolate Coating
- Melt 12 ounces of quality chocolate in a microwave-safe bowl, heating at 50% power in 30-second intervals and stirring thoroughly between each until smooth. Working with a few cherries at a time (keeping the rest refrigerated), dip each fondant-covered cherry into the chocolate using a fork or dipping tool, ensuring complete coverage. Return dipped cherries to the refrigerator for 20 minutes to set the chocolate.
- Step 5: Set Up for Transformation
- Allow dipped cherries to set at room temperature on parchment paper until the chocolate is completely firm, about 1-2 hours. Store in a single layer in an airtight container at room temperature for 3-6 days to allow the magic to happen – the fondant gradually liquefies to create that perfect cordial center.

The first time I attempted this recipe, I was intimidated by the assembly process. After several lopsided attempts, I realized that simple pleats work just as well as perfect ones - the flavor remains delicious regardless. Now my children help with the folding, creating their own unique styles that have become part of our family tradition.
The Secret to Perfect Texture
The magic of these cookies lies in their contrasting textures - crispy bottoms and tender, flavorful fillings. I've found that the key to achieving this is controlling moisture at every stage. First, properly squeezing the salted cabbage removes excess water that would otherwise make the filling soggy. Second, the cornstarch not only binds the filling but also absorbs any remaining moisture. Finally, the cooking technique - first frying, then steaming, then frying again - creates that signature crispy bottom while ensuring the filling cooks through perfectly.

Make-Ahead Magic for Entertaining
One of the greatest advantages of this recipe is its make-ahead flexibility. I often prepare this in stages when hosting: shape and freeze the balls up to a month in advance, bread them the day before (storing them covered in the refrigerator), and then simply bake them before guests arrive. The aroma of these baking fills the house with an irresistible scent that sets the tone for a delicious gathering. For larger parties, I make double batches, keeping the second batch warm in a low oven until needed.
Transforming Leftovers Into New Meals
If you somehow end up with leftover cookies (though this rarely happens in my house!), they can be transformed into entirely new dishes. Crumble them into scrambled eggs for a French-inspired breakfast hash, or slice them and add to a simple green salad with a spicy vinaigrette for a light lunch. My favorite repurposing trick is to nestle halved cookies atop a bowl of creamy grits, creating a satisfying breakfast that carries the flavors into the next day.

Chef's Helpful Tips
- Allow the balls to rest for 5 minutes after baking before serving – this helps set the interior for the perfect bite
- For extra flavor dimension, add a teaspoon of smoked paprika to your panko mixture
- If you have trouble finding cookies locally, order them online from authentic suppliers like Bourgeois Meat Market or The Best Stop
- Serve with multiple dipping options – a spicy remoulade and cool ranch alongside the Louisiana dipping sauce
- For a festive presentation, arrange the balls on a platter with alternating sprinkles of chopped parsley, purple cabbage, and yellow bell pepper to represent the traditional green, purple, and gold
Recipe FAQs
- → Why do my cherries need to be completely dry before wrapping?
- Drying the cherries thoroughly is crucial because any excess moisture can make the fondant too soft or cause it to slide off the cherry during dipping. The liquid from the cherries can also potentially cause the chocolate to seize or not adhere properly. Take the time to pat them very dry with paper towels for the best results.
- → How long will these chocolate covered cherries keep?
- Stored in an airtight container at room temperature, these chocolate covered cherries will keep for 1-2 weeks. Interestingly, the fondant center will gradually liquify over time, creating a more liquid center similar to store-bought varieties. If you prefer this texture, make them 3-5 days before serving.
- → Can I use dark or white chocolate instead of semi-sweet?
- Yes! You can use any type of chocolate you prefer - dark, milk, or white chocolate all work beautifully. Just make sure you're using good quality chocolate meant for melting and coating. Chocolate chips contain stabilizers that can affect the texture, so chocolate bars or melting wafers are preferable.
- → My fondant is too sticky to work with. What should I do?
- If your fondant is too sticky, add more powdered sugar gradually until it reaches a manageable consistency. Keeping your hands dusted with powdered sugar while working helps too. If it's very sticky, refrigerate it for an additional 10-15 minutes to firm up before attempting to wrap the cherries.
- → Can I make these without cherry stems?
- Absolutely! While stems make dipping easier, stemless cherries work just fine. Simply use a fork to dip and coat the fondant-wrapped cherries in chocolate. Place them on parchment paper and, if needed, use a toothpick to touch up any spots that the fork may have missed.
- → Why isn't my chocolate setting properly?
- If your chocolate isn't setting well, it may be because the room is too warm or the chocolate wasn't tempered. You can place the dipped cherries in the refrigerator for 15-20 minutes to help the chocolate set. For the best shine and snap, consider tempering your chocolate before dipping, though this isn't strictly necessary for this recipe.
