
 Pin
Pin
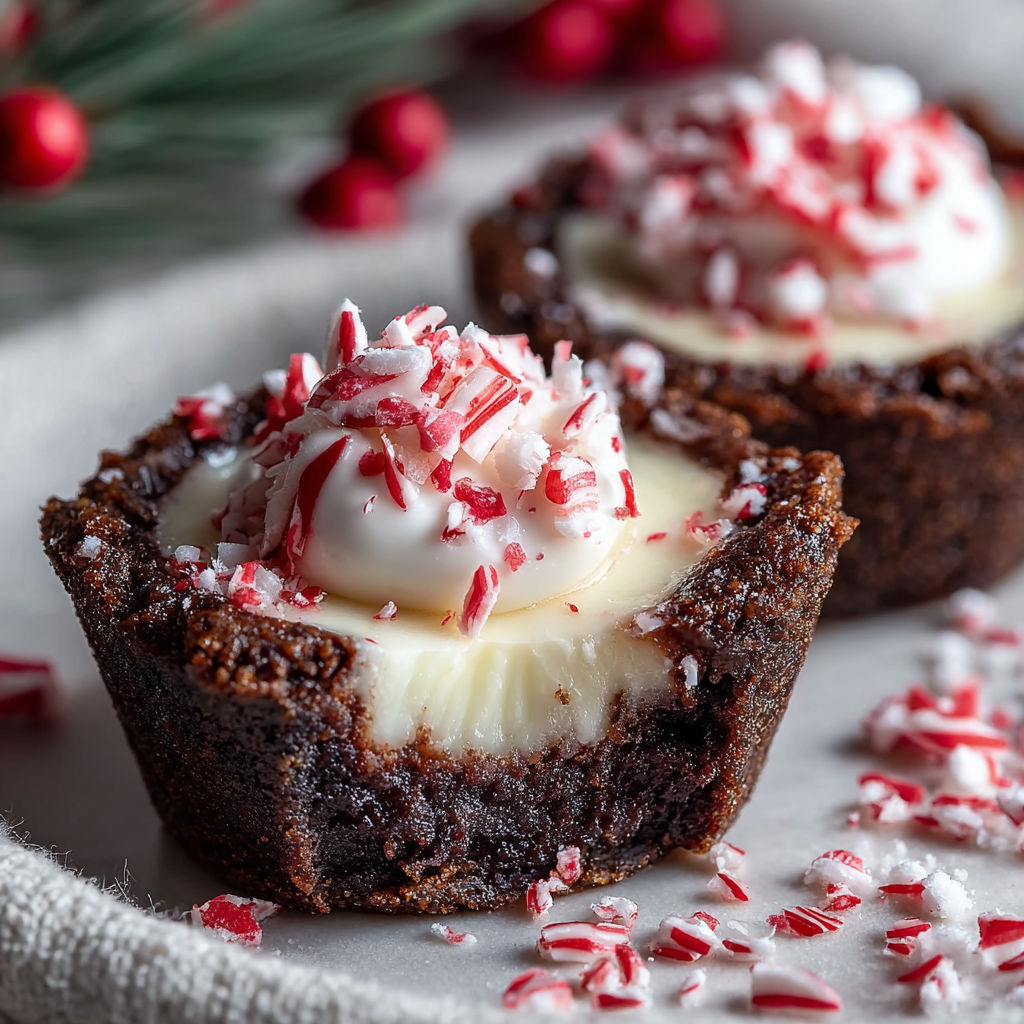
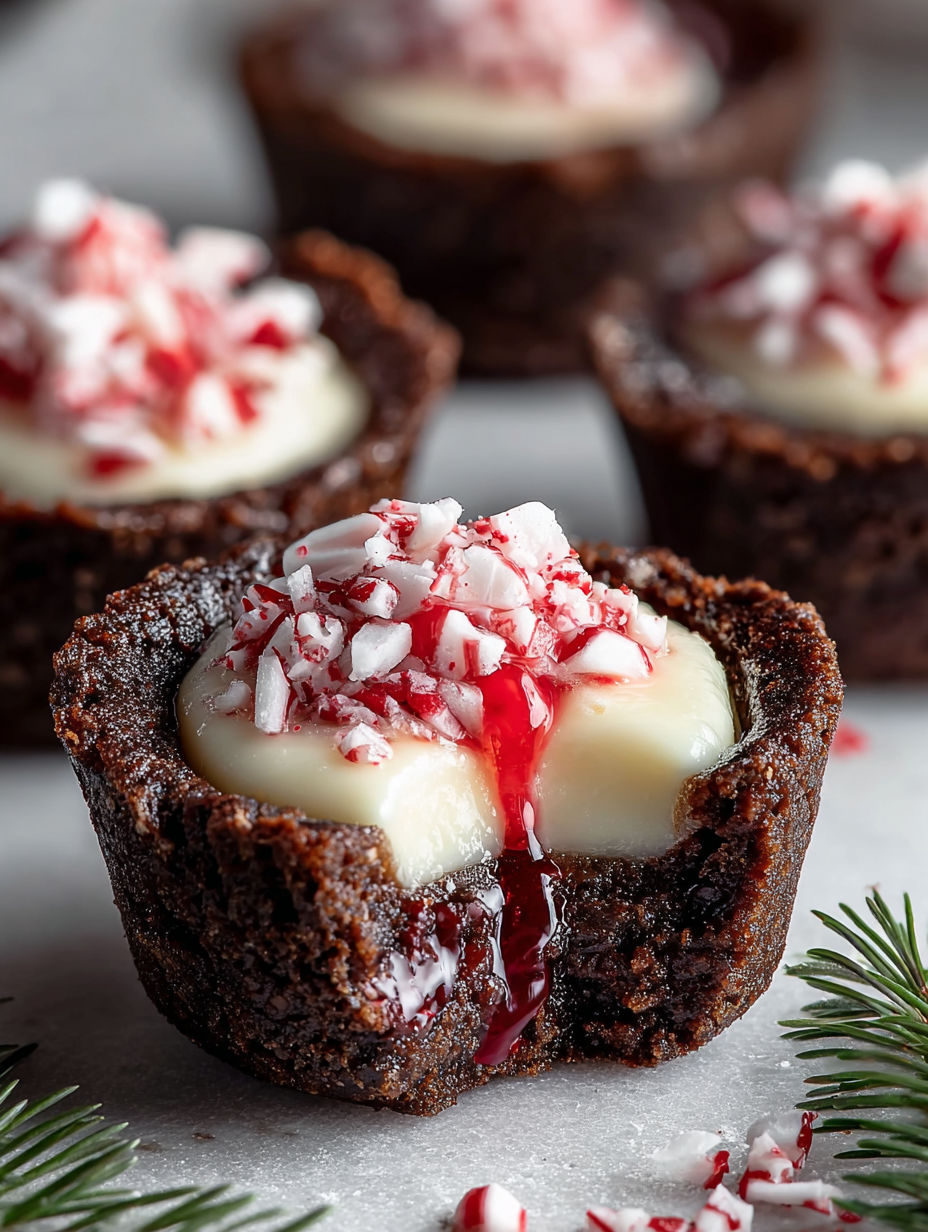
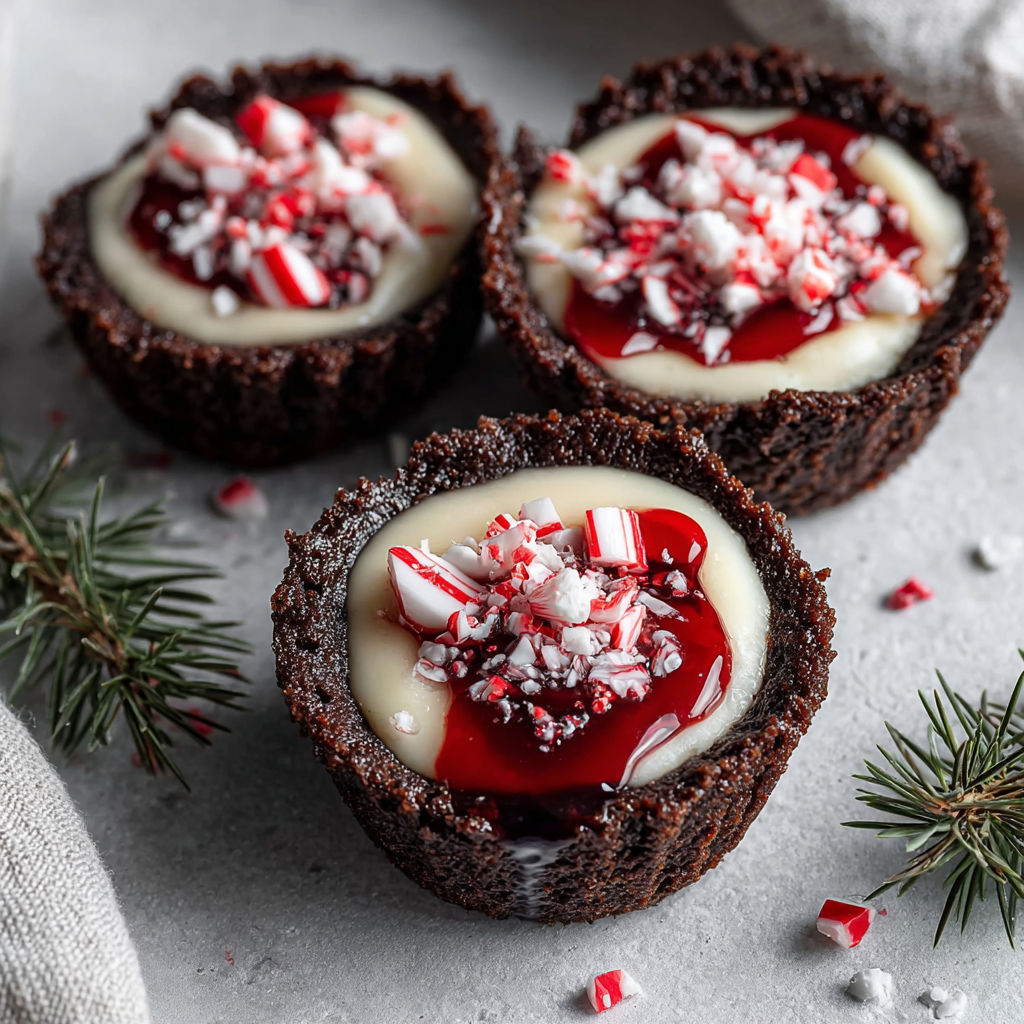
These Chocolate Peppermint Cookie Cups are an irresistible holiday treat combining a rich chocolate cookie base with creamy peppermint cheesecake filling. The festive red and white swirls make them as delightful to look at as they are to eat.
My family adores these during the holidays, and watching my kids sprinkle the candy cane pieces to finish them off has become a heartwarming tradition.
- Chocolate Cookie Cups:
- 2 cups all purpose flour for structure and chew
- 1/4 cup Dutch processed cocoa powder for rich chocolate flavor
- 1/4 cup black cocoa powder for an extra dark chocolate color
- 1 tsp baking soda for leavening and texture
- 1/2 tsp salt to balance the sweetness
- 1 cup unsalted butter room temperature brings moisture and richness
- 1/2 cup granulated sugar adds sweetness
- 1 cup light brown sugar packed contributes to chewiness and deeper flavor
- 2 large eggs room temperature helps bind the dough
- 1 tsp vanilla extract enhances overall flavor
- Peppermint Cheesecake Filling:
- 1 cup heavy whipping cream chilled creates a light whipped texture
- 8 oz cream cheese full fat provides creaminess and tang
- 1/2 cup granulated sugar sweetens the filling
- 1 tsp peppermint extract adds holiday flavor
- red color gel for festive decoration
- candy canes chopped for garnish adds texture and festive sparkle
How To Make Chocolate Peppermint Cookie Cups
- Preheat and Prepare Tins:
- Preheat your oven to 350°F 175°C. Spray two regular sized cupcake tins thoroughly with cooking spray to ensure easy release of the cookie cups.
- Mix Dry Ingredients:
- In a medium bowl whisk together the all purpose flour Dutch processed cocoa powder black cocoa powder baking soda and salt until evenly combined. Set aside.
- Cream Butter and Sugars:
- In a large mixing bowl beat the unsalted butter granulated sugar and light brown sugar on medium high speed for 2 to 3 minutes until the mixture is light and fluffy.
- Add Eggs and Vanilla:
- Reduce mixer speed to low and add eggs one by one ensuring each is fully incorporated. Then mix in the vanilla extract.
- Combine Dry and Wet Ingredients:
- Gradually add the dry ingredient mixture into the wet mixture and mix until just combined. Be careful not to overmix to maintain soft cookie texture.
- Scoop Dough:
- Using a large cookie scoop or 3 tablespoons divide the dough evenly into the prepared cupcake tins.
- Bake Cookies:
- Bake for 10 to 13 minutes until the cookie cups are mostly set but still soft in the middle.
- Create Wells in Cookies:
- Immediately after baking press into the center of each cookie cup using a small jar or container to create a well for filling.
- Cool Cookies:
- Let the cookie cups cool for 10 minutes in the tins. Twist to loosen them then transfer to a wire rack to cool completely.
- Whip the Cream:
- In a cold bowl whisk the chilled heavy cream until stiff peaks form.
- Mix Cheesecake Base:
- In a separate bowl beat the full-fat cream cheese granulated sugar and peppermint extract until smooth.
- Fold in Whipped Cream:
- Gently fold the whipped cream into the cream cheese mixture until completely smooth and fluffy.
- Prepare Piping Bag:
- Using a food safe brush paint two red gel stripes inside a piping bag fitted with a large round tip. Fill the bag with the cheesecake filling.
- Fill Cookie Cups:
- Pipe a generous swirl of the peppermint filling into each cooled cookie cup.
- Chill to Set:
- Chill the filled cookie cups in the refrigerator for 1 to 2 hours until the filling is firm.
- Garnish and Serve:
- Top with chopped candy canes for a festive crunch. Refrigerate until serving or enjoy immediately.
One of my favorite ingredients is the black cocoa powder. It adds that extra dark chocolate depth that makes these feel so luxurious. The first time I made these for a party, they disappeared before dinner even started.
Storage Tips
Store the finished cookie cups in an airtight container in the refrigerator for 2 to 3 days. For longer storage freeze the undecorated cups in a single layer then transfer to a freezer bag and store for up to 4 weeks. Add the filling and garnishes after thawing.
Ingredient Substitutions
If you don’t have black cocoa powder you can double the Dutch processed cocoa instead. To make this recipe nut-free ensure no cross-contaminants in your candy garnishes.
Serving Suggestions
Serve these cookie cups with a warm cup of hot cocoa or a refreshing glass of milk. Their stunning appearance makes them a perfect addition to dessert platters for holiday gatherings.
Recipe FAQs
- → How do I ensure the cookie cups don't stick to the tin?
Use a generous amount of cooking spray or grease the tins thoroughly. Allow the cups to cool for 10 minutes before gently loosening them.
- → Can I use regular cocoa powder instead of Dutch-processed and black cocoa?
Yes, you can substitute with regular cocoa powder, but the flavor and color may differ slightly.
- → How long can these cookie cups be stored?
Refrigerate for up to 3 days or freeze (without candy cane topping) for up to 4 weeks for longer storage.
- → Can I substitute peppermint extract with another flavor?
Yes, you can use vanilla or almond extract for a different flavor profile, but it will alter the peppermint theme.
- → What’s the best way to create even wells in the cookie cups?
Use a small jar or container to press into the warm cookie cups immediately after baking for a clean and uniform well.
- → Can I skip the red gel decoration inside the piping bag?
Yes, the red gel is optional and mainly for aesthetic purposes. The flavor won’t be affected if omitted.