
 Pin
Pin
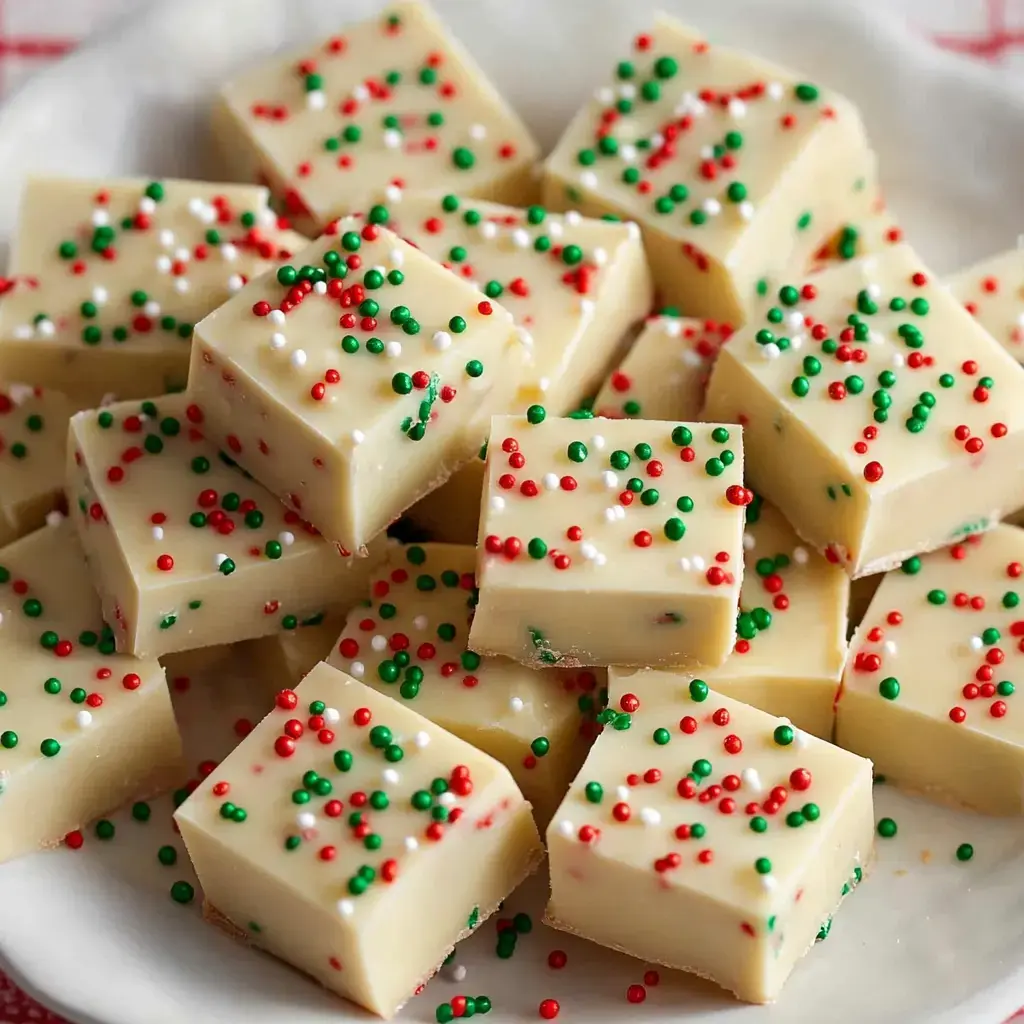
I whipped up this Christmas Cookie Fudge when I needed something quick but fancy for my cookie exchange party. It mixes creamy white chocolate with yummy sugar cookie flavors and has quickly become my favorite holiday sweet. It's surprisingly simple - no oven required! Perfect for last-minute gatherings, thank-you gifts, or when you're just craving something sweet.
Why This Fudge Stands Out
This fudge seems like it took forever to make, but it's actually super easy. It's the best of both worlds - sugar cookie taste with fudge texture in every bite. You only need about 15 minutes and ingredients you probably already have at home. I often make large batches for gifting - everyone thinks I bought it from a specialty shop! It's my go-to when I want to impress but don't have loads of time.
Stuff You'll Need
Here's what you should grab from your kitchen:
- White Chocolate Chips: Go for quality ones like Ghirardelli melting wafers. Don't use candy melts - they won't give you the right flavor.
- Sugar Cookie Mix: This adds that classic cookie taste without any extra work.
- Sweetened Condensed Milk: This makes everything smooth and helps it all stick together.
- Sprinkles: Pick any festive colors you like - they all work great in this recipe.

How To Make Christmas Cookie Fudge
Follow these simple steps for perfect results:
Let's get everything prepped first. Put parchment paper in your pan with some hanging over the edges so you can easily pull it out later. Have your sprinkles measured and ready because you'll need to move quickly once we start.
Now for the main mixture. Dump your sweetened condensed milk into a sturdy pot - I prefer my dutch oven for this. Mix in the sugar cookie mix and stir until completely combined. You don't want any dry spots hiding anywhere.
It's time for the white chocolate. Set your heat to low - this is really important to avoid burning. Toss in your chips and keep stirring. Don't stop until everything's completely smooth. Any small lumps will disappear if you keep stirring.
Here's a trick I use: touch the outside of the pot - it should feel warm but not too hot to touch. The mixture should flow off your spoon like thick honey when it's ready.
Remove from heat and give one more good stir. Then quickly add half your sprinkles and fold them in carefully. Don't mix too much or the colors will run and make your fudge look messy.
Dump the mixture into your lined pan. Don't worry about making it perfectly flat. I usually use an offset spatula to spread it around. Top with your remaining sprinkles and gently press them in.
Now comes the waiting. Let it sit on the counter about 10 minutes, then put it in the fridge. Wait at least 2 hours, but letting it sit overnight works even better.
When you're ready to cut, pull the whole thing out using the parchment edges. Let it warm up for about 5 minutes, then slice with a sharp knife dipped in hot water between cuts for clean squares.
Storage Secrets
I've figured out some good ways to keep this fudge fresh. In the fridge, just put it in a sealed container and it'll stay good for around 3 weeks - though at my house it never lasts that long! Want to save it longer? Cut it up, put parchment between layers, and stick it in the freezer. It'll keep for about 6 months. Just move it to your fridge the night before you want to eat it. It stays nice and creamy this way.
Twist It Your Way
My sister always switches up the sprinkles for different holidays. Red and green for Christmas, pastels for Easter - you know how it goes. Sometimes I add a tiny bit of vanilla or almond extract which really takes it up a notch. Got friends who like nuts? Throw in some chopped pecans. I've even made it with non-dairy chocolate and coconut condensed milk for my vegan neighbor and she couldn't get enough!
Common Questions Answered
People often ask if they can make this ahead of time - absolutely, please do! It actually tastes better after sitting for a day or two in the fridge. Wondering about shelf life? It'll stay good about three weeks refrigerated, if you can stop yourself from eating it all. Some folks ask about swapping regular chocolate for white - you can do that, but the white chocolate really gives it that sugar cookie flavor. And isn't that the whole point?
Tricks For Fudge Success
After making this fudge countless times, I've learned you can't stop stirring while it's heating. Like, not even for a moment, or you might end up with burnt chocolate - and nobody wants that! When you mix in those sprinkles, do it gently since they tend to bleed color everywhere. Always use good quality white chocolate because the cheap kind just doesn't melt properly. And don't rush the cooling process before cutting - I promise your patience will be rewarded with perfectly shaped squares.
Recipe FAQs
- → Why does my fudge need constant stirring?
Stirring prevents the chocolate from burning and helps create a smooth texture. Without stirring, the bottom can scorch and leave dark spots in your fudge.
- → How long does this fudge last?
When stored in an airtight container, this fudge stays fresh for up to 2 weeks in the fridge. At room temperature, it's best eaten within 5-7 days.
- → Can I use different sprinkles?
Yes, any color sprinkles work great. Try matching them to different holidays or celebrations. Just avoid using liquid food coloring as it can affect texture.
- → Why isn't my fudge setting properly?
Make sure to use the exact amount of condensed milk listed and cool completely in the fridge. Rushing the cooling process can lead to soft fudge.
- → Can I freeze this fudge?
Yes, wrap it well and freeze for up to 3 months. Thaw overnight in the fridge before serving.