 Pin
Pin
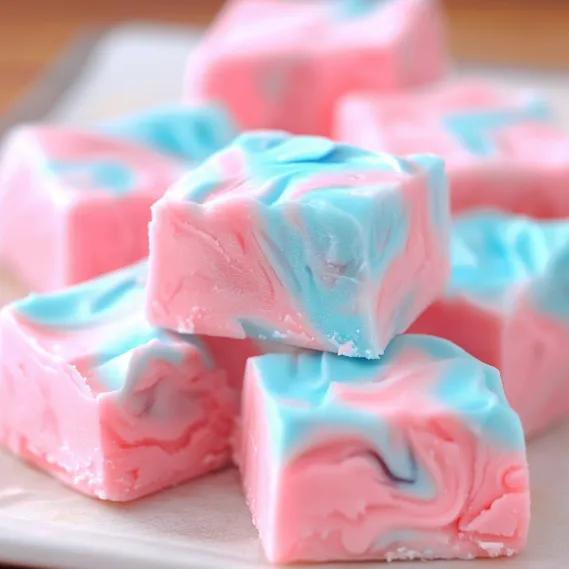
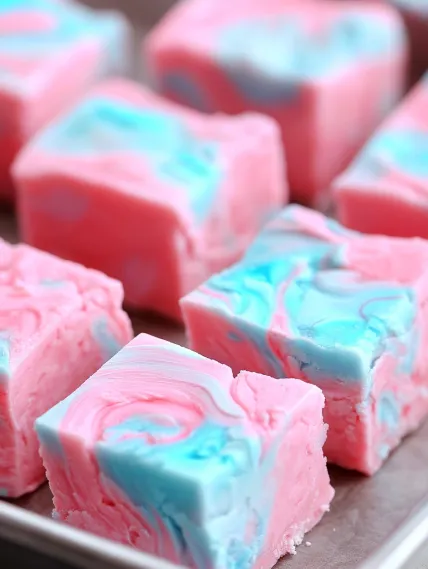
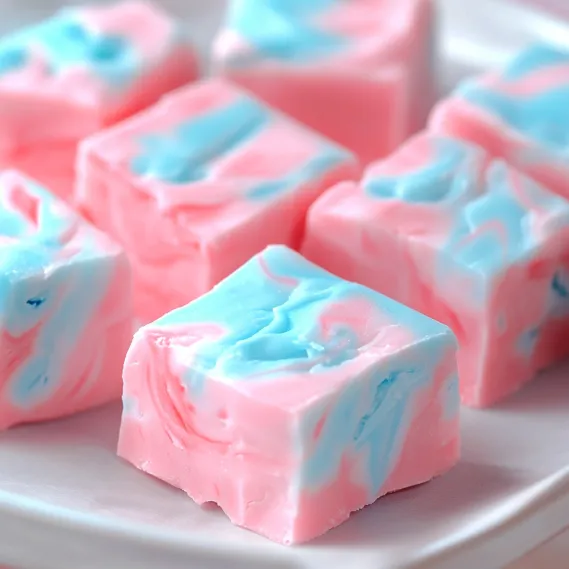
This creamy cotton candy fudge transforms simple ingredients into a whimsical treat that brings the nostalgic flavor of the fairground favorite to your kitchen. The swirls of pink and blue create a magical dessert that's as beautiful as it is delicious, perfect for satisfying sweet cravings or impressing guests at any gathering.
I first made this cotton candy fudge for my niece's birthday party, and the delighted squeals from the children convinced me this recipe needed to become part of my regular dessert rotation. The adults were equally impressed, with several requesting the recipe before the party ended.
Ingredients
- White almond bark: Provides the perfect creamy base for this fudge, melting smoothly and setting with just the right texture
- Sweetened condensed milk: Creates that classic fudge consistency and adds rich sweetness to balance the candy flavor
- Cotton candy flavoring: Transforms ordinary ingredients into a fairground treat, look for this extract in the baking aisle or specialty shops
- Light blue and pink food coloring gel: Offers vibrant color without thinning the mixture, gel works much better than liquid coloring for this recipe
Step-by-Step Instructions
- Prepare the Base:
- Line an 8x8 inch pan with aluminum foil or parchment paper for easy removal. Place white almond bark in a microwave safe bowl and heat in 30 second intervals, stirring thoroughly between each heating until completely melted and smooth. This careful melting prevents scorching and ensures your fudge has a silky texture.
- Add Flavor Elements:
- Pour in the sweetened condensed milk and cotton candy flavoring, stirring until the mixture is completely uniform. The condensed milk gives this fudge its characteristically rich texture while the flavoring transforms it into a cotton candy delight. Make sure everything is fully incorporated before moving to the next step.
- Create Colorful Mixtures:
- Divide your fudge base evenly between two bowls. Add a small amount of blue food coloring gel to one bowl and pink to the other, stirring each until you achieve vibrant colors. Start with just a tiny amount of gel as a little goes a long way with these concentrated colorings. You want bright, cheerful colors that evoke cotton candy.
- Build Your Swirled Design:
- Alternately drop spoonfuls of pink and blue fudge into your prepared pan, creating a random pattern across the surface. The key is placing the colors close together without fully mixing them so they can be swirled effectively in the next step for that perfect marbled appearance.
- Create the Marble Effect:
- Use a toothpick or the tip of a knife to gently swirl the colors together. Draw the tool through the fudge in figure eight patterns or gentle curves. The trick is to swirl just enough to create beautiful patterns without overmixing and muddying the colors. Less is more when creating the perfect swirl.
- Chill and Serve:
- Refrigerate your fudge for at least 2 hours or until completely set. Once firm, lift the foil or parchment from the pan, place on a cutting board, and cut into squares of your desired size. The clean, sharp edges showcase the beautiful swirled pattern inside each piece.

My favorite moment with this recipe was watching my normally stoic father in law take a bite and break into a wide smile, declaring it transported him straight back to his childhood visits to the county fair. There's something magical about how food can connect us to our happiest memories.
Storage Secrets
Proper storage is crucial for maintaining this fudge's delightful texture and flavor. Keep it in an airtight container with parchment paper between layers to prevent sticking. While refrigeration extends shelf life to about two weeks, the fudge can also be frozen for up to three months. To freeze, wrap individual pieces tightly in plastic wrap before placing in a freezer container. Allow frozen fudge to thaw in the refrigerator overnight before serving.
Ingredient Alternatives
If you can't find white almond bark, substitute high-quality white chocolate chips mixed with 2 teaspoons of vegetable oil for a similar consistency. For those who prefer a different flavor profile, vanilla extract can replace the cotton candy flavoring for a more traditional taste. The food coloring is customizable too – try purple and yellow for Mardi Gras themed fudge, or red and green for a festive Christmas treat.

Perfect Pairings
This whimsical fudge creates a delightful contrast when served alongside a cup of hot coffee or tea, where the warm beverage balances the sweet treat. For a fun dessert table, pair with complementary fairground inspired treats like caramel popcorn or funnel cake bites. At children's parties, serve with glasses of cold milk in colorful cups adorned with paper straws for a picture perfect presentation that will have everyone reaching for seconds.
Recipe FAQs
- → How do I swirl the colors without mixing them?
Use a toothpick or skewer to gently swirl the colored mixture in the pan. Avoid overmixing to keep the colors distinct and vibrant.
- → Can I make this fudge without almond bark?
Yes, you can use white chocolate mixed with 2 teaspoons of vegetable oil as a substitute for almond bark.
- → How long does it take for the fudge to set?
Refrigerate the fudge for about 2 hours until it hardens completely.
- → Can I use other food coloring colors for this fudge?
Absolutely! While blue and pink create a classic cotton candy look, you can experiment with other colors for a unique twist.
- → How should I store the fudge?
Store the fudge in an airtight container in the refrigerator for up to 2 weeks. For longer storage, you can freeze it for up to 3 months.
- → What pairs well with cotton candy fudge?
This fudge pairs wonderfully with a glass of milk, coffee, or tea. It’s also excellent alongside other desserts like cookies or brownies.
