
 Pin
Pin
These decadent chocolate popsicles have become my summer salvation, offering a guilt-free indulgence that satisfies even the most persistent chocolate cravings without the refined sugar overload of store-bought treats.
I created these during a particularly sweltering heat wave last summer when my children were begging for frozen treats daily. After experimenting with several batches, this recipe became our family favorite that everyone requests regardless of season.
Ingredients
- Coconut whipped cream forms the luscious base giving these popsicles their incredible creaminess without dairy
- Coconut condensed milk provides natural sweetness with a subtle tropical undertone that enhances the chocolate
- High quality cacao powder creates deep chocolate flavor while offering antioxidant benefits
- Salt balances sweetness and amplifies chocolate notes look for flaky sea salt for best results
- Vanilla extract optional but adds complexity and warmth to the overall flavor profile
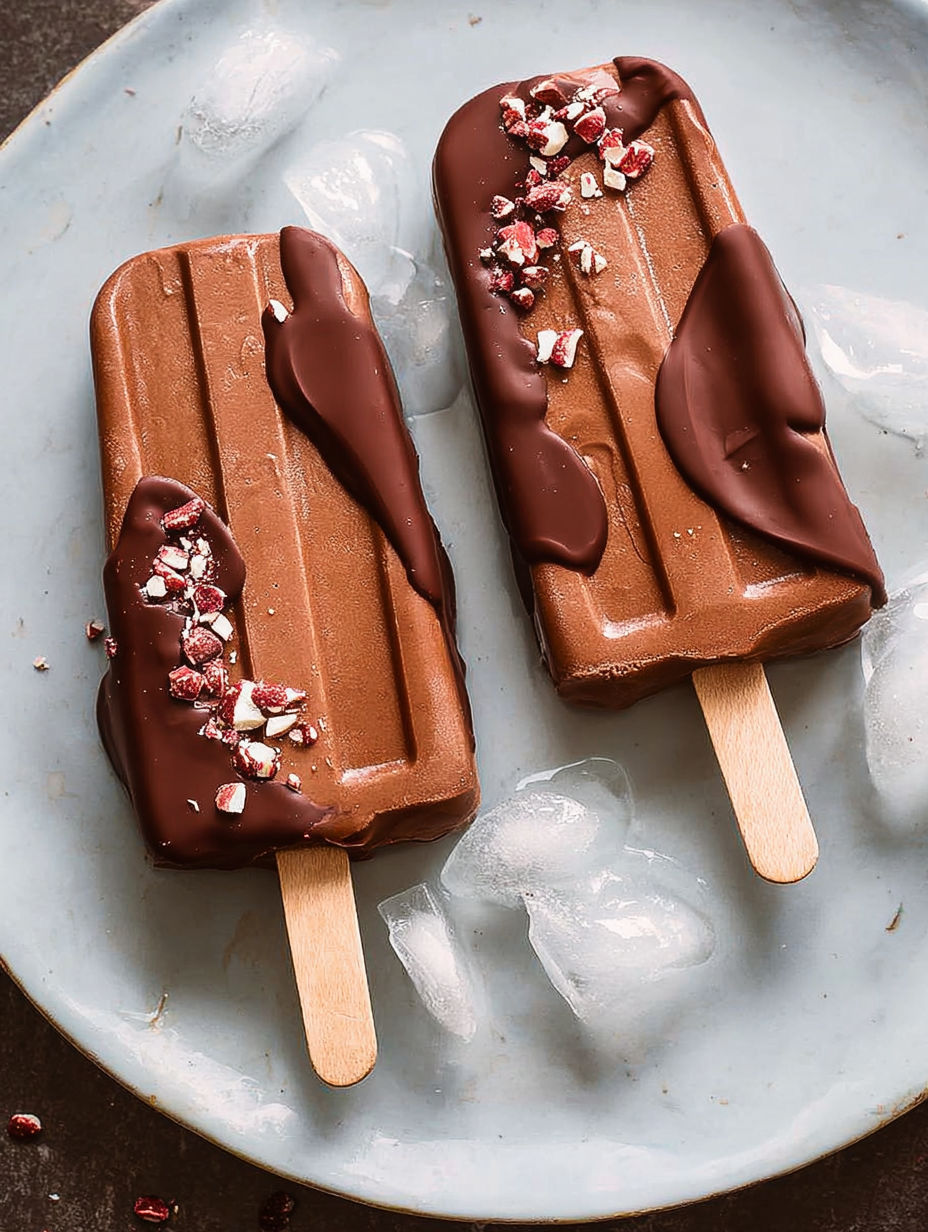
- Dark chocolate for coating choose 70% or higher for best results and maximum flavor contrast
- Coconut oil or peanut butter helps thin the coating chocolate and creates a shell that cracks pleasingly when bitten
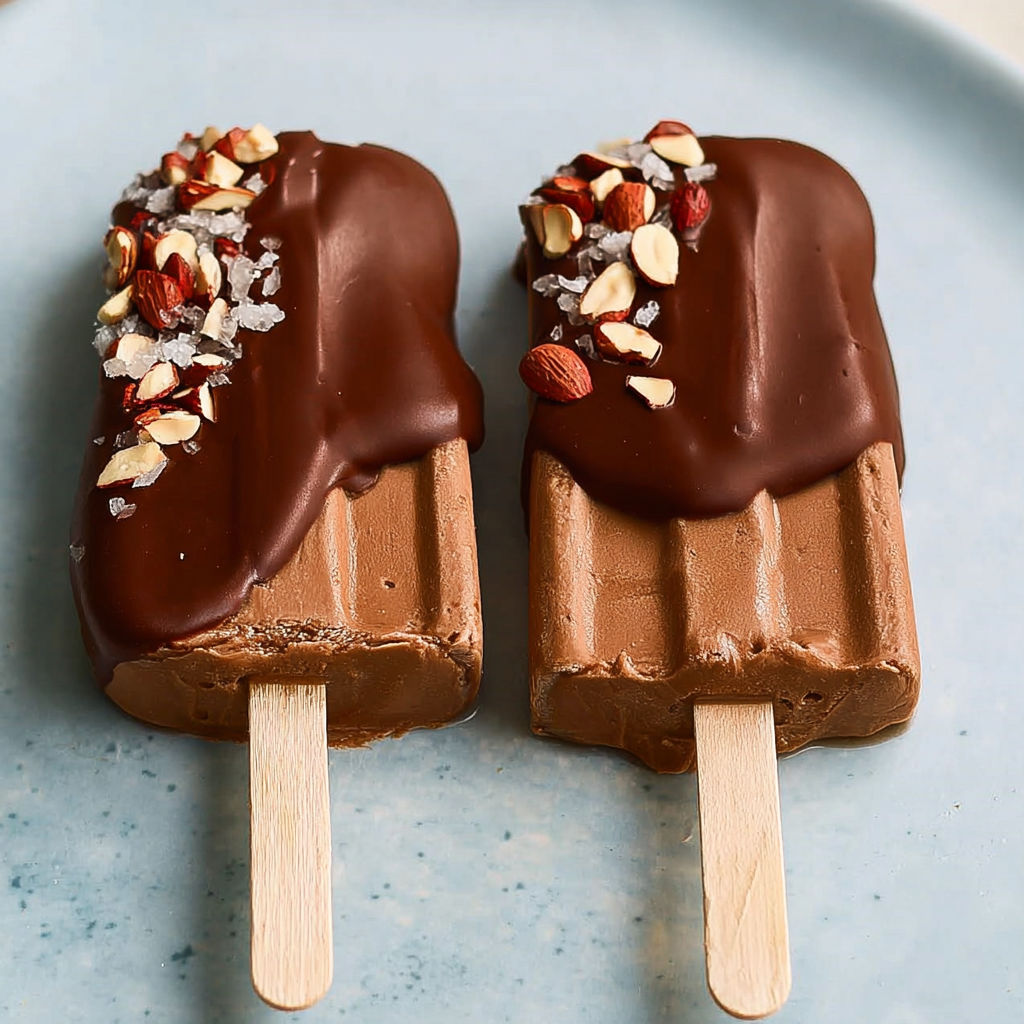
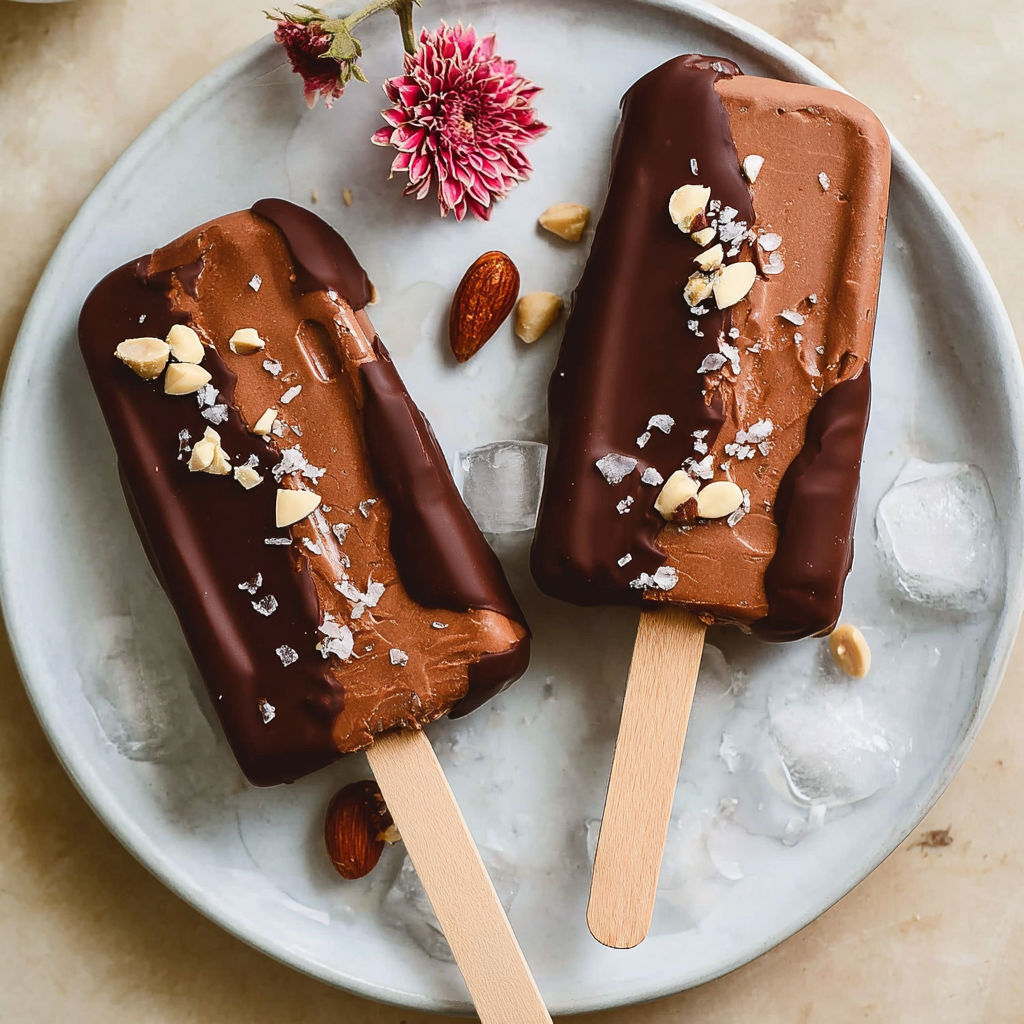
- Chopped nuts add texture contrast and nutritional benefits pistachios or hazelnuts work exceptionally well
How To Make Easy Creamy Chocolate Popsicles
- Prepare Your Station
- Set out all your popsicle molds and sticks before beginning. Measure ingredients precisely as the ratio affects both texture and freezing time. Having everything within reach makes the process flow smoothly.
- Create The Base
- Combine coconut whipped cream, coconut condensed milk, cacao powder, salt, and vanilla in a small saucepan. The order matters little but incorporating the cacao gradually prevents lumps. Warm over low heat while stirring continuously with a silicone spatula reaching all corners of the pan.
- Perfect The Mixture
- Continue stirring until everything is fully incorporated and the mixture becomes glossy and smooth with a pourable consistency similar to melted ice cream. This usually takes about 3 to 4 minutes. Watch carefully to prevent boiling which can alter the final texture.
- Fill And Freeze
- Pour the warm chocolate mixture evenly among your molds leaving about a quarter inch at the top to allow for expansion. Insert sticks and place in the freezer on a level surface. Allow at least 3 hours for smaller molds and up to 6 hours for larger ones until completely solid.
- Unmold With Care
- For plastic or metal molds, briefly dip in hot water for exactly 3 seconds no longer or the edges will melt too much. Pull gently on sticks to release. With silicone molds, press from the bottom while pulling lightly on the stick. Let sit for 2 minutes at room temperature before coating.
- Apply Optional Coating
- If coating, prepare a lined baking sheet. Melt dark chocolate with coconut oil using a double boiler until completely smooth. Dip each popsicle using a quick in and out motion tilting to cover all sides. Allow excess to drip off before placing on lined tray.
- Add Finishing Touches
- Quickly sprinkle nuts onto the still wet chocolate coating before it sets. Work with one popsicle at a time as the cold pop causes the chocolate to harden rapidly. Return to freezer for 5 minutes to fully set coating.
My absolute favorite thing about this recipe is how the high quality cacao powder transforms basic ingredients into something that tastes genuinely luxurious. My daughter once proclaimed these better than any chocolate ice cream she had tried which as a parent feels like winning a culinary medal.
Perfect Storage Solutions
These chocolate popsicles maintain their quality remarkably well in the freezer when properly stored. After they have completely frozen, remove them from the molds and place in a ziplock freezer bag or airtight container with parchment paper between layers to prevent sticking. Properly stored, they remain delicious for up to three weeks though they rarely last that long in my household. The texture is best when allowed to soften slightly before eating so I recommend removing them about two minutes before serving.
Easy Substitutions
While I love the coconut base of these popsicles, you can easily adapt the recipe to suit different dietary needs or preferences. Regular heavy cream works wonderfully in place of coconut cream for a more traditional flavor. For the sweetener, regular condensed milk, maple syrup, or even honey can substitute for coconut condensed milk though you may need to adjust quantities slightly. The chocolate coating can be customized with milk chocolate for a sweeter finish or white chocolate for striking contrast. Each variation creates a slightly different but equally delicious result.
Serving Suggestions
These popsicles stand beautifully on their own but can become an elegant dessert when presented thoughtfully. For dinner parties, I place them upright in glasses filled with crushed ice decorated with mint leaves. They pair wonderfully with fresh berries on the side or even a small glass of dessert wine for adults. For children's parties, serve them on colorful plates with sprinkles or crushed cookies available for dipping the slightly melty edges a messy but memorable experience that creates much joy.
The History Behind Chocolate Popsicles
While modern chocolate popsicles have evolved significantly, frozen chocolate treats date back surprisingly far. The concept of freezing sweetened liquids has existed for centuries with records showing Emperor Nero enjoyed honey and fruit juices mixed with mountain snow. The modern popsicle was accidentally invented in 1905 when eleven year old Frank Epperson left a cup of powdered soda and water with a stirring stick on his porch overnight in freezing temperatures. Chocolate versions emerged in the 1920s as commercial production expanded, but homemade versions like this recipe connect us to that simple joy of discovery while offering healthier ingredients and customization options.
Recipe FAQs
- → Can I use regular dairy instead of coconut products?
Yes, you can substitute regular heavy cream for coconut whipped cream and regular sweetened condensed milk for the coconut version. The texture will be slightly different but still delicious.
- → How long do these chocolate popsicles last in the freezer?
When stored in an airtight container or ziplock bag, these popsicles will maintain optimal quality for about 2-3 weeks in the freezer.
- → What can I use if I don't have popsicle molds?
Small paper cups work great as alternative molds. Simply pour in the mixture, cover the top with aluminum foil, insert a popsicle stick through the foil (which helps keep it centered), and freeze.
- → Can I add other flavors to the chocolate base?
Absolutely! Consider adding 1/2 teaspoon of mint extract, a tablespoon of instant coffee, or a dash of cinnamon or chili powder for interesting flavor variations.
- → Is there a substitute for cacao powder?
Regular unsweetened cocoa powder works well as a substitute. Dutch-processed cocoa will give a smoother, less acidic flavor, while regular cocoa provides a more intense chocolate taste.
- → Why do my popsicles have ice crystals?
Ice crystals typically form when the mixture freezes too slowly or experiences temperature fluctuations. Ensure your freezer is set cold enough and avoid frequently opening the freezer door while the popsicles are setting.