
 Pin
Pin
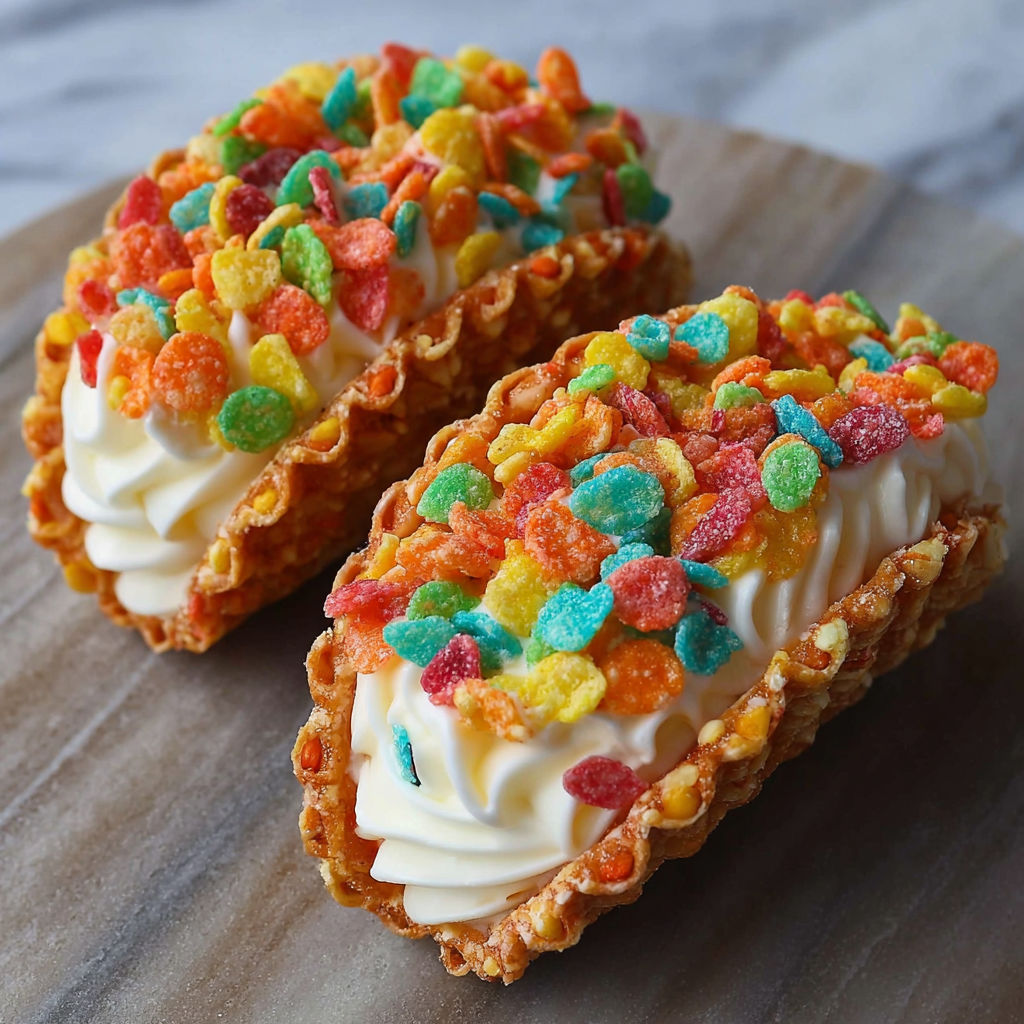
This colorful twist on tacos transforms the breakfast favorite into a delightful dessert that brings all the fun of Fruity Pebbles to an unexpected format. The vibrant cereal shell filled with creamy cheesecake filling creates a perfect balance of crunch and creaminess that will bring smiles to everyone at your table.
I first created these for my niece's rainbow-themed birthday party and they were such a hit that they've become my signature dessert for gatherings. The kids love the bright colors and adults appreciate the nostalgic flavor with a grown-up twist.
- Fruity Pebbles cereal provides the vibrant color and distinctive fruity flavor that makes these tacos so special. Look for a fresh box to ensure maximum crunch.
- Unsalted butter creates the binding agent for the shells. Make sure it's completely melted for even distribution.
- Cream cheese forms the rich base of the filling. Philadelphia brand works best for its consistent texture.
- Powdered sugar sweetens the filling without the graininess of granulated sugar. Sifting prevents lumps.
- Pure vanilla extract adds depth to the filling. Use real extract not artificial for the best flavor.
- Whipped cream lightens the filling for a cloud-like texture. Fresh whipped cream yields better results than premade.
- Additional cereal for garnish adds extra crunch and visual appeal. Reserve the most colorful pieces.
How To Make Fruity Pebbles Cheesecake Tacos
- Create the shells
- Thoroughly mix the Fruity Pebbles with melted butter until every piece is coated evenly. The butter acts as the binding agent ensuring your shells will hold their shape. Press firmly into taco molds or use the back of a muffin tin turned upside down to create the classic taco curve. The mixture should be compact enough that no cereal pieces fall away.
- Chill for structure
- Place the formed shells in the refrigerator for a minimum of 30 minutes. This step is crucial as it allows the butter to solidify completely bonding the cereal pieces together. For best results leave them for up to an hour especially if your kitchen is warm.
- Prepare the filling
- Beat the room temperature cream cheese with an electric mixer until it becomes light and airy about 2 minutes. The texture should be smooth with no lumps. Gradually incorporate the sifted powdered sugar and vanilla extract continuing to mix until perfectly blended. The mixture should be sweet but not overwhelming.
- Create the perfect texture
- Gently fold the whipped cream into the cream cheese mixture using a rubber spatula with a light hand. Cut through the center and fold over rather than stirring to maintain the air bubbles. This creates a mousse-like consistency that's both rich and fluffy.
- Assemble and serve
- Once the shells have hardened carefully fill each one with a generous portion of the cheesecake filling. Use a piping bag for a cleaner presentation or spoon it in for a more rustic look. Top with a sprinkle of additional Fruity Pebbles right before serving to maintain their crunch.
The first time I served these at a family gathering my uncle who claimed to dislike anything sweet ended up eating three of them. The nostalgic flavor of the Fruity Pebbles combined with the rich cheesecake filling seems to win over even the most dessert-resistant guests. The bright colors never fail to bring out childlike joy in everyone.
Making Ahead and Storage
These cheesecake tacos are best enjoyed fresh but you can prepare components ahead of time. The shells can be made up to two days in advance and stored in an airtight container at room temperature. The filling keeps well refrigerated for up to three days. Assemble no more than a few hours before serving to maintain the perfect textural contrast. Once assembled the filled tacos will begin to soften after about 4 hours.
Creative Variations
While Fruity Pebbles create the classic rainbow look this recipe works beautifully with almost any cereal. Try Cocoa Pebbles for a chocolate version or Cinnamon Toast Crunch for a warm spiced variation. For holidays consider using themed cereals like Count Chocula for Halloween or red and green colored cereals for Christmas. You can also flavor the filling with different extracts like almond or lemon to complement your cereal choice.
Serving Suggestions
Present these colorful treats on a white platter for maximum visual impact. They pair wonderfully with fresh berries or a drizzle of chocolate sauce. For a complete dessert spread serve alongside vanilla ice cream or sorbet. At birthday parties create a taco bar where guests can fill their own shells with the cheesecake mixture and choose from various toppings like chocolate chips mini marshmallows or sprinkles.
Troubleshooting Tips
If your shells crumble when you try to fill them you likely need more butter in your mixture or longer refrigeration time. When the filling seems too runny make sure your cream cheese was at room temperature but not too warm and that you whipped it thoroughly before adding other ingredients. For shells that are too hard to bite through reduce the refrigeration time slightly or use a bit less butter in your mixture.
Recipe FAQs
- → Can I make the Fruity Pebbles taco shells ahead of time?
Yes! The cereal shells can be prepared 1-2 days in advance and stored in an airtight container. For best results, add the cheesecake filling shortly before serving to maintain the shells' crispness.
- → What can I use for taco molds if I don't have them?
You can create makeshift taco molds by draping the cereal mixture over a rolled foil tube, the back of a muffin tin, or even between the cups of an upside-down muffin tin. Small oven-safe bowls also work well.
- → Can I substitute the Fruity Pebbles with other cereals?
Absolutely! Try using Cocoa Pebbles for a chocolate version, Cinnamon Toast Crunch for a spiced variation, or any colorful, sweetened cereal that holds together well with butter.
- → How long will these cheesecake tacos stay fresh?
Once assembled, they're best enjoyed within 24 hours. The shells will gradually soften as they absorb moisture from the filling. Store in the refrigerator if not serving immediately.
- → Can I make a dairy-free version of these tacos?
Yes, substitute the butter with coconut oil, use dairy-free cream cheese, and coconut whipped cream. The texture might be slightly different, but they'll still be delicious!
- → What other toppings would work well with these?
Try drizzling with chocolate sauce, adding fresh berries, sprinkles, chopped nuts, or a dusting of powdered sugar. Small marshmallows or edible glitter also make fun decorative toppings.