
 Pin
Pin
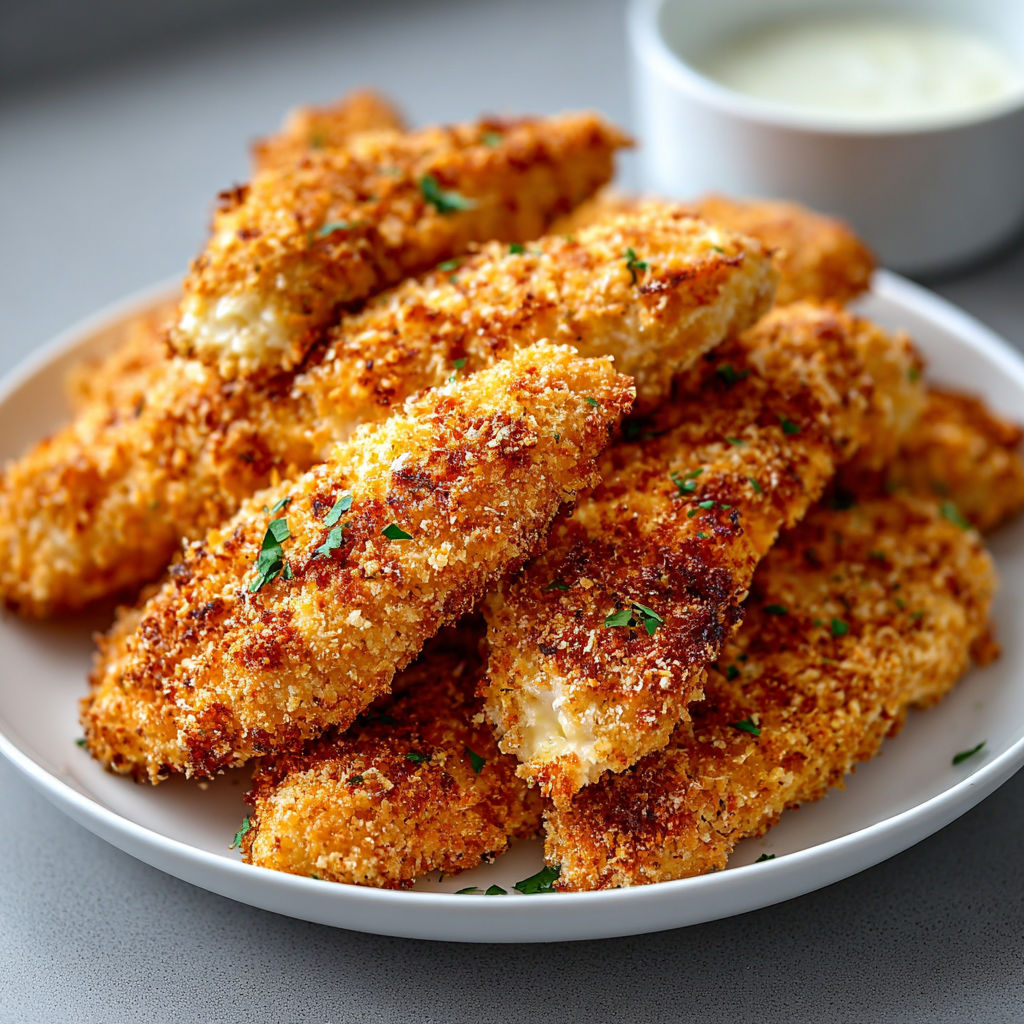
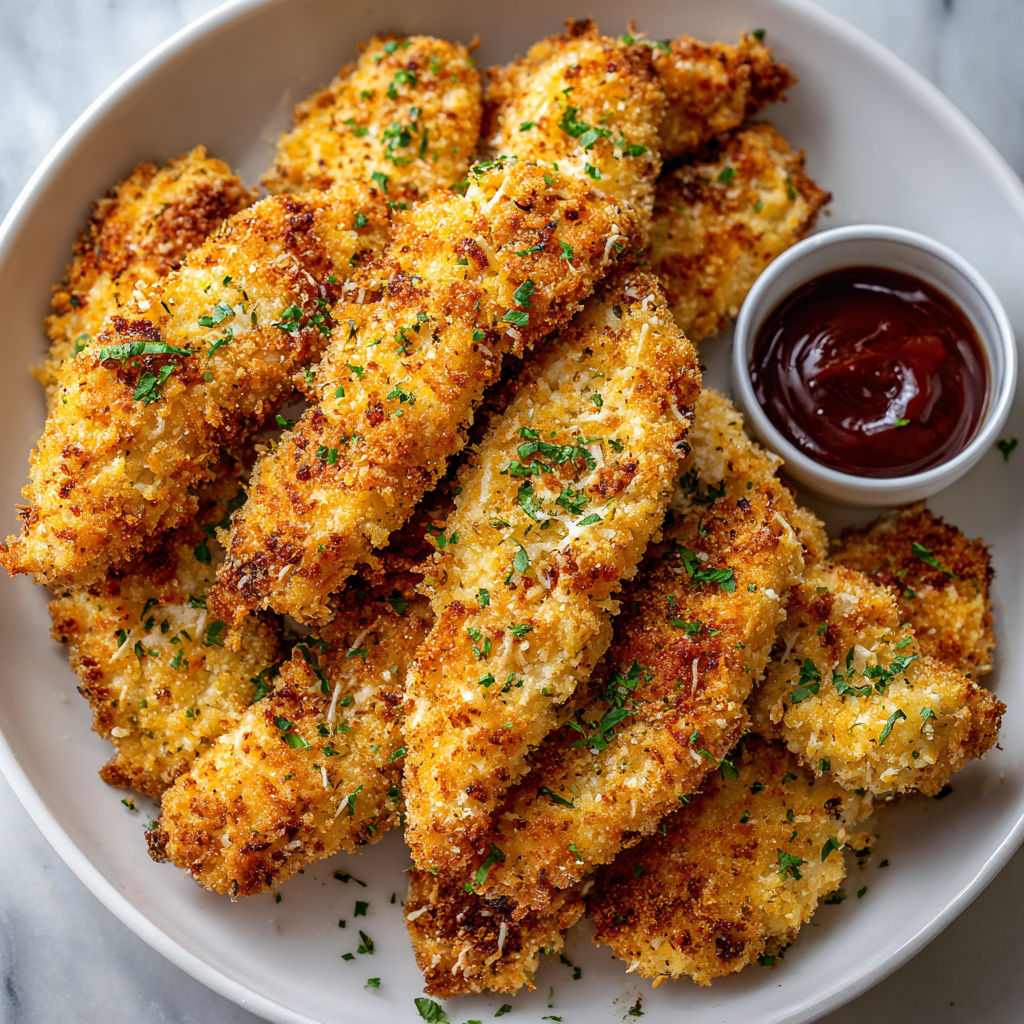
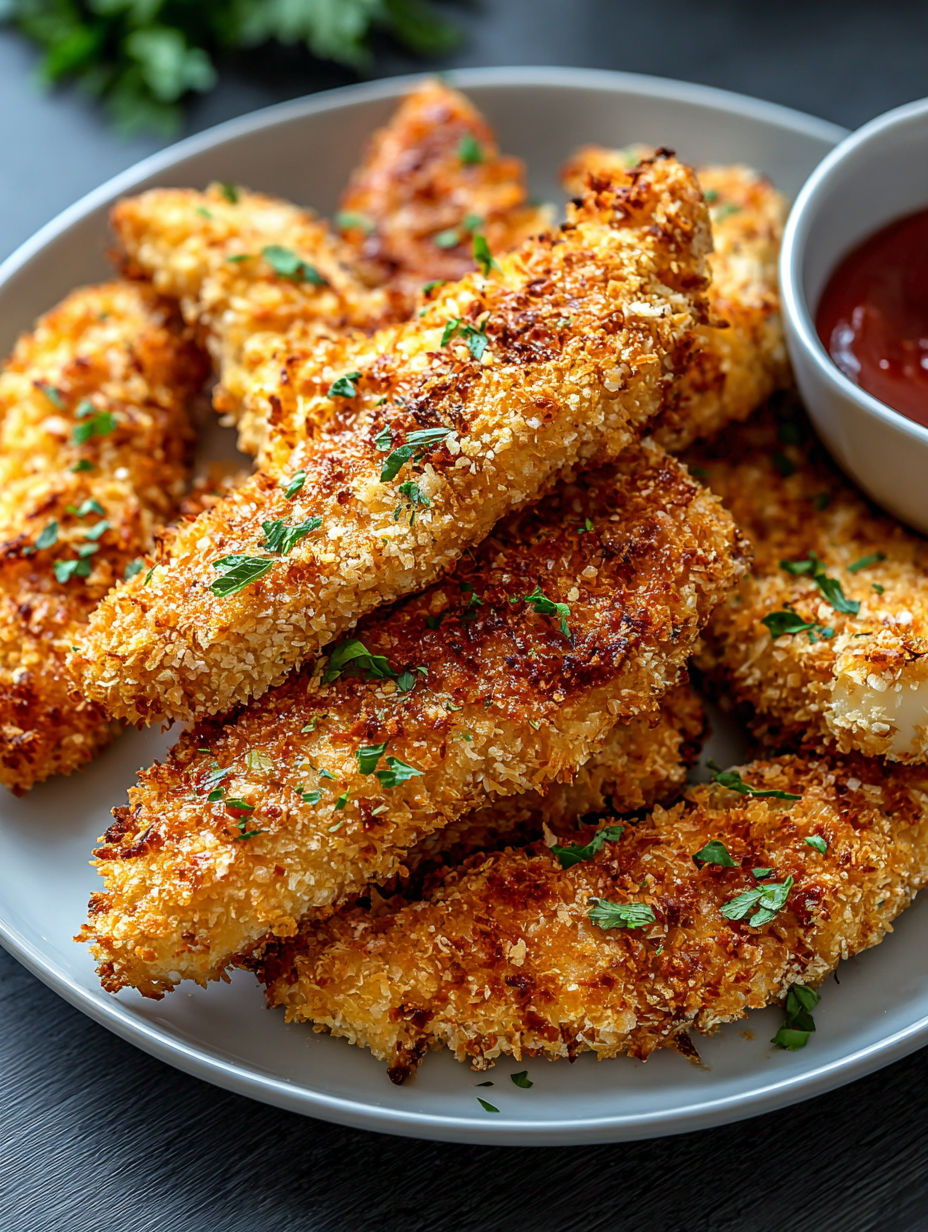
This crispy baked chicken tenders recipe transforms ordinary chicken into a mouthwatering meal that rivals any restaurant version but with healthier benefits. The golden, crunchy exterior gives way to perfectly juicy chicken inside, creating that satisfying contrast we all crave in a good chicken tender.
I originally created this recipe when trying to satisfy my picky eaters without resorting to fast food. Now these tenders make a weekly appearance at our dinner table, and leftovers rarely last through the next day.
- Chicken breasts or tenders fresh is best but frozen works if thawed completely
- Large eggs creates the perfect adhesive for breading to stick
- Panko breadcrumbs the secret to extra crispiness compared to regular breadcrumbs
- Parmesan cheese adds savory depth and helps create a golden crust
- Garlic powder provides aromatic flavor without burning like fresh garlic
- Paprika adds subtle smoky notes and beautiful color
- Onion powder contributes savory background flavor
- Salt and pepper essential for bringing all flavors together
- Olive oil spray helps achieve that golden crispy exterior without deep frying
How To Make Crispy Baked Chicken Tenders
- Prep the Chicken
- Cut chicken breasts into uniform strips about 1 inch wide to ensure even cooking. Pat them dry with paper towels first this removes excess moisture that would prevent crispiness. If using pre cut tenders you can skip the cutting but still pat them dry.
- Season and Setup
- Lightly season the chicken pieces with salt and pepper before the breading process begins. This seasons the meat itself not just the coating. Then prepare two separate bowls one with beaten eggs whisked until completely smooth and another with your breadcrumb mixture thoroughly combined.
- The Perfect Coating
- Dip each chicken piece first in egg allowing excess to drip off for 3 to 5 seconds. Then press firmly into the breadcrumb mixture ensuring complete coverage. Use one hand for wet ingredients and one for dry to prevent creating a gummy mess on your fingers.
- Baking Preparation
- Arrange your coated tenders on a parchment lined baking sheet with at least half an inch between each piece. This space allows hot air to circulate creating that crucial all around crispiness. A wire rack elevates this even further if you have one available.
- Oven Magic
- Bake in a fully preheated 400°F oven for 10 minutes then flip each piece carefully using tongs. Continue baking for another 10 to 15 minutes until the internal temperature reaches 165°F and the coating is gloriously golden and crisp.
- Rest and Serve
- Allow the tenders to rest for 3 to 5 minutes after removing from the oven. This crucial step lets the juices redistribute throughout the meat ensuring maximum juiciness. Serve immediately with your favorite dipping sauces.
The panko breadcrumbs are truly the star ingredient in this recipe. I discovered their magical crispiness powers years ago when trying to recreate my grandmother's fried chicken in a healthier way. She would have been impressed with how these turn out almost as crunchy as her famous double dredged version.
Make Ahead and Storage
These chicken tenders can be prepped a day ahead. Complete the breading process then place them on a baking sheet covered with plastic wrap in the refrigerator. When ready to cook just bring them to room temperature for 15 minutes before baking. For longer storage freeze the breaded uncooked tenders on a baking sheet then transfer to a freezer bag once solid. They can go straight from freezer to oven just add about 5 to 7 minutes to the cooking time.
Perfect Dipping Companions
The right sauce elevates these chicken tenders to new heights. Try homemade honey mustard by combining equal parts honey and Dijon mustard with a splash of apple cider vinegar. For a spicy kick mix mayo with sriracha and a squeeze of lime juice. My family favorite is a simple garlic aioli made with mayonnaise crushed garlic lemon juice and a pinch of salt.
Customizing Your Tenders
Get creative with your breadcrumb coating by adding different seasonings. Italian herbs work beautifully for a Mediterranean twist. Taco seasoning creates a Southwestern flair perfect for serving with guacamole. For a spicy version add cayenne pepper or crushed red pepper flakes to the breadcrumb mixture. You can also experiment with different cheeses in the coating Pecorino Romano adds a sharper flavor than Parmesan while nutritional yeast provides a dairy free cheesy alternative.
Recipe FAQs
- → How do I make my baked chicken tenders extra crispy?
For extra crispy chicken tenders, use these tips: 1) Make sure to pat the chicken dry before breading, 2) Use panko breadcrumbs for more texture than regular breadcrumbs, 3) Spray with olive oil before baking, 4) Bake on a wire rack to allow air circulation around the entire tender, and 5) Consider double-coating the chicken by repeating the egg and breadcrumb steps.
- → Can I make these chicken tenders ahead of time?
Yes! You can prepare these chicken tenders ahead of time in two ways. Option 1: Bread the chicken tenders and store them uncooked in the refrigerator for up to 24 hours before baking. Option 2: Fully cook the tenders, cool completely, and refrigerate for up to 3 days. Reheat in a 350°F oven for 10-15 minutes until crispy and heated through.
- → What's the best way to know when chicken tenders are fully cooked?
The most reliable way to check doneness is using a meat thermometer. Chicken tenders are fully cooked when they reach an internal temperature of 165°F (74°C). Visually, they should be golden brown on the outside with no pink visible inside when cut into. The cooking time of 20-25 minutes at 400°F is typically sufficient, but timing may vary based on your oven and the thickness of the tenders.
- → What are good dipping sauces to serve with these chicken tenders?
These chicken tenders pair wonderfully with a variety of dipping sauces including: honey mustard, ranch dressing, BBQ sauce, buffalo sauce, garlic aioli, sweet and sour sauce, sriracha mayo, or even a simple ketchup. You can also try mixing mayo with a bit of pesto or chipotle pepper for unique homemade options.
- → Can I use chicken thighs instead of chicken breasts for this recipe?
Yes, you can substitute chicken thighs for breasts in this recipe. Boneless, skinless chicken thighs will work well and often result in juicier tenders. Cut them into similar-sized strips as you would chicken breasts. Keep in mind that thigh meat may take slightly longer to cook, so use a meat thermometer to ensure they reach 165°F. The flavor will be slightly richer with thigh meat.
- → Are there any gluten-free options for the breadcrumb coating?
Absolutely! To make these chicken tenders gluten-free, simply substitute the regular panko breadcrumbs with gluten-free panko breadcrumbs, which are widely available in grocery stores. Alternatively, you can use crushed gluten-free corn flakes, rice cereal, or even ground nuts like almonds or pecans mixed with some gluten-free flour for a completely different but equally delicious coating.