
 Pin
Pin
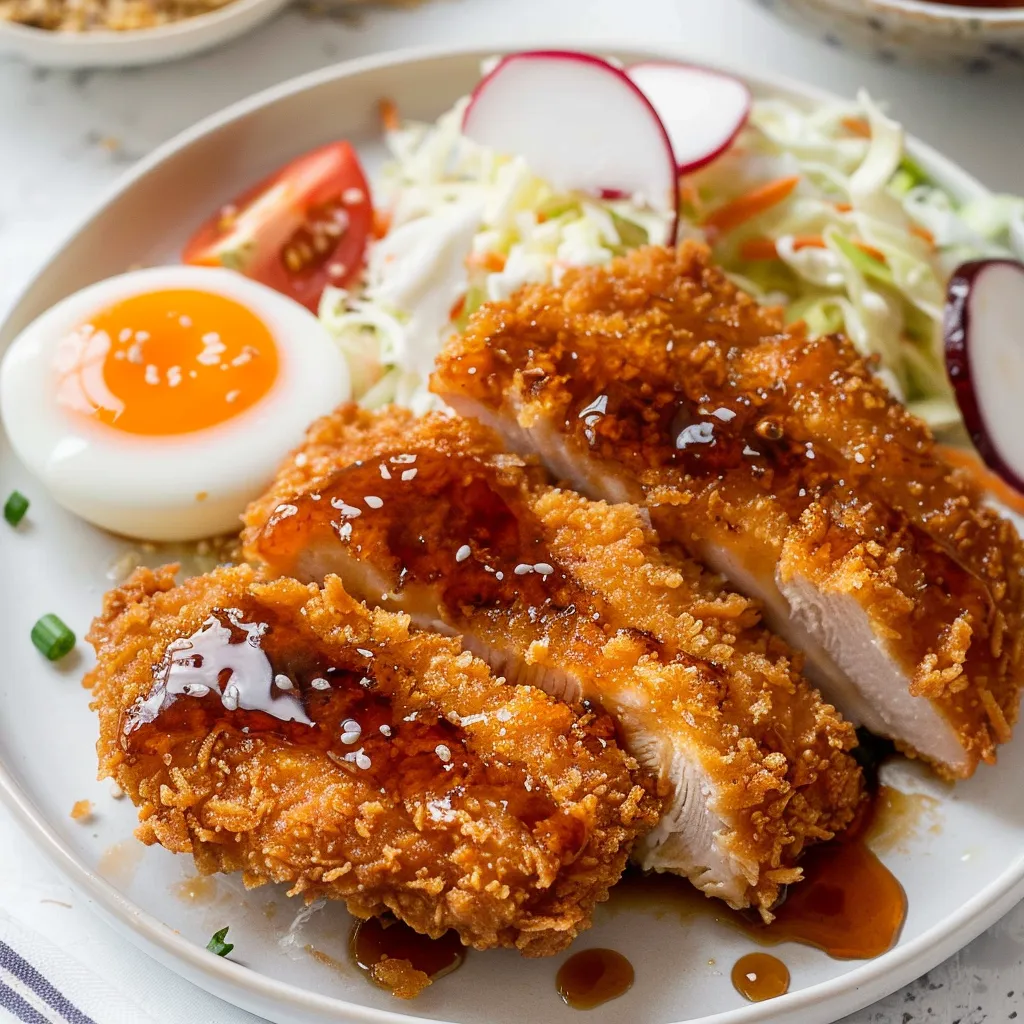
Perfect Japanese comfort food doesn't get better than golden-brown, crispy chicken katsu. This beloved dish transforms simple chicken breasts into an irresistible meal with its satisfyingly crunchy panko coating and tender, juicy interior. Every bite delivers that signature crackly crunch that makes this dish a family favorite at my dinner table.
After years of making chicken katsu, I've found it's become my go-to recipe when hosting dinner parties. My children's faces light up every time they hear it's katsu night, and even my pickiest nephew asks for seconds.
Essential Ingredients
- Boneless chicken breasts: Choose pieces of similar thickness for even cooking. I prefer organic chicken for its superior flavor and texture
- Japanese panko breadcrumbs: These light, airy breadcrumbs create that signature crunch. Don't substitute regular breadcrumbs
- Neutral vegetable oil: Select oil with a high smoke point for that perfect golden crust without any burnt taste
Detailed Step-by-Step Instructions
- Step 1: Prepare the Chicken
- - Carefully place chicken between plastic wrap, ensuring no air pockets
- Gently pound to even thickness, watching not to tear the meat
- Season generously while the chicken is at room temperature - Step 2: Create the Coating
- - Set up your breading station in order: flour, beaten eggs, panko
- Keep one hand for dry ingredients and one for wet to avoid clumping
- Press panko gently but firmly onto the chicken for maximum adhesion - Step 3: Perfect the Frying Process
- - Heat oil to exactly the right temperature (350°F) for that golden crust
- Listen for a gentle sizzle when the chicken hits the oil
- Maintain steady heat throughout cooking for even browning
My family discovered that enjoying katsu straight from the pan while gathering around the kitchen counter creates the best memories. The anticipation of that first crispy bite brings everyone together.
The Art of Temperature Control
Maintaining the right oil temperature is crucial for perfect katsu. Too hot, and the coating burns before the chicken cooks; too cool, and the breading becomes greasy. I've learned to listen for that gentle sizzle and watch the bubbles around the chicken - they should be steady but not aggressive.
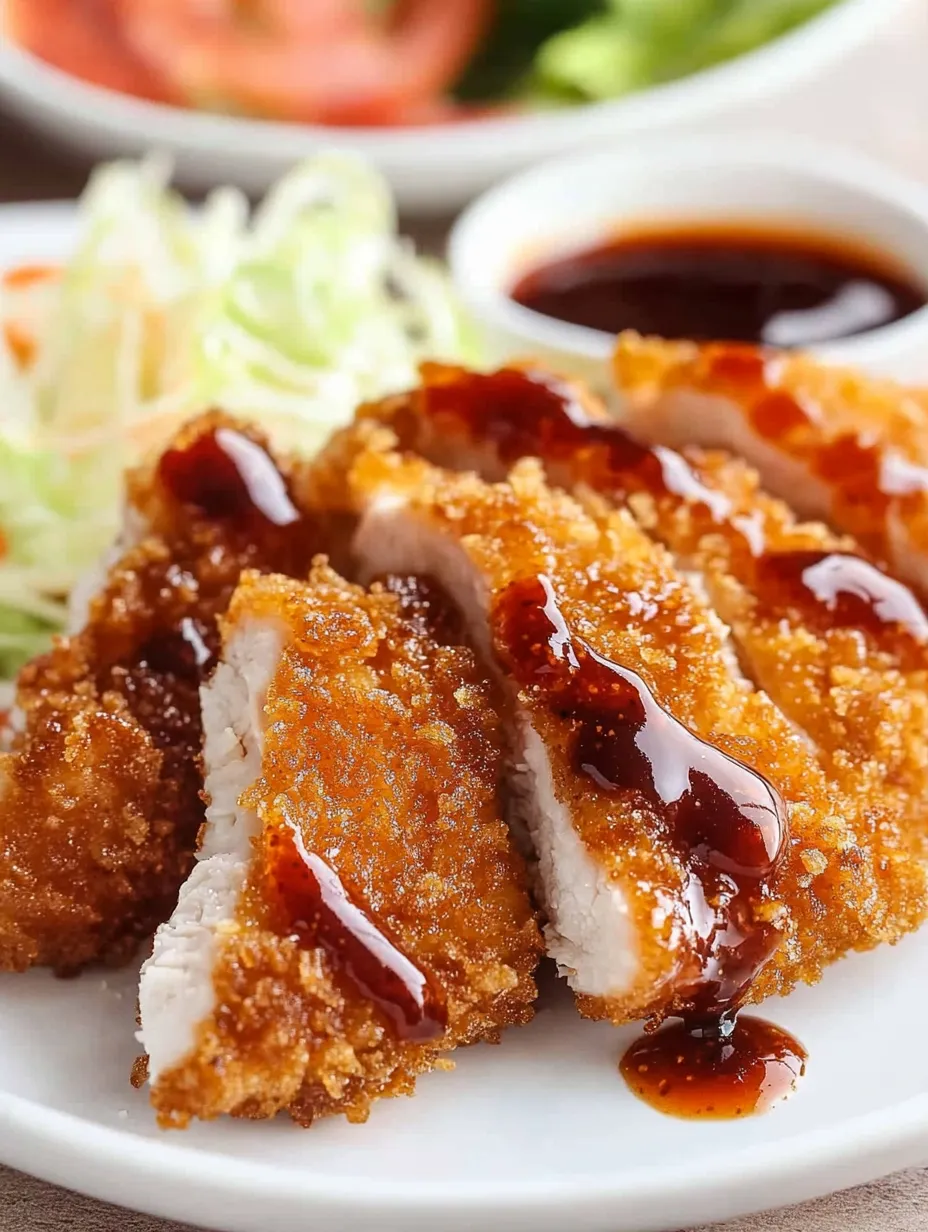
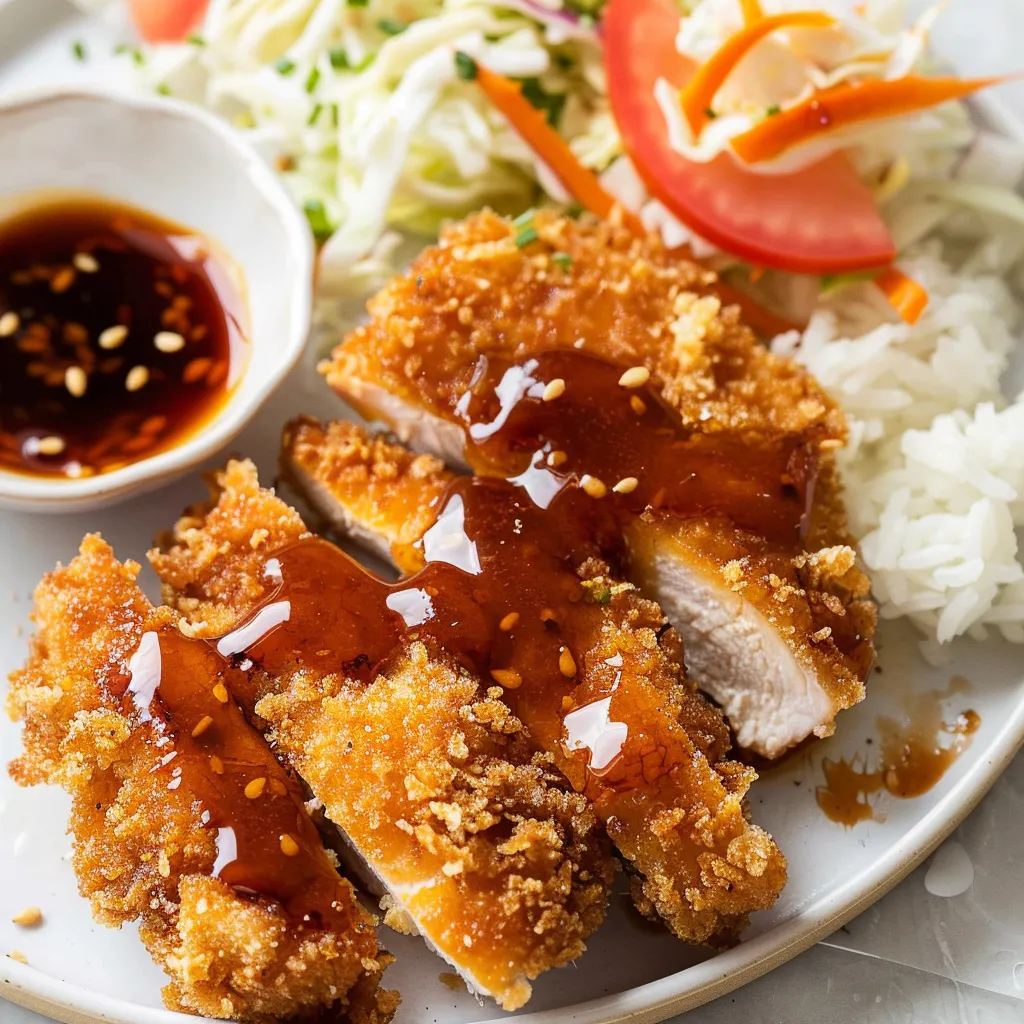
Sauce Pairings
While traditional tonkatsu sauce is classic, experimenting with different dipping options opens up new flavor possibilities. My homemade curry sauce has become a family favorite, turning simple katsu into a complete meal. Even a squeeze of fresh lemon adds a bright, citrusy note that cuts through the richness.
Making It Your Own
Over years of preparing katsu, I've discovered that small tweaks can make it unique to your taste. Adding a pinch of garlic powder to the flour or mixing sesame seeds into the panko creates subtle but delightful variations. Some nights, I slice it for katsu sandwiches, layered with shredded cabbage and sauce.
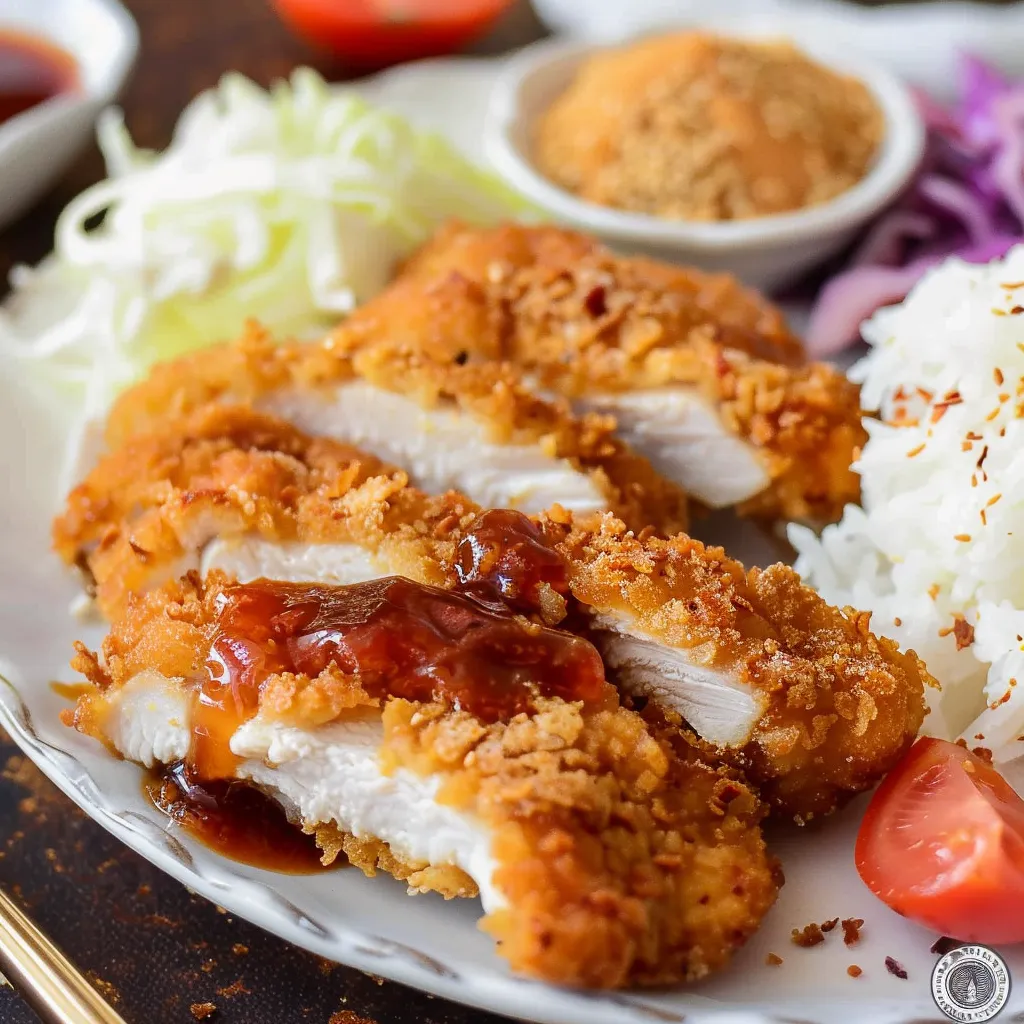
Serving Traditions
In my household, we serve katsu with a mountain of finely shredded cabbage, steamed rice, and miso soup. The cabbage's freshness perfectly balances the crispy chicken, while the rice soaks up any sauce. It's become our Sunday dinner tradition, bringing the family together at the end of each week.
Storage and Reheating
While katsu is best fresh, proper storage can maintain its quality. I've found that placing it on a wire rack in the refrigerator helps preserve the crispy coating. A quick reheat in a hot oven brings back much of that original crunch.
Mastering the Breading Technique
The secret to perfectly breaded katsu lies in the delicate dance of dry and wet ingredients. I learned through trial and error that a light dusting of flour, followed by a thorough but not excessive egg coating, creates the ideal foundation. The panko should be pressed gently but firmly, allowing each breadcrumb to create its own tiny crispy pocket when fried. This technique took me years to perfect, and now watching the coating transform into that gorgeous golden crust brings me joy every time.
Weekly Meal Planning
Katsu has become a cornerstone of my meal planning strategy. I often prepare extra chicken cutlets on Sunday, freezing them before the breading stage. This way, I can quickly whip up a fresh batch midweek when time is tight. The uncooked, pounded chicken keeps beautifully in the freezer for up to three months, making spontaneous katsu nights a breeze.
Cultural Significance
Every time I make katsu, I'm reminded of its fascinating history. This dish represents the beautiful marriage of Japanese precision with Western influence. My Japanese neighbor shared how her grandmother would make katsu for special occasions, serving it with carefully crafted sides that complemented both the texture and flavor. These cultural insights have deepened my appreciation for this seemingly simple dish.
Building a Complete Meal
The beauty of chicken katsu extends beyond the main dish. I've developed a routine of serving it with quick-pickled cucumbers, which add a refreshing crunch and palate-cleansing acidity. A small bowl of miso soup on the side helps balance the richness, while steamed edamame provides a protein-rich starter that keeps everyone satisfied while the katsu cooks.
Kitchen Equipment Essentials
Having the right tools makes a significant difference in katsu preparation. A heavy-bottomed frying pan ensures even heat distribution, while a sturdy meat mallet helps achieve that crucial uniform thickness. I keep a dedicated pair of long cooking chopsticks just for frying - they offer precise control when turning the chicken and are gentler on the coating than tongs.
Teaching the Next Generation
Making katsu has become a favorite cooking lesson in our family. The simple steps provide perfect opportunities to teach kitchen skills to children, from proper seasoning to safe frying techniques. My daughter now proudly makes her own version, adding her own twist with a sprinkle of furikake over the finished dish. These cooking sessions create precious memories while passing down culinary traditions.
Adapting for Dietary Needs
Over the years, I've adapted this recipe for various dietary requirements. For gluten-free guests, rice flour and gluten-free panko create an equally crispy coating. When cooking for those watching their oil intake, I've developed an oven-baked version that, while different from the original, still delivers satisfying results. The key is maintaining the essence of the dish while making thoughtful substitutions.
Final Thoughts
After countless times making this dish, I still get excited when I hear that first sizzle as the breaded chicken meets hot oil. Chicken katsu represents more than just a meal in our household - it's a celebration of technique, tradition, and togetherness. Whether you're making it for the first time or the hundredth, each batch brings its own joy and satisfaction.
Recipe FAQs
- → Why pound the chicken?
- Even thickness ensures uniform cooking and tenderness throughout.
- → Can I use regular breadcrumbs?
- Panko creates superior crunch, but regular breadcrumbs work in a pinch.
- → How do I know when oil is ready?
- Drop in a breadcrumb - it should sizzle immediately but not burn.
- → Can I bake instead of fry?
- Yes, though frying gives the best crispiness. Bake at 400°F for 20-25 minutes.
- → What is tonkatsu sauce?
- A sweet-savory Japanese condiment similar to Worcestershire sauce, available in Asian markets.