 Pin
Pin
St. Patrick's Day is coming up this week! To celebrate, I have a fun new dessert to share. These Baileys Cheesecake Brownie Bites feature rich, chewy brownie bottoms topped with creamy Bailey's Irish Cream cheesecake and finished with a luscious chocolate ganache. They're completely addictive - good luck trying to have just one!
The first time I made these for a dinner party, they disappeared in minutes! The combination of textures and flavors makes them irresistible, while the individual portions make them perfect for sharing.
Essential Ingredients and Selection Tips
- Semi-Sweet Chocolate: Use good quality bars (not chips) for best melting
- Cream Cheese: Full-fat provides the best texture and flavor
- Bailey's Irish Cream: The star ingredient that gives these their unique flavor
- Instant Espresso: Just a touch enhances the chocolate flavor without tasting like coffee
- Sour Cream: Adds tanginess and creaminess to the cheesecake layer
- Heavy Cream: For creating the silky ganache topping
Detailed Cooking Instructions
- Prepare the Brownie Base: Start by melting butter and chocolate together over low heat. Be patient - rushing this process could burn the chocolate. Meanwhile, mix eggs and sugar, and sift together the dry ingredients to prevent lumps.
- Cool the Chocolate: Allow the melted chocolate mixture to cool slightly before adding to the egg mixture. This is crucial to prevent scrambling the eggs, which would ruin the brownie texture.
- Finish the Brownie Batter: Once the chocolate is incorporated, slowly add the dry ingredients about 1/2 cup at a time to prevent lumps. The batter should be thick but smooth.
- Bake the Brownie Bases: Scoop about 2 tablespoons of brownie batter into each greased mini cheesecake mold. Bake at 350°F for about 12 minutes or until a toothpick comes out clean. They should be just set but not overbaked.
- Make the Cheesecake Layer: Beat room-temperature cream cheese and sour cream until smooth, then add sugar, salt, and vanilla. Add eggs one at a time, beating until just combined. Mix the espresso powder with a teaspoon of warm water, then fold into the batter along with the Bailey's and cinnamon.
- Add Cheesecake to Brownies: Reduce oven temperature to 325°F. Spoon about 2 tablespoons of cheesecake batter onto each brownie base, filling the molds nearly to the top.
- Bake with Special Technique: Bake the cheesecakes for 12 minutes, then turn off the oven and leave them inside with the door closed for another 10 minutes. This gradual cooling prevents the cheesecakes from cracking or sinking.
- Chill Thoroughly: Allow the cheesecakes to cool completely at room temperature, then refrigerate for at least 4 hours or overnight. This chilling time is essential for the proper texture and for easy removal from the molds.
- Make the Ganache: Heat heavy cream just until it starts to steam (don't boil!), then pour over chopped chocolate. Let sit for 10 minutes, then stir until smooth and glossy.
- Finish the Brownie Bites: Remove the chilled cheesecake brownie bites from their molds. Spoon a half teaspoon of ganache over each one, and optionally garnish with chocolate shavings for an elegant finishing touch.

I learned the importance of these details after making these for a holiday party. I rushed the process and tried to remove them from the molds while still warm - disaster! Now I always make them a day ahead to ensure perfect results.
Perfect for Gift-Giving
These elegant brownie bites make exceptional gifts for friends and neighbors. During the holidays, I package them in festive mini cupcake liners inside small gift boxes with clear tops so the glossy ganache is visible. For St. Patrick's Day, I've tied boxes with emerald green ribbon and attached shamrock-shaped gift tags. Recipients always comment on how professional they look, never suspecting how straightforward they were to make.
Make-Ahead Magic
The time-consuming part of entertaining is often last-minute preparation, but these treats eliminate that stress entirely. I regularly make them up to three days before an event, keeping them refrigerated until about 30 minutes before serving. They actually improve with time as the flavors meld and deepen. I've even frozen them (without ganache) for up to a month, then thawed overnight in the refrigerator before adding the fresh ganache topping.

Adaptable for Every Season
While Bailey's creates the classic version, I've discovered endless seasonal adaptations. For summer, substitute Malibu coconut rum and add toasted coconut garnish. Fall calls for bourbon with a sprinkle of cinnamon. Winter holidays shine with peppermint schnapps and crushed candy cane topping. Spring celebrations pop with limoncello and lemon zest. The brownie-cheesecake base provides the perfect canvas for creative flavor experiments.
Scaling for Crowds
These brownie bites have saved me countless times when feeding large gatherings. The recipe doubles or triples beautifully without any adjustments beyond increasing quantities. For my sister's engagement party, I made 120 bites using a production-line approach: baking all brownie bases one day, adding cheesecake layers the next, and finishing with ganache the morning of the event. With proper planning, even large quantities remain manageable.

Final Thoughts
These Baileys Cheesecake Brownie Bites have become my go-to dessert for special occasions. There's something magical about the combination of fudgy brownie, creamy cheesecake, and smooth ganache that makes them irresistible. The hint of Bailey's and espresso elevates them from simple brownies to a sophisticated dessert worthy of any celebration.
Recipe FAQs
- → Why do ingredients need to be at room temperature?
- Room temperature ingredients mix more easily, preventing overbeating and resulting in better texture.
- → Why is my cake sinking in the middle?
- Some sinking is normal, but excessive sinking can be caused by opening the oven door too early.
- → How do I know when it's done baking?
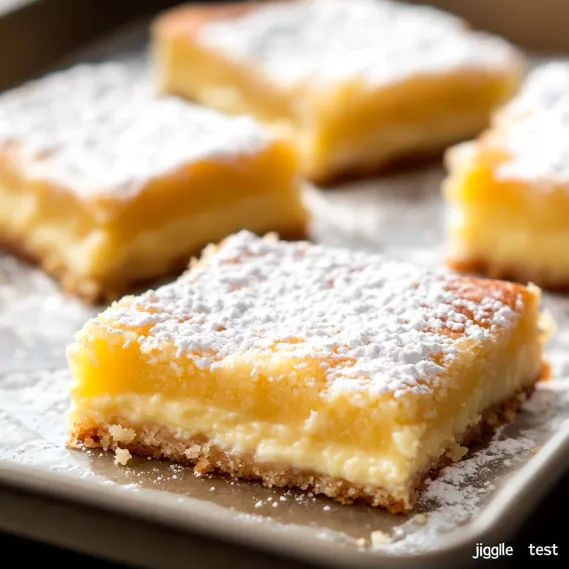
- Edges should be golden brown with slight jiggle in center - don't overbake or it won't be gooey.
- → Can I freeze this cake?
- Yes, either freeze whole or as individual bars for 2-3 months. Thaw before serving.
- → What's the origin of Gooey Butter Cake?
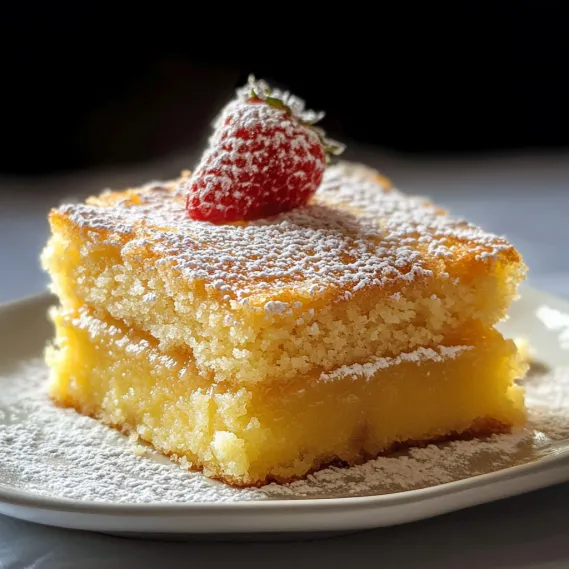
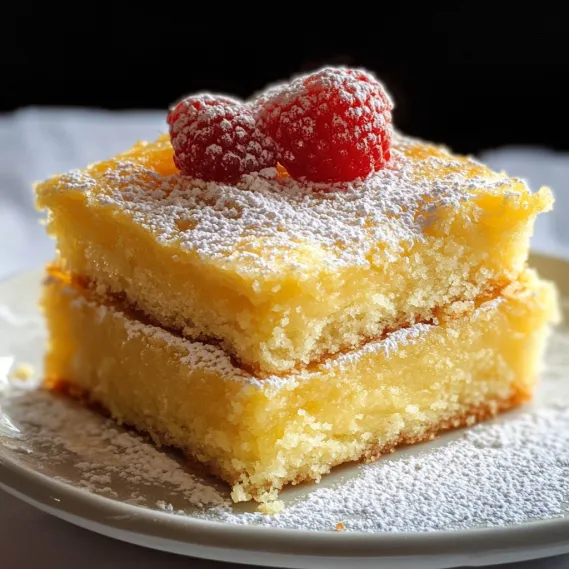
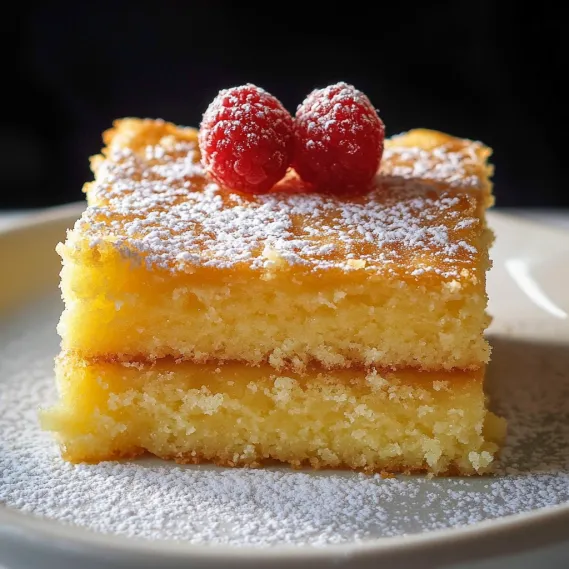
- It originated in St. Louis in the 1930s, supposedly from a baker's mistake that created this beloved treat.
