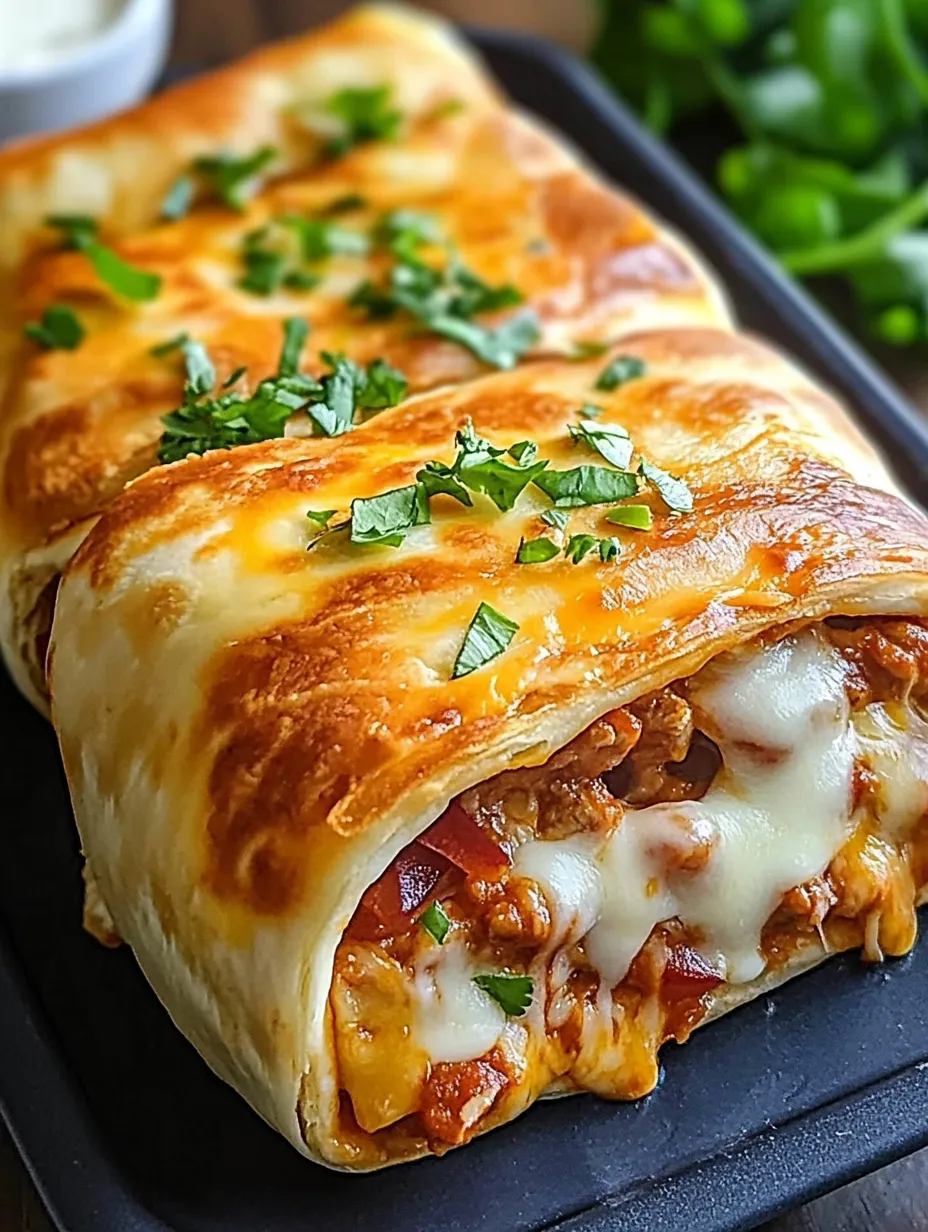
These loaded cheesy pocket tacos transform traditional tacos into a fun, handheld meal. Ground beef seasoned with taco spices is combined with a creamy mixture of cream cheese and salsa, then topped with cheddar cheese and wrapped in tortillas. Brushed with butter and baked until golden and crispy, they're perfect for dinner, parties, or game day snacking. Easy to customize and prep ahead, these pocket tacos offer all the flavors of traditional tacos in a convenient, less-messy format.
When classic tacos meet creamy, cheesy indulgence, you get these incredible Loaded Cheesy Pocket Tacos. Each crispy, butter-brushed pocket holds perfectly seasoned ground beef, velvety cream cheese, and melted cheddar that creates the most satisfying cheese pulls with every bite. In my kitchen, these have become our go-to solution for taco cravings when we want something a little more special than the ordinary.
Last night, I served these to my family, and watching everyone's faces light up at that first crispy, cheesy bite reminded me why this recipe never fails. The secret? The combination of two different cheeses and taking time to properly seal the pockets.
Essential Ingredients and Selection Tips
Ground Beef: 80/20 for best flavor
Cream Cheese: Full-fat, properly softened
Tortillas: 6-inch flour tortillas work best
Cheddar: Fresh-grated melts better
Salsa: Choose your preferred heat level
Taco Seasoning: Make your own or use a packet
Butter: Creates golden, crispy exterior
Detailed Instructions
The Perfect Setup
1. Begin with your mise en place - have cream cheese softened, cheese grated, and all ingredients measured. Preheat your oven to 350°F and prepare your baking sheet. Having everything ready ensures smooth assembly and prevents tortillas from getting soggy while waiting.
The Beef Foundation
2. Brown your ground beef in a large skillet, breaking it into even crumbles. Don't stir too frequently - letting it develop a crust adds flavor. Once browned, drain excess fat but leave enough for flavor. Add taco seasoning and mix thoroughly.
The Cheese Mixture
3. Beat your softened cream cheese until completely smooth - no lumps allowed. Blend in salsa until well combined. The mixture should be spreadable but not too thin. This creamy layer is crucial for holding everything together.
The Assembly Process
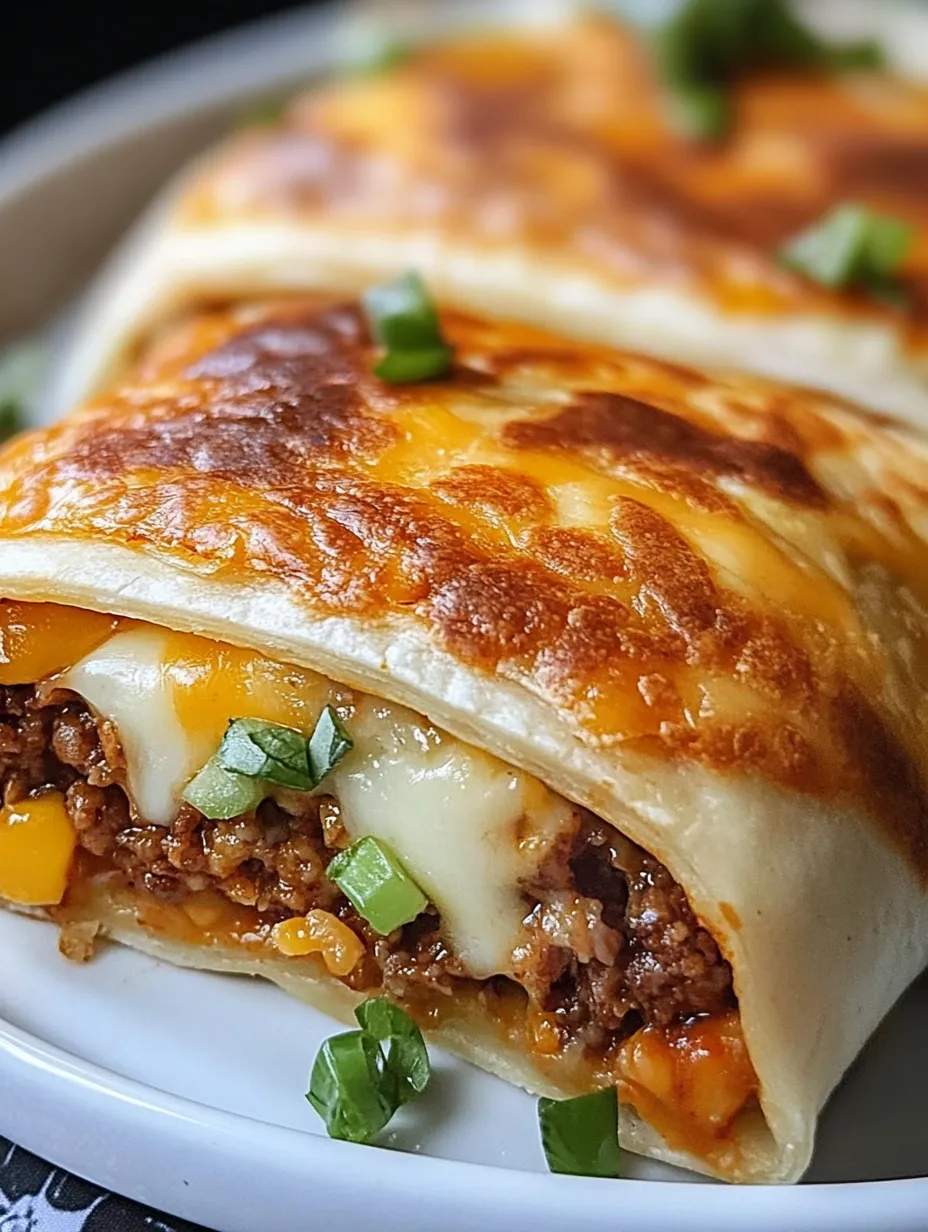
4. Lay each tortilla flat and spread with cream cheese mixture, leaving a border for folding. Top with seasoned beef and shredded cheese. Don't overfill - this makes sealing difficult. Fold like a burrito, making sure all edges are sealed.
The Final Touch
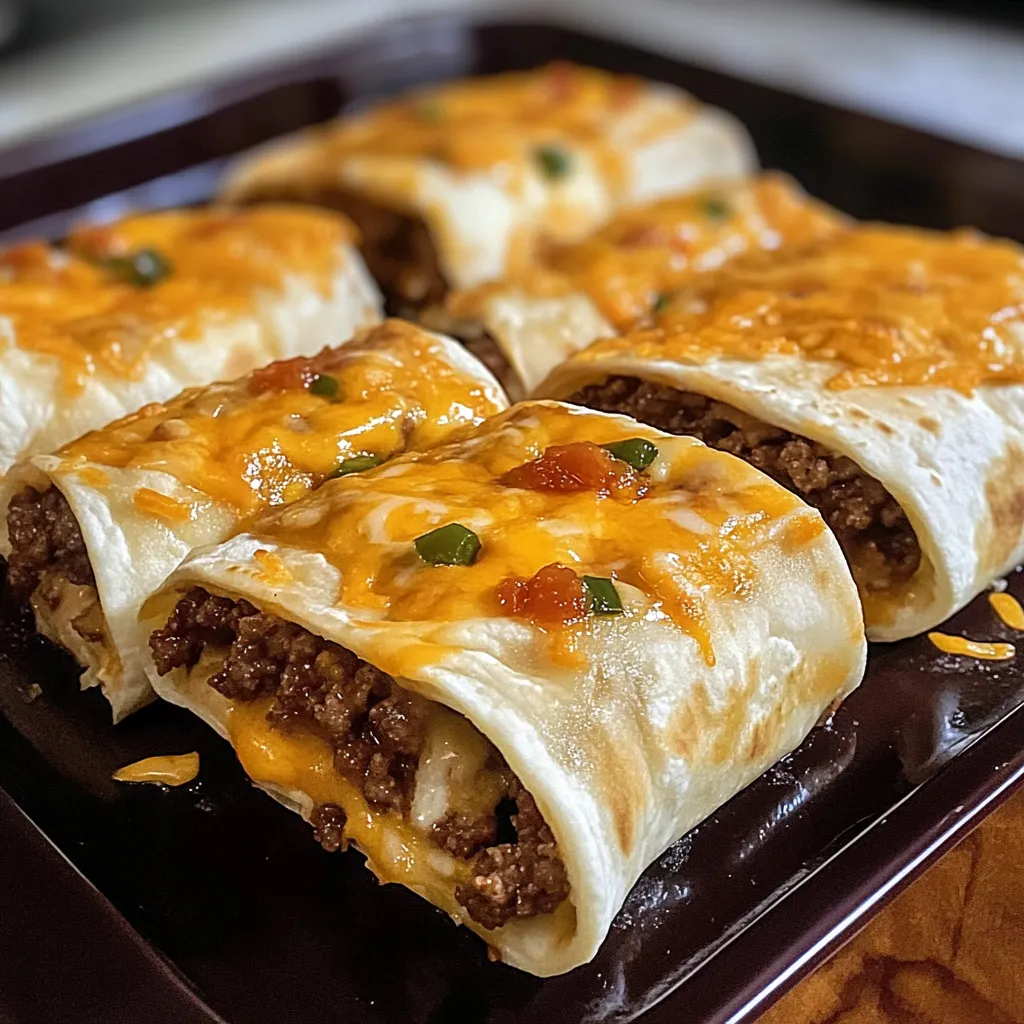
5. Place pockets seam-side down on prepared baking sheet. Brush tops generously with melted butter - this ensures golden, crispy exterior. Bake until tortillas are crispy and cheese is melted and bubbly.
These pockets can be assembled ahead and refrigerated for up to 24 hours before baking. Once baked, they'll keep in an airtight container for 3-4 days. Reheat in the oven rather than microwave to maintain crispiness. For freezing, wrap individually and freeze for up to 3 months. Thaw overnight in the refrigerator before reheating.
Variations and Creative Twists
Through countless preparations, I've discovered exciting variations. Try using ground chicken or turkey for a lighter option. Add black beans and corn for a Southwest twist. Sometimes I'll mix different cheeses like pepper jack or Monterey Jack. The basic recipe welcomes experimentation while maintaining its comfort food appeal.
Serving and Presentation Excellence
For the perfect presentation, arrange these pockets on a rustic wooden board or colorful platter. Create a toppings bar with fresh pico de gallo, guacamole, sour cream, and additional salsa in small bowls. I like to garnish the serving platter with fresh cilantro, lime wedges, and pickled jalapeños for those who want extra heat. For parties, consider cutting the pockets diagonally and arranging them in a circular pattern around a central bowl of dip. This not only looks impressive but makes it easier for guests to grab and try different toppings.
Temperature and Timing Mastery
Success with these pocket tacos comes down to understanding temperature at every stage. The beef should be hot when filling, but not so hot it melts the cream cheese immediately. The assembled pockets should be at room temperature when they go into the oven - too cold and the centers won't heat through before the tortillas brown. Watch them carefully during the final minutes of baking; they can go from perfectly golden to too brown quickly. Let them rest for exactly 5 minutes after baking - this allows the cheese to set slightly while maintaining the perfect temperature for serving.
Professional Tips
Warm tortillas slightly for easier folding
Press out any air pockets before sealing
Create a workstation assembly line
Keep filled pockets covered while working
Test one pocket first to perfect technique
Consider scoring tops for venting
Loaded Cheesy Pocket Tacos Recipe | zestplate.com
Final Thoughts
These Loaded Cheesy Pocket Tacos prove that familiar ingredients can create something extraordinary. Whether for a family dinner or casual entertaining, they offer a fun twist on taco night that everyone will love. The combination of crispy exterior, seasoned beef, and creamy, cheesy filling makes every bite memorable.
Recipe FAQs
→ Can I make these ahead?
Assemble ahead and refrigerate, then brush with butter just before baking.
→ Can I freeze them?
Yes, freeze before baking. Thaw and brush with butter before cooking.
→ What can I add to them?
Try adding black beans, corn, or diced jalapeños to the filling.
→ Can I use different cheese?
Yes, try Mexican cheese blend or pepper jack for variety.
→ How do I keep them crispy?
Don't skip brushing with butter, and avoid overfilling which can cause leaks.
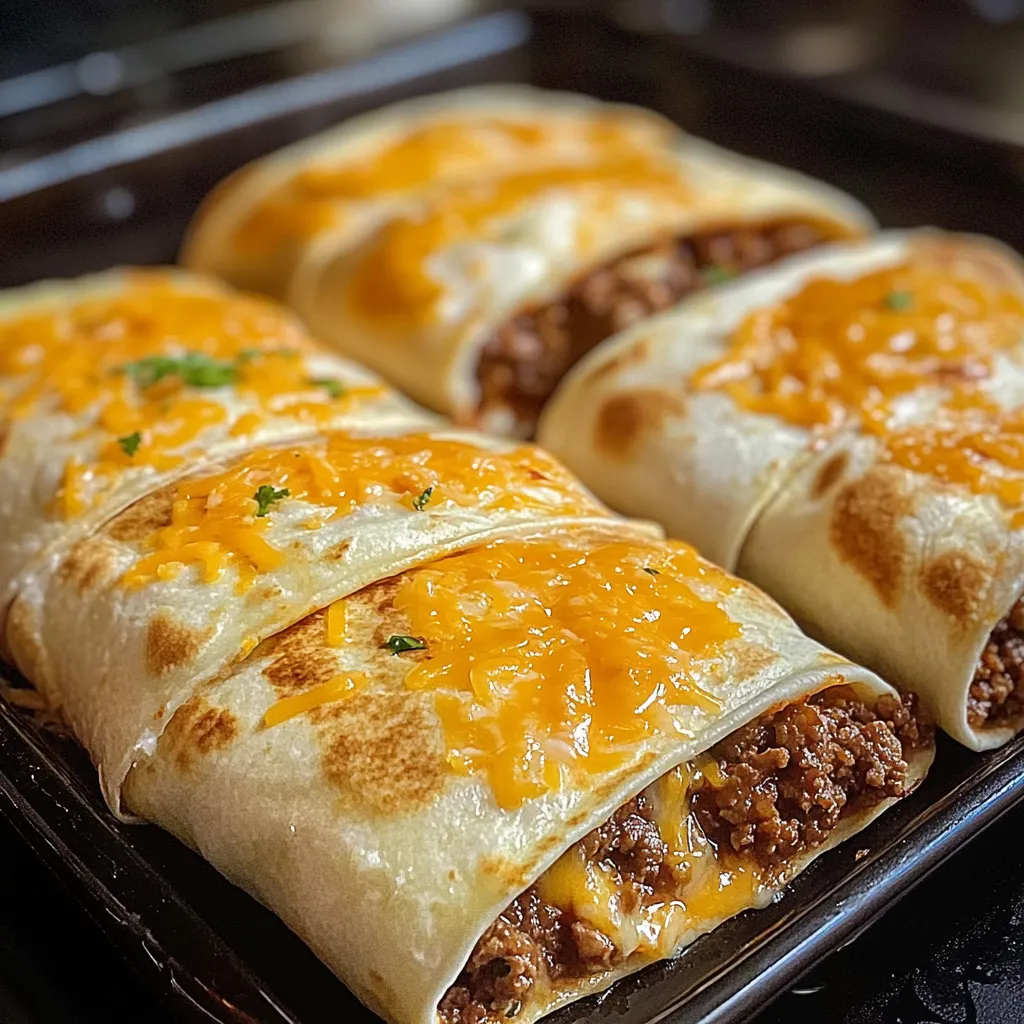
Loaded Cheesy Pocket Tacos
Crispy tortilla pockets stuffed with seasoned ground beef, creamy cheese filling, and melted cheddar.

 Pin
Pin