 Pin
Pin
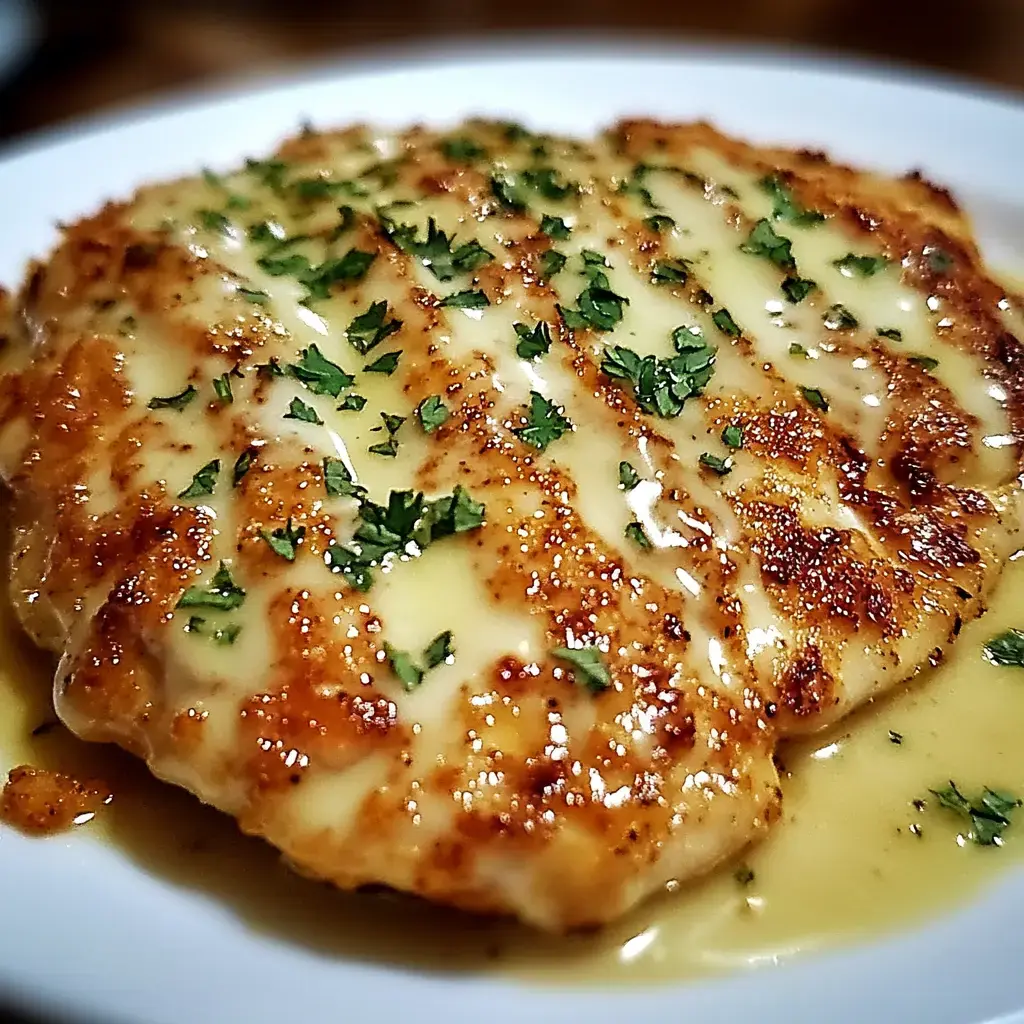
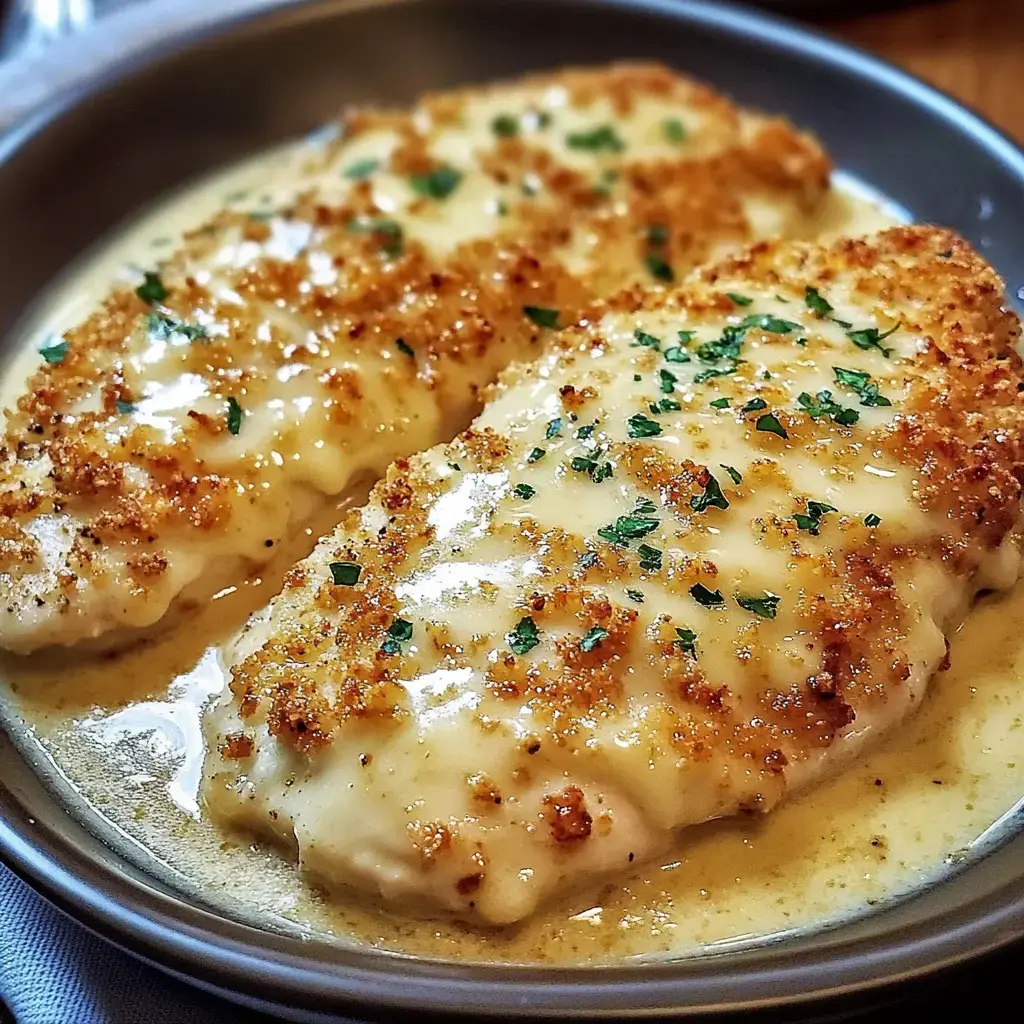
Back when I worked at our local steakhouse, I fell in love with their famous parmesan crusted chicken. After years of experimenting in my kitchen, I finally cracked the code. This version brings all that restaurant magic home—juicy chicken topped with a golden, cheesy crust that makes everyone at the table stop talking. The best part? It comes together faster than getting dressed up for dinner out and tastes even better when you make it yourself.
What Makes This So Special
Every time I make this chicken, the kitchen fills with aromas that bring everyone running. The chicken stays perfectly tender while that garlicky parmesan topping turns golden and crispy under the broiler. My family begs for this on busy weeknights, but it's fancy enough for when the in-laws visit. That combination of quick cooking and restaurant-style presentation makes this recipe pure gold in my recipe box.
Everything You Need
- The Star: Get 4 good chicken breasts. I like to pound them myself for the perfect thickness. Fresh chicken makes all the difference here—frozen just isn't the same.
- Basic Flavors: Your everyday heroes—salt, pepper, garlic powder, and paprika—they work together to build that perfect savory base.
- Good Oil: A splash of olive oil for getting that beautiful golden sear.
- The Magic Mix: Ranch dressing and mayo create the creamy base, while real grated parmesan brings that sharp, salty magic. Fresh garlic cloves—not the jarred stuff—and Italian seasoning for that herb-garden touch.
- The Crunch: Panko breadcrumbs stay crispier than regular ones, and a couple tablespoons of melted butter help them brown beautifully.
Getting Started
- Prep Your Chicken
- Pull out that ziplock bag or plastic wrap, and let’s get pounding. Each chicken breast needs to be about half an inch thick—that sweet spot where it cooks evenly without drying out. Take your time here; rushing leads to torn chicken and uneven cooking.
- Season With Love
- Sprinkle both sides generously with salt, pepper, garlic powder, and paprika. Really pat those seasonings in—they’re building your flavor foundation. Let the chicken sit with its seasonings while you heat up your pan.
- Create The Perfect Setup
- Get your oven heating to 400°F and make sure your skillet can go from stovetop to oven. I learned the hard way not all pans can handle this journey.

The Cooking Magic
Get that olive oil shimmering in your skillet over medium-high heat—you want it hot enough to sizzle when the chicken touches down. Each piece needs about 4 minutes per side to develop that gorgeous golden crust. Watch for that perfect color change around the edges—that tells you it’s time to flip. Once both sides are golden, slide that whole skillet into your preheated oven. Those next 12 minutes are when the real transformation happens. The chicken finishes cooking through while staying perfectly juicy. I always use my meat thermometer to hit that perfect 165°F sweet spot—no guessing games here.
Creating That Famous Topping
While your chicken works its magic in the oven, let’s build that incredible parmesan crust. In your mixing bowl, combine ranch dressing, creamy mayo, freshly grated parmesan, minced garlic, and Italian seasoning. This mixture should taste bold—remember, it’s going to spread its love across the whole piece of chicken. Sometimes I throw in a handful of shredded mozzarella just because more cheese is always better, right? Every ingredient plays its part: the ranch brings tang, mayo adds richness, parmesan brings that salty bite, and garlic ties everything together into one heavenly blend.
Building The Perfect Crust
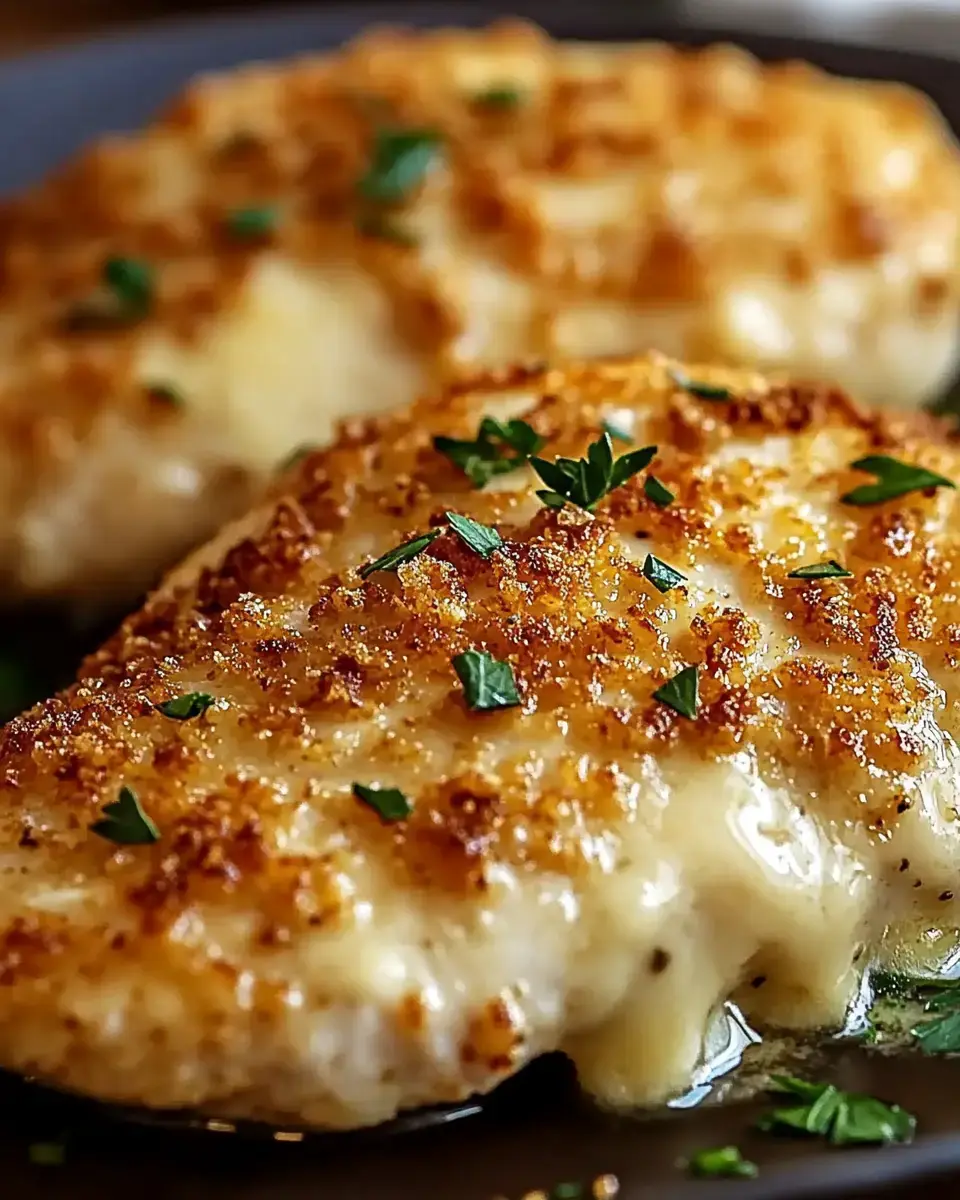
Now comes my favorite part—creating that irresistible crispy topping. Grab another bowl and mix those panko breadcrumbs with an extra shower of parmesan and enough melted butter to make every crumb glisten. The butter is crucial here—it helps everything turn golden brown under the broiler. When your chicken hits that perfect temperature, pull it out and spread each piece with our creamy parmesan mixture. Don’t be shy here; make sure every inch gets covered. Then sprinkle that buttery breadcrumb mixture over top, watching it cascade down the sides. This layering technique ensures you get both creamy and crispy in every single bite.
Serving It Up Right
These final moments under the broiler are pure kitchen theater. Stand guard and watch through that oven window as the topping transforms into a golden brown masterpiece. Just 2 or 3 minutes is all it takes—keep a close eye because perfect can turn to burnt in seconds. I love scattering fresh parsley over top right before serving—it adds a pop of color and fresh flavor. Set this beauty alongside creamy mashed potatoes that soak up any extra sauce, or pile it on top of buttery pasta. A bright green salad on the side cuts through the richness perfectly. Sometimes I slice the chicken to show off that juicy center and crispy top—it makes everyone’s eyes light up at the table.

Kitchen Wisdom
Through countless dinners, I’ve learned all the little secrets that make this dish foolproof. Never skip the pounding step—uneven chicken means some parts dry out while others stay underdone. Your meat thermometer is your best friend here—guessing leads to disappointment. Feel free to play with different cheeses—sharp cheddar or nutty gruyere create whole new flavor profiles. When the craving for heat hits, add a pinch of cayenne to the topping or a few drops of hot sauce in the creamy mixture. Leftovers keep beautifully for three days, tucked away in the fridge, but never microwave them. A few minutes in a 350°F oven brings back that crispy crust and keeps the chicken juicy. That’s assuming you have leftovers, which in my house is pretty rare once everyone tastes that first perfect bite.
Summary
Create a delicious restaurant-quality chicken dish at home with this easy-to-follow recipe. Featuring a crispy parmesan crust and tender chicken, this dish brings the flavor of Longhorn Steakhouse right to your kitchen.
Recipe FAQs
- → Why pound the chicken?
Even thickness ensures uniform cooking and tenderness. Thinner chicken also cooks faster and stays juicier.
- → Can I use chicken thighs?
Yes, but cooking time may vary. Ensure internal temperature reaches 165°F for food safety.
- → Why sear before baking?
Searing creates a golden crust and locks in juices. It also adds flavor through caramelization.
- → Can I make this ahead?
Prepare chicken up to adding toppings, then refrigerate. Add toppings and broil just before serving.
- → Why use both broiler and oven?
Oven ensures chicken cooks through while broiler creates crispy, golden topping without overcooking the chicken.
