 Pin
Pin
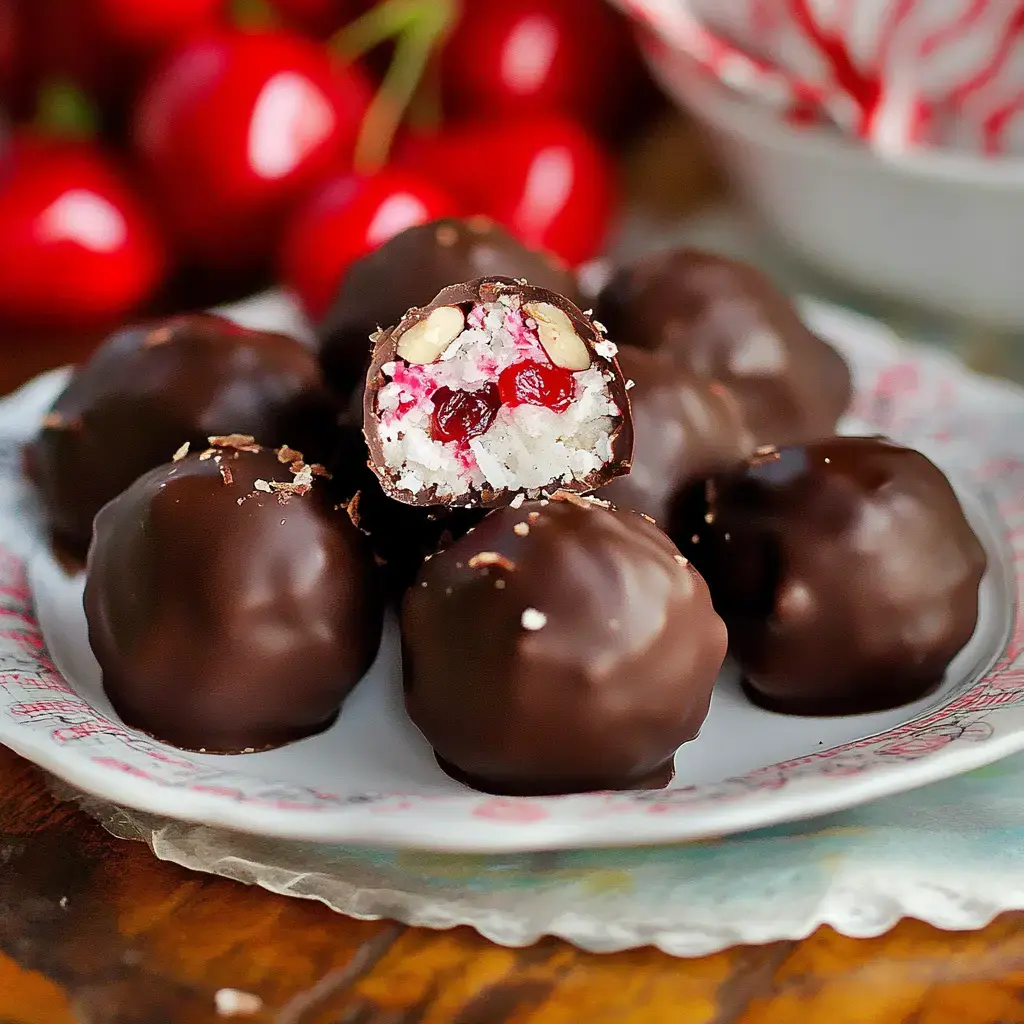
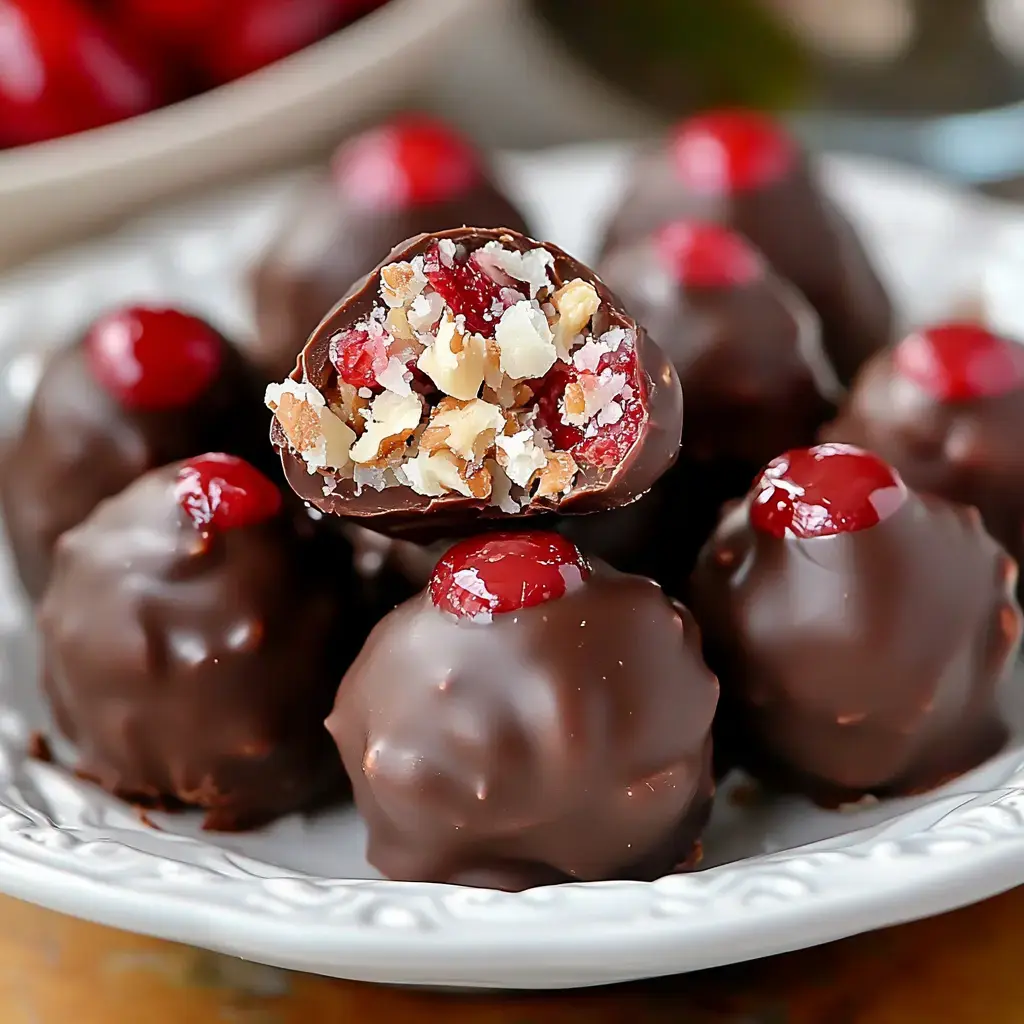
My grandmother passed down this recipe for Martha Washington Candy, and making these sweet treats kicks off our holiday season every year! They're loaded with coconut, pecans, and those bright red cherries, all wrapped in chocolate. Think fancy chocolate-covered cherry meets coconut candy - totally irresistible!
Why These Are So Special
What I love about these candies is how simple they are to make - no fancy equipment needed! Just mix, chill, roll, and dip. They make the prettiest gifts packed in little boxes, and everyone at our holiday parties fights over the last one.
Let's Go Shopping
- Butter: Melt it first - makes mixing way easier.
- Powdered Sugar: Don't pack it when measuring.
- Good Vanilla: The real stuff makes a difference.
- Coconut: The sweetened kind in the baking aisle.
- Condensed Milk: Makes everything creamy and rich.
- Cherries: Those bright red maraschinos - chop and dry them well.
- Pecans: Toast them first if you have time - so good!
- Chocolate: I love using Ghirardelli melting wafers.
Let's Make Candy
- Getting Started
- Grab your biggest bowl and throw in everything but the chocolate. Mix it really well - I use my hands, just like Grandma did. It'll be sticky but that's perfect!
- Chill Time
- Pop that bowl in the fridge for a couple hours. Trust me, cold filling is so much easier to work with.
- Rolling Party
- Take your mixture and roll it into little balls - about bite-size. Line them up on a parchment-covered cookie sheet and back in the fridge they go for 20 minutes.
- Chocolate Magic
- Melt your chocolate slowly - don't rush this part! I use a fork to dip each ball, tap off the extra, and slide them onto clean parchment. Sometimes I sprinkle extra coconut on top before they set.
- The Waiting Game
- Let them sit until that chocolate's completely hard. They'll look all shiny and pretty!
My Best Tips
After making these hundreds of times, here's what I've learned: Pat those cherries super dry - extra moisture makes the filling too soft. Keep everything cold - warm filling is a mess to work with. Splurge on good chocolate - it really makes a difference. And if you can find candy dipping tools, grab them - they make the dipping part so much easier!

Keeping Them Fresh
These candies stay good for about two weeks in a sealed container - if they last that long! Keep them in the fridge if your kitchen's warm. Want to make them ahead? Form the balls, freeze them on a tray, then pop them in a freezer bag. They'll keep for months frozen, just thaw in the fridge before dipping in chocolate.
Perfect For Sharing
Every Christmas, I package these up in pretty boxes tied with ribbon - they make the sweetest gifts! My neighbors look forward to them every year. Put them out on your holiday dessert table and watch them disappear. Just make sure to save a few for yourself - they're that good!
Mix It Up
Sometimes I play around with different nuts - walnuts work great too. My sister adds a tiny drop of almond extract for extra flavor. And when I'm feeling fancy, I drizzle white chocolate over the dark chocolate coating. They're pretty forgiving, so have fun with it!
A Sweet Tradition
Making these candies always brings back memories of baking with my grandmother. Now my kids help roll the balls and sprinkle the toppings. It's more than just candy - it's part of our family tradition. Give them a try, and maybe they'll become part of your holiday traditions too!
Recipe FAQs
- → Why chill the mixture before dipping?
Cold filling helps the chocolate coating set up faster and prevents melting or messy dipping.
- → Can I freeze these candies?
Yes, they freeze well in an airtight container for up to 3 months.
- → Why pat the cherries dry?
Extra cherry juice can make the filling too wet and affect the texture and chocolate coating.
- → What's the best way to dip them?
Use dipping tools and tap off excess chocolate to avoid pooling at the bottom of candies.
- → How long do they keep?
They stay fresh for up to 2 weeks in an airtight container at room temperature.
